-
$100 Room Challenge – Master Bedroom Final Reveal
A couple of months ago, I decided to take part in the $100 Room Challenge by redoing our master bedroom on a tight budget. To say that I dropped the ball on that is partially true. Yes, I took a super long blog/social media break (more on that in the next week), but we did actually finish the makeover back in August. Anyway, I’m here to share our Master Bedroom Final Reveal!

Some affiliate links are included below for convenience. Click here to read my full disclosure.
Doing a room makeover on a tight budget of just $100 can get pretty tricky.

We only made a couple of purchases for this space before all of our money was totally eaten up! So we had to come up with some creative ways to update this room using items we already owned!
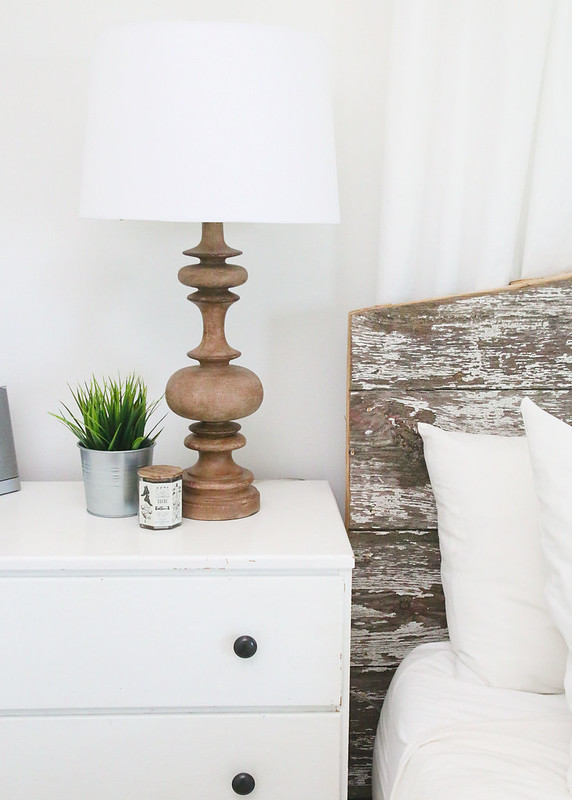
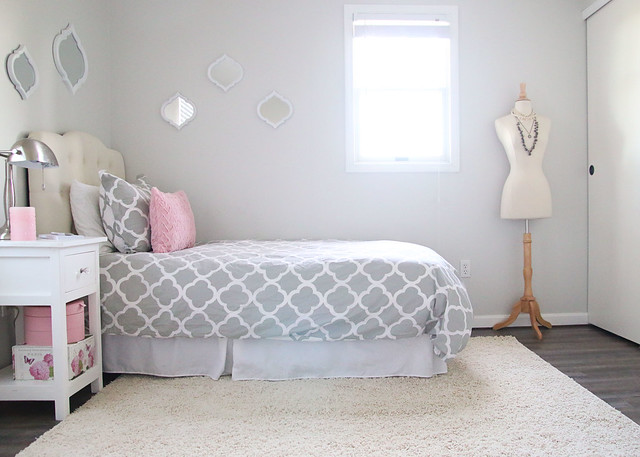
All of the money in our budget went towards these pretty turned wood lamp bases and shades, which we picked up from Target. Even though they were on sale (36.09 each for the bases and 18.99 each for the shades), we still went slightly over $100 when it all totaled up. However, I really like the look of the lamps and how they bring in some warmth to the stark white of the room, so it was definitely worth it!

In my last post about this room, I shared how my hubby and I fashioned this DIY barn wood headboard. It is so cool to have such a sentimental piece (the wood is actually an old barn door from my grandparents’ house)!
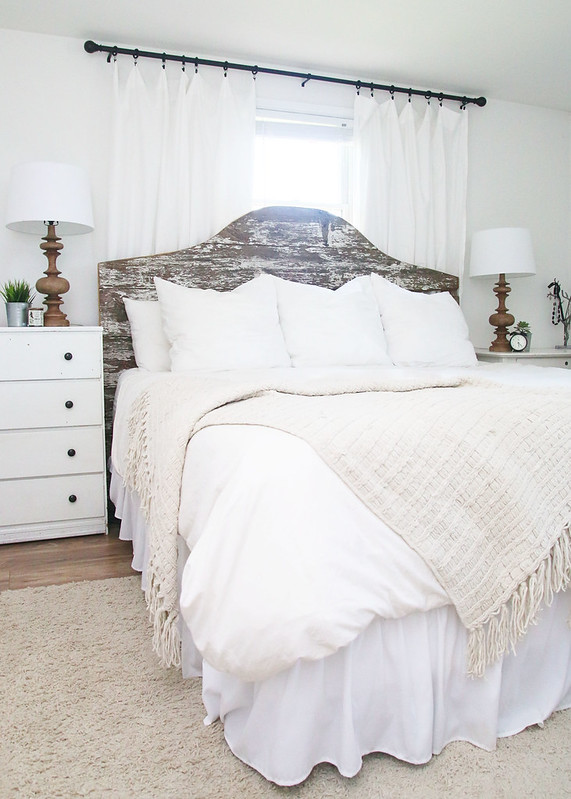
Also, on this side of the room, we updated the knobs on the left dresser/nightstand with a little Oil Rubbed Bronze spray paint. A few accessories from other parts of the house were also pulled in to help the space look more finished. Oh, and I can’t forget the addition of a dust ruffle to hide all of the items stored under our bed.
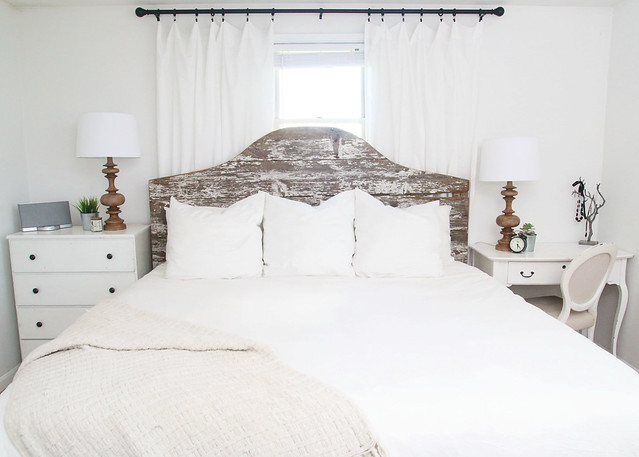
On the other side of the room, we really made an impact with paint! Lucky for us, there was plenty of leftover white paint from previous projects, so that did not affect our budget at all.
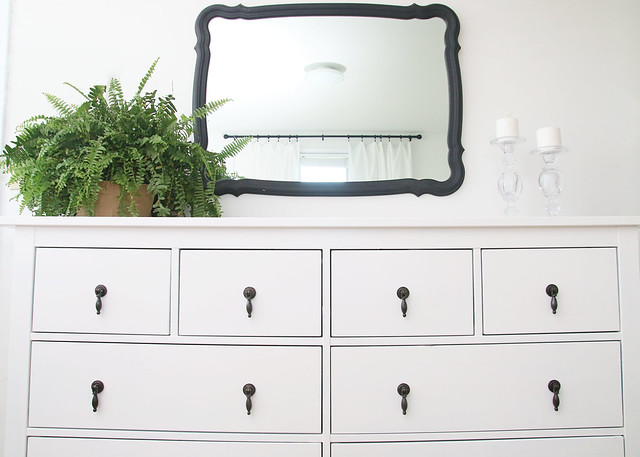
The white dresser fits this room so much better and those drop pull knobs now pop against the white backdrop.
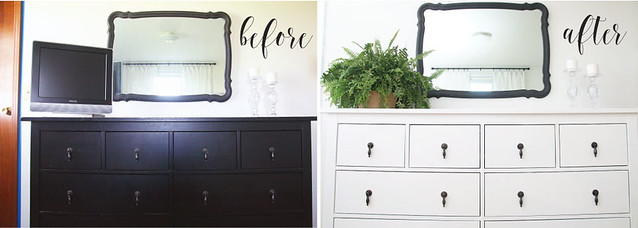
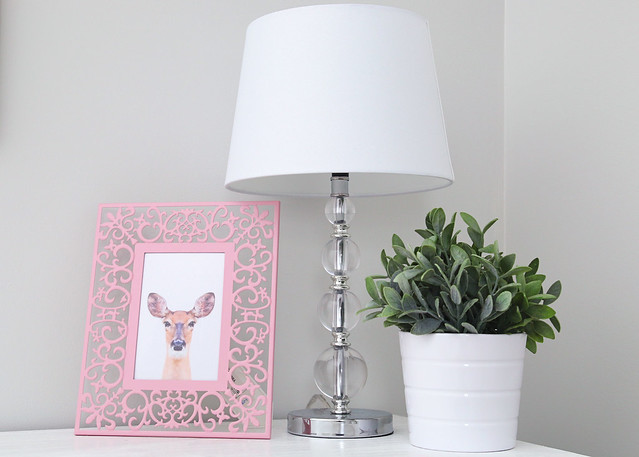
After removing the old tv and sending it to live in storage, it was time to bring in a few accessories to this space. To keep things simple and add a bit of color, I grabbed one of my ferns from the front porch. Yes, the scale is a bit off, but I didn’t want to clutter the dresser with knick-knacks. Plus, we already owned the fern, so it was a freebie addition to the bedroom.
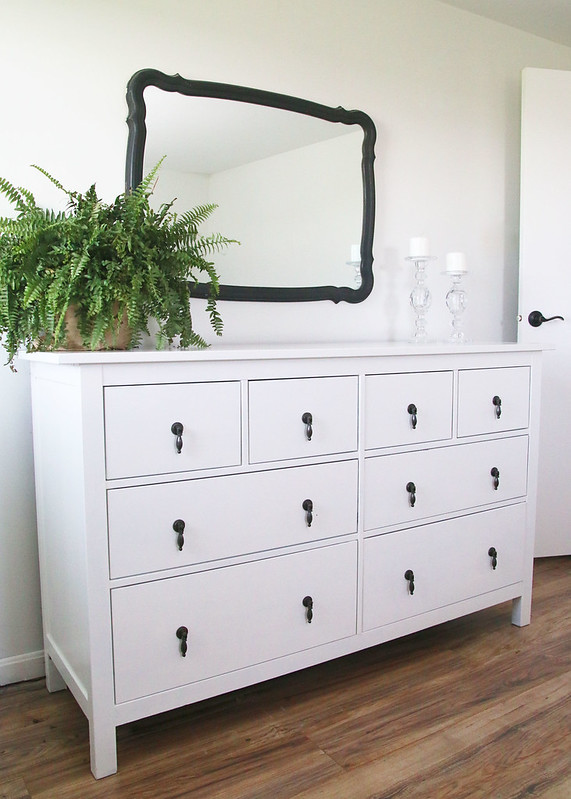
I also chose to keep the spindle glass candlesticks because I liked how they emulated the lamps at the opposite end of the room. This is a lesson in working with what you’ve got!

Let’s check back on the to-do list to see how we did!
Buy/Replace the lampsDIY a headboard for the bedAdd a few accessories to each side tablePut on the bed skirt that we’ve been too lazy/busy to addIron the duvet cover (also laziness)Paint the doors/frames (window frames are already painted)Relocate the TVAccessorize the dresserPaint the dresser
Yay! It looks like we were able to complete everything on the list and stayed pretty close to our $100 budget. (It came it at roughly $110 and change.)

How do you think we did? Would you have taken a chance and spent all of your budget on just a couple of lamps? Or would you put your money to use on something different to makeover this space? I would love to hear your thoughts!
-
$100 Room Challenge: Week 2 – Plans and Paint
So, I’m a little bit late to the game for week 2 of the $100 Room Challenge. Which means that there will be two updates this week for you! To start off, check out our plans and paint for our bathroom makeover!
THE PLAN
During week 1, I shared all of the eerie before photos and this lovely mood board. We are only working with $100 to get our bathroom looking pretty, so we are going to need to get creative with how we achieve this look.

Here’s our to-do list and we have a few of the items already finished:
Paint the wallsPaint the doors/trim/vanity cabinetSpray paint door hardware- Build a ladder to put around/above the toilet.
- Get wire baskets for storage
- Add a can light above the toilet area
- Make a frame for the existing mirror
- Replace light switches/plates/GFCI outlet/thermostat
- Add hooks for towels
- Decorate with items already owned
THE PAINT
Last week our house was struck with a stomach bug that had our little guy out of commission for almost 7 days. With only one bathroom in the house, it was hard to try and get all of the painting done in the midst gastrointestinal explosions. (Too much? Sorry.) Anyway, we finally finished after 7 million coats.
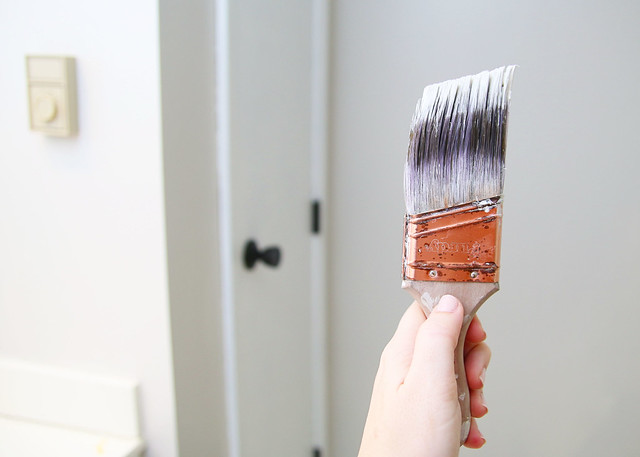
OK. That may be a bit of an exaggeration. We did have to go over the cabinets, doors, and trim quite a few times (4-6 depending on the surface) to cover the existing stain. We started by sanding everything to rough up the surfaces. Next, we applied 1-2 coats of Zinsser primer. Then, we painted on top of that with Behr Pure White semi-gloss paint, which was left over from our daughter’s bedroom makeover.
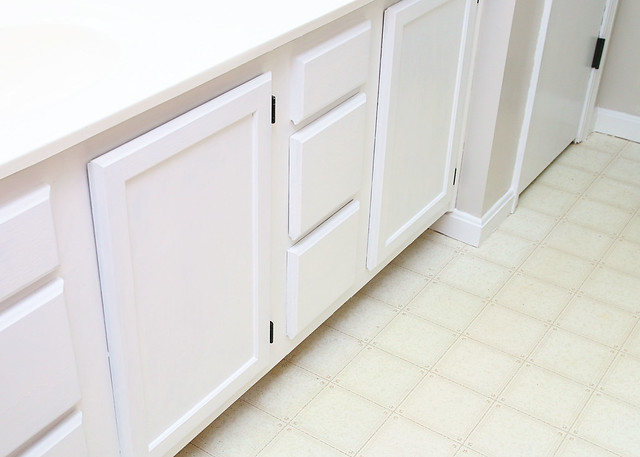
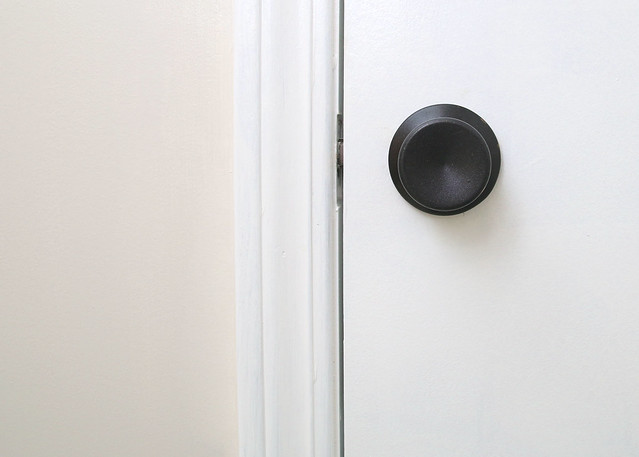
Because we are working with a pretty tight budget for this makeover, we decided to get our Benjamin Moore Pale Oak paint color matched to Glidden Semi Gloss. This ended up saving us some dough! To save even more money, we spray painted the existing hardware with Rustoleum Oil Rubbed Bronze, which was also left over from previous projects.
We are really liking the Pale Oak paint color on the walls. It is a lovely neutral greige and seems to add a little warmth the cool white paint in the room.
Did you miss last week’s post? Follow along with our progress by clicking the links to each week below!
Week 1 | Week 2 | Week 3 | Week 4
Don’t forget to check out the other participants in this challenge and see all the amazing/budget friendly designs and ideas these bloggers are coming up with!
-
Create & Share Challenge: Holiday Wreath Display
The holidays are almost upon us! Can you believe how fast 2016 went? Me neither. For my last attempt at holiday decor (I’ve shared my Christmas tree and entryway decor) I wanted to share this holiday wreath display that is currently hanging in our dining area.
This post is brought to you by Elizabeth Joan Designs in collaboration with Cutting Edge Stencils. Although I did receive a product from Cutting Edge Stencils, all opinions are my own. Click here to view my full disclosure.
This month, I’m joining up for my second Create & Share Challenge, hosted by Casa Watkins and Pocketful of Posies! Thanks, Ladies! There are 9 other amazing projects, so make sure to check them out at the bottom of this post! (View my first Create & Share Challenge project.)
So wait… what is this challenge? Well, participants are tasked with using their personal decor style to create a project centering around one main item. And this month, we are working with holiday stencils from Cutting Edge Stencils! For this project, I made a fun and neutral holiday wreath display and it was so easy to create!

This post contains affiliate links. Click here to view my full disclosure.
To make this holiday wreath display, you will need:
- Holiday Cheer Christmas Stencil from Cutting Edge Stencils
- Painter’s Tape
- 48″ X 26.5″ Plywood
- Trim Pieces cut to 26.5″ and 45″
- Wood Stain
- Old Rag
- Paint Brush
- 2 Paint Colors (I used Waverly Chalk Acrylic Paint in White and Silver Lining.)
- Small Paint Roller
- Screwdriver and Screws
- Hammer and Nails
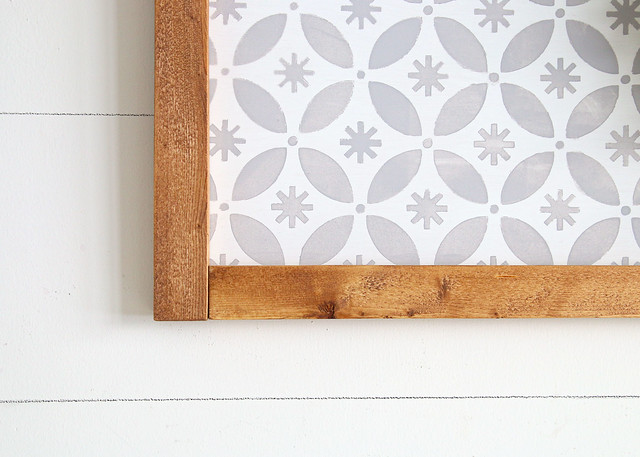
To start, I used an old rag to apply Minwax stain (Early American) to the trim pieces.

While the trim pieces were drying, I painted one side of the plywood with white paint.

When the white paint was dry, it was time to stencil! I don’t think I’ve ever used a larger stencil like this before and I could not believe how simple the process was. I simply used painter’s tape to attach the stencil to the middle of my board and used a smaller paint roller to apply the gray paint. Once I was finished with one section, I carefully pulled up the stencil and repositioned it in a new spot with part of it overlaying a previously painted section.

Next, I assembled the trim pieces to make a frame. I used screws to attach the ends together. (Oops, I forgot to get a photo of that!)
Then, I laid the plywood on top of the frame and nailed around the back edges.

You can see below that the corners of the trim were not mitered. I just put the straight edges together with the shorter pieces on the outside.
Easy peasy!
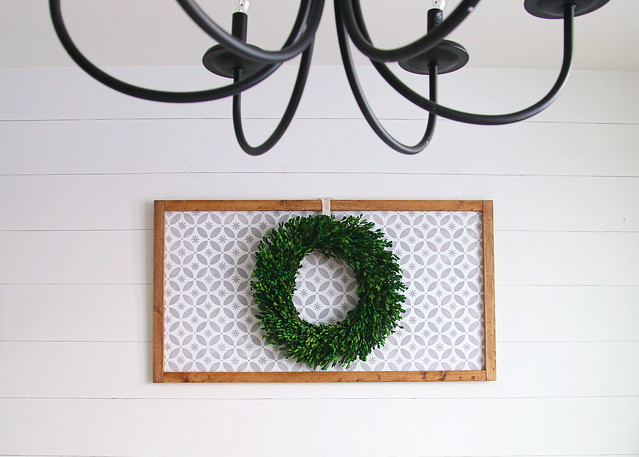
If you want to hang your creation, you can attach sawtooth picture hangers or D-rings to the back. Didn’t this turn out lovely?

To finish, add your favorite wreath! I chose a pretty boxwood wreath and attached it with a ribbon and thumb tack at the top. This holiday wreath display is currently hanging in our dining area and we love how it looks! You may have noticed that the dining area is starting to look a bit different. (See the before photos in our Country House Tour.) We’ve been working on it bit by bit and I will have a full update of the entire space after the holidays!
One of my favorite things about this holiday wreath display is that is can be used well beyond the holiday season and into the new year!
Thanks so much for stopping by to visit Elizabeth Joan Designs and don’t forget to check out the other awesome stenciled holiday creations below!

- Kim Six Fix – Stenciled Spray Snow Flakes
- Green With Decor – How to Stencil A Pillow For Christmas
- Vintage Romance Style – The True Meaning of Noel Sign
- Southern Couture – Wooden Reindeer Stencil
- One Mile Homestyle – Stenciled Holiday Coloring Page Place Mats
- DIY Beautify – Stenciled Wall Hanging Christmas Decor
- Elizabeth Joan Designs – Stenciled Wall Hanging
- Farmhouse 40 – DIY Reindeer Antlers Bulletin Board
- Iris Nacole – Stenciled Christmas Tree Stand Box
- Pocketful of Posies – The Easiest Christmas Cookie Decorating Hack Ever
-
Build It Yourself, Family, Kids, Pets, Furniture Makeovers, Home Decor, One Room Challenge, Organization & Storage, Painting Projects, Room Makeovers, The Country House
Tween Bedroom Reveal
You guys! It is the end of week six of the One Room Challenge and to say that I am ecstatic would definitely be an understatement. These past six weeks have been a crazy whirlwind of work, but we are so excited with the way everything turned out. Check out our Tween Bedroom Reveal!
But first, let’s go back to the beginning and review where we started. Ugh. This room really needed some help.
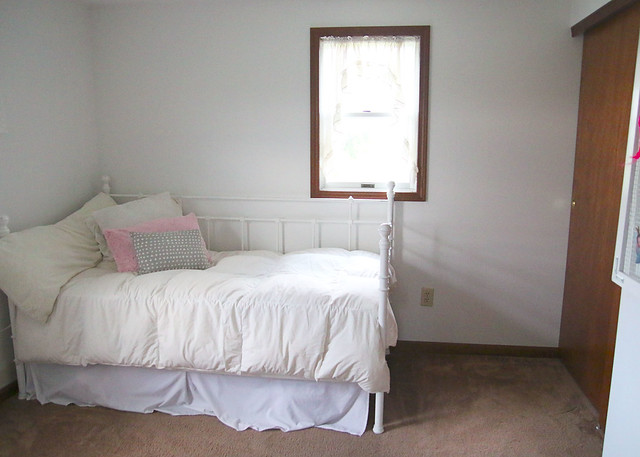
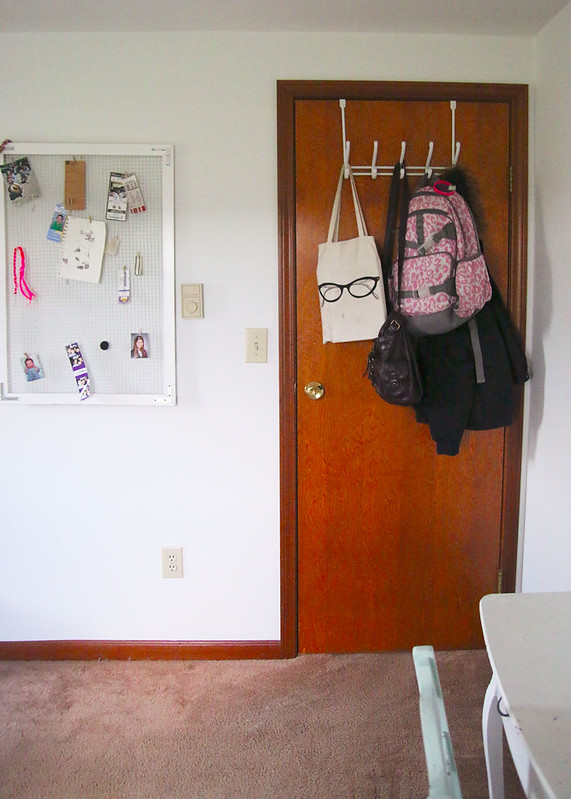
The old carpet and dark trim were just not working for us, not to mention the mismatched random furniture and lack of accessories just made to room look blah.
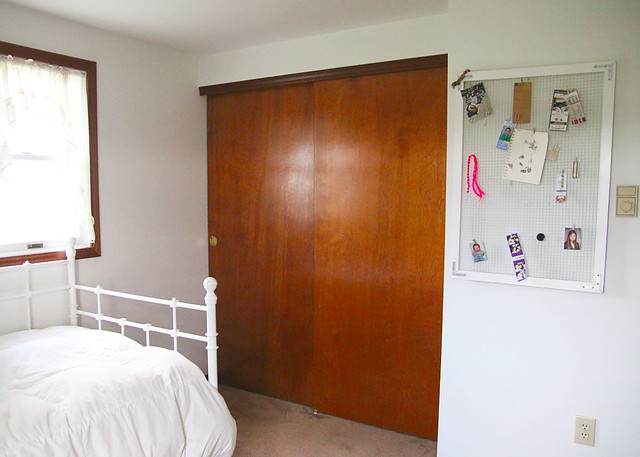
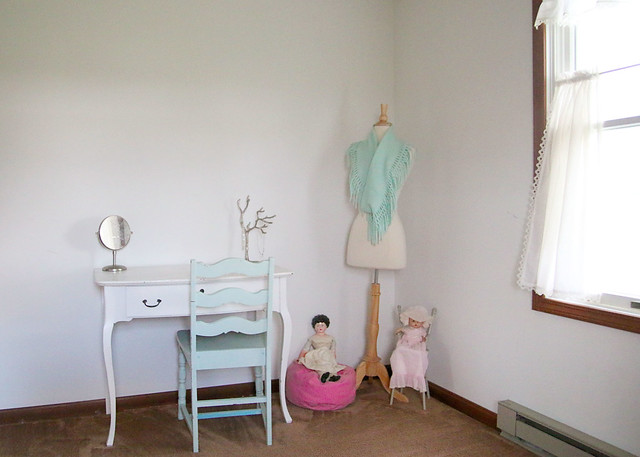
OK. Now, scrub your brain of those old, mismatched images and let’s move on to the pretty pics!
After some brainstorming with my daughter about how she wanted her room to look, plus some research to achieve that look on a budget, we came up with a beautiful and affordable mood board and design plan.

Here’s what was on the to-do list…
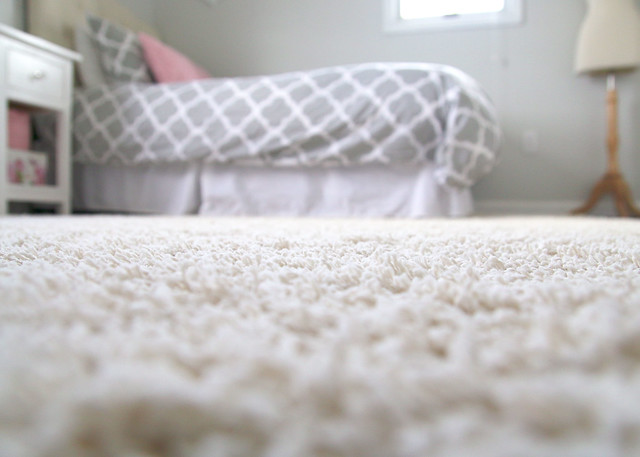
- Remove old carpet and replace flooring
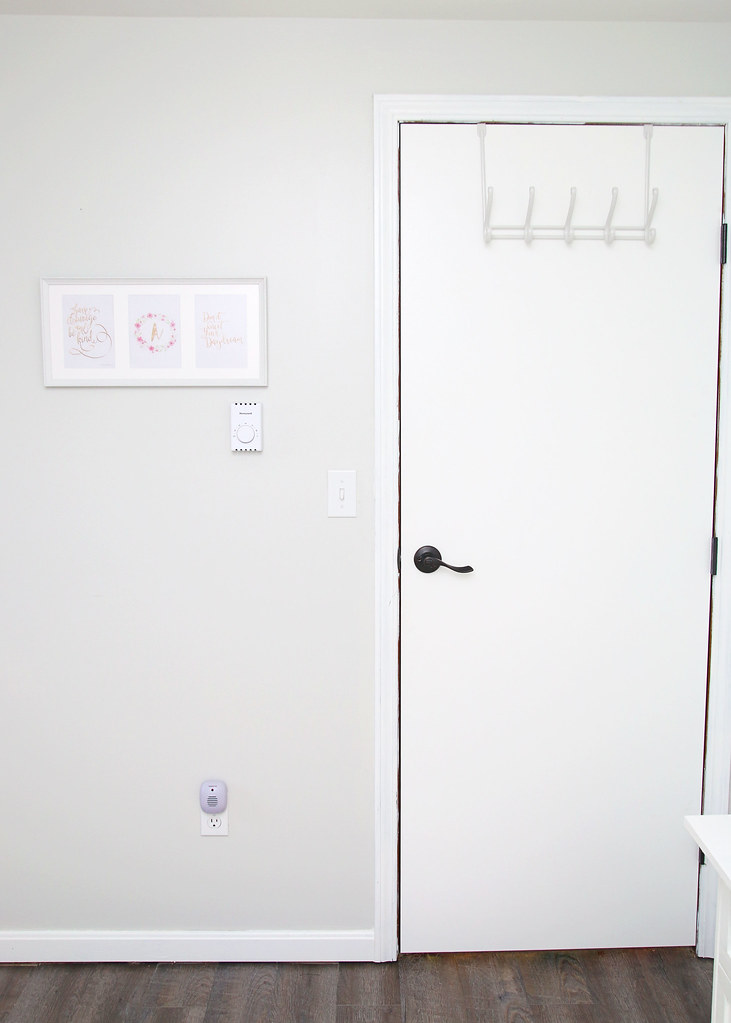
- Paint walls, trim, & doors
- Replace old electrical plates, outlets, and switches
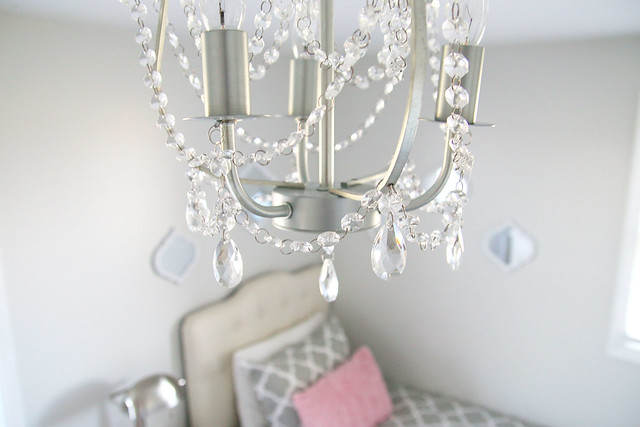
- Add new lighting
- Install window coverings
- Create a workspace that can also double as clothes storage
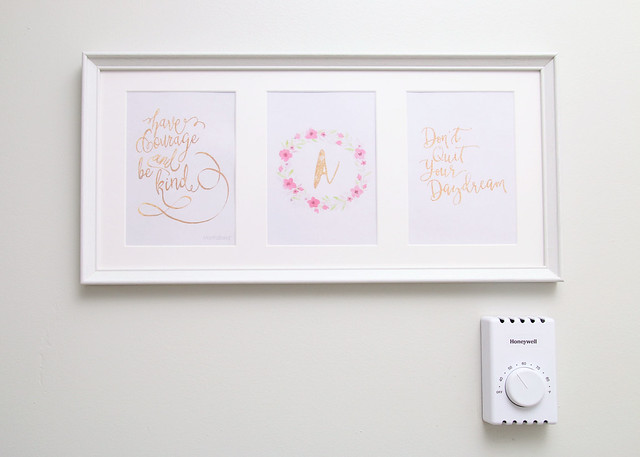
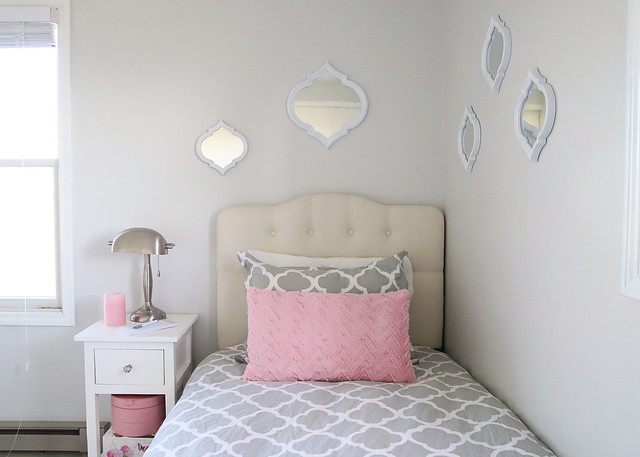
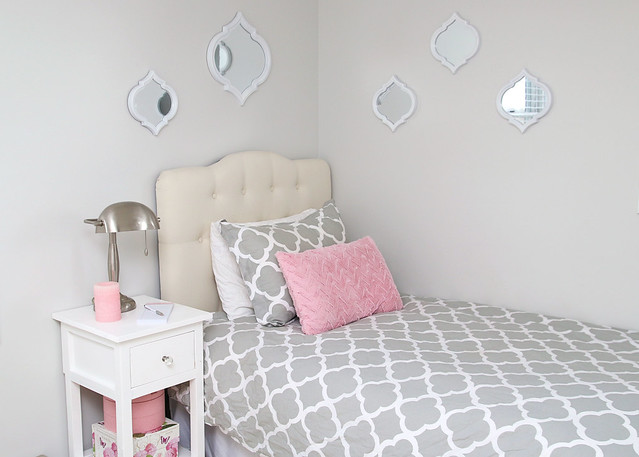
- Bring in color and textures with accessories
- Organize craft & art supplies, books, toys, and clothing
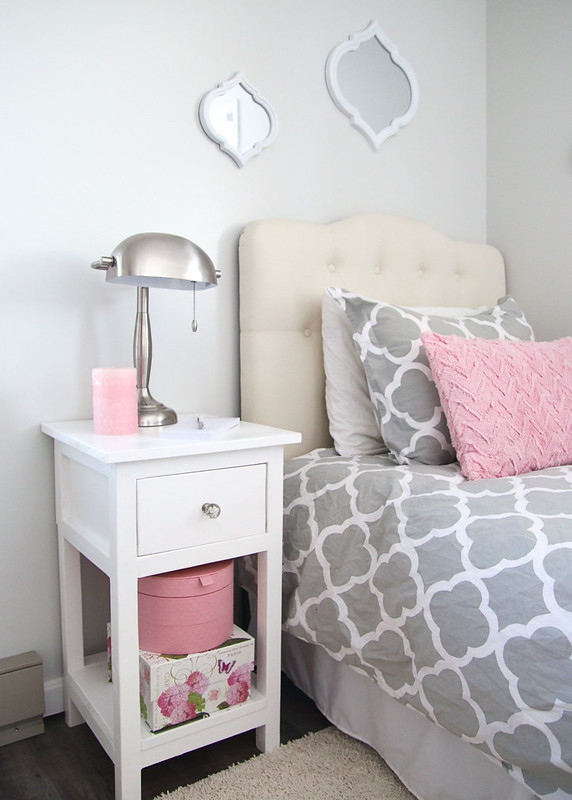
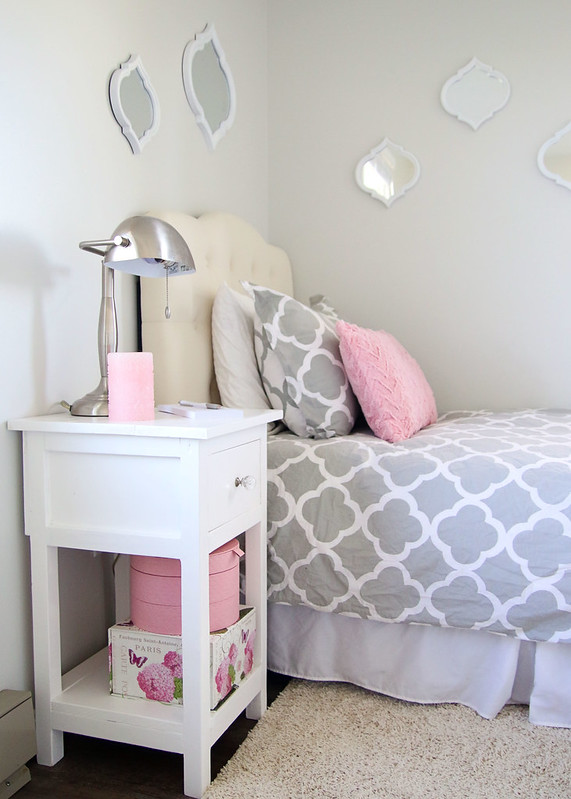
Come on in. Stay awhile.
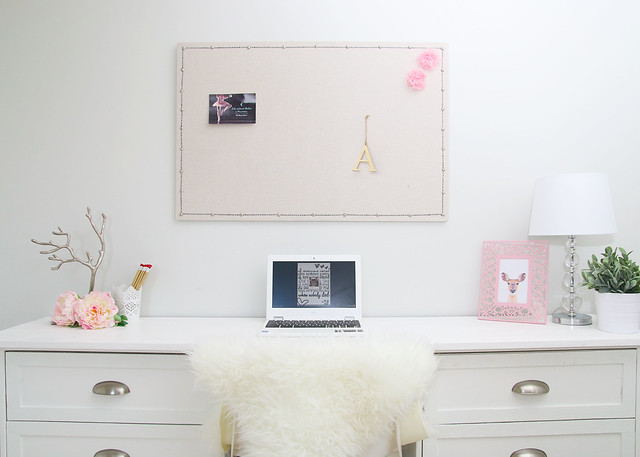
This room is now our favorite in the house and we hope you enjoy the visual tour as much as we (especially our daughter) are loving the real thing. Let’s start at the entry door and work our way around the room.
Since this reveal is so pic heavy, I will be sharing more details and all of the sources next week in a separate post. Enjoy!


There was so much to do and we didn’t know if six weeks would be enough time to finish! Thank goodness we’ve lived to tell the tale of our first One Room Challenge. Now I think it is time to hibernate for the winter and recover from this whole process. Well, maybe just for the weekend. *Wink*
If you have missed any of the progress in this room, feel free to go back and check out how we went from meh to marvelous!