-
Numbered Counter Stools
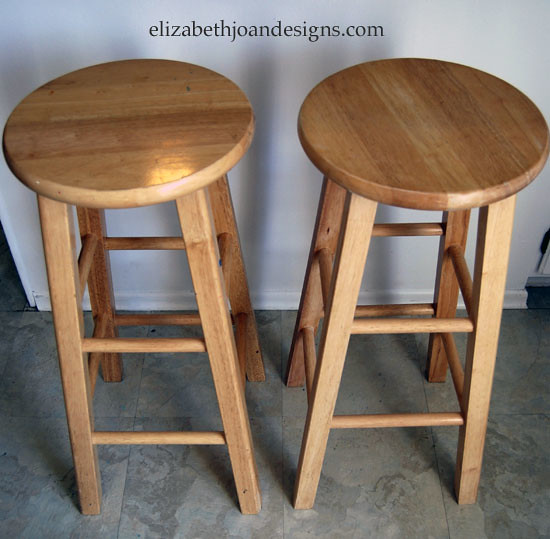
These stools are another curb find. I attempted to sell them at 2 different garage sales and there were no takers. After our last sale, I brought them into the house and my son loved being able to sit at the counter to “help” make dinner. Their original look didn’t match anything in our home, so I opted to give them a makeover to match our {dining table.} I also decided to jump aboard the numeral infatuation train my sister is conducting.
First, I sanded them and I sanded some more. Once I thought I might be done sanding, I sanded them one last time. Next, I primed the legs.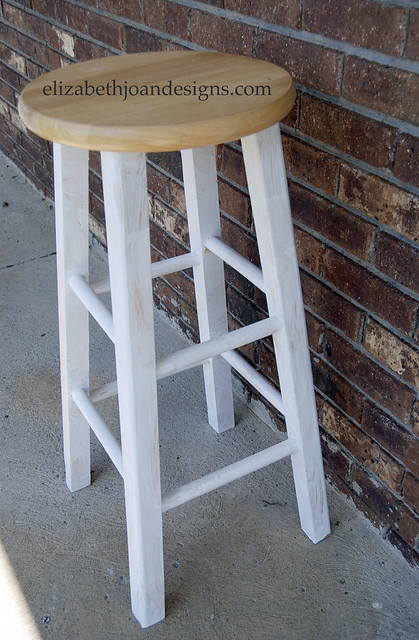
Then, I gave them two coats of latex paint. To keep the legs bright white, I draped the base of the stools with a plastic drop cloth.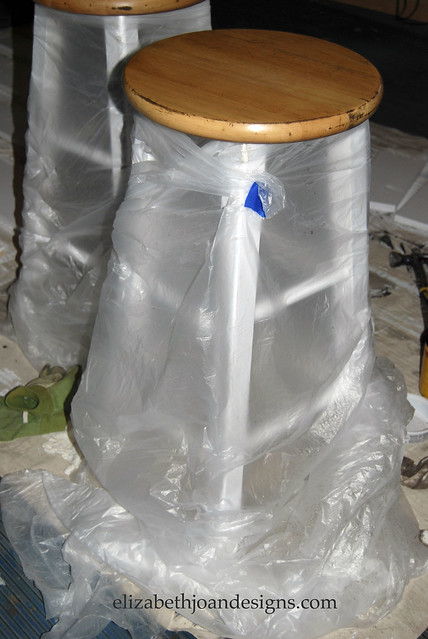
After that, I stained the seat with Minwax Special Walnut.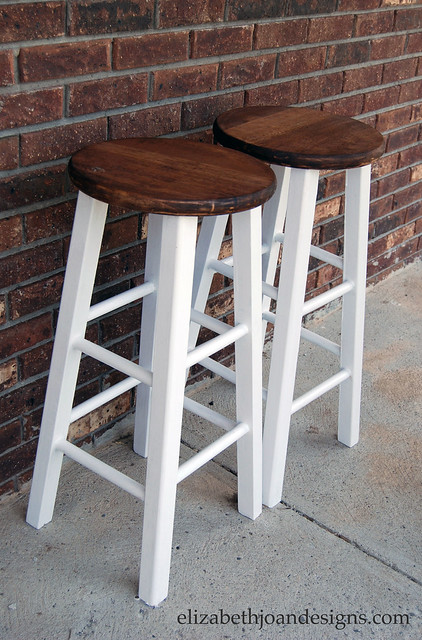
Using the same technique Erin used in her {Numbered Wooden Crates,} I painted a 1 and a 2. Finally, I slapped 4 coats of Minwax Water Based Polycrylic on the seats. Yeah! Now they go with the rest of the kitchen!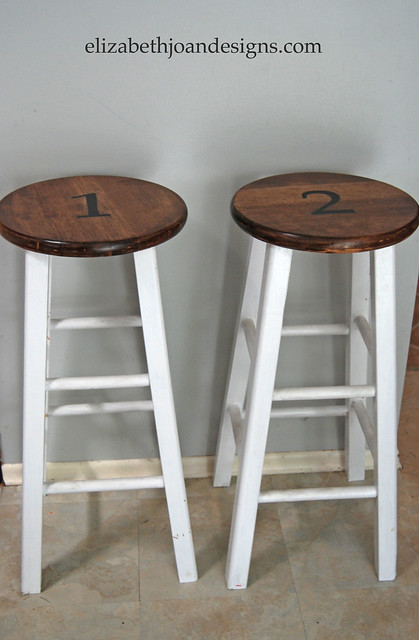

-
Personalized Utensil Crock
Recently, while sitting at my kitchen table, staring at everything in sight and waiting for inspiration to hit, I saw my boring black utensil crock and asked myself “Self, how can I make that more interesting?” Then, answering myself, I said “I should write something on it. Oh, I know. My mom’s delicious chocolate chip cookie recipe.” After realizing I need more human interaction, I got to work.
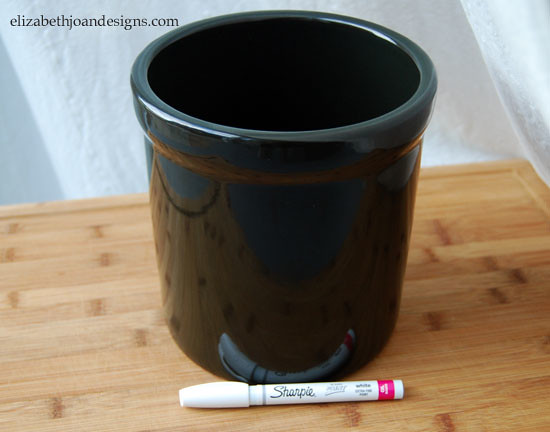
I dragged my entire family with me to Jo Ann Fabrics to pick up one of these handy dandy oil based paint pens. Let me tell you, my husband Adam, is a trooper. My 3 year old was directing us though the store with his pretend Buzz Lightyear laser beam, while our youngest was kicking and screaming and absolutely refusing to ride in the shopping cart. Adam didn’t complain once.

Once we were home, and the kids were tucked in bed, I starting writing. I completely free handed the text. To make the letters appear more bold, I went over them twice and let the paint dry in between. There are a lot of mixed reviews about paint pens and I was not sure what type of experience I was in for. This pen is AWESOME! It wrote so smoothly and there was absolutely no mess to clean up.
This project took no time at all, except for the shopping portion, but for that, I only have myself to blame. I love the handwritten look and every time I am in the kitchen, it brings a smile to my face to see my mom’s recipe.

What does your utensil holder look like?
-
How To Clean Your Make-up Brushes
How often do you clean your make-up brushes? You should clean them pretty often because they can harbor bacteria and dirt. Who wants that smeared on their face? If you use them daily, then you should really be cleaning them weekly.

First, put a small amount of shampoo in a dish or like I did, in the built-in soap dish area. Plug your drain and fill sink with a little cold water. Warm water can soften the glue that is holding your bristles in. And nobody wants to go through the process of cleaning your brushes if you are just going to have to toss them when you are finished.

Dip the end of your dirty brush in the water to wet it and then coat it with soap. Gently swirl it around on the edge of the sink or palm of your hand to remove the filth. Continue, until it is free of grime.

For your final rise, hold the make-up applicator under faucet, so the water is flowing the same direction as the hair. Holding it any other way can put stress on the shape of your bristles.

Lightly squeeze from the base to the edge, to remove any excess water.

Reshape and lay flat to dry or with end of brush hanging over the counter. Do not stand brush on end. This can cause water to settle in handle and you would be creating a wonderful environment for bacteria growth.

Now how ofter will you be cleaning your make-up brushes?
-
Wall Decal Coasters
This project was a complete accident.
In our home and garage, there are typically 3 gazillion things going on at once. I was making a serving tray out of a Rubbermaid platter and it was not going as planned. I had a brilliant idea to add wall decals to it, to give it some pizazz. As I was talking to my sister on the phone, kids screaming in the background, I went to place a decal on the plate. I guess I wasn’t paying enough attention to what I was doing and placed it on a white ceramic tile from another project instead. I loved how it looked and decided to turn it, and a couple more, into beverage coasters.

To make these water mark preventers, I used three white ceramic tiles purchased at Lowes for $0.16 a piece, some cute bird wall decals I found on clearance a few years ago for $2.50, one package of cork squares I picked up for $1.20 with a coupon, and Krylon UV Resistant Clear Gloss Spray bought with a coupon from JoAnn Fabrics for $4.00.

After placing the decals on the tiles, I pressed the birds, from the centers out to the edges, with a craft stick to release any bubbles underneath.

To give the drink coasters a moister resistant finish, I sprayed them with a clear gloss. Yes, my drop cloth is very well loved.

Once dry, they were flipped over. Using my grubby
hot glue gun, I attached the cork squares to the back of the tiles to prevent scratching the surface the coasters are used on.
These little babies protect your wood surfaces from evil beads of condensation and would make excellent gifts.
