-
Grilled Bread Salad
A few years back, I took a knife skills cooking class and made a salad that over the years has transformed into the one I will be sharing with you today. This salad is so delicious and bursting with flavor.
Grilled Bread Salad from Elizabeth Joan Designs
Recipe
Olive oil for brushing bread
1 Baguette
6 Handfuls of salad greens
Fresh mozzarella, cut into bite-size pieces
4 oz. Spicy capicola, thinly sliced and cut into bite size pieces
1 Red bell pepper- finely chopped
1 Green bell pepper- finely chopped
2 Tbsp. Parmigiano Reggiano, finely grated
2 Tbsp. Basil leaves, roughly chopped
4 Tbsp. Chives, minced
1/4 tsp. Crushed Red PepperFirst, slice the baguette.

Then brush bread with olive oil.

Grill until brown on both sides.

In a large mixing bowl, put salad greens, bell peppers, mozzarella, capicola, crushed red pepper, basil and chives. Toss.

Sprinkle with Parmesan. Serve with bread and dressing of your choice.

This is one of my favorite salad recipes of all time and I love it with a good vinaigrette. Yummy!!! What salad dressing would you choose?

-
Range Hood Makeover
This month marks the four year anniversary that we have lived in this house. When we moved in, it was like traveling back to 1984, the year the house was built. We are slowly making updates to bring it to present time.
Our kitchen has changed the most. The cabinets were originally stained oak, in need of updating. First, I decided to paint them green. I didn’t hate the green, but it did look like Dr. Seuss lived here. A year later, my grey obsession took over and I repainted them. We had the grey for two years and were ready to brighten things up, so once again I got out my rollers and brushes and this time painted them white.
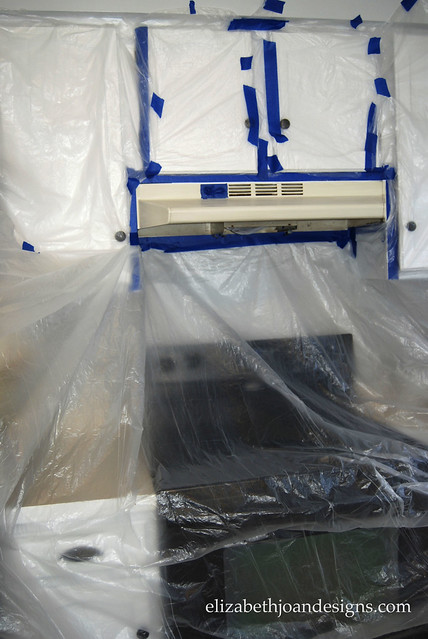
With white cabinets and black appliances, my 1980’s almond colored range hood suck out like a sore thumb. After doing a little research, we decided spray painting it was the best option for us.

This post contains affiliate links for you convenience. I was very hesitant to spray paint in the house, as I had never done anything like this before. So I tried to remove it. After about 2 minutes, I could tell that was not going to happen. I took a little break, gave my self a pep talk, and tried to erase the thought of black over spray all over my bright white cabinets out of my head.
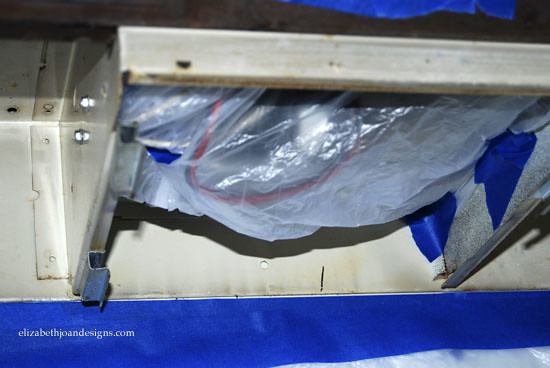
Then, it was back to work as I cleaned, lightly sanded, and wiped off all dust on the vent. I covered literally everything near the hood with a plastic drop cloth, secured by painters tape.

After spray painting a couple coats, I removed the drop cloth to reveal my pretty hood.
Ain’t it purdy? Now if only I could figure out what to hang on the wall between the hood and stove. Any ideas?
-
Kid’s Tool Belt
My 3 year old son has recently been playing a lot with his toy tools. Apparently, carrying them in his tool box was too difficult so he started just stuffing them down his shorts and letting the elastic hold them up. He would take two steps, and the tools would hit the floor with a loud bang. I decided to remedy this situation by making him his very own kid’s tool belt.
To make for a special child in your life, cut one 13″ x 4 1/4″ piece of canvas (or any fabric you choose) for the base, one 7 3/4″ x 3 1/4″ piece for the pocket, two 14″ x 1 1/2 ” pieces for the ties, and two 3 1/2″ x 1 1/2″ pieces for the tool loops.

Then, fold and sew the tie and loop pieces to make straps.
1. Using a clothes iron, press in half.
2. Unfold. Then, fold and iron edges to the center crease line.
3. Fold and press in half again.
4. Sew along the edges.

Take your base section, fold and pin sides under to hide raw edges. Tuck your tie pieces in and sew around the rectangle.

To hide rough edges, fold and sew around your pocket portion.

Place the pocket on top of the base and attach leaving the top side open.

Sew a straight line down the pocket piece to make separate sections.

To attach the tool loops sew one edge down. Then loop it around to make a circle.


Repeat for the second loop, add some tools and you are finished!

-
Lavender Wreath
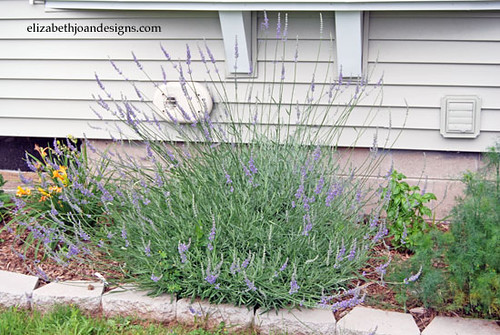
A few years back, my sweet and loving parents purchased a small lavender plant at a flea market for me. When I got it home, we carefully picked out the perfect place to plant it. One year later, we decided that spot wasn’t as perfect as we thought, so we move it. We transplanted it again, that fall. This year, it proved it’s hardiness and finally bloomed. Our backyard smells amazing. I decided to make a lavender wreath to bring some of my favorite scents into our home.
Recently, I purchased this grapevine wreath at a garage sale for $0.25. Sweet!
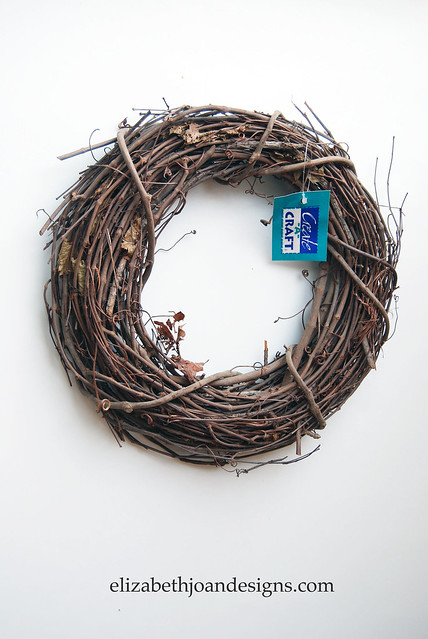
I started by sticking the lavender stems in between the grapevine. I continued around the entire circle.

Finally, I hung it on my front door. Some may say that decision was based solely on laziness, because there was an existing hook, but I like to think it is in a place visible to the whole wide world.

I love the way the grape vine and lavender look together, so I didn’t make it very thick. Plus, now there is still plenty left in my backyard to keep it smelling awesome.
What natural items do you use in wreaths?