-
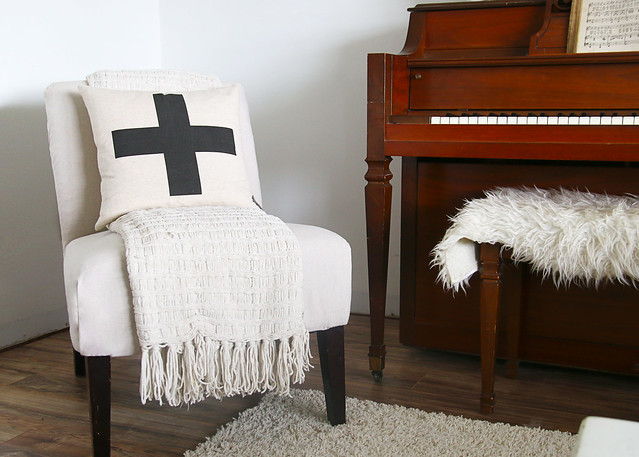
The Look for Less: Embroidered X Pattern Throw Pillow
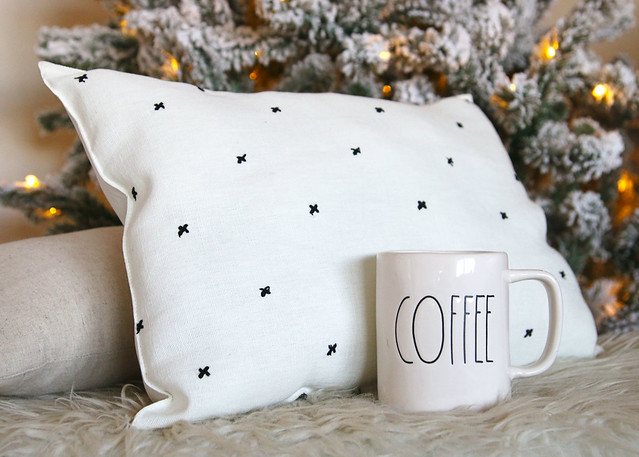
Have you guys seen the new Hearth & Hand home decor collection by Magnolia at Target? Woah. It is pretty amazing!!! There are so many cute pieces and the prices are pretty reasonable. I especially love this cute, little, embroidered x pattern throw pillow!

This post contains affiliate links. Click here to read my full disclosure.
If you haven’t checked out the collection yet, you have to see it. I think I need one (or two) of everything. Like this doormat, these striped napkins, this wreath, etc. It is like Joanna Gaines crawled into my brain and stole all of my neutral lovin’ home decor ideas. And then made a home decor line with them. *wink*
Check out how I turned a Hearth & Hand placemat into a cute embroidered x pattern throw pillow.
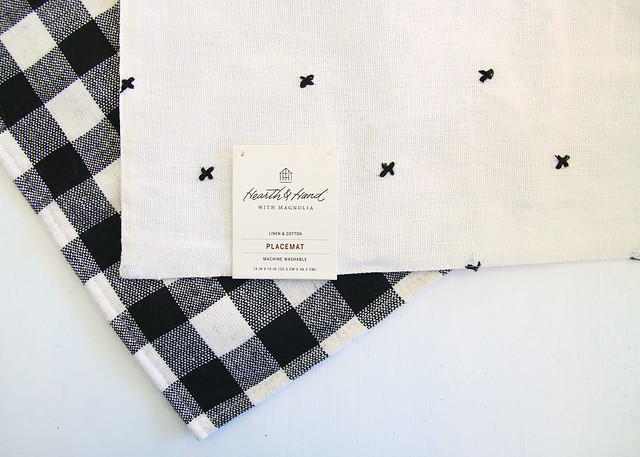
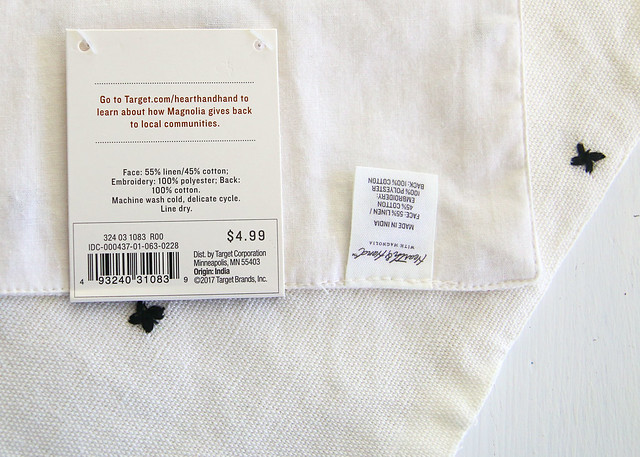
I’m always on the lookout for a good deal. So, when I found a placemat from the same line that was the exact pattern of the pillow for only a quarter of the price, I scooped up the opportunity to get the look for less.
If you come across a cute fabric placemat that you love, chances are you can make it into a throw pillow. (I’ve done this before and it is one of the easiest and cheapest ways to get a stylish pillow for your space.)
Here’s what you’ll need to make your own:
double sided fabric placemat | seam ripper | cotton batting | needle & thread
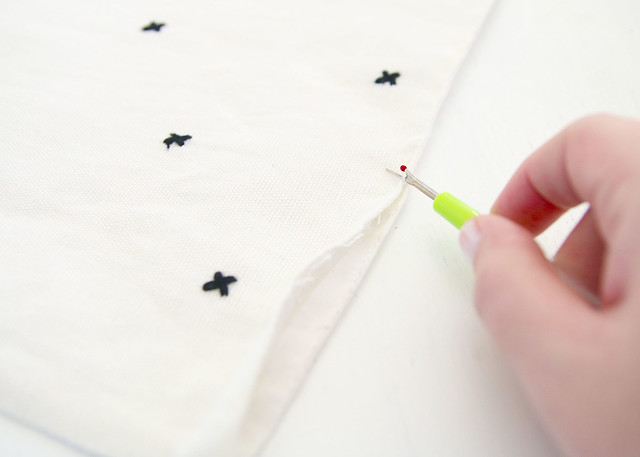
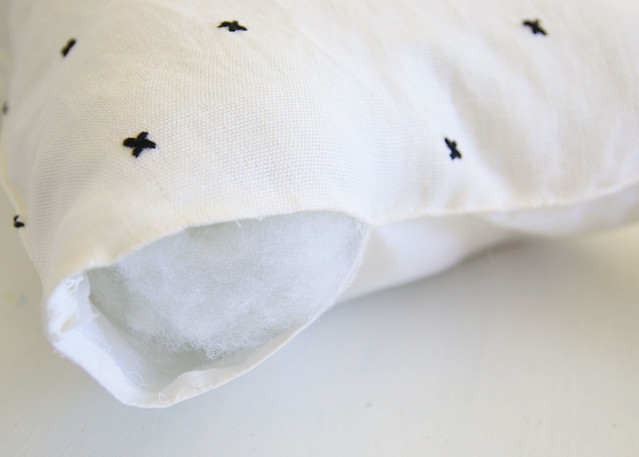
To start, take a seam ripper and pull out the stitching on one side of the placemat, about 4 inches long. (Or just big enough to slip your hand into.)
Next, stuff the pillow! (I decided to go the cheap route and just pulled apart an old bed pillow to use as stuffing.) Fill that puppy up until it is sufficient to your liking.
Finally, it is time for a little sewing. Using a needle and thread matching the pillow color, hand stitch the opening closed.
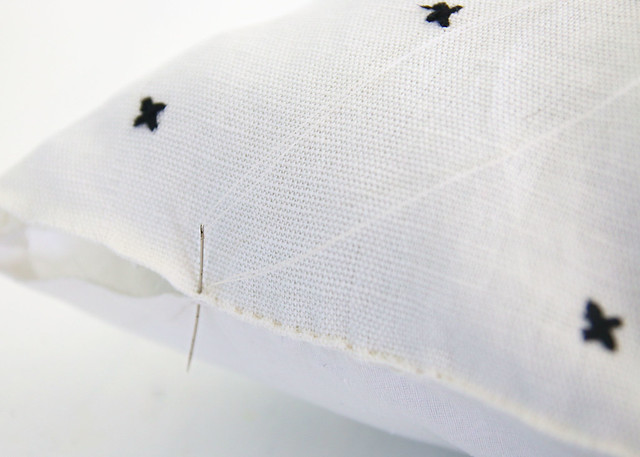
Voila! That’s it!

These placemat pillows are so easy to make and you can whip up several of them in no time.
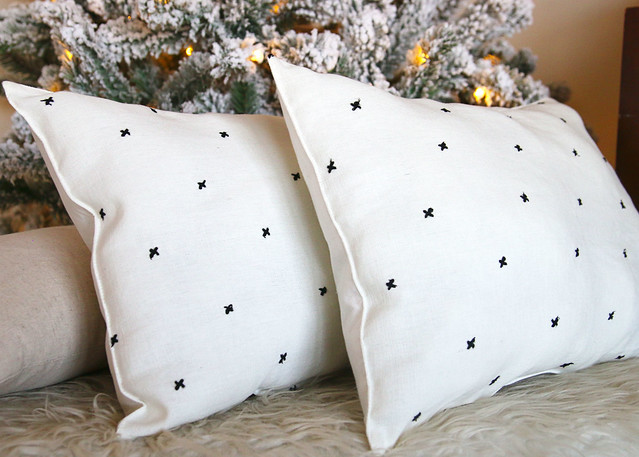
I just love the neutral style of these embroidered x pattern throw pillows. They are the exact look of the Hearth and Hand version for only a fraction of the cost!

Although, I probably didn’t need any more pillows, I’m so happy that I found this little inexpensive hack. My husband may not be quite as thrilled, since he considers me a pillow hoarder, but I’m sure he appreciates the fact that I saved some money in the pillow acquiring process!
Not feeling crafty?
Buy the original embroidered x pattern throw pillow here!
-
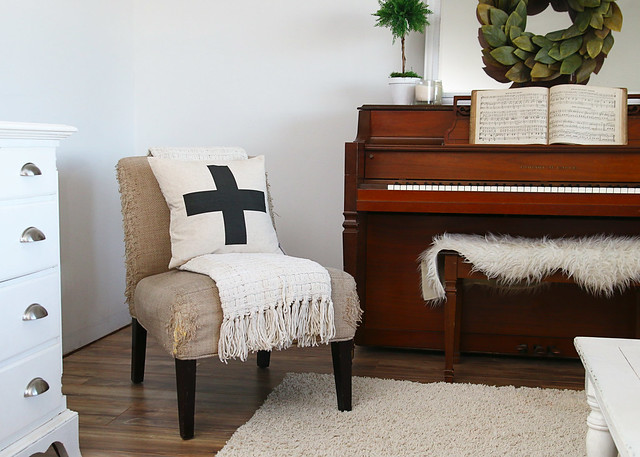
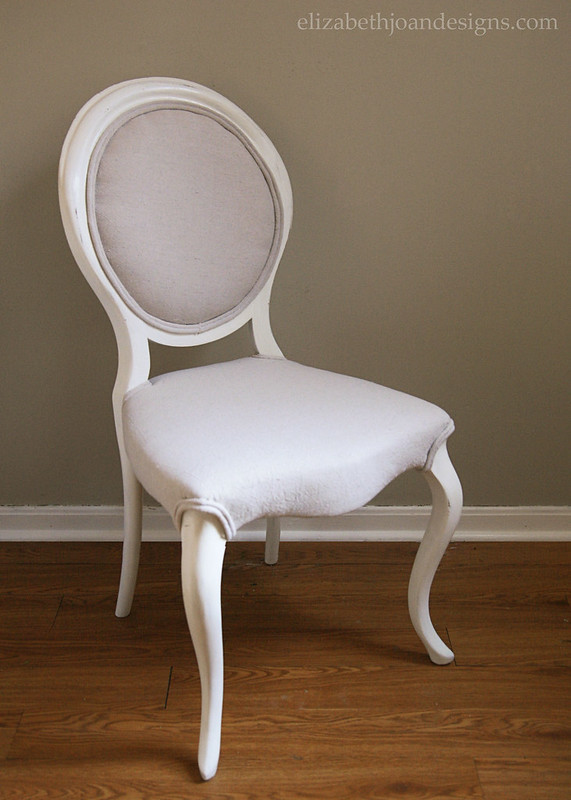
Slipper Chair Upholstery Makeover
Sometimes with DIY, I pretend like I know what I’m doing. For example, check out this chair in the corner of our living room. I mentioned on Instagram that it needed a little help. However, I’m not a seamstress, upholsterer, or a person who really knows anything about sewing/upholstery. But I definitely faked it to look like I do with this slipper chair upholstery makeover.
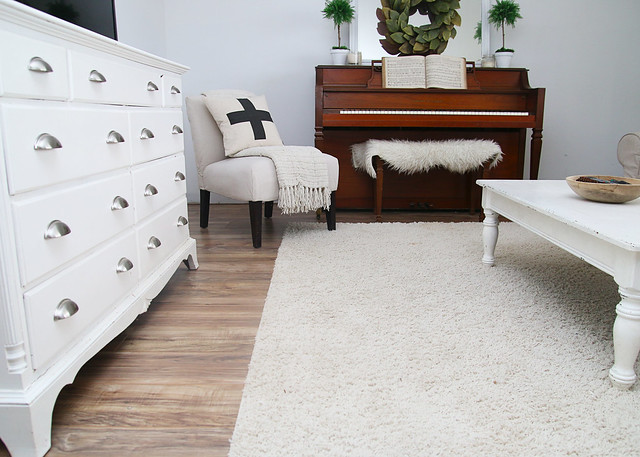
Here you can see how bad the chair was damaged.
Yeah. All of that was done by our sweet kitty, Rowan.
I’m not sure if it was the weave of the fabric that attracted him (it wasn’t very tight) or the sleek style of the chair *wink*.

The chair was also rocking some pretty creepy looking stains. Once or twice, our son had spilled a drink on the chair and even though I soaked up the liquid and cleaned the fabric, it remained stained.
Trying to clean it possibly stained it more!

This chair is pretty comfy and we wanted to keep it, so obviously, it needed some help. I started by un-velcroing the fabric on the bottom of the chair and removed the back and legs to dismantle the chair into pieces. Our pup, Harper, helped out too.

I hope not to offend those who do upholstery (am I using that word correctly?), but honestly, this project with pretty much just tucking, folding, pulling, and stapling the fabric (canvas drop cloth) around the base and back pieces.
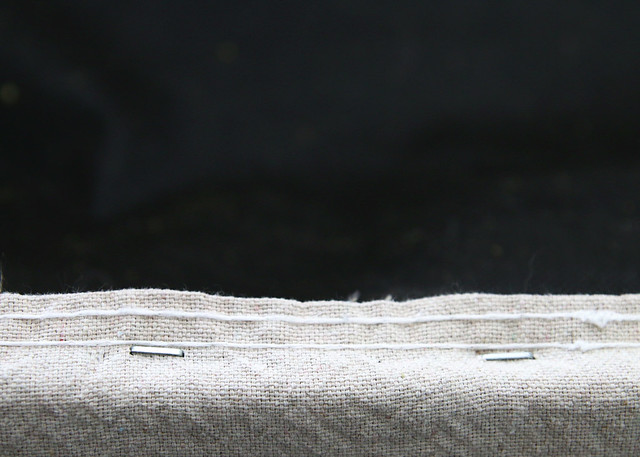
And I must say that it looks a lot better!
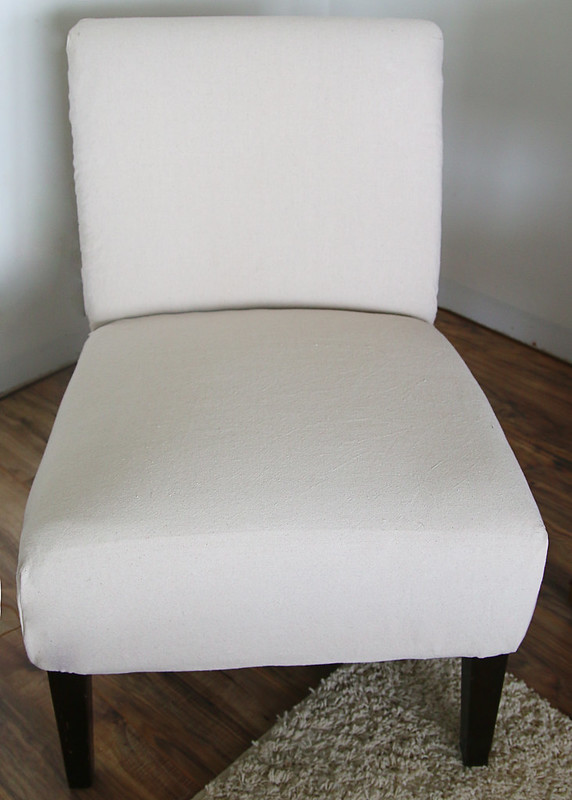
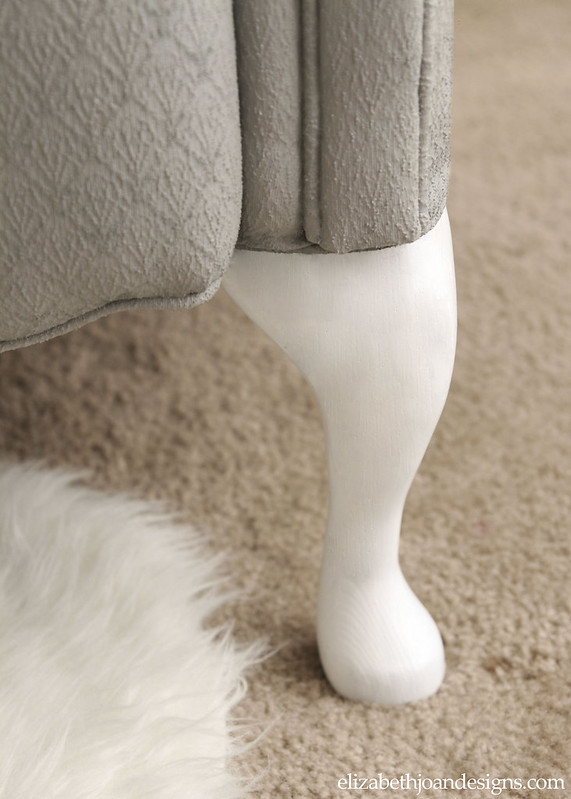
Because I’m not the best with a sewing machine, I opted to just fold all of the edges under to make a straight line down the corners.

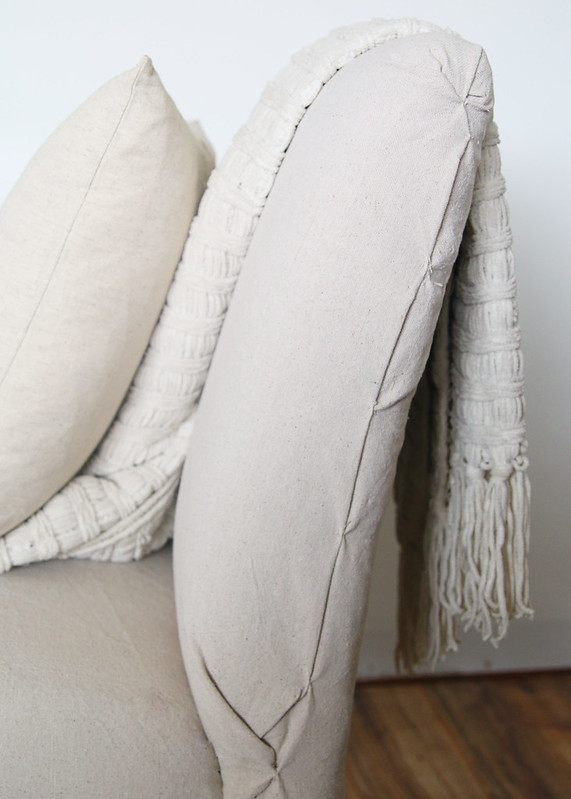
The back piece was another story. Even though I still folded everything, I had to sew the pieces together with a few quick knots of thread every few inches. I’m not really sure what this is called or if it is even a real technique that people use, but it worked for me.
This chair is by no means perfect, but I think it turned out pretty good for a girl with no upholstery skills whatsoever. The best part thus far is that the cat has left the chair alone!
What do you think of this chair’s new look? Did I totally ruin the good name of upholsterers everywhere by botching this up more? Or did it turn out reasonably enough to pass the test?
_______________________________________________________________________________
Looking for more? Check out these posts!
-
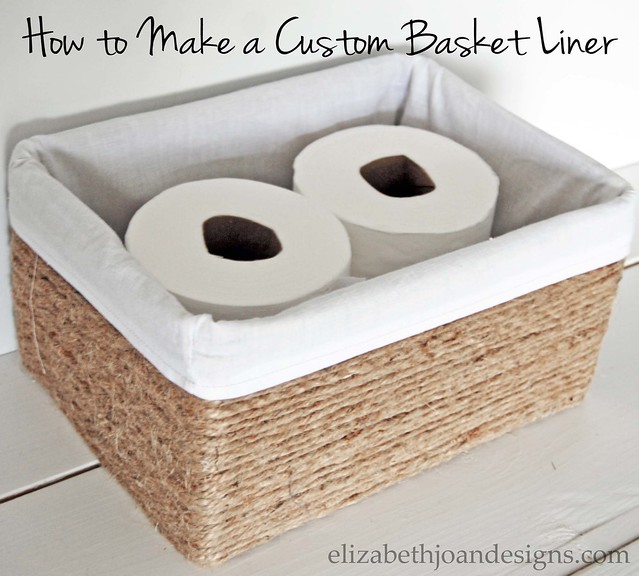
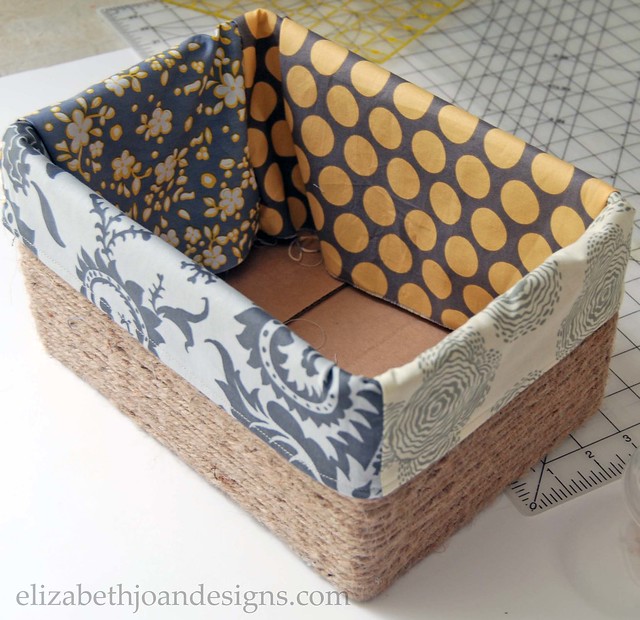
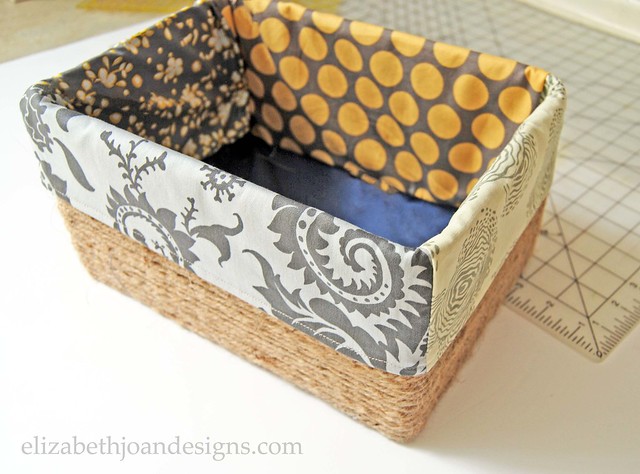
How to Make a Custom Basket Liner
Since re-sharing our Boxes into Baskets post, we have had many requests for a tutorial on how to make a custom basket liner. I have put together a step by step guide for you. (Yes there a lot of steps, but don’t be intimidated. It should only take about 30 minutes to make.) Without further ado, here are instructions and tips so you may create your own.
Disclosure: This post may contain affiliate links, which means we may receive a commission if you click the link and purchase. Please check out our disclosure policy for more details.
Supplies
Basket/Container – Anything you would like to line.
Tape Measure– I personally like a fabric one for projects like this.
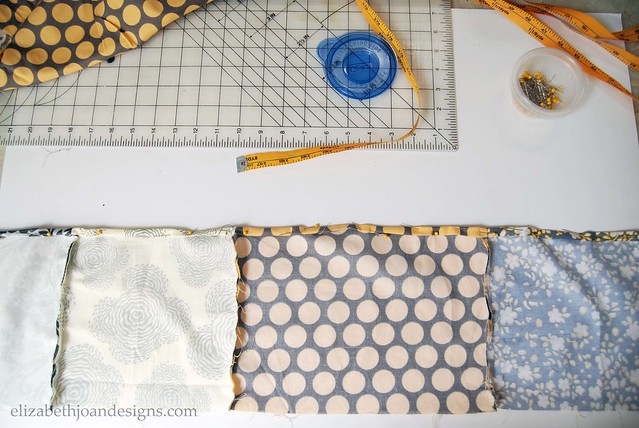
Fabric– This can really be anything you want to make your liner made out of. I usually use inexpensive muslin to keep the cost down, but today I am using different colors of fabric to make it easier to follow along.
Rotary Cutter– Scissors work too!
Cutting Mat– This is optional. You may not need one if you are using scissors.
Straight Pins– In my opinion, an absolute must.
Sewing machine– Hand stitching is also acceptable, but may take a little longer.* If you don’t sew and still want to make a custom basket liner, exchange the sewing machine for Thermoweb Heat’n Bond Hem Iron-On Adhesive-3/8″X10 Yards
, a clothes iron, and ironing board. (Check the Thermoweb Heat’n Bond packaging to make sure your fabric choice is conducive to working with this product. Cotton is usually a safe bet.)
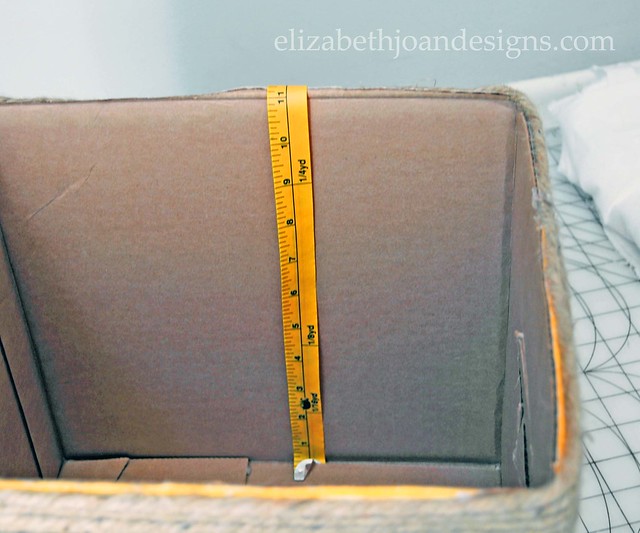
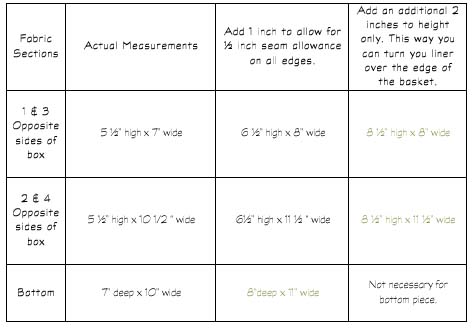
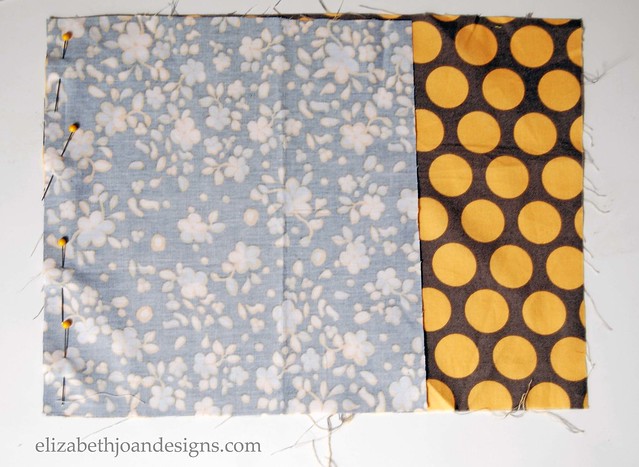
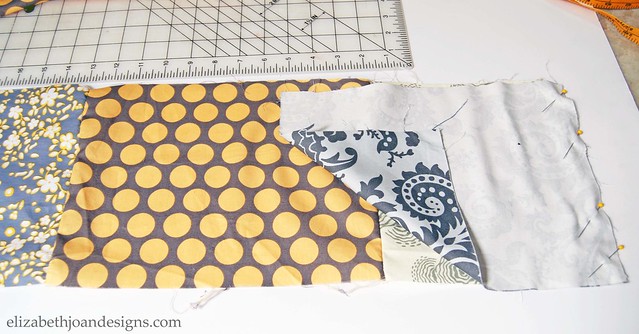
1. Use your tape measure
3. Use the rotary cutter
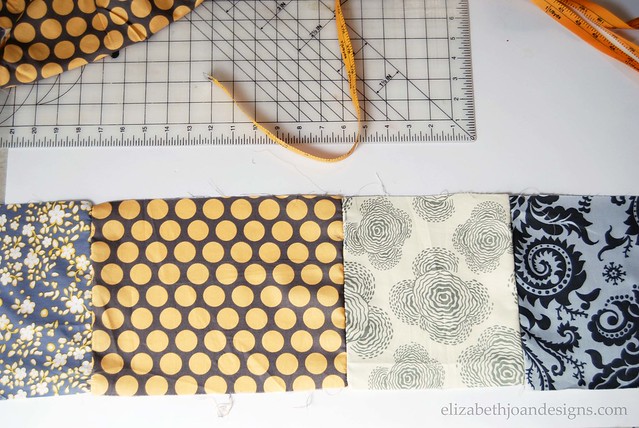
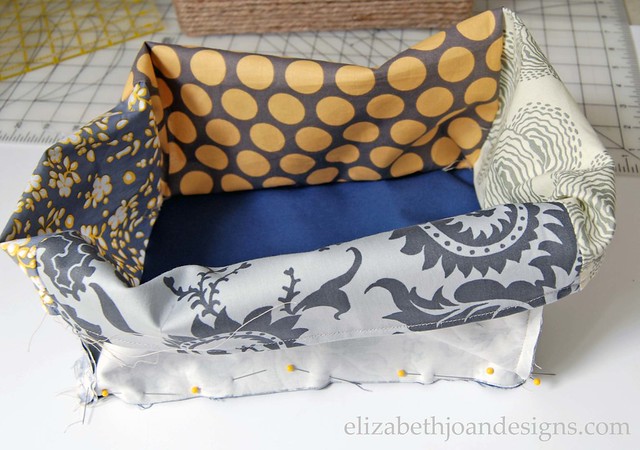
For tutorial purposes, these are the fabrics I used for each section. 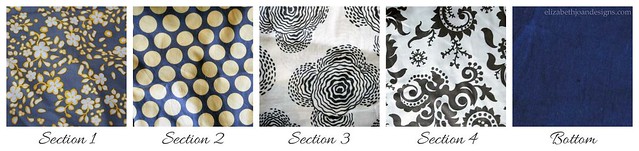
* For the non-sewers out there, every-time you see the word “sew” in this tutorial, place and pin the Thermoweb Heat’n Bond Hem Iron-On Adhesive-3/8″X10 Yards

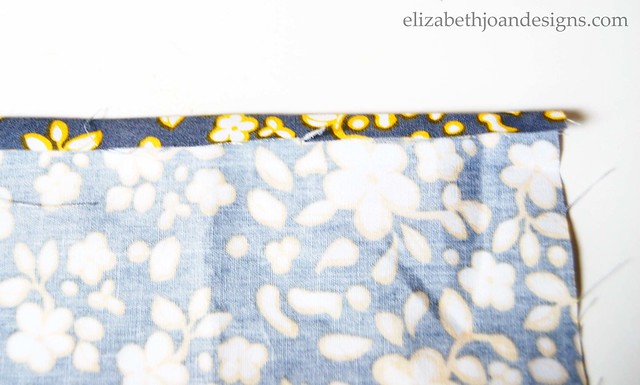
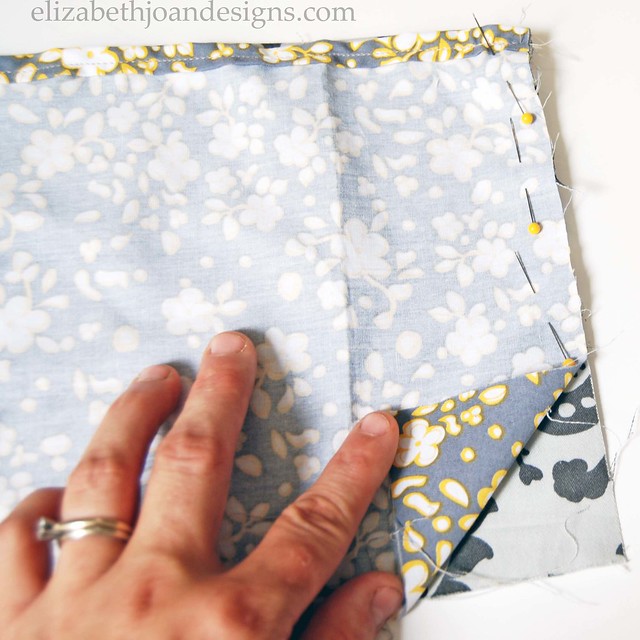
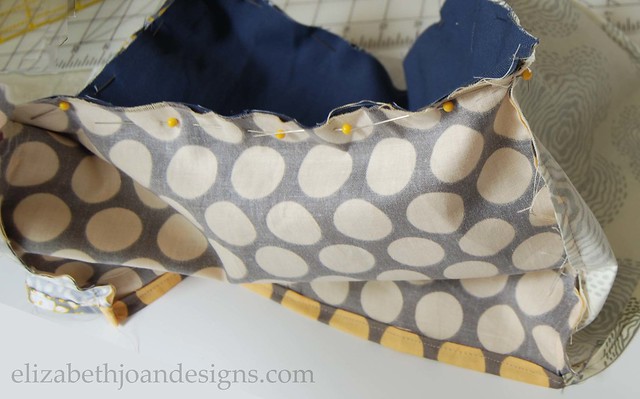
7. Fold top edge of fabric strip.

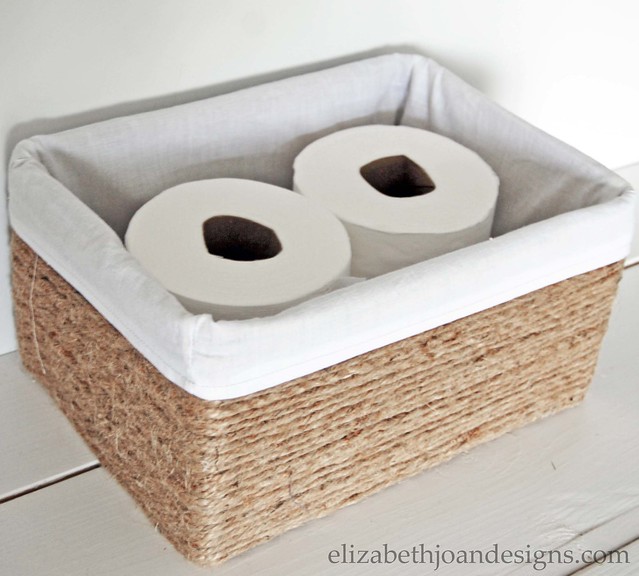
Here is how mine turned out using the muslin fabric.
__________________________________________________________ You may also like:
Boxes Into Baskets 
Half Bathroom Reveal 
No Sew Receiving Blanket 
Industrial Numbered Storage 
Paint Dipped Box Baskets -
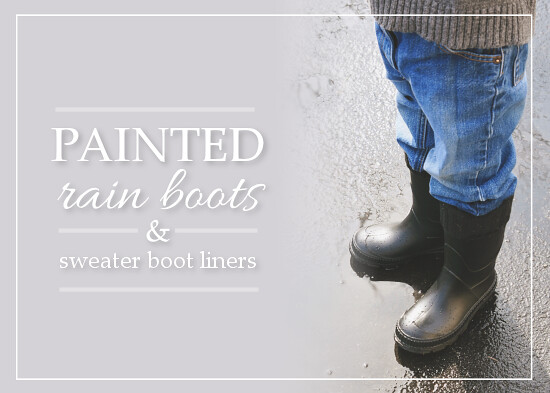
Painted Rain Boots
Have you ever painted rain boots? I have. I’m sure you are wondering what would bring a person to do something so silly, especially since you can buy rain boots in pretty much every color and pattern under the sun. Lucky for you, I’m going to explain.
A week or so ago, my kids were getting their snow gear on to go play outside when we realized that our growing 3 year old no longer fit in his snow boots. That’s not cool. Especially because the weather in the Midwest this time of year is a crap shoot and you never know what kind of shoes/boots you will need from day to day.
So I set out to find some new boots for him. Since the weather will hopefully be warming up soon (fingers crossed), I decided to go the rain boots route. Kid’s grow quickly and snow boots in his current size wouldn’t get much use before his feet grew out of those too. I found a cheap pair at Walmart and brought them home. Unfortunately, there was a problem.

My son did not like the colors. He said he “needed” black rain boots like Mama’s and these were not all black. You know how three year olds can be. Normally, I would have just told him to pipe down, but I decided to indulge him and my need to DIY. After a little research, I found that people have painted rain boots before. I grabbed a few supplies and got to work taping up his boots.
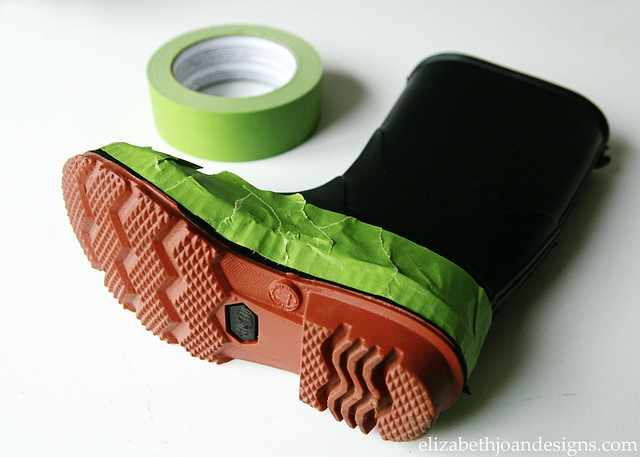
Even though I was going to use black paint, I didn’t want to paint the main part of the boot and risk ruining the whole thing if the paint peeled or scratched. I knew I could live with a botched up sole, so I used frog tape and a garbage bag to cover all of the areas that I did not want to get paint on.

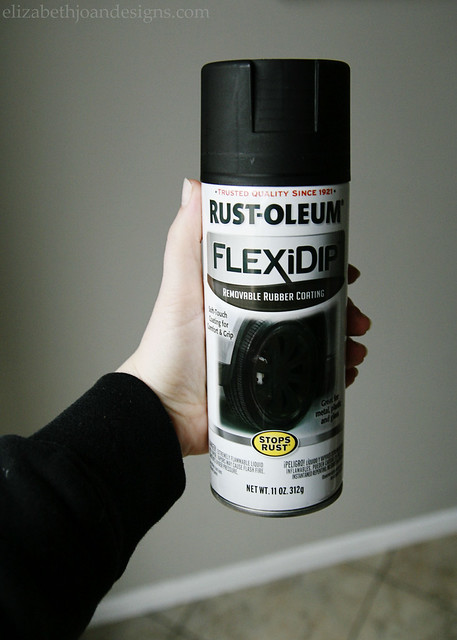
The paint I chose was Rustoleum Flexidip Removable Rubber Coating in Black, which I hoped would work well with the movement of the boots, since it was also rubber. I sprayed on 2 light coats.
While those were drying, I also decided to make some boot liners to keep my little guy’s feet warm if he needed something to wear in the snow.
I used an old black sweater, cut off the sleeves, sewed along one end of each, and that the sweater boot liners were ready to go.

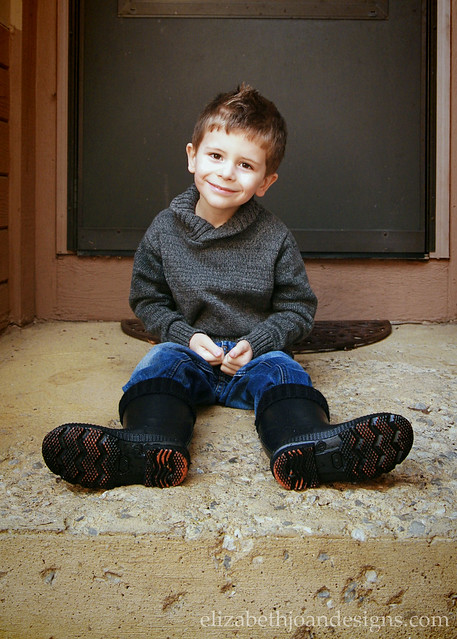
Here are the finished boots with liners next to mine. Adorable! I think it is so cute that my son wants to be a mini me. Or maybe he just likes black boots, but let’s pretend it is the former.

Of course, we had to get outside and take the boots for a test drive. My little guy scuffed and stomped and jumped. He showed those muddy puddles who was boss.

And after all of that work, some of that paint wore off the bottoms of the boots. But from the top they still looked pretty good and not red, so this dude was happy.
Even though I’m a little disappointed that some of the paint came off, I’m not surprised. It is removable paint and says so right there on the can. Plus, the soles of everyone’s shoes taking a beating. If at some point more of the paint wears off, I guess there is still plenty left in the spray paint can to give them a few more coats.