-
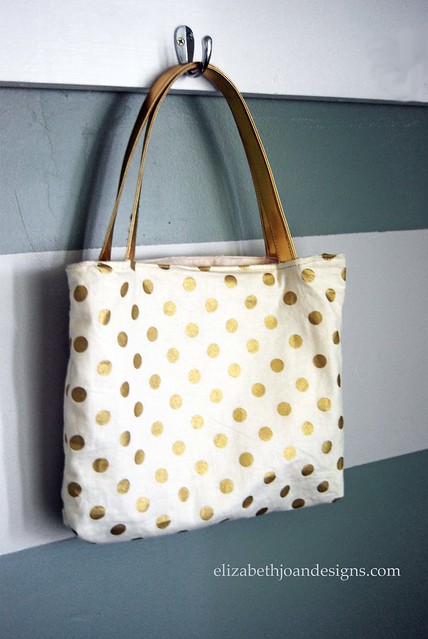
DIY Reversible Tote Bag
I had decided it was time to ditch the diaper bag and prepare for summer with a new tote bag. The traditional size was a bit big for what I was looking for, so I went with making a smaller sized one.
If you would like to make your own, I invite you to follow along with me and I hope to not lose you along the way. I love to sew, but I am not an expert. Just a girl with a sewing machine, trying to make things happen.
Materials:
1 yard of fabric for the outside
1 yard of fabric for the lining and pocket
1 yard of pleather belting for the handles
1 7-inch zipper
Sewing machine
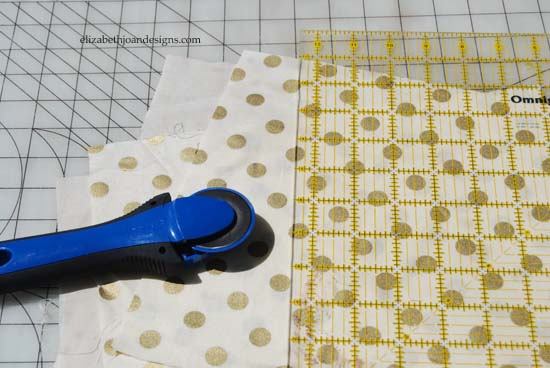
Rotary cutter
Cutting mat
Fabric ruler
Straight pins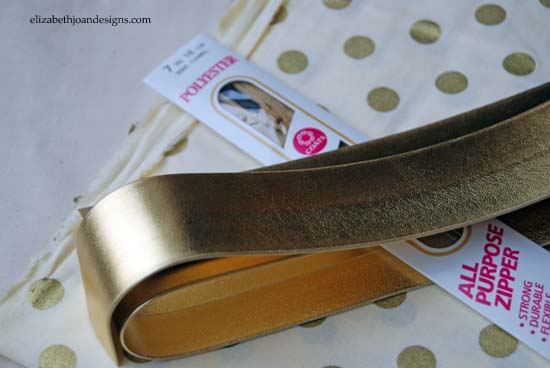
First, I wanted my bag to be more wide that tall, so I used my rotary cutter to make two 12″ x 9″ sections of fabric for the outside, two 12″ x 9″ sections for the liner, and one 9″ x 14″ section of lining fabric for a pocket. (These dimensions can be changed if you are looking for a different size bag.)
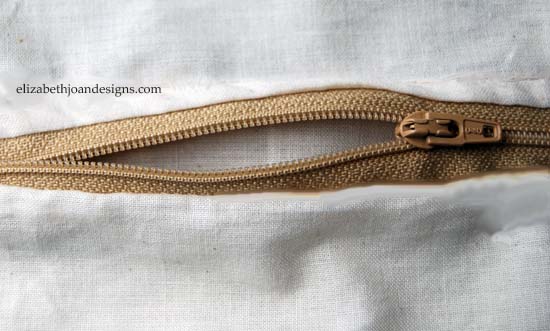
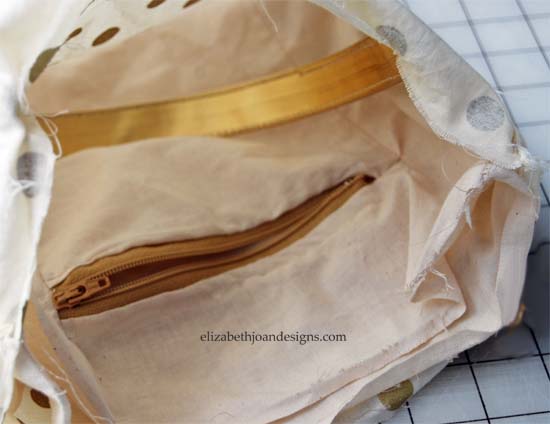
Next, for the inside of the bag, I added a pocket with a zipper. (I referred to this tutorial for installation and used one of the 12″ x 9″ lining pieces along with the 9″ x 14″ pocket piece to do so.)
Then, with right sides facing each other, I sewed three edges of the two outer fabric pieces together. I did the same with the pocket section and second liner piece.
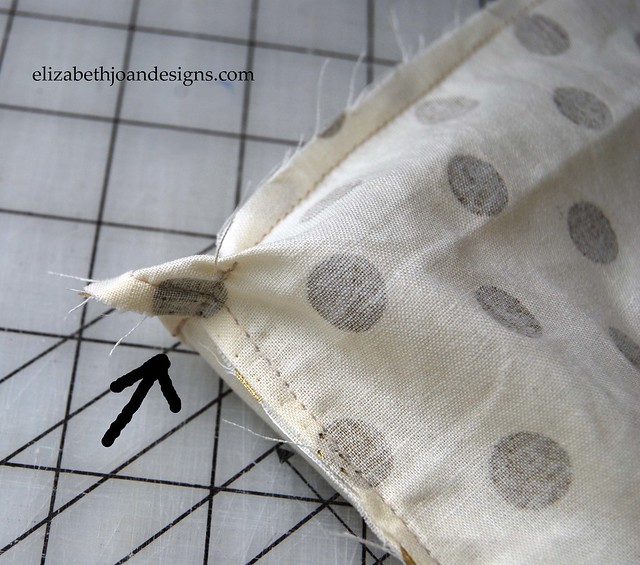
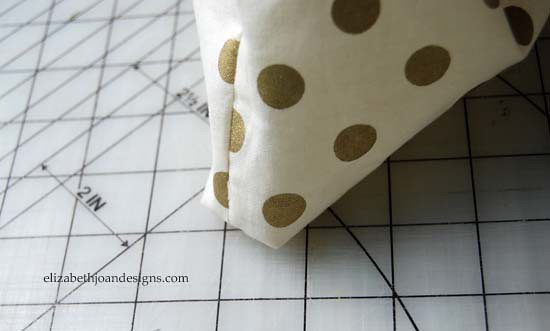
To give the bottom of the bag a squared shape, with the pieces still wrong side out, I made a stitch that went across the seams in the bottom corners of the outside and liner sections. (This is really simple but sounds confusing, so please refer to pictures below.)
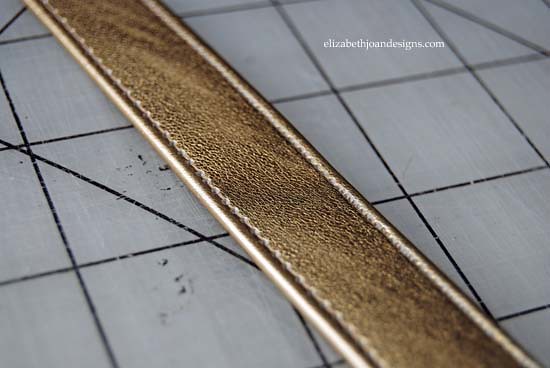
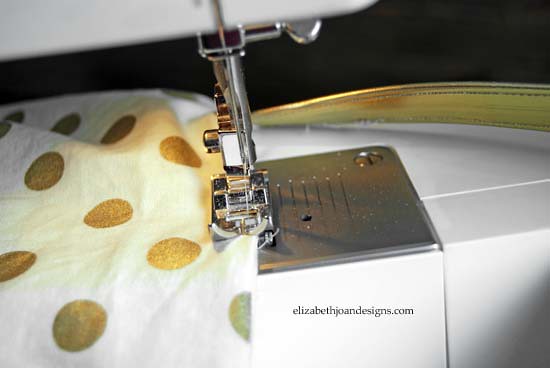
For the handles of the bag, I cut two 16″ long pieces of 1 1/2″ wide gold metallic pleather belting. I folded them in half width wise and sewed using 1/4 seam allowance down both edges. This created two flat thin straps.
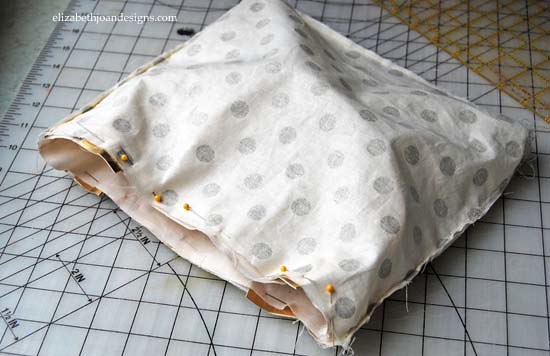
After that, I put the liner section in the outside section with right sides facing each other, making sure to line up the seams. I took one handle and tucked it in between fabric pieces where the right sides touch. Making sure it wasn’t twisted, I pinned the ends of the straps 2″ from where the seams lines meet up. I did the same on the opposite side too and pinned around the whole top edge of the bag.
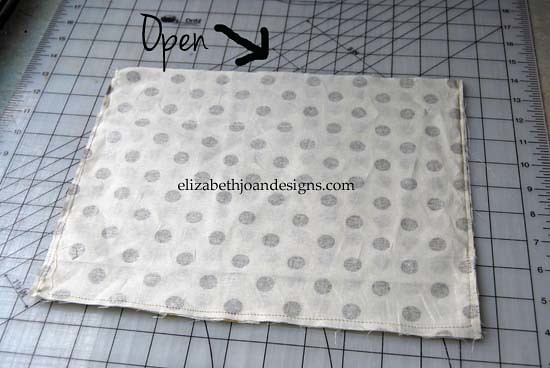
Then, I sewed all the way around the top leaving a small area open. I turned the bag right side out through the opening. I learned that pulling the handles out first, made this process easier.
To finish off the bag, I closed up the hole by top stitching around the bag 1/4 inch from the top edge. This made it lay flatter and be less bulky.
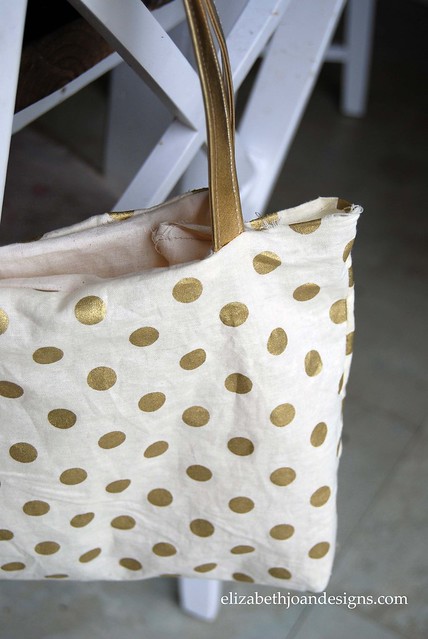
This bag is pretty awesome! It can also be reversible, which puts the pocket on the outside.

Click on the edge of the next photo to see what’s in the bag and how we are preparing for summer outings with toddlers.

We would love to see what is in your bag! We invite you to take a photo and share it on Instagram with the tag #ejdmybag.
-
Mama’s Got A Brand New Bag
This shop is part of a social shopper marketing insight campaign with Pollinate Media Group™ and U by Kotex but all my opinions are my own. #pmedia #UbKKmart http://my-disclosur.es/OBsstV
Before becoming a mom, I always carried little purses. I loved having just the “necessities” with me. But once I started to hear the pitter patter of little feet, (well, actually before that, but you know what I mean,) my days of tiny clutches were over and the years of lugging around a giant diaper bag were here. It is completely true that the bigger bag you have, the more stuff you will carry.
My little men are now two and four and I have decided it is time to lose the big ol’ diaper bag and move on to something a little cuter. Because of my DIY nature, I decided to make my own bag. Plus, this way, it could be just the size I want it. (Tutorial on the blog tomorrow!)
Once I had my new bag, it was time to stock it with everything this mama needs to be prepared for summer.
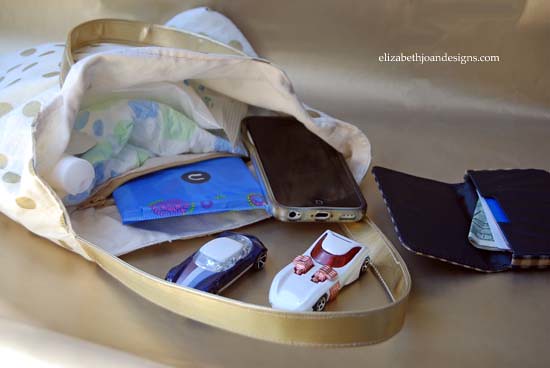
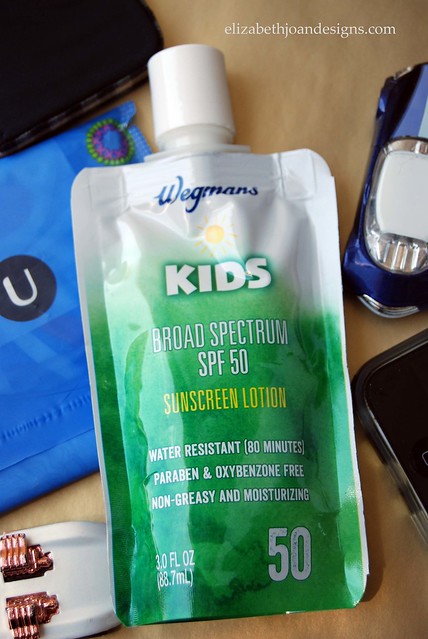
1. Sunscreen- My boys inherited my extremely fair skin. So, sunscreen is a must have for all of us!
2. 1 Diaper – I still have one kid in diapers so, I like to keep one with me at all times in just in case.
3. U by Kotex Cleanwear Pads- Perfect product to keep me covered no matter what and I love the packaging! If my little ones dump out my bag, the pretty colors are not so in your face about what’s inside. It makes the situation less embarrassing, when my two year old son is running away with it.
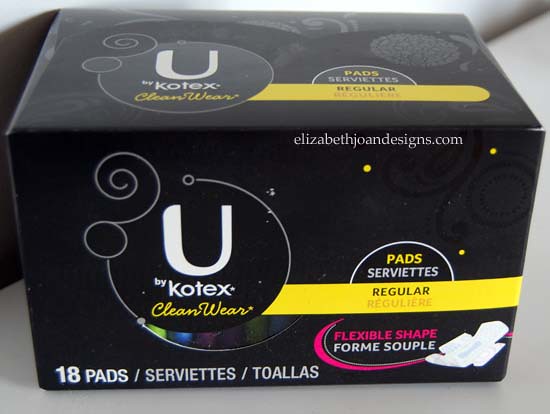
(If you follow me on Instagram, then you know that I can’t pass up a great deal. Right now you can buy 2 U by K products and save $3 instantly at Kmart with their “Shop Your Way Rewards” program. If you are not a member yet, you can sign up here.)4. Mini pack of Wipes – Obviously, wipes would be needed in the case of a messy diaper, but they are also wonderful for messy faces and fingers.
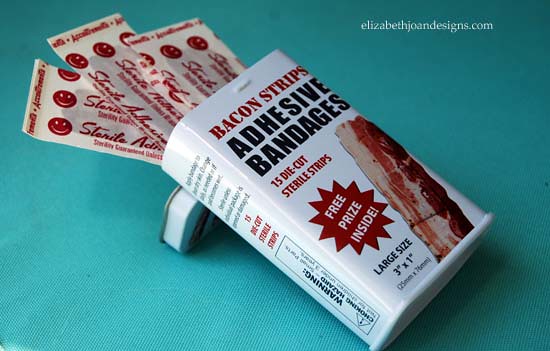
5. Bandages- You know, for the boo boos. I have two boys. What more is there to say?
6. 2 toy cars- These babies are life savers! They make the perfect entertainment for waiting rooms, restaurants or even the car.
What’s in your bag? Take a photo and share it with us on Instgram with the tag #ejdmybag.
-
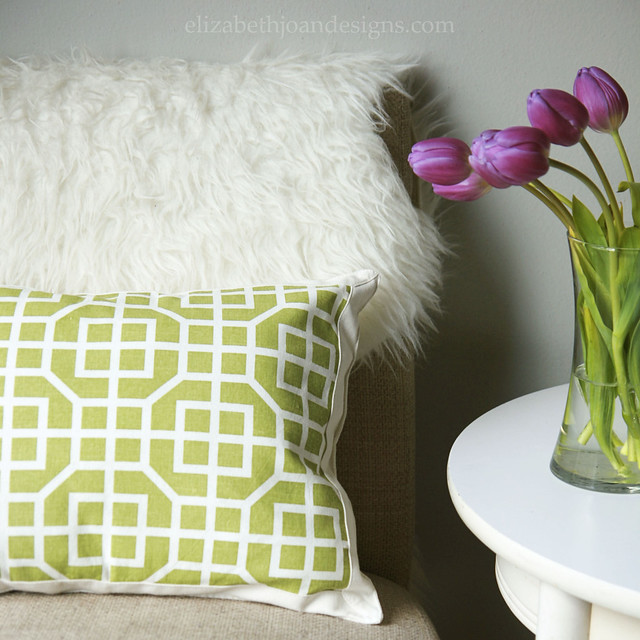
The Placemat Pillow
If you visit this blog very often, then you know that we love a good deal and an easy project. And I’m happy to announce that this post has both of those criteria covered for you. Just like the title states, this is about the placemat pillow. A simple throw pillow made from, you guessed it, a placemat.
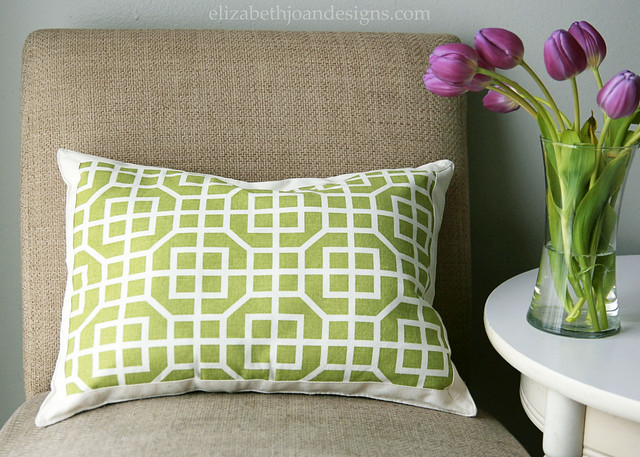
I found this cool green trellis placemat at Target when I was visiting my sister. (Read more about that adventure here.)
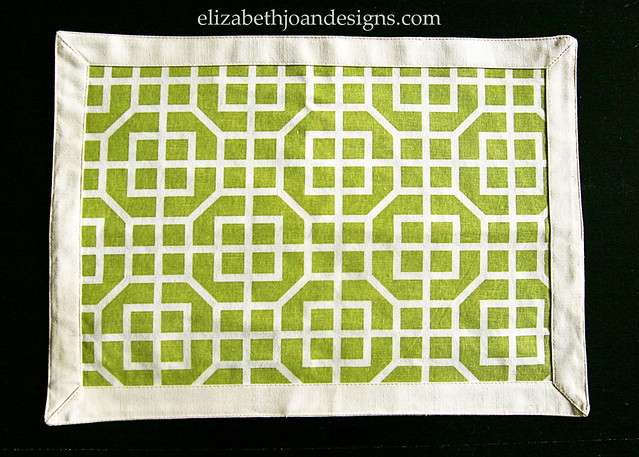
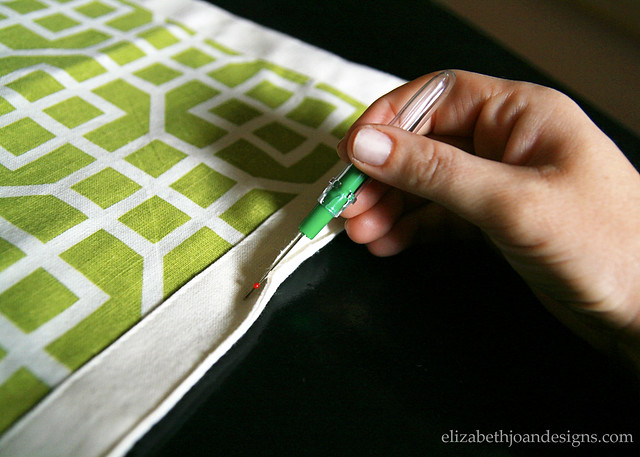
To make a placemat into a pillow, use a fabric placemat that has two panels attached to each other. I started by using a seam ripper to create a hole in one corner big enough for my hand to fit through.
Next, I shoved a bunch of pillow stuffing inside. (This was seriously the most time consuming part of this project.)
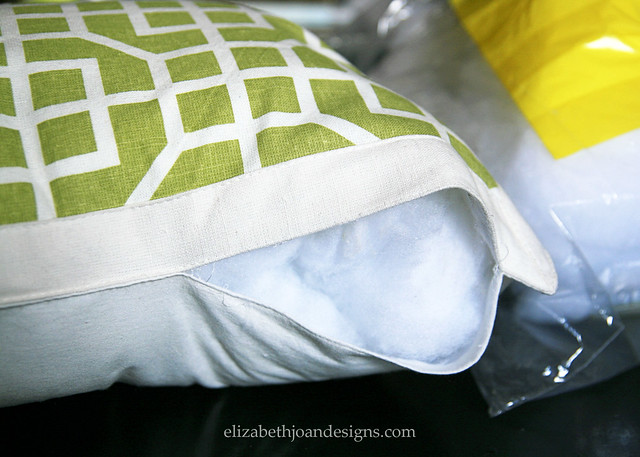
Then, using a needle and similar color thread to the original, I sewed the opening closed with a simple stitch. And that was it!

These little pillows are so fun to whip up and would make such a great housewarming or holiday gift.
So, what do you think? Have you ever made a pillow out of a placemat? Or have you used another method to create a throw pillow that is ridiculously simple? Let us know!
-
Pocket Hand Warmers
The weather outside is frightful. Like -35 wind chill. Yikes. And with the blustery weather we’ve had lately, it just seemed like a no brainer that I should whip up some toasty hand warmers to keep our family warm when we step outside.

I’ve seen a bunch of different tutorials and ideas for hand warmers similar to these on Pinterest (love this look from Armommy,) but I wanted to share the way I made them, just in case your hands need a little warming as well.
Warning: This project requires a sewing machine, that is, unless you have copious amounts of time to hand sew. Unfortunately, my sewing machine hates fabric thicker than tissue paper. (Thanks to my parents for trying to fix it!) After way too much time spent messing with that dinosaur of a machine, I stole my daughter’s brand new one and finished these off.
To start out, I cut out two 3″x3″ pieces of fabric and placed the wrong sides together, pinning them so they wouldn’t slip apart while I was sewing.

Next, I sewed along each side…

But left a small opening so I could add some rice filler.

Then, with some pinking shears, the edges were trimmed to prevent fraying.

Using a funnel made from paper, I poured 1.5 tablespoons of brown rice into each hand warmer and sewed the opening shut.


To warm these little guys up, just pop a pair of them into the microwave for 10-20 seconds (times may vary) and put them in your coat pockets. No more chilly winter hands!
