-
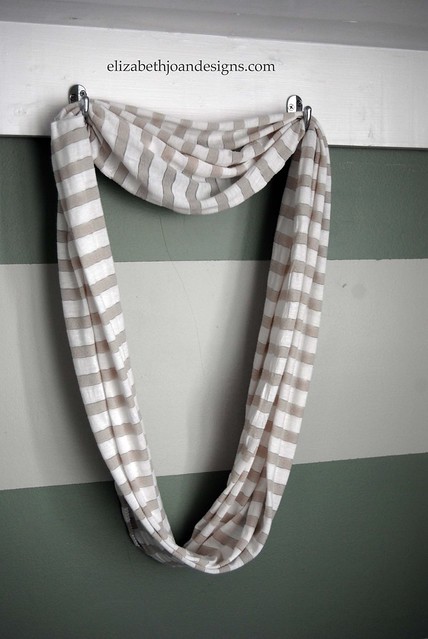
10 Minute DIY Infinity Scarf
It is COLD outside. Brrrr! With such cool temperatures, it is very important to stay warm when venturing out. I decided to make an infinity scarf to keep myself toasty and looking adorable while doing it.
To make your own in 10 minutes or less, follow along with what I did.
Supplies Needed
1 1/2 yards of fabric
Rotary Cutter
Cutting Mat
Fabric Ruler/ Straight Edge
Straight Pins
Sewing Machine
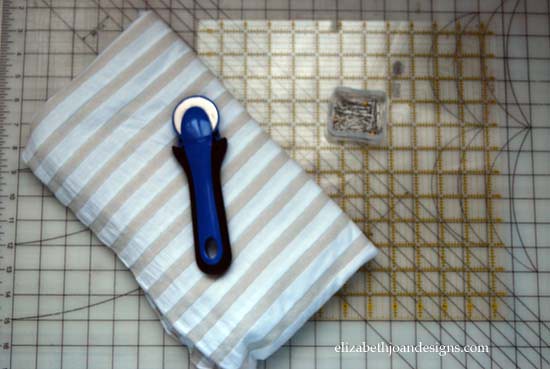
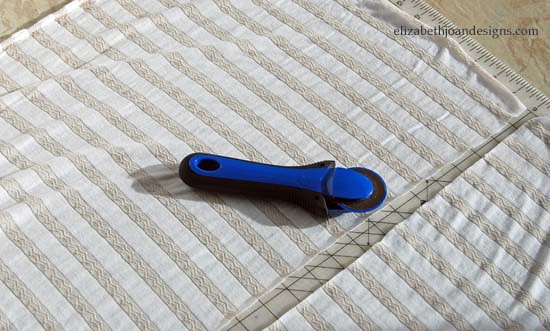
First, I spread the fabric out on my cutting mat and used the rotary cutter and straight edge ruler to cut a strip of fabric that was 54″ long by 20″ wide.
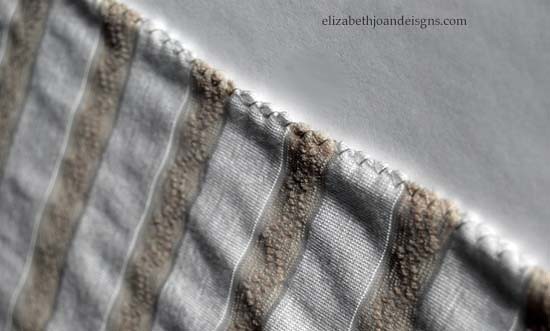
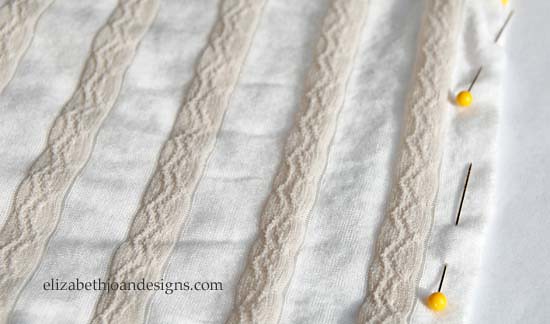
Next, I sewed a zigzag stitch down both sides of the fabric measuring 54″. This will help so my scarf doesn’t unravel on me while I’m wearing it. That could be almost as embarrassing as showing up for school naked and nobody wants that.
The two edges measuring 20″ were lined up, right sides facing each other and pinned together. This is especially important if you are using a stretchy fabric like I did, as the stretchiness can make it more difficult to sew.
With a straight stitch and a 1/4″ seam allowance, I sewed the ends together. Then, I flipped it right side out and was finished.
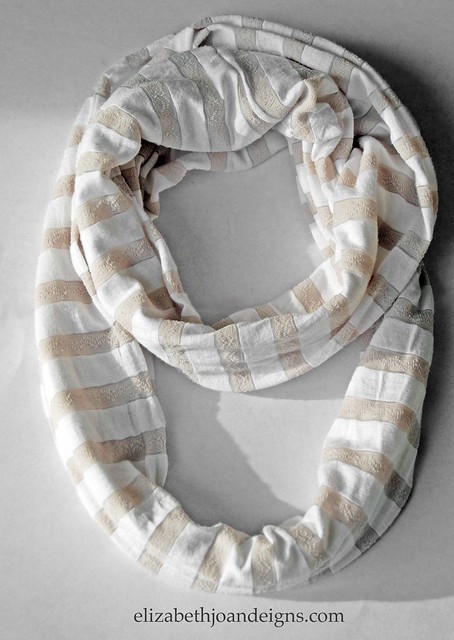
This took what seemed like no time at all and it is super cute. I am now ready to brave the negative temps. Well, maybe I’m not that brave.
-
Octonauts Costumes and DIY Sailor’s Hat
The Disney Jr. show, Octonauts, is a favorite in our house. So it was no surprise to me that our little ones choose to be Kwazi the cat and the polar bear Captain Barnacles for Halloween. There are not commercial costumes for these characters, but lucky for my two, I love any DIY challenge.

An orange shirt and pants were the base of the Kwazi outfit. Felt triangles were attached to a headband for the ears. My little guy made sure I even cut a tiny chomp in one of the ears just like Kwazi’s.The eye patch was also felt. This worked great for a 3 year old because he was able to shift it slightly to see while still maintaining the pirate look. I used felt for the tummy and collar. The tail was a awesome find from the dollar store.

To make the hat, I drew the pattern for the main portion of it on the fold of a piece of paper. Next, I traced it on to felt and cut out four equal pieces. The rounded triangles are about 4 inches wide and 5 inches tall. Assume a 1/2 inch seam allowance.

Then, I pinned the pieces side by side together and sewed them to form this cone like shape.

To make the brim of the hat, I cut a strip of felt 15 inches long and 3 inches high. The dark blue piece was cut for the stripe around the hat. It measures 15 inches long and only 1/2 inch high.

With the cone still inside out, I attached the brim to the hat with pins.

Using a sewing machine, they were sewed together.


To hem the hat, I turned the whole thing right side out. I folded the edge up, pinned and sewed.

After that, I folded the brim up. That’s when it starting looking like a hat.

Finally, using my trusty hot glue gun, I attached the stripe and the Octonauts logo. (The Logo, I found here and printed it out on printable fabric.)

This hat could work for so many different costumes, without the Octonauts logo of course. With different fabric it could make a cute hat to accessorize a sailor’s costume.
A little blue sweat suite is what I snagged at Target for Captain Barnacles. His belt and collar I cut out of blue felt. His Octonauts hat was a much more complicated variation of the Kwazi hat. I’ll spare you the frustrating details of making that one. Using a white hat we already had, I attached two felt half circles with safety pins for the ears.

The boots for both costumes are their winter boots I covered with, you guessed it, more felt. I took two pieces of felt pinned them together along the outside and hot glued them. Once dry, I flipped them right side out and slid them back onto footwear.

Although it was a lot of work to get these costumes together for my boys, I am very pleased with how they turned out and more importantly, so are they.
-
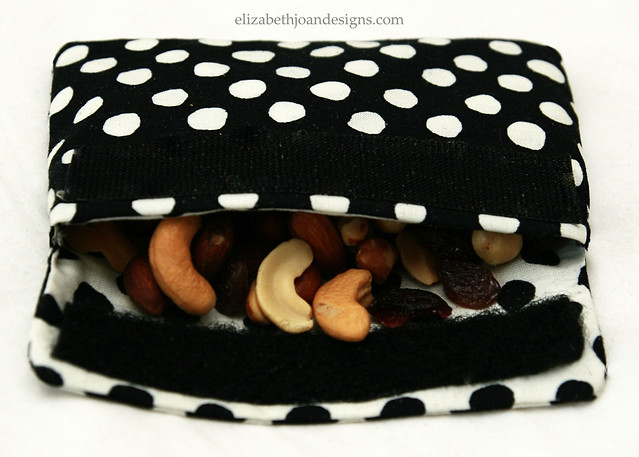
Reusable Snack Bag
I previously mentioned in my {Packing A Carry On} post that I had a reusable snack bag that I took with me on my flight to Atlanta. Even though I may not be down with the lingo, I’m going to try and share a sewing tutorial on how to create these fun little clutches. They are cheap to make, pretty easy to whip up, and washable too. Plus, you won’t be THAT person. You know, the one who everyone is staring at as they crinkle and crunch a plastic snack bag. I hate being that person.


Here is what you will need to make your own 4″ X 5 1/2″ bag.
1 Piece of fabric (outside)
1 Piece of fabric (lining)
5″ of velcro
Cutting mat & rotary cutter (or scissors)
Sewing machine
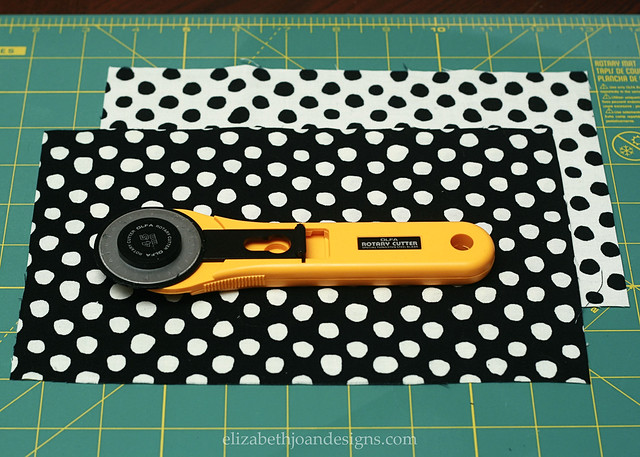
To start, cut both pieces of fabric into 9 1/2″ X 6″ sections. This will obviously be easier if you us a rotary cutter and cutting mat, but fabric scissors will also work. You could also try to use your teeth or a steak knife, but neither of these are recommended. *wink*
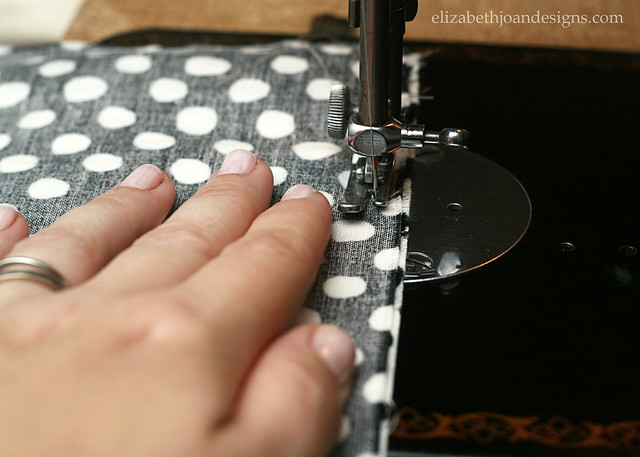
Next, pin one piece of the velcro to each of the fabric pieces on the ends of the right sides and sew them on. (Photo below.) Naturally, I realized at the last minute that I didn’t have a heavy needle for circumstances like these, so I improvised with adhesive velcro instead. Doh! I don’t imagine it will withstand the washing machine, but it has held up so far with multiple uses. But you can disregard all of this, because YOU are going to SEW your velcro on and have no problems. Good job!
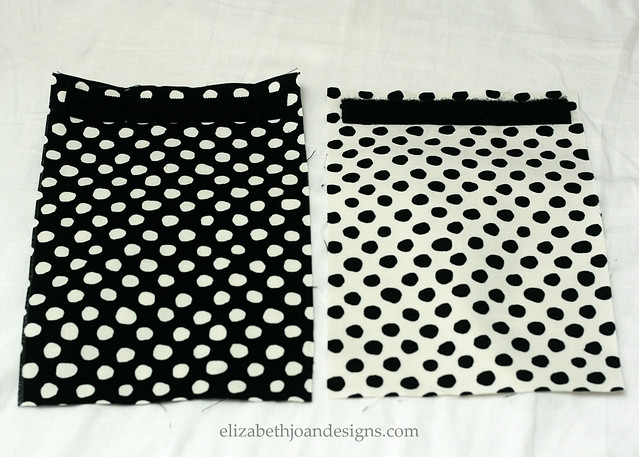
Once the velcro is attached, place the right sides of the two pieces of fabric together with the velco on the inside at opposite ends and pin them together, like in the image below.
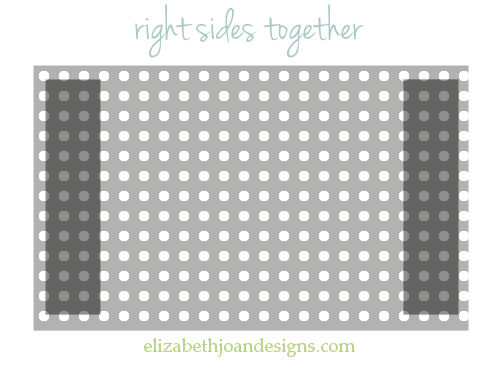
Then, sew along both ends and about 1 1/4″ down both sides of the end where the lining piece’s velcro is attached.

(The white fabric with black polka dots was used as my lining, so I sewed down the sides of the end where my velcro was attached to the white piece.)
After that, turn the fabric right side out and fold it so that the lining is on the outside and the flap is left free. Pin the sides.

Finally, sew along each side and turn it right side out when you are finished. The bag is then ready for use. If you made it this far with these instructions and you still remember your own name, you deserve a medal. If you now understand how to make this bag, I deserve a medal. Hopefully someone is getting a medal.
I originally, made this with the intention of using it as a snack bag, but have since thought of other great uses as well. Make up bag, jewelry holder, floppy iPhone case, etc. Let us know if you give this a try!

-
Kid’s Tool Belt
My 3 year old son has recently been playing a lot with his toy tools. Apparently, carrying them in his tool box was too difficult so he started just stuffing them down his shorts and letting the elastic hold them up. He would take two steps, and the tools would hit the floor with a loud bang. I decided to remedy this situation by making him his very own kid’s tool belt.
To make for a special child in your life, cut one 13″ x 4 1/4″ piece of canvas (or any fabric you choose) for the base, one 7 3/4″ x 3 1/4″ piece for the pocket, two 14″ x 1 1/2 ” pieces for the ties, and two 3 1/2″ x 1 1/2″ pieces for the tool loops.

Then, fold and sew the tie and loop pieces to make straps.
1. Using a clothes iron, press in half.
2. Unfold. Then, fold and iron edges to the center crease line.
3. Fold and press in half again.
4. Sew along the edges.

Take your base section, fold and pin sides under to hide raw edges. Tuck your tie pieces in and sew around the rectangle.

To hide rough edges, fold and sew around your pocket portion.

Place the pocket on top of the base and attach leaving the top side open.

Sew a straight line down the pocket piece to make separate sections.

To attach the tool loops sew one edge down. Then loop it around to make a circle.


Repeat for the second loop, add some tools and you are finished!

