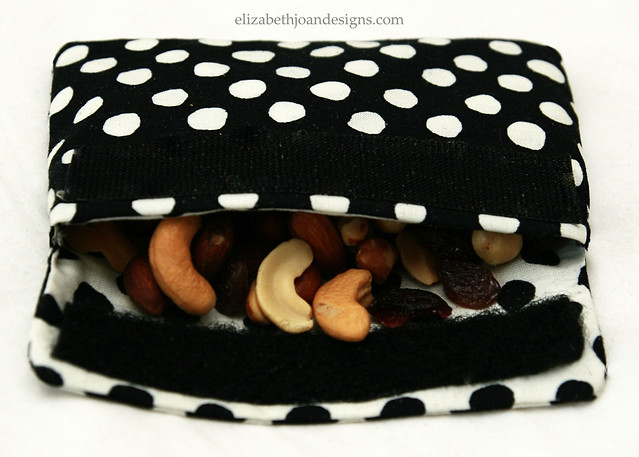
Reusable Snack Bag
I previously mentioned in my {Packing A Carry On} post that I had a reusable snack bag that I took with me on my flight to Atlanta. Even though I may not be down with the lingo, I’m going to try and share a sewing tutorial on how to create these fun little clutches. They are cheap to make, pretty easy to whip up, and washable too. Plus, you won’t be THAT person. You know, the one who everyone is staring at as they crinkle and crunch a plastic snack bag. I hate being that person.


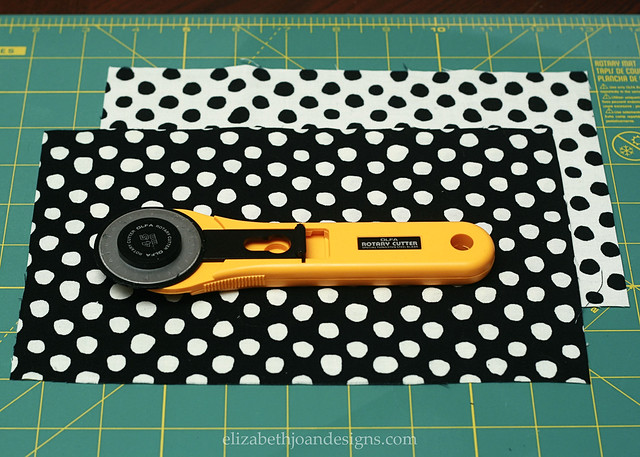
Here is what you will need to make your own 4″ X 5 1/2″ bag.
1 Piece of fabric (outside)
1 Piece of fabric (lining)
5″ of velcro
Cutting mat & rotary cutter (or scissors)
Sewing machine

To start, cut both pieces of fabric into 9 1/2″ X 6″ sections. This will obviously be easier if you us a rotary cutter and cutting mat, but fabric scissors will also work. You could also try to use your teeth or a steak knife, but neither of these are recommended. *wink*
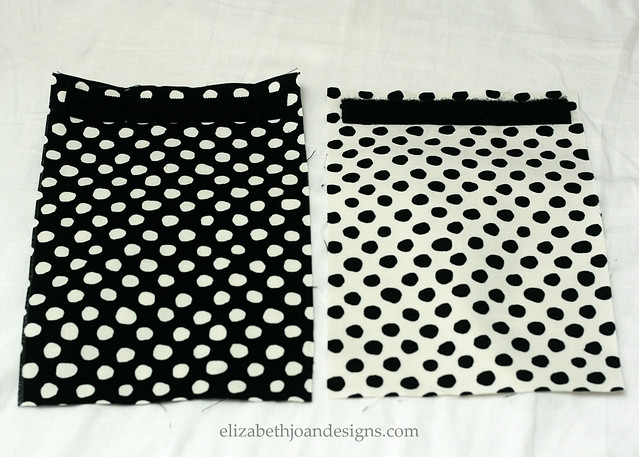
Next, pin one piece of the velcro to each of the fabric pieces on the ends of the right sides and sew them on. (Photo below.) Naturally, I realized at the last minute that I didn’t have a heavy needle for circumstances like these, so I improvised with adhesive velcro instead. Doh! I don’t imagine it will withstand the washing machine, but it has held up so far with multiple uses. But you can disregard all of this, because YOU are going to SEW your velcro on and have no problems. Good job!
Once the velcro is attached, place the right sides of the two pieces of fabric together with the velco on the inside at opposite ends and pin them together, like in the image below.
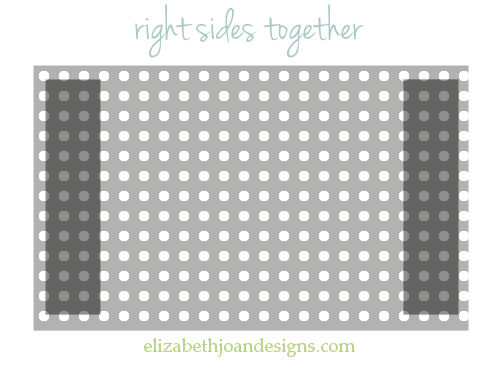
Then, sew along both ends and about 1 1/4″ down both sides of the end where the lining piece’s velcro is attached.

(The white fabric with black polka dots was used as my lining, so I sewed down the sides of the end where my velcro was attached to the white piece.)
After that, turn the fabric right side out and fold it so that the lining is on the outside and the flap is left free. Pin the sides.

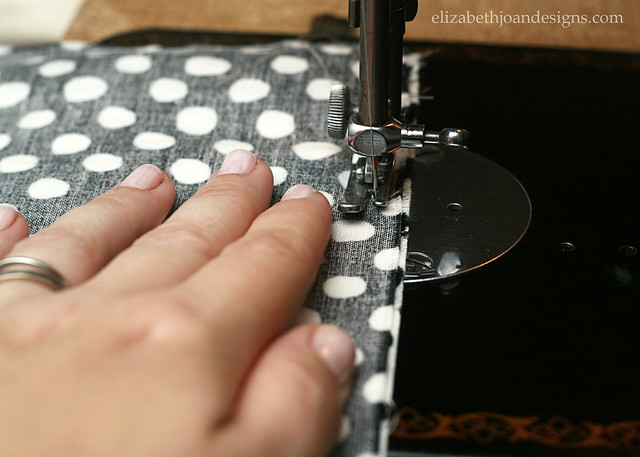
Finally, sew along each side and turn it right side out when you are finished. The bag is then ready for use. If you made it this far with these instructions and you still remember your own name, you deserve a medal. If you now understand how to make this bag, I deserve a medal. Hopefully someone is getting a medal.
I originally, made this with the intention of using it as a snack bag, but have since thought of other great uses as well. Make up bag, jewelry holder, floppy iPhone case, etc. Let us know if you give this a try!

2 Comments
Bismah
This is a great idea and so cute! Thanks for sharing.
Stopping by from the “Lovely Ladies Linky”.
Now following you on Bloglovin and Facebook. Looking forward to reading more of your posts.
Have a great week :)
Bismah @
Simple Mama
Erin
Thanks, Bismah!! So glad you stopped by!