-
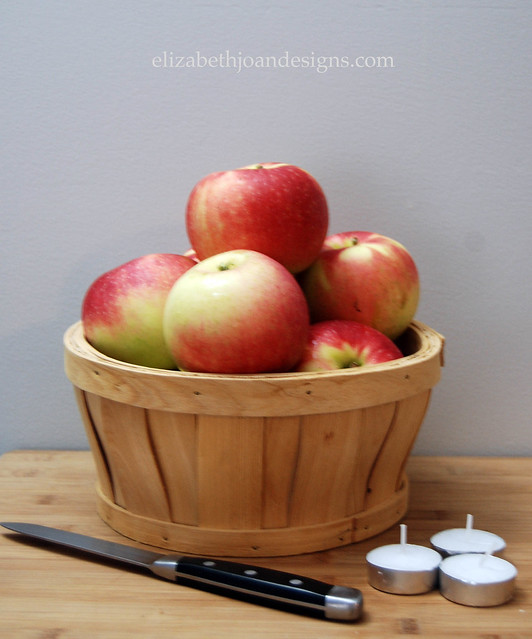
Apple Candle Holders
My home decor is mainly of the colors black, white, and gray, but Fall always inspires me to add a little warmth into my color pallet. I LOVE Fall. Apples, pumpkin spice lattes, colorful leaves, and slightly cooler weather; what’s not to love? With this simple centerpiece, I can bring a little bit of that love right to my table.

If you need a quick table centerpiece or an easy decoration for a fall gathering you are hosting, then this project is for you. (It may take me longer to write how I made this, than it actually did to make it.)
Supplies
Level apples
Tea light candles
Sharp paring knife
Plate for displaying apples
Lighter or matches
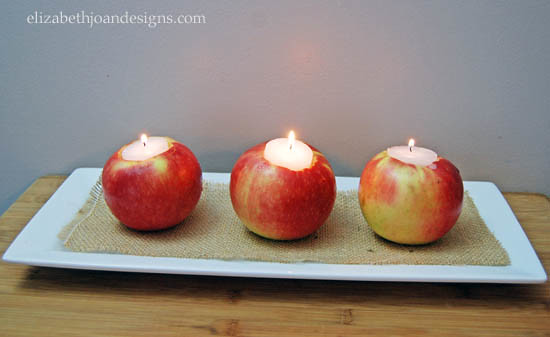
Next, place the tea lights in the holes, display on the plate, light each candle, and keep away from children.
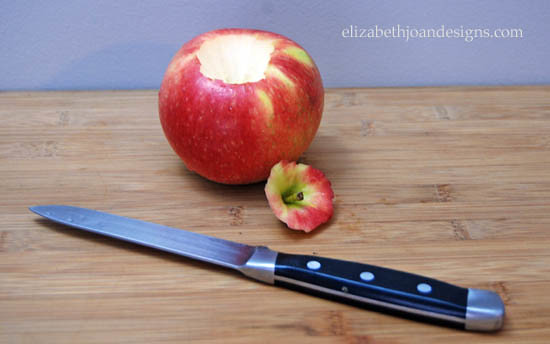
I was originally going to use tapered candles but as I was cutting the holes, I made them a little too big. Thankfully, I had some tea lights that worked in a pinch. What do you like to use for your fall decor?

-
Boxes into Baskets
As you all know, I am still working on my {Half Bathroom Remodel}. *Sigh* We have now added some shelving and I have been looking for some budget storage. Cheap, cute baskets can be hard to come by. So I racked my brain and came up with this wonderful substitute, turning boxes into baskets.
Affiliate links are provided below for convenience. Click here to read my full disclosure.
This basket is made from an ordinary cardboard box, 4 ply jute, a hot glue gun, many glue sticks, and a whole lot of love.
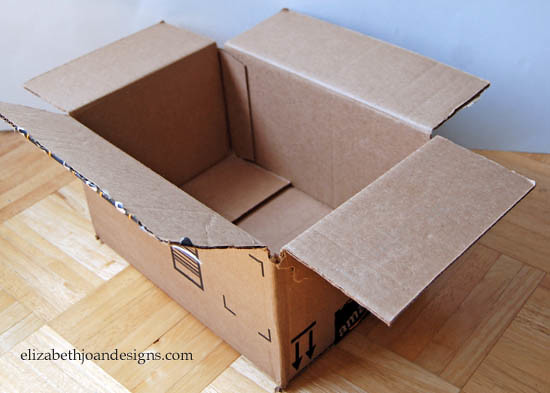
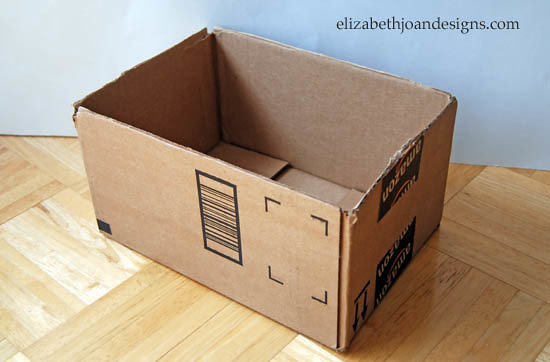
First, using scissors, I cut the flaps off the box.
Next, I wrapped my sad, flap-less box with the jute, gluing every bit of it along the way.
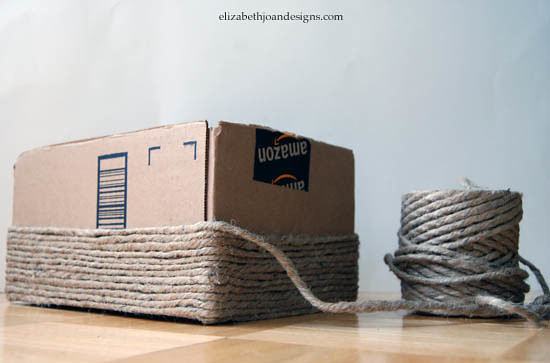
Then, I continued wrapping and wrapping and wrapping.
Finally, when I reach the top, I was so excited, as if I had just climbed my way to the peak of Mt. Everest.
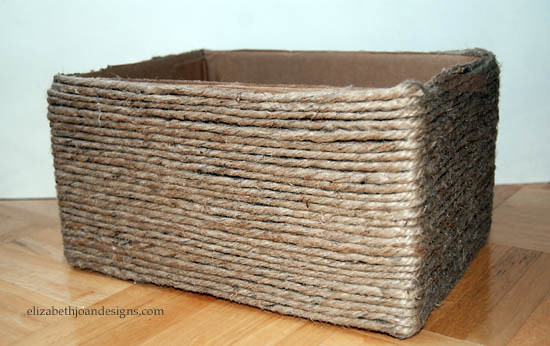
To finish off the basket, I quickly whipped up a custom size liner using inexpensive, white muslin fabric.
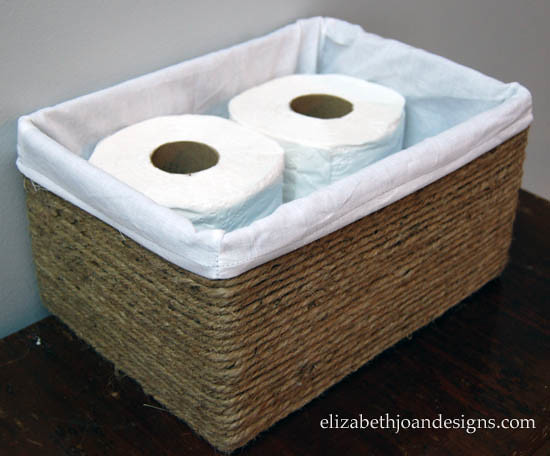
I love the look and it really didn’t take too long. Now, I just need to make a few more of these to shove on my bathroom shelves.
* Update: A tutorial on How to Make a Custom Basket Liner is now available!
-
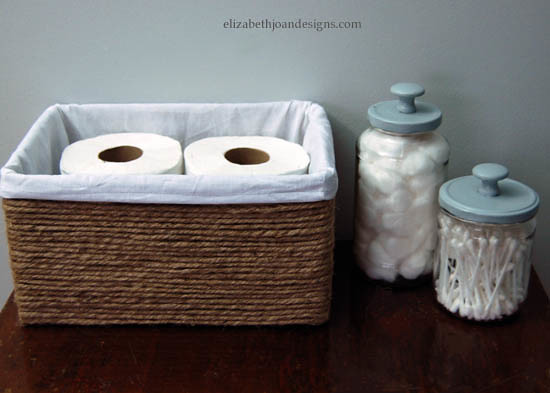
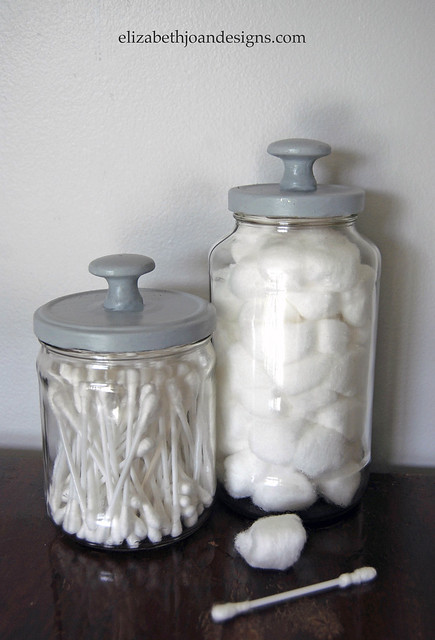
Easy DIY Apothecary Jars
As I continue to work on the finishing touches to my {Half Bathroom Remodel}, I developed a NEED for two apothecary jars for storing Q-tips and Cotton balls. My budget for such a specific storage option was right around $0.00, so I had to get creative.
Looking around my house, I didn’t find much. I remembered my sister had given me some different glass containers last Halloween to use as decorative specimen jars. After digging around my basement, through the bin of Halloween costumes and decor, I came across a gorilla costume. I put it on and scared my kids, just a little. Then, I was back to looking for those glass pieces.Well, I only found one and it wasn’t going to work for this, which made that a giant waste of my time and this story a giant waste of yours. I am sorry for that. Then I went in the garage, looked in the recycling and under a lot of other recyclable materials and found glass a salsa jar and a pasta sauce jar. I felt like a pirate finding buried treasure. I knew these were going to be perfect.

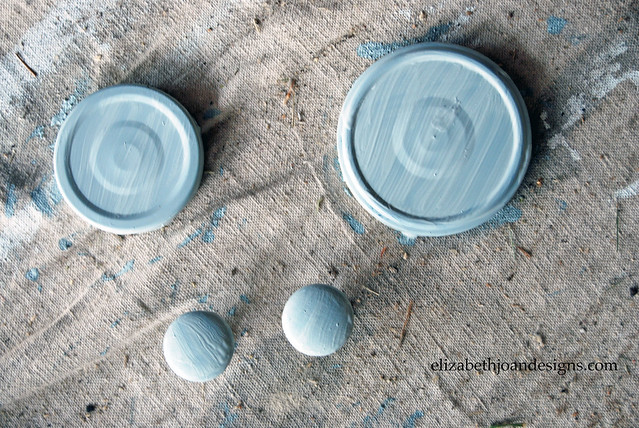
First, I gave them a bubbly bath to help eliminate the odors they were sharing with me. Next, after they were dry, I painted the lids and two knobs I had left over from another project. Using paint I had on hand, multiple coats were added to eliminate the streaks.
Then, my three year old and I screwed the knobs on tight to the top, center of the lids.
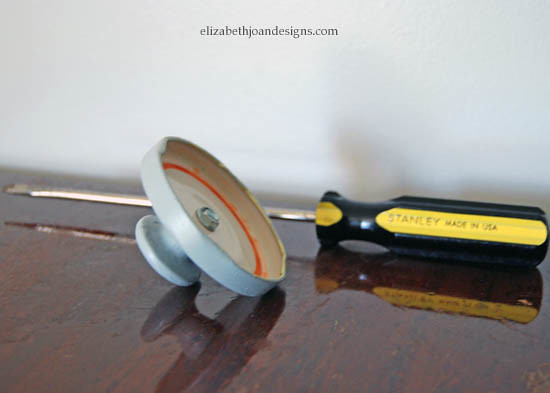
After that, he thought it would be fun to use the screwdriver to scrape the paint off my freshly painted lids, and it was. My apologies, for not taking a photo of this.
Finally, I re-painted the lids and knobs to cover all of our scratch marks.
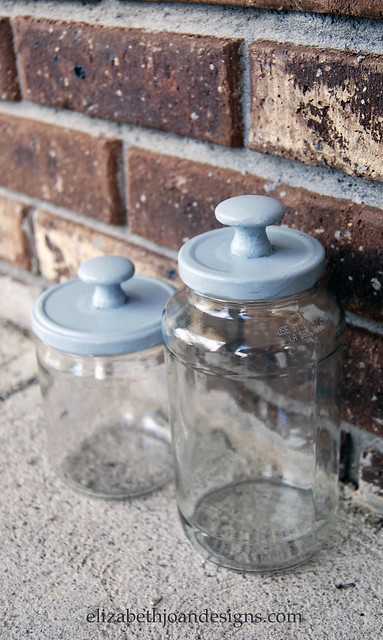
There you have it folks, diy apothecary jars that cost nuttin’. These simple jars make a great storage addition to any room. -
Half Bathroom Remodel: Part 1
In January, we started remodeling our front entryway and half bathroom. It all started with the idea of turning our hallway closet into a bench seat and snowballed into completely remolding the entryway closet, hallway and the half bath, which is right off the hallway. With two little ones, this was a big project to take on. I am so thankful for nap time. How they slept though hammering and drilling, I will never know. It is now August and everything is functional, but there are still a few details we have to do before we can say we are finished. But onto the bathroom.
First, before we moved into our house, we removed the wall paper. If this is something you have never tried, it can be hit or miss depending of the room. One part fabric softener and two parts water, mixed together in a spray bottle, was the solution that we found worked best for our wall paper removal needs. Check out the lovely bathroom wall paper below.

After we moved in, we painted the walls gray and lost a knob on our cabinet and a bolt cover on our toilet. Never did find them.

Next, once we were ready to take on the ginormous project that is remodeling, came demolition. This is great way to get out all of your aggression. This tile came up really easily and the elimination of that hideous wall paper that was hiding behind the cabinet happened mostly in one, big, ugly chunk.
We ousted the medicine cabinet and towel rack. Then, in no time at all, we had attached the backer board to the plywood floor.
Then, came the back-breaking hard work of laying new tile and grout.
Finally, we painted, added trim, and installed the new porcelain throne and pedestal sink.
Remodeling, is hard work but so gratifying. Have you remodeled a room in your home?