-
Vintage Inspired Chalk Cloth Map
Last week, while perusing the interwebs, I came across {DIRTSA STUDIO} on Etsy and fell in love with all of the chalkboard maps they had available for purchase. I absolutely love the vintage old school vibe that these portray and I knew I could probably whip something similar up for a few pennies less than theirs are selling for. Not that they aren’t totally worth it! They are, but I’m a DIYer and it only made sense for me to try this one out on my own.
So, I headed out to the craft store where I found chalk cloth and dowels for a steal with a 60% of coupon. Woot! I always love a good deal.
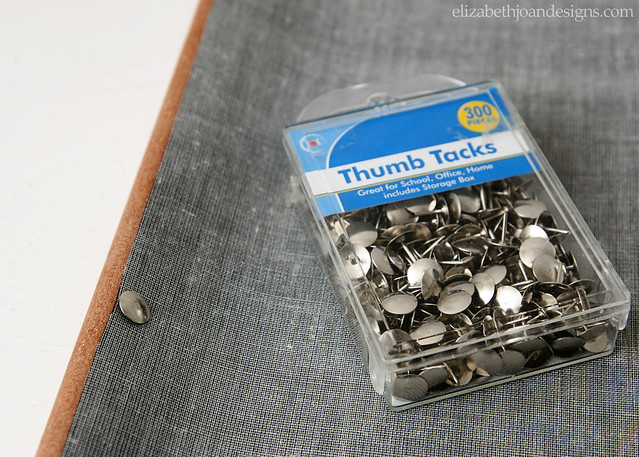
My supplies included chalk cloth, 2 wooden dowels, white acrylic paint, a paint brush, a pencil, a print out of MA, scissors, a craft knife, chalk, thumb tacks and baker’s twine. (Sorry. I totally forgot to take a supplies photo. Oops.)
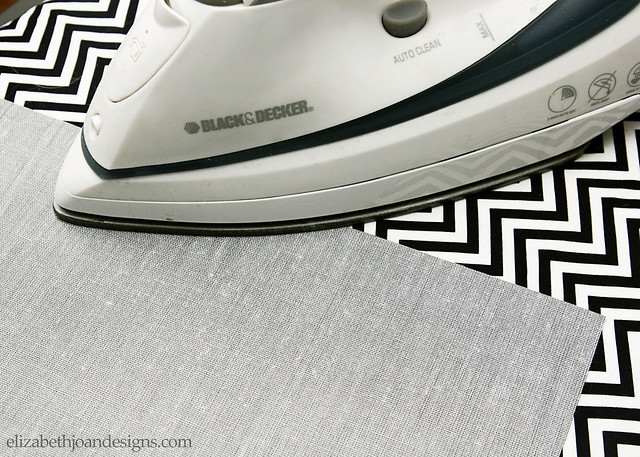
I started out by cutting my chalk cloth down to 24″ wide X 18″ high and sawing the dowels (my hubby actually did this) down to 25″ each for a little over hang. Using a hot iron on the back of the fabric, I carefully smoothed out the wavy spots.
Next, I printed out sections of the state of Massachusetts onto 4 pieces of paper. I went with MA because our son was born there and I thought that this project could end up hanging out in his room. Each piece was taped together in the appropriate place with the rest.
Then it was time for the tedious work of cutting everything out.

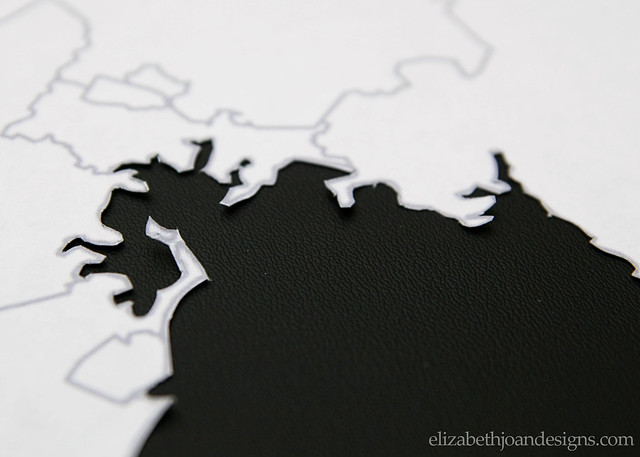
After about an hour and a half, I was wishing that I had chosen a state with straight line borders vs. the crazy ocean eroded coast of The Bay State. But I kept on cutting, alternating between my scissors and craft knife. A few small islands may have been lost in the process, but hey, you win some, you lose some. Right?
Look at all of those nooks and crannies.
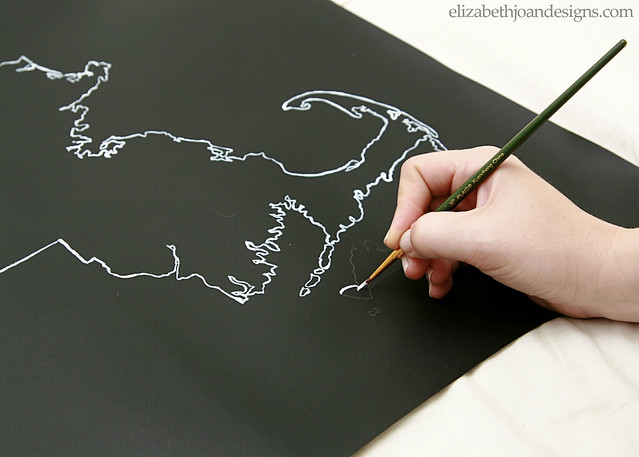
After that, the entire state was traced onto the chalk cloth with a pencil. This process went much faster than the cutting.

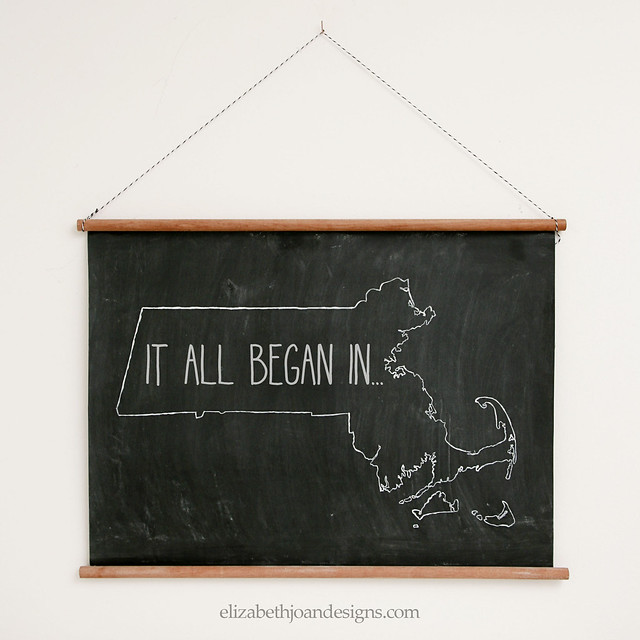
Using a fine tip paint brush, I outlined the image with white acrylic paint.
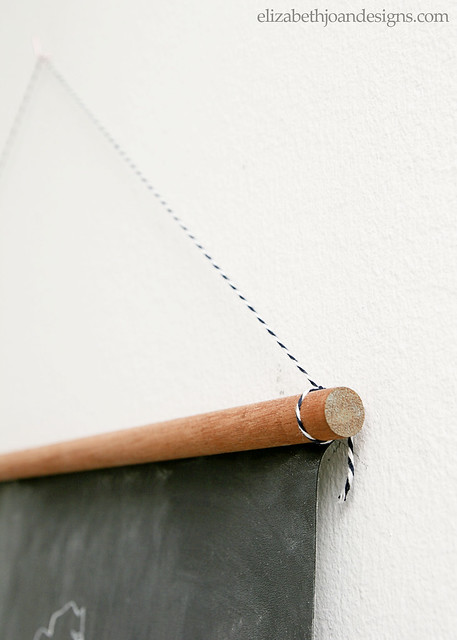
Once it was all dry, it was time to attach the wooden dowels. Again, my hubby came to the rescue and pushed 3 thumb tacks through the chalk cloth and into the rods, after I centered them up.
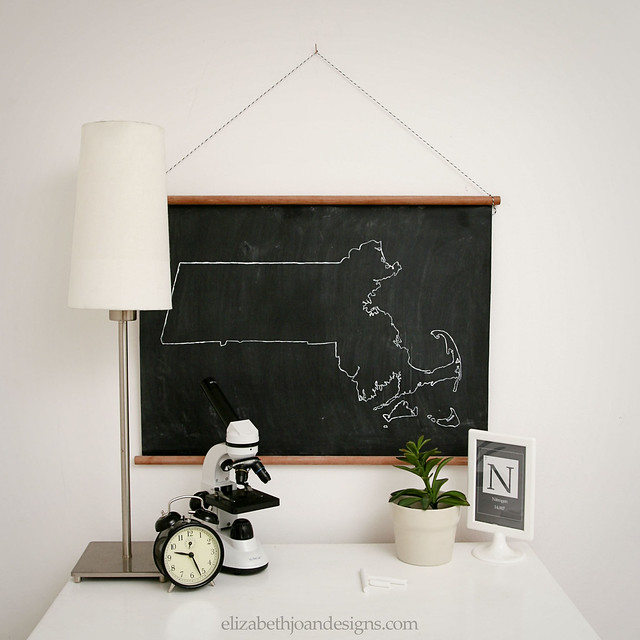
Finally, I tied some baker’s twine to each end of the top dowel, primed the chalk cloth, and my project was finito.
Tada! Here it is hanging in our son’s room. Doesn’t it look cool?

-
A Shady Project
I have been seeing tons DIY roman shade tutorials all over the internet, so I knew I just had to give it a try. Here’s my version of A Shady Project. Haha. I’m so punny!
Our kitchen window did not have any type of window treatment and looked a little bare. A roman shade, made out of mini blinds, was the perfect budget friendly thing to spruce it up. I know. Our kitchen window needs more than a shade. Because of all the moisture built up in it, it needs to be replaced. But this wonderful shade was right around our price range, unlike a brand new window. This was also an awesome way to add a pattern into our kitchen area.
$3.00 mini blinds, Liquid Stitch, scissors, and gray and white striped fabric were the supplies I used.


It is, in fact, just as easy as it looks to make. I basically just removed the slats by cutting the cord that looks like a ladder. Not the thick one. Then, I glued 5 remaining slates to my fabric about 9 inches apart to create the folds of the shade. Finally, I hung it in our window. It only took about 20 minutes! I referred to several tutorials on {Pinterest} and I found similar steps for each one.

Now, does anyone have any great projects I can attempt with these leftover mini blind slats?


-
Half Bathroom Remodel Part 2: The Final Reveal
Pop the cork on the champagne! Pull out the streamers and balloons! The big Half Bathroom Remodel Part 2: The Final Reveal is finally here! Since we started our remodel way back in January, to finally be done with the bathroom is definitely a reason to celebrate. Woohoo!

To see where it all began check out {Half Bathroom Remodel Part 1}.We have recently added some shelving above our commode, to give our washroom some added storage. For the shelves, we picked a 1″ high x 1′ deep x 6′ long piece of pine from The Home Depot. While we were there, we had them cut it into 3 equal pieces. Once we were home, I slapped a couple coats of white paint on each board.
To attach the shelves to the wall I used some brackets leftover from another project. They can be picked up at your local hardware store for around a buck a piece. For these shelves, I like how chunky these brackets are.

My diy {baskets} and {apothecary jars} provide cute, functional storage in our bathroom. I also added a picture frame with the words You Are Beautiful in it. Who doesn’t like a good ego bust in the mornings?
During this remodel, I had my first adventure in basic electrical work. When I flip the switch, the light comes on, so I called it a success. And I didn’t get shocked! Yay! I do not have a picture of the before light, but I assure you, this one is a huge improvement.
The mirror was a great find by my awesome sister, who picked it up for free. I happily traded her an old window I wasn’t using for it.
We love our new bathroom! I am impressed that we were able to do it all ourselves. It was hard work and took us several months but so worth it.


-
Apple Candle Holders
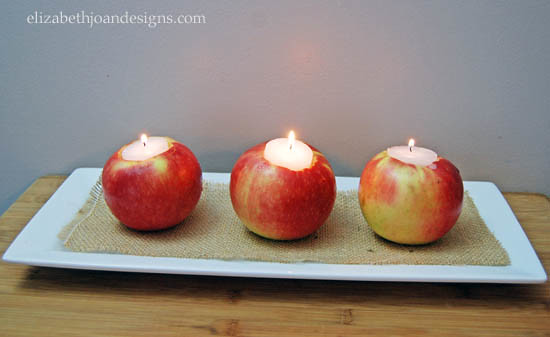
My home decor is mainly of the colors black, white, and gray, but Fall always inspires me to add a little warmth into my color pallet. I LOVE Fall. Apples, pumpkin spice lattes, colorful leaves, and slightly cooler weather; what’s not to love? With this simple centerpiece, I can bring a little bit of that love right to my table.

If you need a quick table centerpiece or an easy decoration for a fall gathering you are hosting, then this project is for you. (It may take me longer to write how I made this, than it actually did to make it.)
Supplies
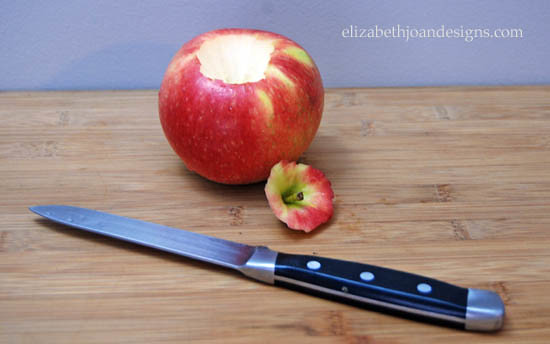
Level apples
Tea light candles
Sharp paring knife
Plate for displaying apples
Lighter or matches
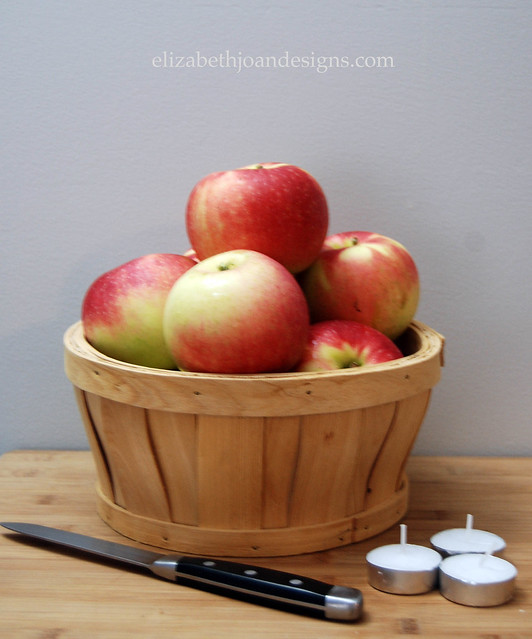
Next, place the tea lights in the holes, display on the plate, light each candle, and keep away from children.
I was originally going to use tapered candles but as I was cutting the holes, I made them a little too big. Thankfully, I had some tea lights that worked in a pinch. What do you like to use for your fall decor?