Vintage Inspired Chalk Cloth Map
Last week, while perusing the interwebs, I came across {DIRTSA STUDIO} on Etsy and fell in love with all of the chalkboard maps they had available for purchase. I absolutely love the vintage old school vibe that these portray and I knew I could probably whip something similar up for a few pennies less than theirs are selling for. Not that they aren’t totally worth it! They are, but I’m a DIYer and it only made sense for me to try this one out on my own.
So, I headed out to the craft store where I found chalk cloth and dowels for a steal with a 60% of coupon. Woot! I always love a good deal.
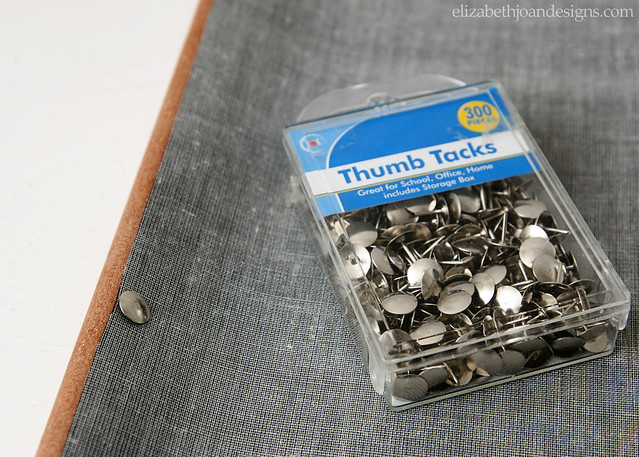
My supplies included chalk cloth, 2 wooden dowels, white acrylic paint, a paint brush, a pencil, a print out of MA, scissors, a craft knife, chalk, thumb tacks and baker’s twine. (Sorry. I totally forgot to take a supplies photo. Oops.)
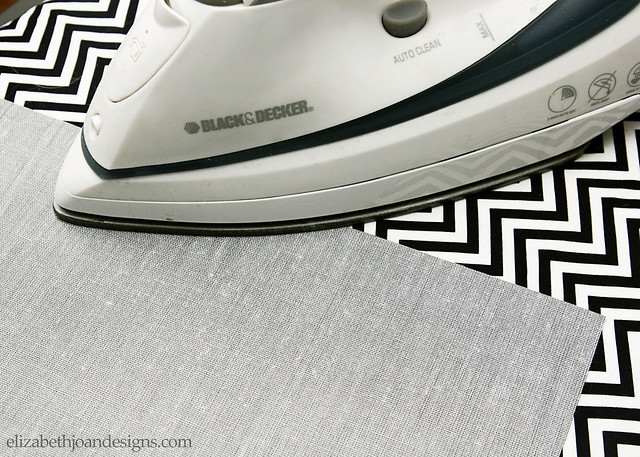
I started out by cutting my chalk cloth down to 24″ wide X 18″ high and sawing the dowels (my hubby actually did this) down to 25″ each for a little over hang. Using a hot iron on the back of the fabric, I carefully smoothed out the wavy spots.
Next, I printed out sections of the state of Massachusetts onto 4 pieces of paper. I went with MA because our son was born there and I thought that this project could end up hanging out in his room. Each piece was taped together in the appropriate place with the rest.
Then it was time for the tedious work of cutting everything out.

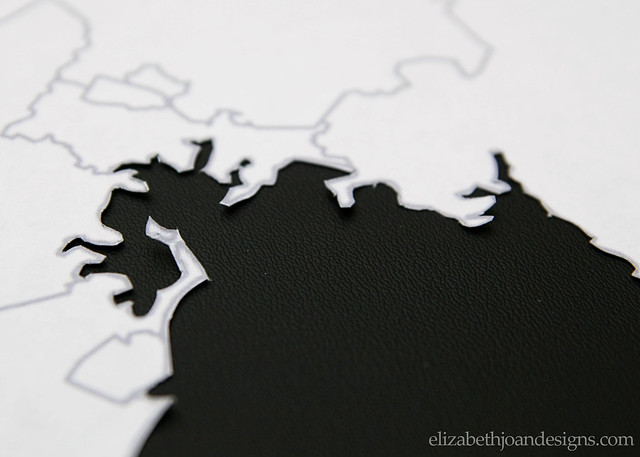
After about an hour and a half, I was wishing that I had chosen a state with straight line borders vs. the crazy ocean eroded coast of The Bay State. But I kept on cutting, alternating between my scissors and craft knife. A few small islands may have been lost in the process, but hey, you win some, you lose some. Right?
Look at all of those nooks and crannies.
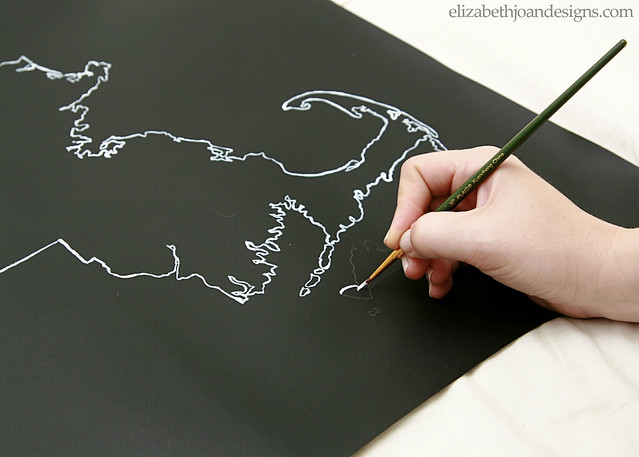
After that, the entire state was traced onto the chalk cloth with a pencil. This process went much faster than the cutting.

Using a fine tip paint brush, I outlined the image with white acrylic paint.
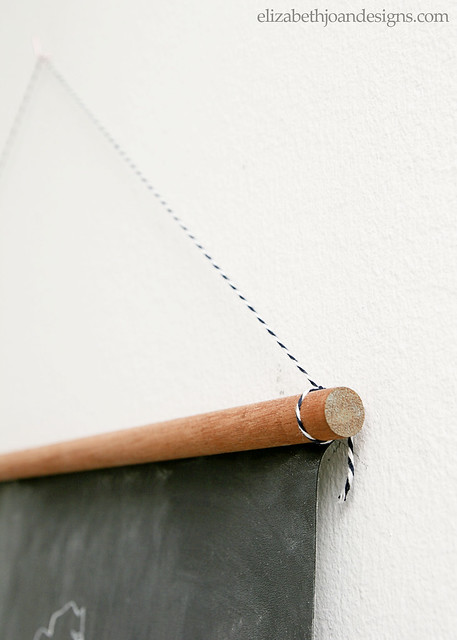
Once it was all dry, it was time to attach the wooden dowels. Again, my hubby came to the rescue and pushed 3 thumb tacks through the chalk cloth and into the rods, after I centered them up.
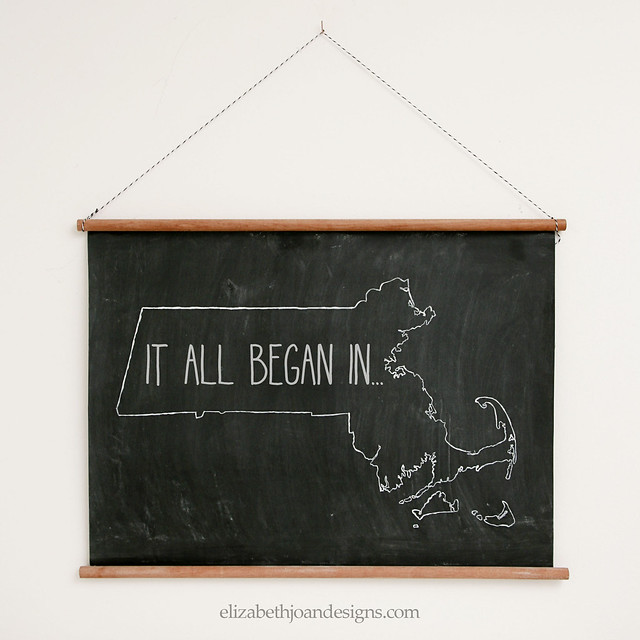
Finally, I tied some baker’s twine to each end of the top dowel, primed the chalk cloth, and my project was finito.
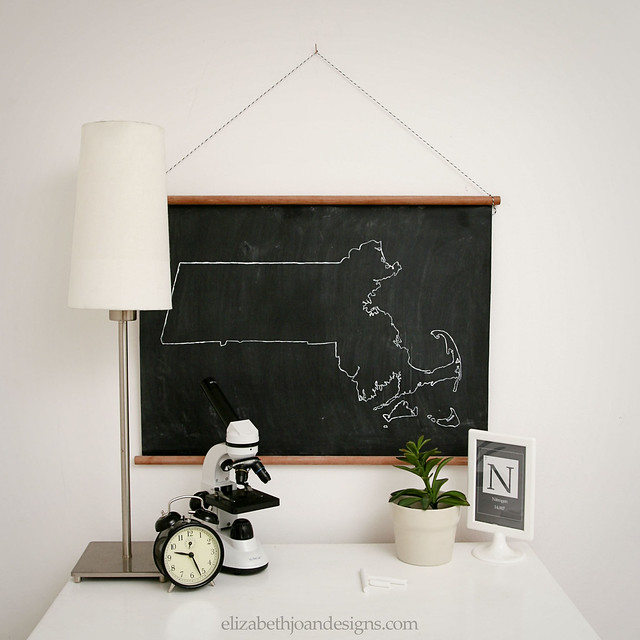
Tada! Here it is hanging in our son’s room. Doesn’t it look cool?

25 Comments
Ali Burtt
I love the look of this! Plus I didn’t actually know that chalk cloth existed so you learn something new every day. Nice work! Oh, and I found you via the Making Monday link party. ~ Ali from Pies & Puggles
Erin
So glad you stopped by, Ali!
Gracie Lathrop
This is super cute! I love that idea and am gonna have to be on the look out for chalk cloth, i didn’t even know that existed. Thanks for linking up again this week at Making Monday!
Erin
Thanks so much, Gracie!
Lori @ A Bright and Beautiful Life
I LOVE your chalk cloth map. I’m not seeing a pin it button. I would love to share/save on pinterest if you ever add one. I’m co-hosting Making Monday with Gracie ~ thanks so much for posting this and your other great projects. I’m a new follower. :)
Erin
Thanks so much for stopping by and for hosting! We are working on updating our blog and a pin it button is towards the top of our list!! Thanks again!
angela
This is pure awesomeness, especially since I’m from Massachusetts! Pinning this so I can try it in the future.
Angela @ Number Fifty-Three
Erin
Yay, for MA! So glad you stopped by Angela!
Brielle
I’m wanting to do something similar to this but cut out a few different states that my husband and i have both lived in. How did you print out sections of Massachusetts? Is there a website you can go to to do this? I’m wanting to do mississippi, utah, arizona, and possibly texas, washington, and maybe even the philippines & china. ha, not too much, right? any tips or resources you can point me towards?
Erin
Hi Brielle,
I used Photoshop CS4 to divide up the state (which I found online and just saved to my computer) and then printed it out in sections. If you don’t have access to Photoshop, there are a plethora of inexpensive photo editing software tools out there, such as Paint Shop Pro and Photoshop Elements. You could always go the ol’ projector route to enlarge the state and then trace around that. Or if none of the previous options sound viable, there is always the grid method! Hope that helps and good luck!
Pingback:
Pingback:
Amanda @ Our Humble Abode
How fun is that?!? Super cute and affordable large art is a tough one, but you did it. Love!
Erin
Thanks so much, Amanda! Glad you stopped by!
Stephanie @ Sandpaper and Glue
so cute! …especially since I’m from MA.
ps- found you on the CWTS link up, I’m #30 :)
Erin
Thanks so much, Stephanie! Heading over to check out your entry. Good luck!
Pingback:
Ashley@Biggerthanthethreeofus
Love this! We have a travel gallery in our upstairs hallway and I might have to add something like this to it. Pinning.
Erin
We would love to see it if you end up trying it out, Ashley. Thanks for stopping by!
Pingback:
Beckie
I have all the stuff to make this right now and I was going to get started on it this week. I will make sure to link to yours when I post. I love the idea of the thumbtacks…kudos to the hubby. I was going to saw a slit in mine. That looks way easier. I am going to do the whole US since my son is learning all his states right now.
Erin
Wow, Beckie! We are so excited that you will be working on this project and we can’t we to see the finished result!
natural maker mom at Satsuma Designs
Erin, this is abso the BEST! You did such a great job. I can see this for all kinds of gift giving too. Off to college dorm art?! Would you come share your creation at Awesome things Tuesday party? http://www.satsumadesigns.com/naturalmakermom/awesome-things-tuesday-linky-party-4/ Thanks and welcome!! jen
Colleen Pastoor
I love this! I didn’t even know there was such a thing as chalk cloth :)
Erin
Thanks, Colleen! It is pretty cool stuff to work with and there are so many possibilities!