-
Chalkboard Tins
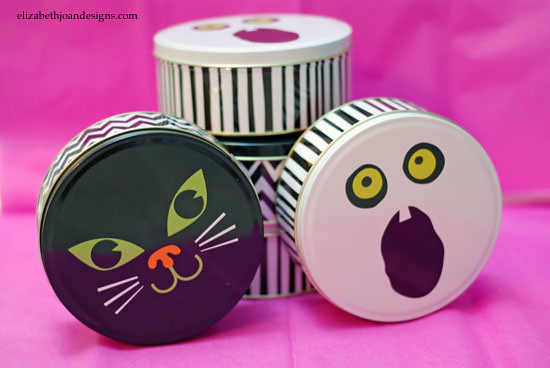
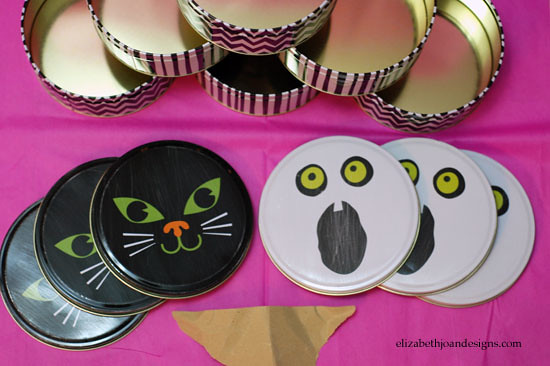
After almost every holiday, Target’s dollar spot goes on clearance. I always try to go to the store at this time to see what deals are to be had. On November 1st, I went early and found these adorable Halloween tins marked down 50% off. At only $0.50 each, I picked up 6 of them. I love the designs on the side and by painting the lids, I could have some cute little storage chalkboard tins that could be used year round.
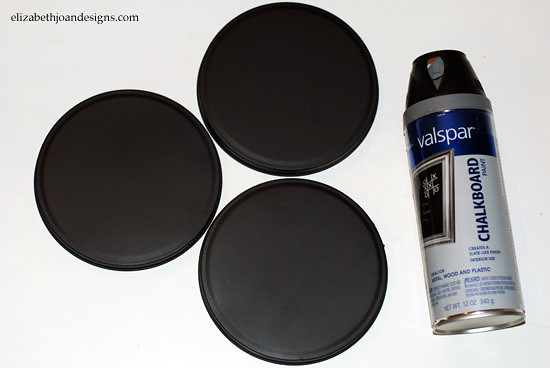
First, I roughed up the surface with some sandpaper, to make the paint adhere better.
Then, they got a coat of chalkboard paint.
Finally, I rubbed a piece of chalk all over the tops to prime them.

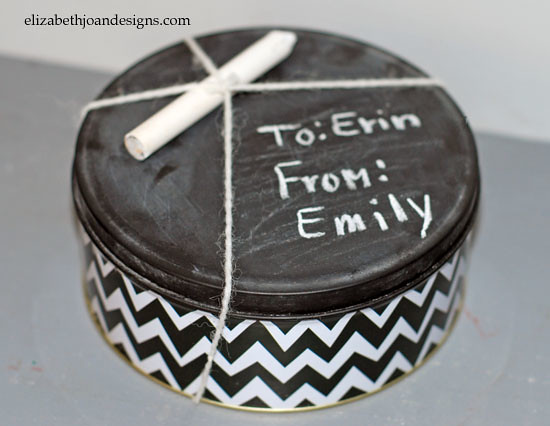
Isn’t it cute? The look of them remind me a bit of Erin’s Pet Food Canister. These will make some fun gift boxes for the up coming holidays.
What do you buy from the Target dollar section?
-
We Are Grateful
Where has the year gone? I can’t believe that it is already November, the month of gratitude, but I’m excited for all of the family time we will be getting in the upcoming month. Emily and I are both thankful for all of our amazing readers who’ve welcomed us on this blogging journey. Your support keeps us going and we thank you for that!
I’ve seen friends on Facebook posting things that they are thankful for each day and know that there are gazillion crafts out there in the blog-o-sphere relating to gratitude, so I figured that I would share how our family is expressing our thankfulness this year for all of the wonderful things in our lives.

Let’s call it the Grateful Frame. It’s basically just a cheap, white Ikea frame with the glass removed. I put in a piece of Kraft paper and then added the letters, which I printed on cardstock and then cut out. Also, some decorative washi tape makes the edges of the frame pop a little.

The concept is really pretty simple. When one of us thinks of something we are grateful for, we can write it on the paper, creating a fun, interactive family art piece. There is no time limit on when we need to write something. It can be every ten minutes or every other day, whenever we feel like it. I like that there aren’t any restrictions (besides maybe not writing on the frame itself) and even our two year old can add his grateful little doodles.
(Our daughter writing “family” below.)
Right now it is pretty bare, but I plan on sharing it all filled up once the month is over on Instagram. (Follow me @erinejd.)

How are you showing your gratitude this month??
-
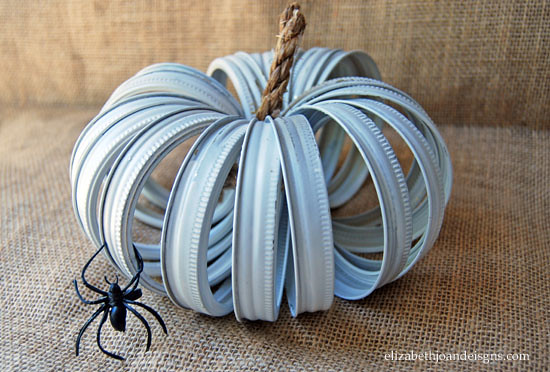
Mason Jar Ring Pumpkin
As I am sure you have learned by now, I have become quit the collector of all things junk. I have a mountain of yarn, a garage full of interesting and some not so interesting curb finds and canning supplies coming out the wazoo. Pinterest is usually my source for new inspiration to utilize these materials. When I came across the Mason jar ring pumpkin, I thought it was so cute, I just had to give it a go.
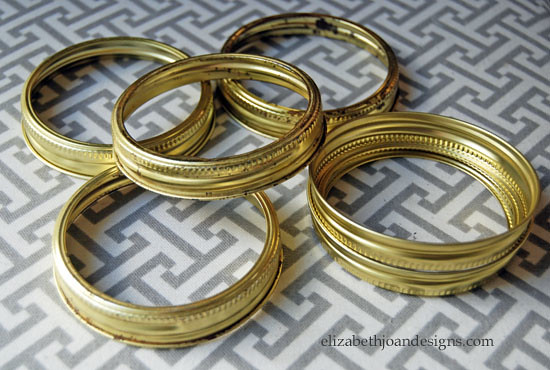
This project is made up of 18 canning rings, leftover white spray paint, jute and rope. Total cost to me, $0.00. The perfect price!
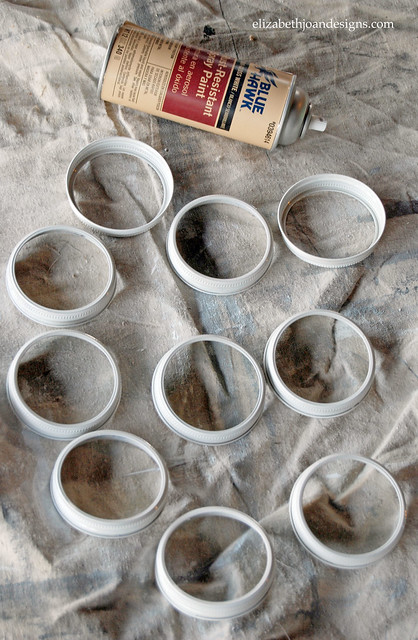
Here’s how I did it.
First, I gave the lids 2 coats of white spray paint on each side and let them dry.
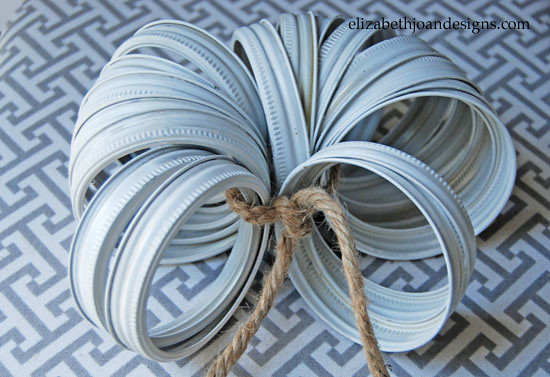
Next, I gathered up the bands and organized them to face the same direction and tied them together with the jute.
Then, I spread the lids apart, tucked in the rope stem and was finished.

If I were to make this again, I would probably use a few more rings but this is just what I had on hand and it still looks great. I knew I had made something pretty cool when even my 3 year old knew what it was. My husband is excited that I have made use for some of this clutter we have around here.
-
Fringed Streamers
We are planning a little birthday soiree’ for our daughter this coming weekend, so I wanted to stop in quick and share a fun party decorating idea. As you probably already know, streamers are super inexpensive, so this project totally helped the birthday party budget. All you need is crepe paper streamers, scissors and a little bit of time. I whipped about 40 of these out in an hour while watching the series finale of Gossip Girl on Netflix with a tear in my eye. Don’t worry. None of them got wet.

First, start out by figuring out how long you want your streamers to be. I wanted mine to hang from the ceiling and pool on the floor, just a bit, so they ended up being a little longer than 8 ft. each.

If you are lucky, you will have a helper to keep you
offon task and make you a spot of tea while measuring.
Next, fold the streamer in half a bunch of times until it is a manageable length to work with.

Then, working along one edge, make cuts almost half way into the middle, about every 1/4 inch.

After that, turn it around and fringe the other edge, lining up your cuts with the middles of the fringed pieces on the opposite side, but still not quite snipping to the middle.

Lastly, unfold the streamers and admire your new party embellishments.

