-
Giving the Kitchen Counters an Update
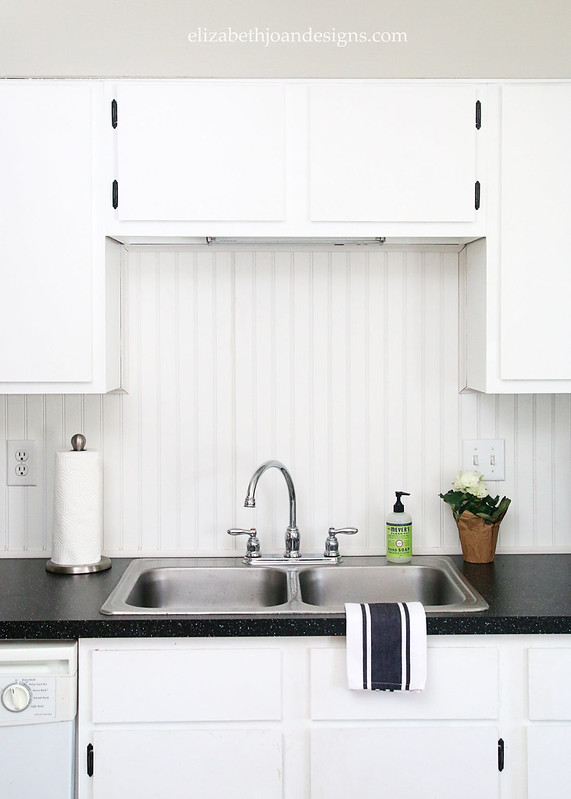
If you’ve been around here for awhile, you may remember when we painted our laminate countertops a little more than a year ago. Initially, we loved the new look and the counters seemed to be holding up pretty well. However, after some wear and tear, they started to PEEL. Eek! We put up with the peeling for awhile, but it made the counters constantly look dirty, so it was time to give the kitchen counters an update. You can see the new pretty countertops below.
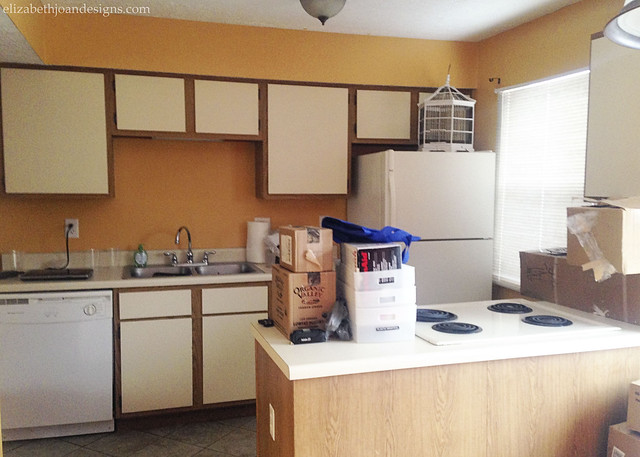
Just in case you need a refresher, here are some photos of the evolution of our countertops/kitchen. The counters were an almond color laminate when we moved in.
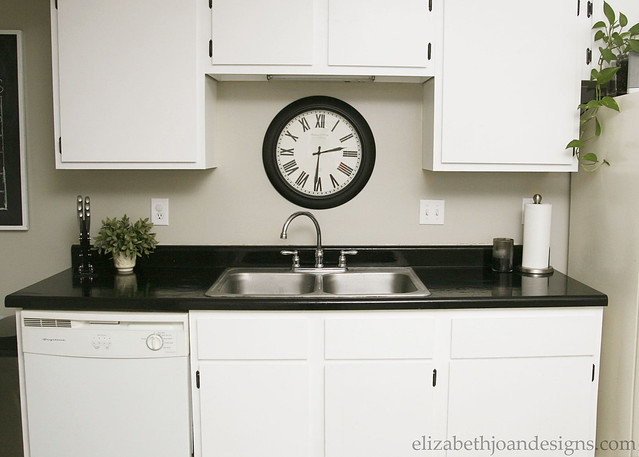
Next, we updated the kitchen cabinets with paint, but left the counters the same for a short time.

We knew we wanted to change up the counters, but because of other home improvement projects, we opted to save some money and try to paint them.
Unfortunately, this is what they looked like after about 9 months. When we painted them, we were planning to use oil based paint and poly, but ended up purchasing a latex based poly against our better judgement, thanks to the
badadvice of our local hardware store paint guy. Don’t these look creepy?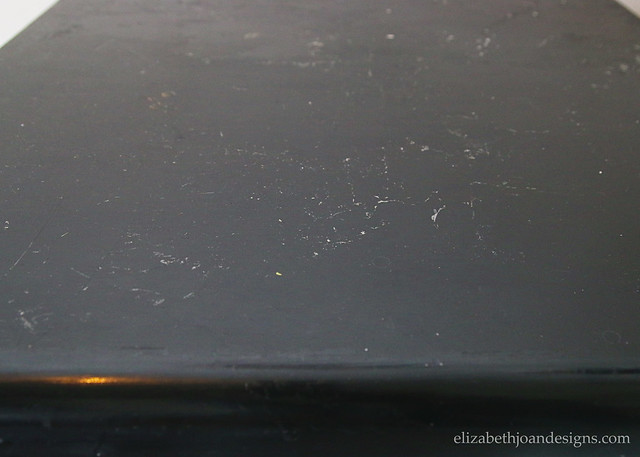
I’m sure that we could have sanded off the poly and reapplied an oil based option, like Varathane, which would have held up much better. However, we are a little more limited now that we have pets in the house (who sometimes may or may not climb on the kitchen counters) and wanted something that we could just put in quickly vs. several days of drying time for the poly.
We decided to go with the Saljan black mineral effect countertops from Ikea. They are super inexpensive and we knew we didn’t want to put a lot of money into the project, since we probably would not end up seeing a return from it when we decide to sell our home.
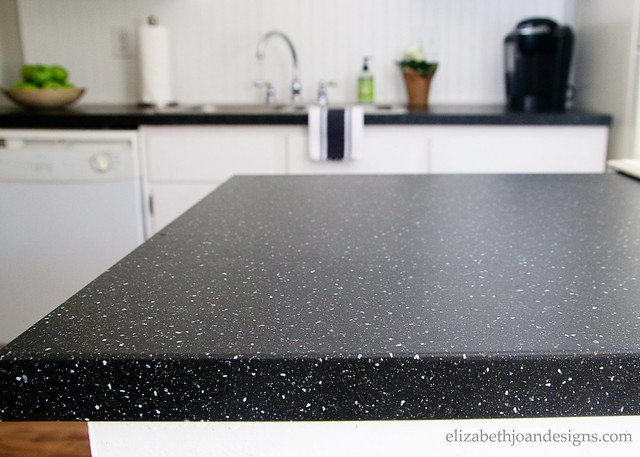
These countertops were pretty easy to install ourselves. In all honesty though, we did have one oops and had to purchase an extra counter. (Make sure not to drop them after they have been cut!) My hubby cut them to size, including space for the sink and range, and we had a ready to go work surface within a few hours.

We’ve been living with the new countertops for about a month now and they are working out great so far! You may have also noticed a few other changes going on it the kitchen (Hello beadboard!) and tomorrow I will be sharing my spring home tour, so stop by then to see more details!
-
St. Patrick’s Day Home Tour
I was so excited when Meg, from Green With Decor, invited me to join in on the Green St. Patrick’s Day Home Tour! If you haven’t visited Meg’s blog, head over there right now and check out her fun St. Patty’s Day Decor, then you can continue through the rest of the home and decor tours at the bottom of this post.
Typically, my holiday decor style is very simple and St. Patrick’s Day is no exception. I have added a lot of green in the form of plants and few other Irish touches to our living room/entryway to celebrate the holiday and help welcome in Spring. Let’s start in the foyer and work our way around the room!
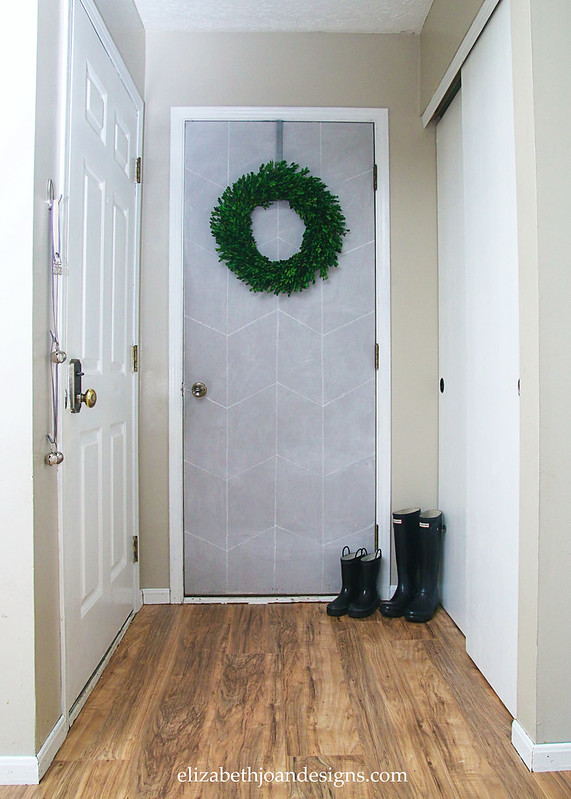
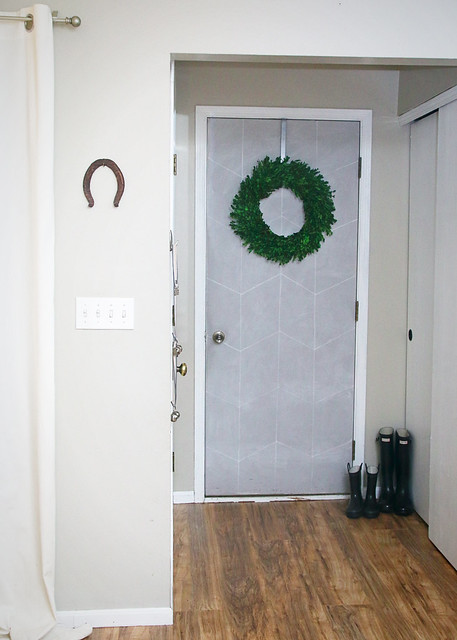
We normally have a book page wreath hanging on the gray door going to the garage, but I moved a few items here and there to change things up and now have a springy boxwood wreath in it’s place.
This small wood dresser sits just inside of our front door and houses all of our winter accessories (hats, gloves, scarves, etc.) and kids’ art supplies.
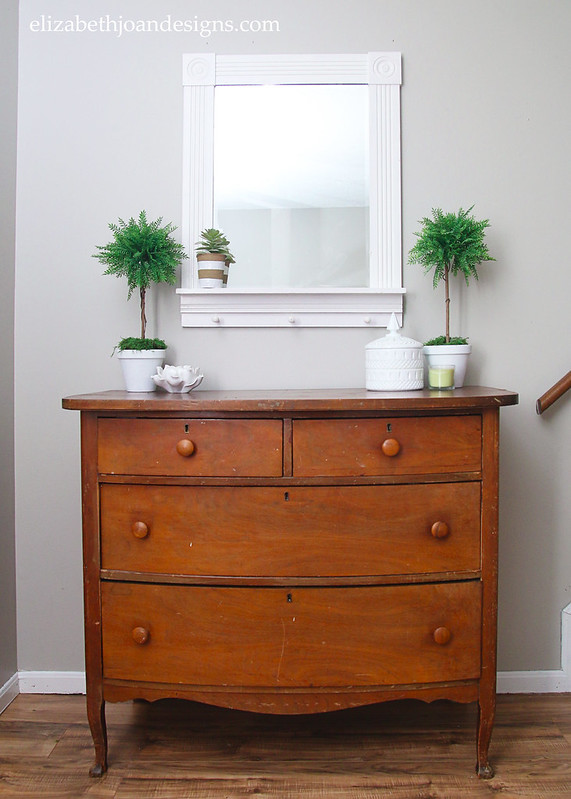
I think it is such a pretty piece of furniture, but have honestly been thinking about *gasp* painting it.

Since I have a tendency to kill live plants (my thumb may be a bit herbicidal), I tend to keep several of the faux variety around. The topiary is a simple DIY that I made awhile ago.

Continuing around the room, you’ll find my heirloom piano (it was my Mom’s).

Above it are some simple silhouettes of my kids, which are so easy to make. I added some real ivy in a milk glass vase/bowl and I love how it spills over the edges with its waterfall of leaves.

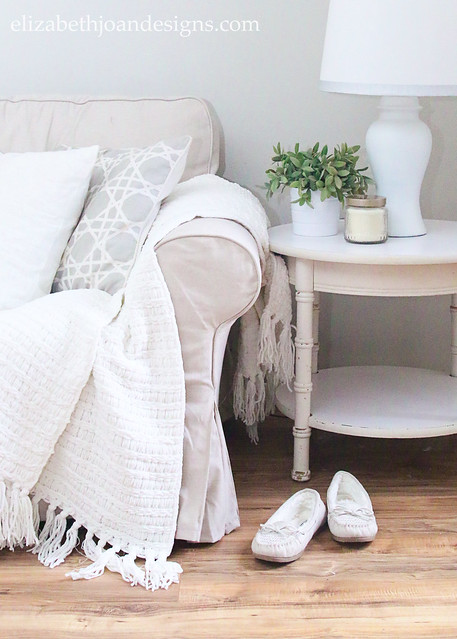
Next to the piano is our comfy and cozy Ikea Ektorp sofa. Recently, we switched our all white cover to this beige-y one and we are still trying to decide if we like it. It tends to show less dirt than the white one, but I did appreciate that I could see any stains and opt to wash the covers as soon as I did.

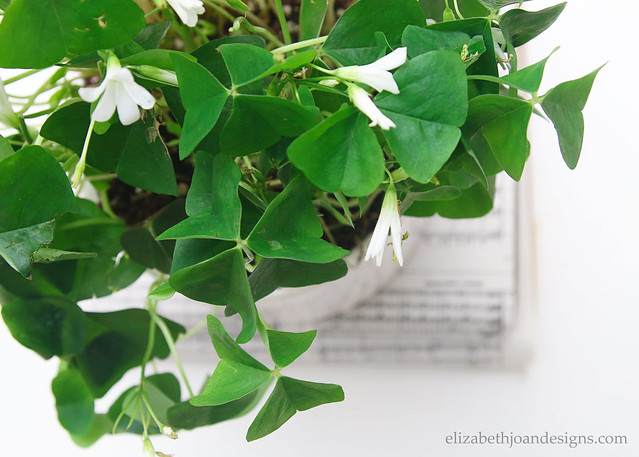
And no St. Patrick’s Day Home Tour would be complete without a Shamrock plant (also real). Let’s hope I can keep this one alive!
I’m kind of in love with this chalkboard right now. I do my own chalkboard lettering and created this nifty design of an Irish proverb/blessing which seemed appropriate for a home tour.

“May your home always be too small to hold all your friends.”
I also whipped up this little, green pom pom garland. Our cat, Rowan, seems to think I made it just for him and has pretty much annihilated it already.

And that brings us back around to the foyer. I hung up this old horseshoe for good luck. Did you know that how you hang your horseshoe is a controversial topic? Really. It’s a thing. I didn’t find out which way was correct (up or down), but people seem to have a lot of opinions about it.
Thank you so much for stopping by today to visit our home! This was such a fun tour to put together and I hope you will check out the other amazing homes and decor below!

Monday, March 7
Green With Decor
Rain on a Tin Roof
Design Asylum
3 Little Greenwoods
Up to Date InteriorsTuesday, March 8
Migonis Home
2 Bees in a Pod
Elizabeth Joan Designs
Seeking Lavender Lane
The Deans ListWednesday, March 9
Live the Fancy Life
Iris Nacole
Karen’s Up on the HillThursday, March 10
Go Haus Go
The House Down the Lane
Lehman Lane
The Honeycomb HomeFriday, March 11
My Creative Days
The Twin Cedars
Casa Watkins -
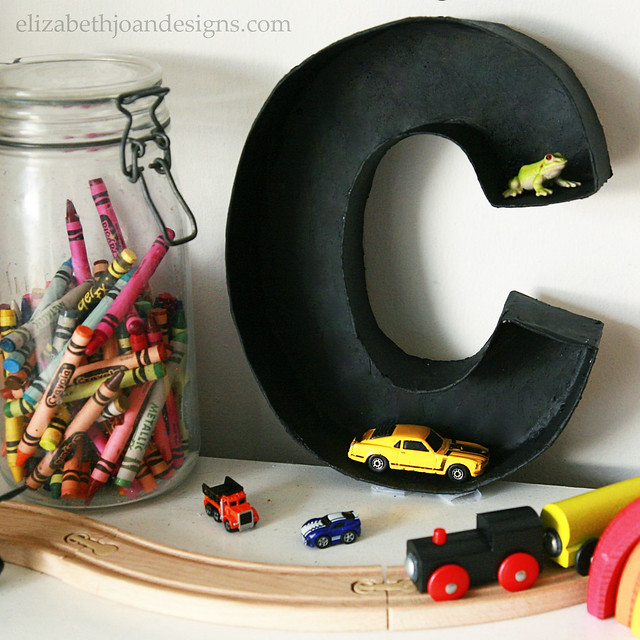
Brought To You By The Letter C
Editor’s note: This post was originally published in Nov. 2013. Last week, while perusing the Land of Nod catalog, I found these super cool Magnificent Metal Letters. I love the industrial look and that they can even be used as a tiny little shelf.
I started to think about how I could make something similar on my own and that’s when I remembered seeing Becca’s DIY Cardboard Letters on Pinterest. So, I figured I would take some tips from her tutorial, but leave the front of the letter off and tweak a few things to achieve the desired look.
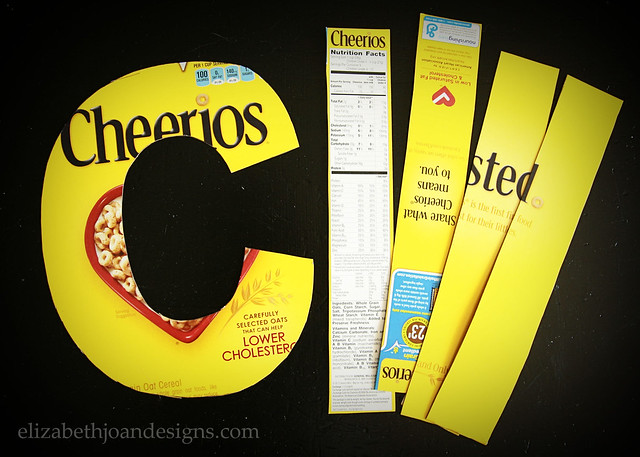
This is what I started with:
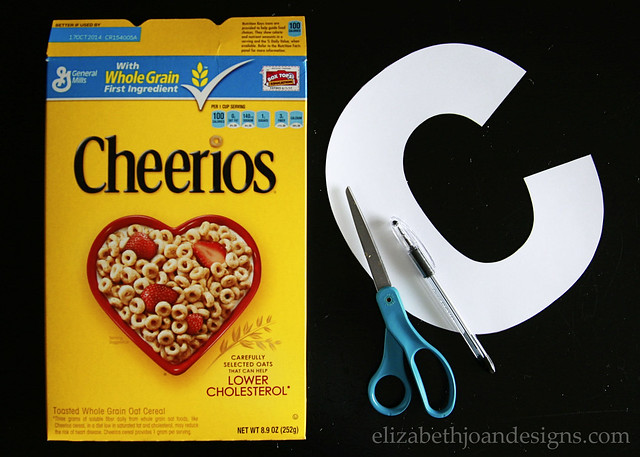
– Cereal box swiped from the recycling bin
– Scissors
– Pen
– Template of letter CUsing the template, I carefully traced around the edges onto the cereal box.
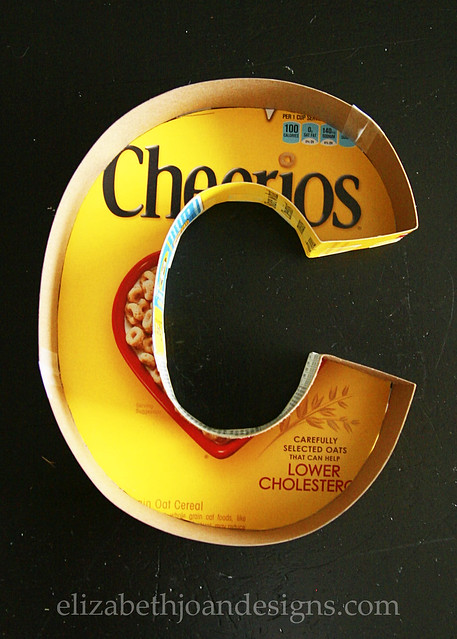
Then I cut it out and also trimmed off the sides of the cereal box. (Depending on the size of your letter, you may also need to cut out some strips from the back of the box as well.)
I attached the sides of the box to the letter with plain ol’ scotch tape. Exciting, right? But it works to hold everything in place until the paper mache’-ing is done.

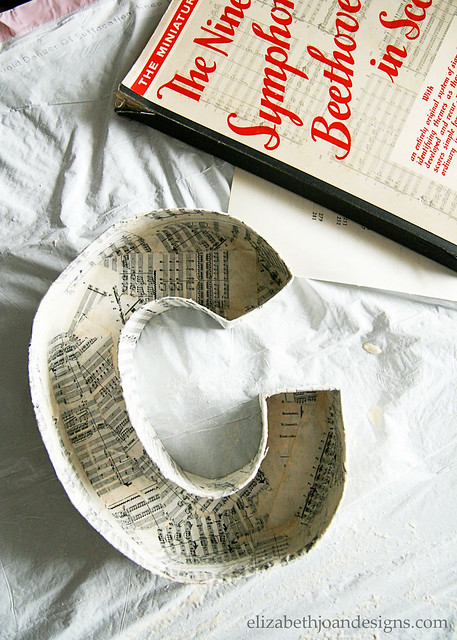
Next, I mixed up equal parts of water and flour and dipped torn up pieces of The Nine Symphonies of Beethoven into the concoction. (I only did one layer because I didn’t want my letter to become too thick.) Each strip was applied to the C in random directions, which helped it adhere better.
Sorry, I don’t have any photos of the process. It was super messy!
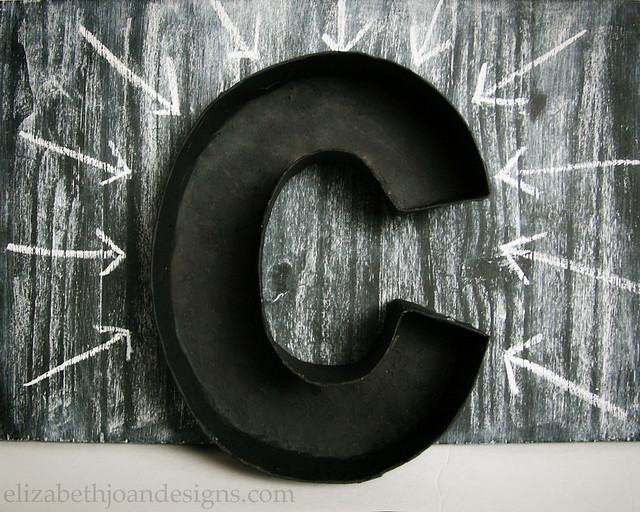
Lastly, I slapped on a couple of coats of black paint and I was finished.
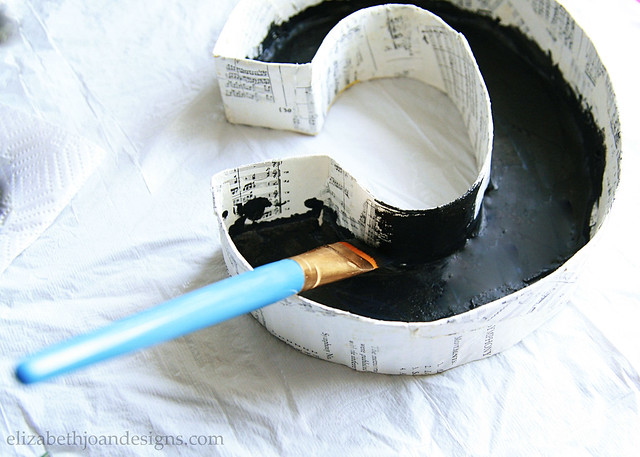
Isn’t this cool??
I would love to make a more letters, so I could spell out whatever is catching my fancy and then be able to change it up for the seasons or whatever. However, I think it will be quite some time until we have enough cereal boxes saved up to complete the alphabet.
-
Kids’ Bedroom Makeover Progress
It has been forever since I’ve shared an update on our kids’ shared bedroom! (I think the last update was in May 2015.) However, I’m excited to finally share the finished wall and trim paint, along with the furniture pieces in the room. We just need to get a few more decorative items and the kid’s bedroom makeover will be complete!
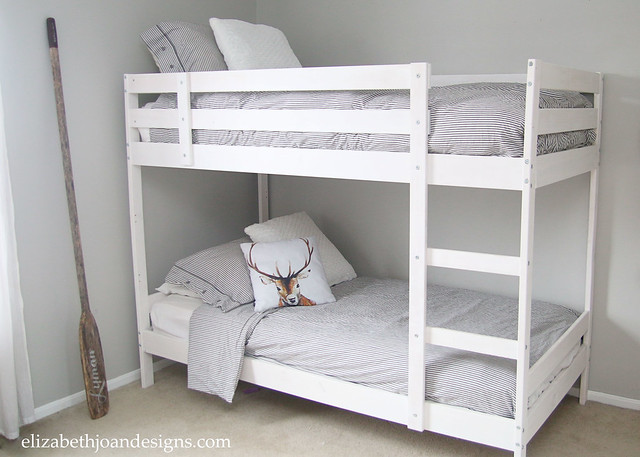
You may remember that we decided to put both of our kids (one girl, now 11, and one boy, 4) in the same bedroom per their request. Click here to find out more about our original plan. They love to be together and the extra space it created allowed for a playroom.

We painted the bedroom Stonington Gray by Benjamin Moore. It is the perfect gray paint color and looks awesome in any light.

Even though she lost some storage space, our daughter loves sitting and doing homework here.
In the room, there is the vanity turned desk that we used to have in our bedroom. When the room change-a-roo happened, we did not have space for a big desk, so we swapped and our daughter has been using this one.
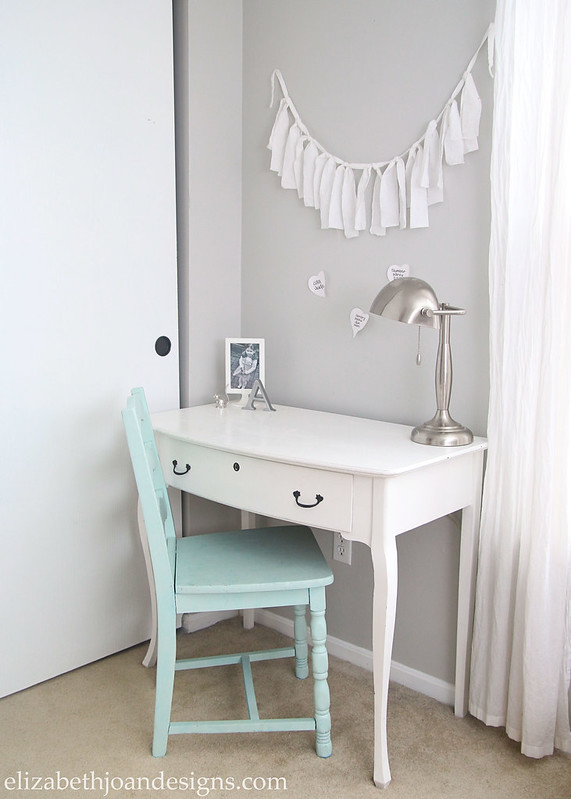
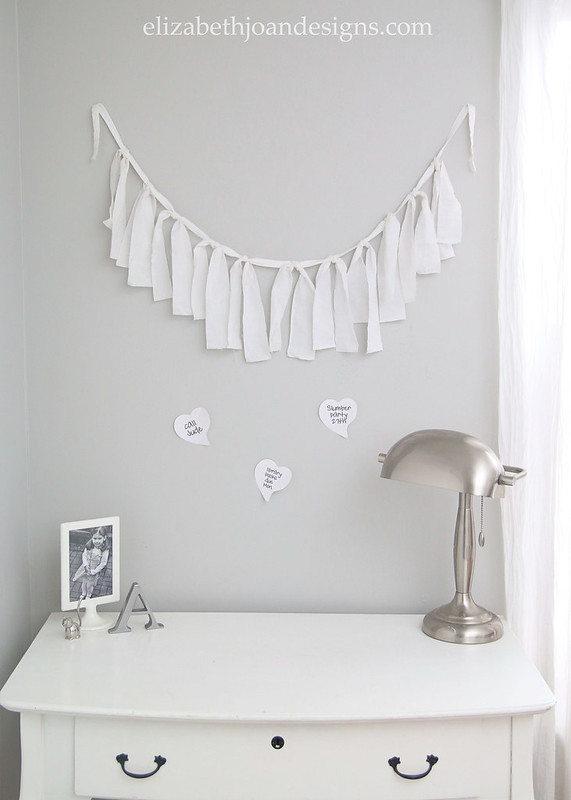
I whipped up this fabric garland in just a few minutes and I think it adds the perfect touch of femininity to her little corner of the room.
Next, is this old dresser which we painted and added drop pulls. For awhile, it served as our entertainment stand, but we moved it into the kids’ bedroom since it was big enough to hold both of their clothes.
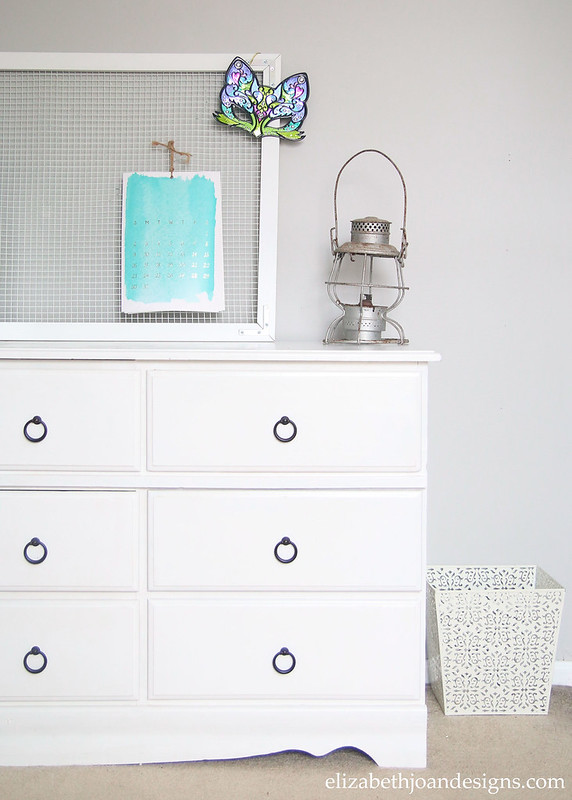
There is still some accessorizing to be done in here! We already have an old oar that we would like to hang on the wall above the beds. Also, there is some artwork that we may purchase/DIY to make a gallery wall above the dresser. However, we still really like the wire mesh pin board and if we keep it, there probably won’t be room for more. Oh, and curtains! I definitely want to get some new ones up in here.
Last, but not least, if you were worried about the lack of kid stuff in the room, it’s there. Most of the toys are in our playroom, but we keep a crate of stuffed animals under the window and they usually have a few on their beds too. (I pulled all of them off for pictures). The rest of their stuff stored under the bed or tucked away tightly in the closet.

This space is looking good and it feels great to be making some progress. Plus, the kids love their room and that’s what matters most!