Fabulous Faux Topiaries
I want to share a secret with you. I have a dark gray thumb. Surprise! Meaning that I tend to kill most plants quicker than you can say “house plant.” Hence the Faux Topiaries. (We do have a few live plants that we have managed to keep around for a couple of years, but I’m chalking that up to luck.)

When I shared our Entertainment Stand Dresser, I talked about wanting to add topiaries. I knew that that would have to be faux, because the area they would be in just doesn’t get good lighting and I wasn’t up for killing any more plants. After a little Pinterest perusing, I found a couple that I liked from Liz Marie Blog and In My Own Style. I ultimately went with the latter, making a few tweaks along the way.
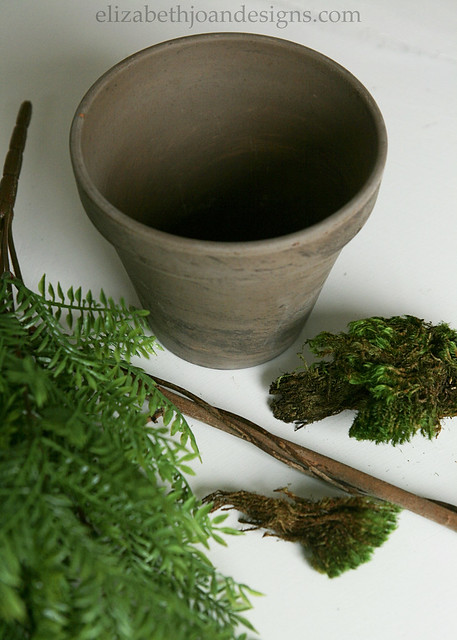
Ready to make your own? You will need:
- planter
- faux greenery
- straight stick
- floral foam
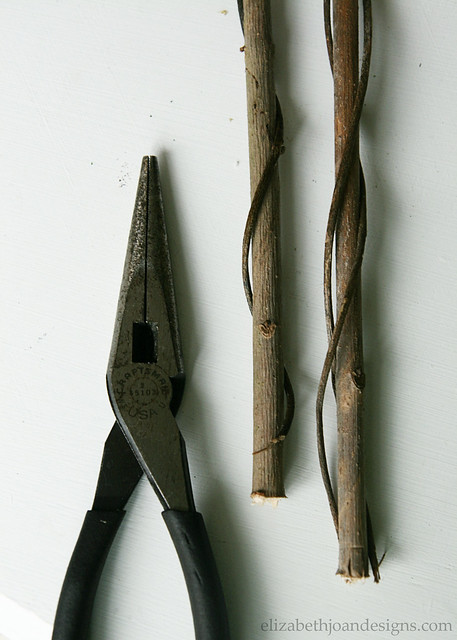
- wire cutter
- needle nose pliers
- floral wire
- moss
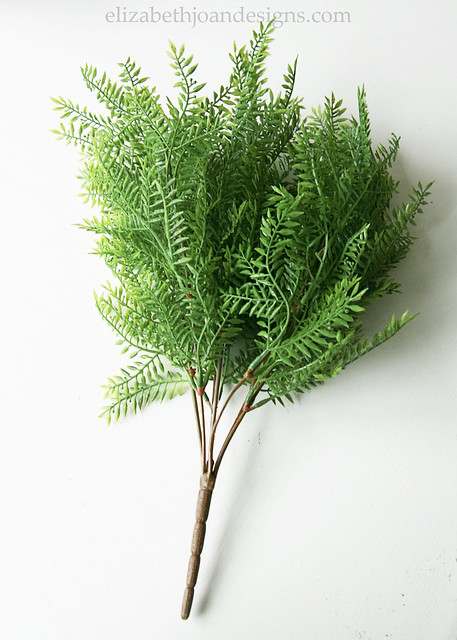
I started with the faux greenery…
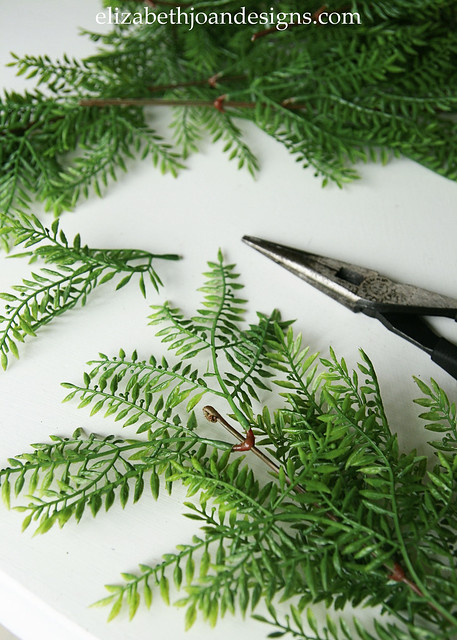
and began cutting each of the pieces off of the main stem.

Next, I popped the top piece off of each section, set it to the side, and bent the wire at the top with needle nose pliers, so that the other pieces would not fall off.
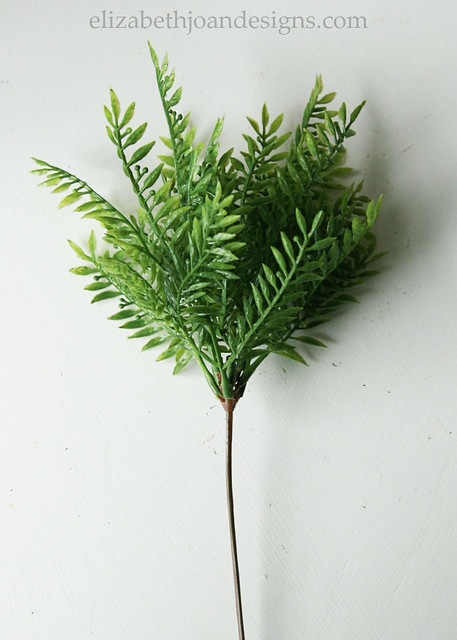
Using my fingers, I pushed all of the little leafy sections towards the top. (I did this for each of the pieces I had cut off.)
Then, I chose one stem to be the main one and started wrapping all of the other stems around it. Each stem was wrapped around twice and any excess was cut with the wire cutters.

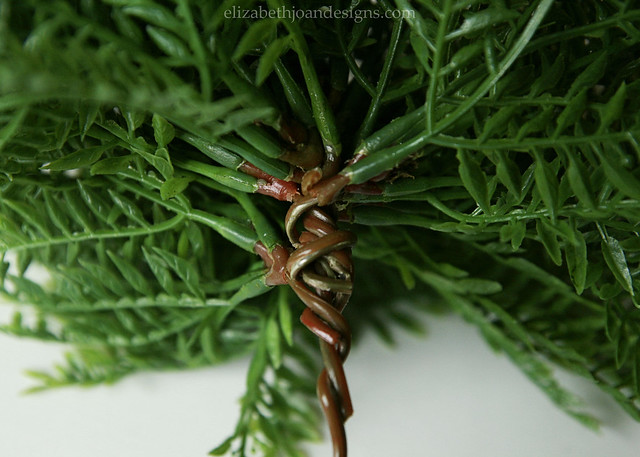
After that, I cut the straight stick (found it in the woods with the vines already around it) so it was about 15 inches long and pushed it into the floral foam that I had already placed in the planter.
Finally, I attached the ball of greenery to the top of the stick by wrapping the long stem around it and secured it in several places with floral wire.
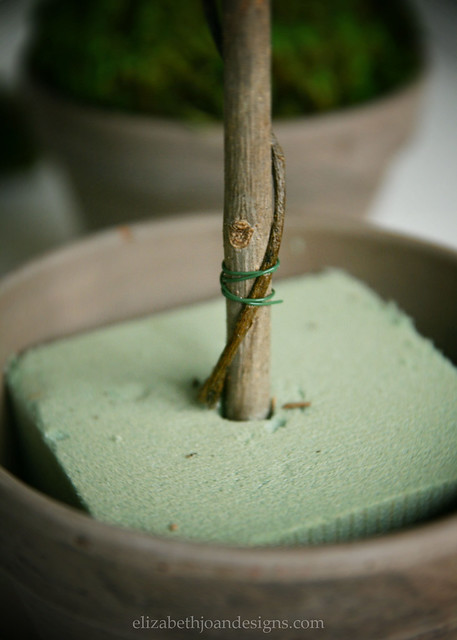
Oh yeah. I also threw some pretty green moss on the top of the foam to cover it up.

And that’s it! I chose not to add anything extra stems or “groom” them any more. I really like the organic look of these, with the little stems all going every which way.
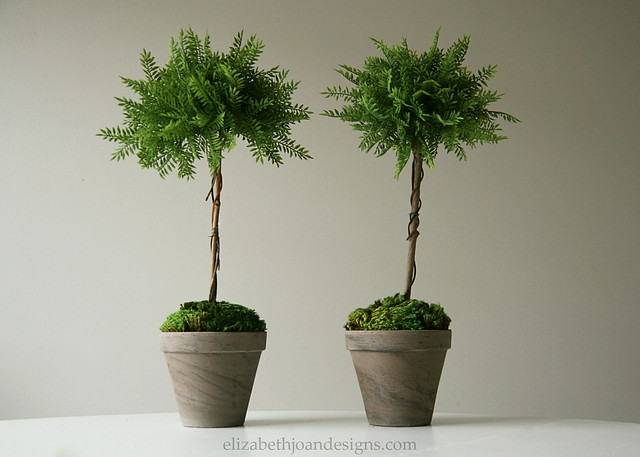
I know that these topiaries may look a little Spring-y right now as we are entering the colder months of the year, but they add the perfect amount life and cheer to our home. What do you think of faux topiaries?
3 Comments
Grace @ The Big Reveal
These are too cute! I hope you will link them up at the Found & Foraged Linky Party! Hope to see you there http://www.thebigrevealblog.com
Karisa | Petite Modern Life
I love these! This solves so many of my “I want to make a faux plant” cravings. Simply beautiful. I’ll be featuring this on my blog for Think & Make Thursday! Thanks for linking up :)
Diena Cameron
I realize this is an older post but I just happen to come across it after viewing your “paintbrush-stroke” flowerpots which were way too cute ! I love these topiaries !! I love the little wild natural look to them. Many years ago I made two topiaries using a Styrofoam balls, dowels, flower foam, almonds, little gold beads for in between the almonds to cover any bare spots and gold paint for the pots. I made them to go on each side of my sideboard for Thanksgiving and Christmas holidays but the Styrofoam balls were way too round and that’s why I liked yours, the fact they are very natural looking. I was really surprised that you actually didn’t use anything to “stick” the greenery into. I will have to drag my old ones out of storage and remake them into something hopefully will resemble your pretty ones. Thanks so much Erin