Book Page Wreath
It is super cold here right now. A thick layer of snow is covering the ground and the wind is blowing like a banshee. And apparently it is only supposed to get colder in the coming days. Like frost bite cold. So what do you do when it is freezing outside and your eyelashes freeze from the tears being blown out of your ducts by the wind? You DIY a book page wreath, of course. All you need are a few supplies and a couple of hours. Yes, I said hours, because these things take time. So grab your favorite movies and start a marathon.
Book page wreaths are nothing new. I’ve made a few over the years and Emily just shared a cool way to decorate a gift with one. There are a million different ways to do it, but my favorite way is to roll the pages into a cone shape.
My supplies for this wreath include:
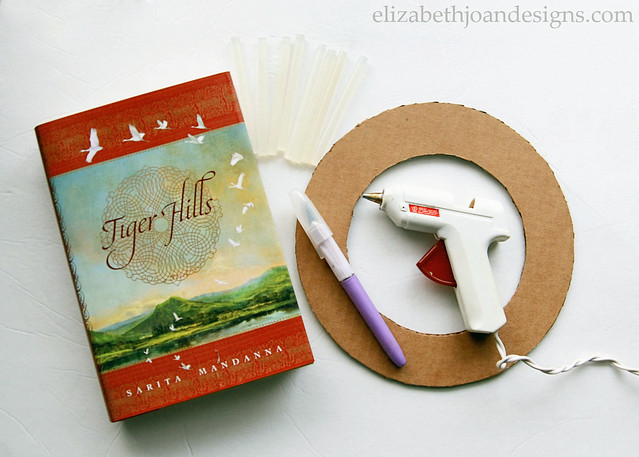
– Book from the dollar store
– Wreath form of some sort
– Craft knife or scissors
– Glue gun
– Glue sticks, lots of them
I may have felt a little bit bad that I had to murder a book for this project, especially since is had such good reviews on Amazon, but it only cost a buck, so it was worth it.
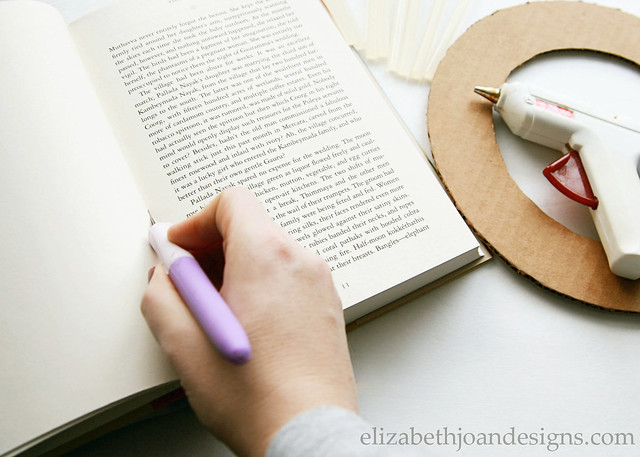
To start out, I used my craft knife to cut out a bunch of pages from the book and then ripped a few of them into strips.
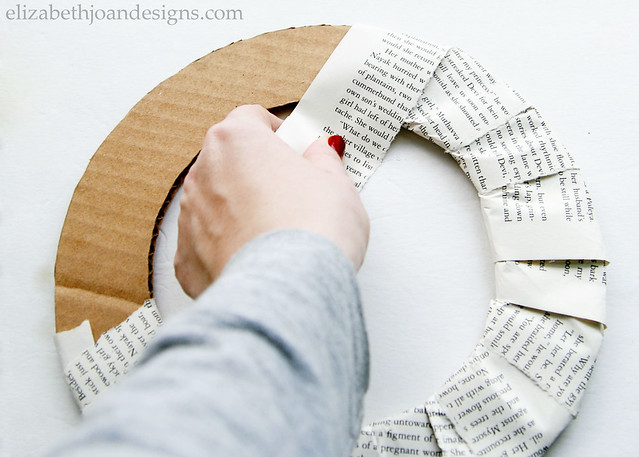
The strips were then wrapped around a homemade cardboard wreath form. I usually buy wreath forms from the dollar store, but they were sold out, so I had to improvise.
Next, I started rolling papers. That sounds a little weird, huh? I rolled individual book pages into a cone type shape and added a spot of glue on the side to secure them.

Working on one side of the covered wreath form, I attached the rolled pages, one by one, all the way around the circle.
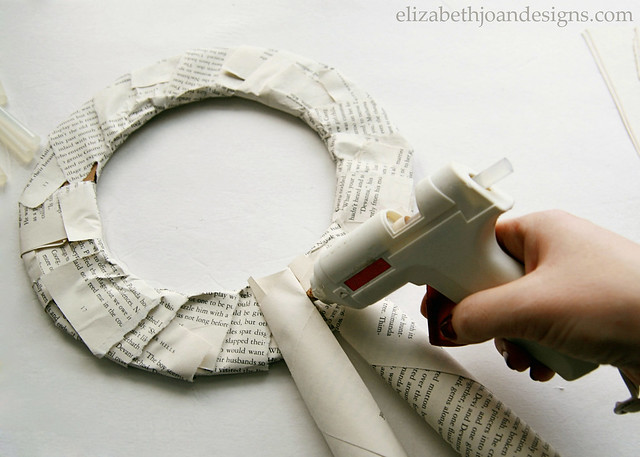
Aren’t glue guns wonderful? My blistered fingers are telling another story, but I quite enjoy the ease of attachment that the handy little phalanges burner glue gun provides.

Once I was finished with the first side, I flipped it over and started gluing more pages onto the second side, kind of staggering them between the ones behind them.

The rest of the wreath is completed by adding more layers on top of the previous ones and gradually moving everything in towards the middle until desired fullness is achieved. For this wreath, I used only fours layers of rolled book pages, but I’ve done up to seven in the past. It all depends on how much time and how many fingers you are willing to sacrifice.
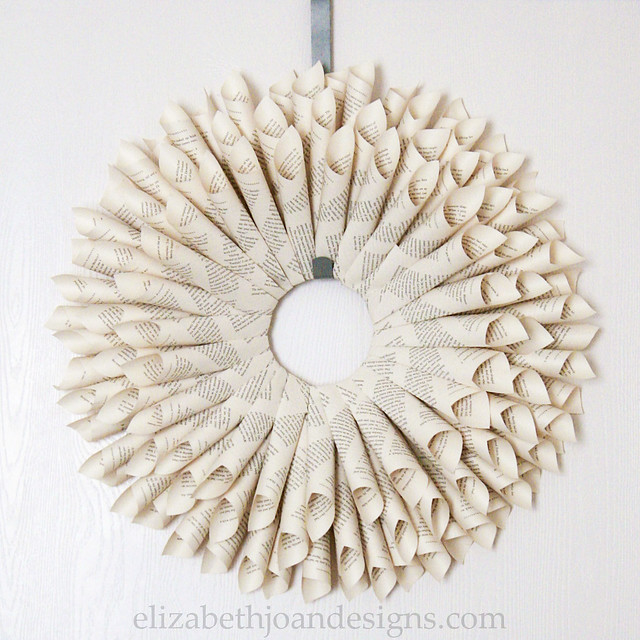
When you are finished, you can hang your wreath up on a door hanger or over a mirror. Both look quite lovely. Oh, and try not to glare too hard at anyone who comes within a few feet of it, threatening the hard work and long hours you put into your beautiful literary work.
3 Comments
Pingback:
Pingback:
Pingback: