-
2016 Year in Review
Hello, Friends! I hope you are enjoying the holidays and have eaten tons of amazing things over the past week! (We can all worry about our waistlines in the new year, right?) Anyway, for my 2016 year in review, I wanted to share some of the best posts from this year.
We’ve had so many amazing/crazy things happen this past year. This blog went from a two person business to a one woman show. Our family made a big decision to move from the city to the country. We finished remodeling one home and started work on another. Lucky for us, I have been able to document all of that right here on this blog. Here are a few of the top posts from this past year!
Most Popular Post
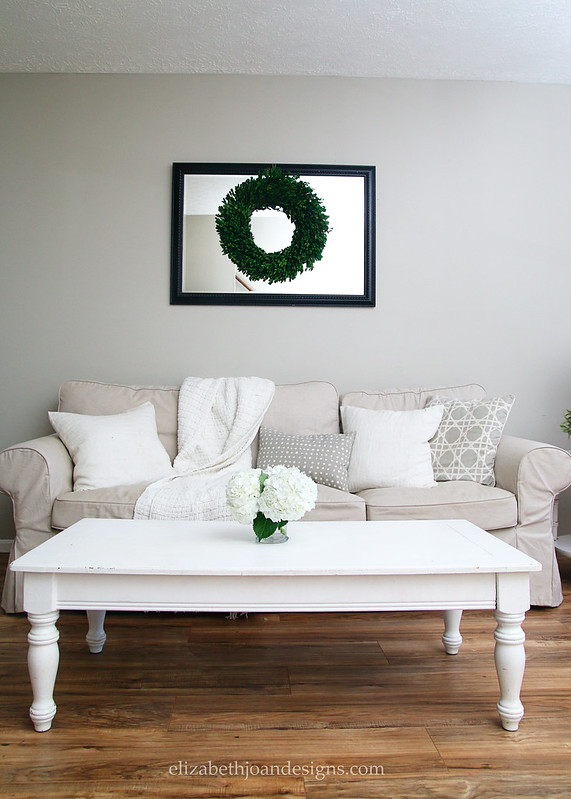
Spring Fling Home Tour – This post was the most viewed post from this past year. Spring is one of my favorite times of the year to decorate for. I love all of the fresh greenery and life that it brings to a home. And a lot of people also agreed!
Most Commented On Post
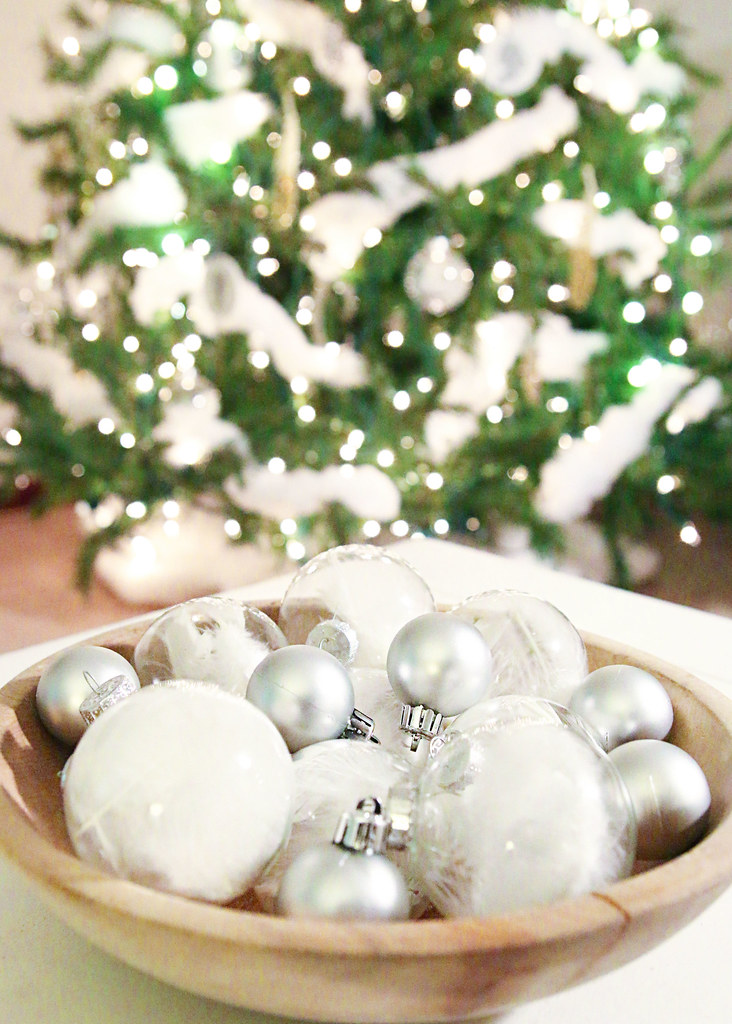
My Home Style Blog Hop: Neutral Modern Farmhouse Tree – We absolutely loved our Christmas tree this year. From the addition “snow” to several new ornaments, it was wonderful to have a light and bright tree to celebrate the season!
My Favorite Post
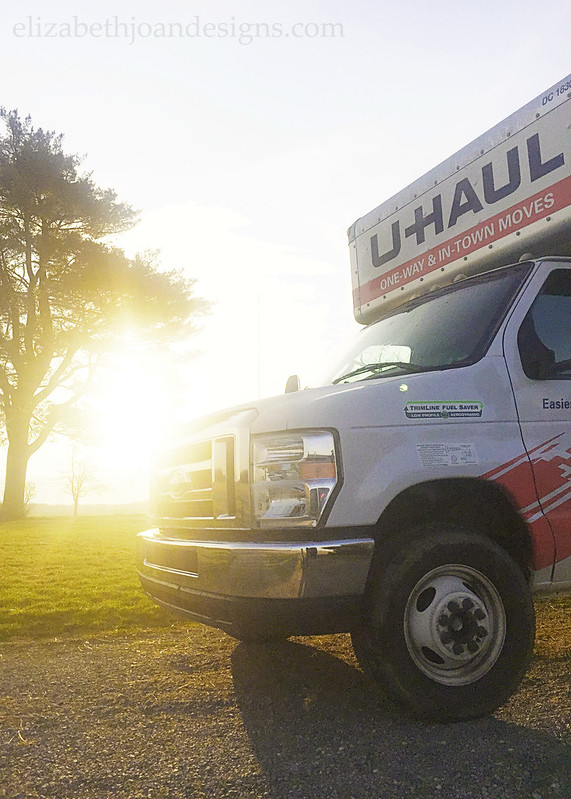
How We Sold Our Home In One Day – I have to admit that selling your home is one of the most stressful things a person can do. However, even though getting ready for showings and keeping your home spotless may have you wanting to poke your own eyes out, we were able to sell our home to the first buyer to walk through.
2016 has definitely been a crazy year! I can only imagine what this coming year has in store for us. Happy Holidays to you and yours! Please be safe and I will see you back here in 2017!
_____________________________________________________
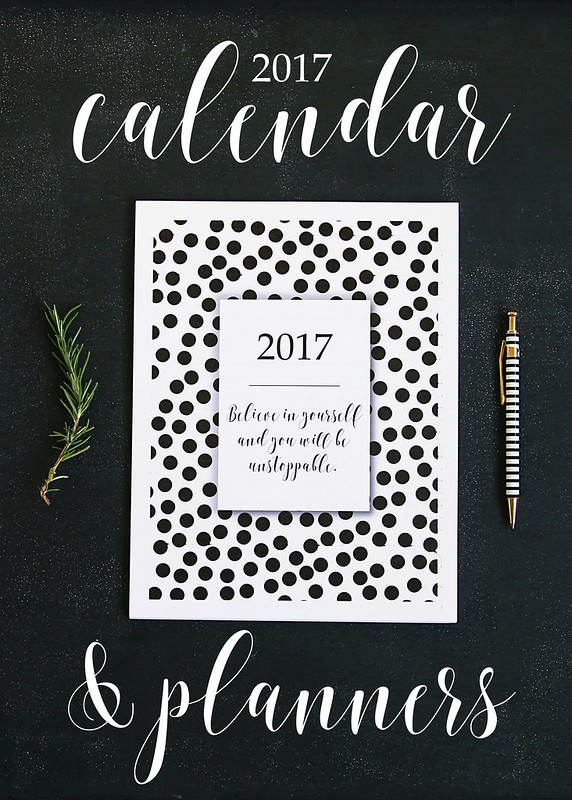
There is still time to plan out the New Year!
Download the Free 2017 Calendar/Planners!
-
Create & Share Challenge: Holiday Wreath Display
The holidays are almost upon us! Can you believe how fast 2016 went? Me neither. For my last attempt at holiday decor (I’ve shared my Christmas tree and entryway decor) I wanted to share this holiday wreath display that is currently hanging in our dining area.
This post is brought to you by Elizabeth Joan Designs in collaboration with Cutting Edge Stencils. Although I did receive a product from Cutting Edge Stencils, all opinions are my own. Click here to view my full disclosure.
This month, I’m joining up for my second Create & Share Challenge, hosted by Casa Watkins and Pocketful of Posies! Thanks, Ladies! There are 9 other amazing projects, so make sure to check them out at the bottom of this post! (View my first Create & Share Challenge project.)
So wait… what is this challenge? Well, participants are tasked with using their personal decor style to create a project centering around one main item. And this month, we are working with holiday stencils from Cutting Edge Stencils! For this project, I made a fun and neutral holiday wreath display and it was so easy to create!

This post contains affiliate links. Click here to view my full disclosure.
To make this holiday wreath display, you will need:
- Holiday Cheer Christmas Stencil from Cutting Edge Stencils
- Painter’s Tape
- 48″ X 26.5″ Plywood
- Trim Pieces cut to 26.5″ and 45″
- Wood Stain
- Old Rag
- Paint Brush
- 2 Paint Colors (I used Waverly Chalk Acrylic Paint in White and Silver Lining.)
- Small Paint Roller
- Screwdriver and Screws
- Hammer and Nails
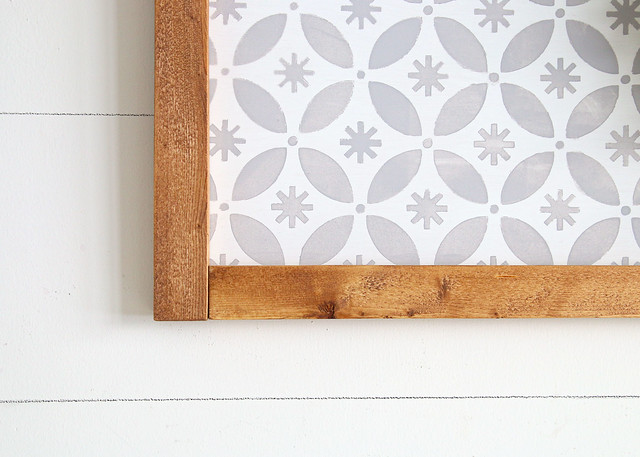
To start, I used an old rag to apply Minwax stain (Early American) to the trim pieces.

While the trim pieces were drying, I painted one side of the plywood with white paint.

When the white paint was dry, it was time to stencil! I don’t think I’ve ever used a larger stencil like this before and I could not believe how simple the process was. I simply used painter’s tape to attach the stencil to the middle of my board and used a smaller paint roller to apply the gray paint. Once I was finished with one section, I carefully pulled up the stencil and repositioned it in a new spot with part of it overlaying a previously painted section.

Next, I assembled the trim pieces to make a frame. I used screws to attach the ends together. (Oops, I forgot to get a photo of that!)
Then, I laid the plywood on top of the frame and nailed around the back edges.

You can see below that the corners of the trim were not mitered. I just put the straight edges together with the shorter pieces on the outside.
Easy peasy!
If you want to hang your creation, you can attach sawtooth picture hangers or D-rings to the back. Didn’t this turn out lovely?

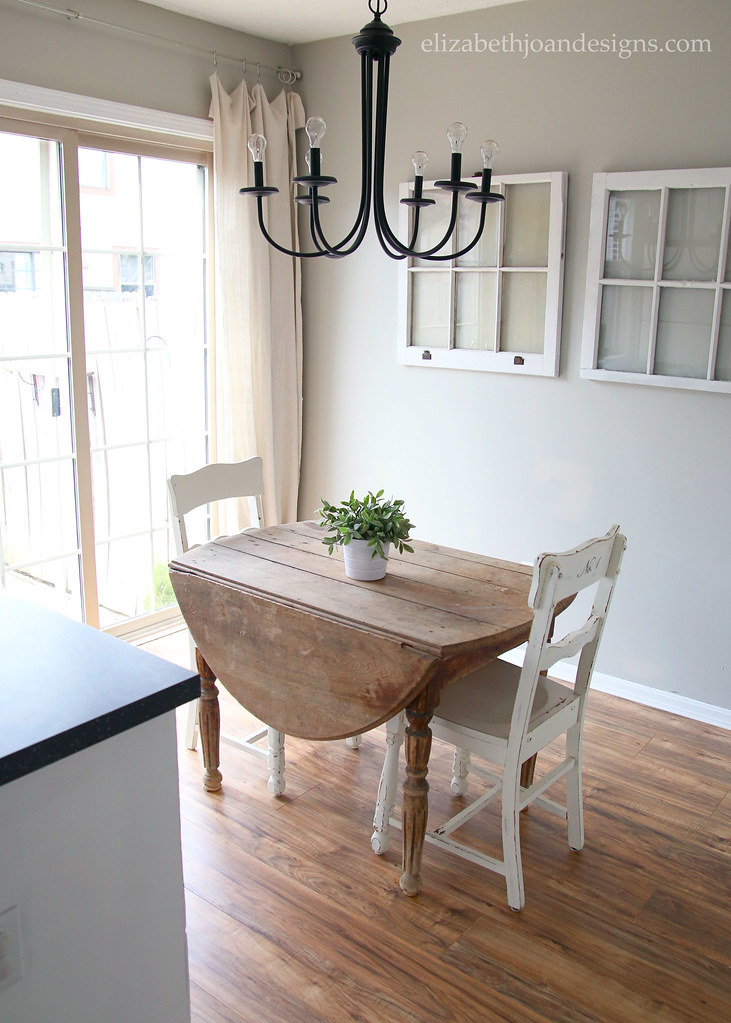
To finish, add your favorite wreath! I chose a pretty boxwood wreath and attached it with a ribbon and thumb tack at the top. This holiday wreath display is currently hanging in our dining area and we love how it looks! You may have noticed that the dining area is starting to look a bit different. (See the before photos in our Country House Tour.) We’ve been working on it bit by bit and I will have a full update of the entire space after the holidays!
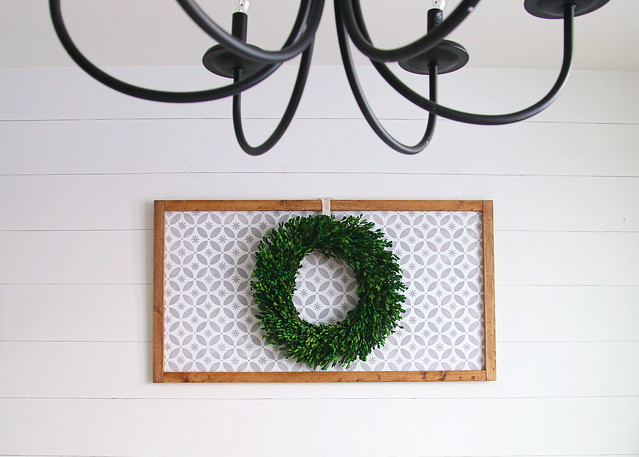
One of my favorite things about this holiday wreath display is that is can be used well beyond the holiday season and into the new year!
Thanks so much for stopping by to visit Elizabeth Joan Designs and don’t forget to check out the other awesome stenciled holiday creations below!

- Kim Six Fix – Stenciled Spray Snow Flakes
- Green With Decor – How to Stencil A Pillow For Christmas
- Vintage Romance Style – The True Meaning of Noel Sign
- Southern Couture – Wooden Reindeer Stencil
- One Mile Homestyle – Stenciled Holiday Coloring Page Place Mats
- DIY Beautify – Stenciled Wall Hanging Christmas Decor
- Elizabeth Joan Designs – Stenciled Wall Hanging
- Farmhouse 40 – DIY Reindeer Antlers Bulletin Board
- Iris Nacole – Stenciled Christmas Tree Stand Box
- Pocketful of Posies – The Easiest Christmas Cookie Decorating Hack Ever
-
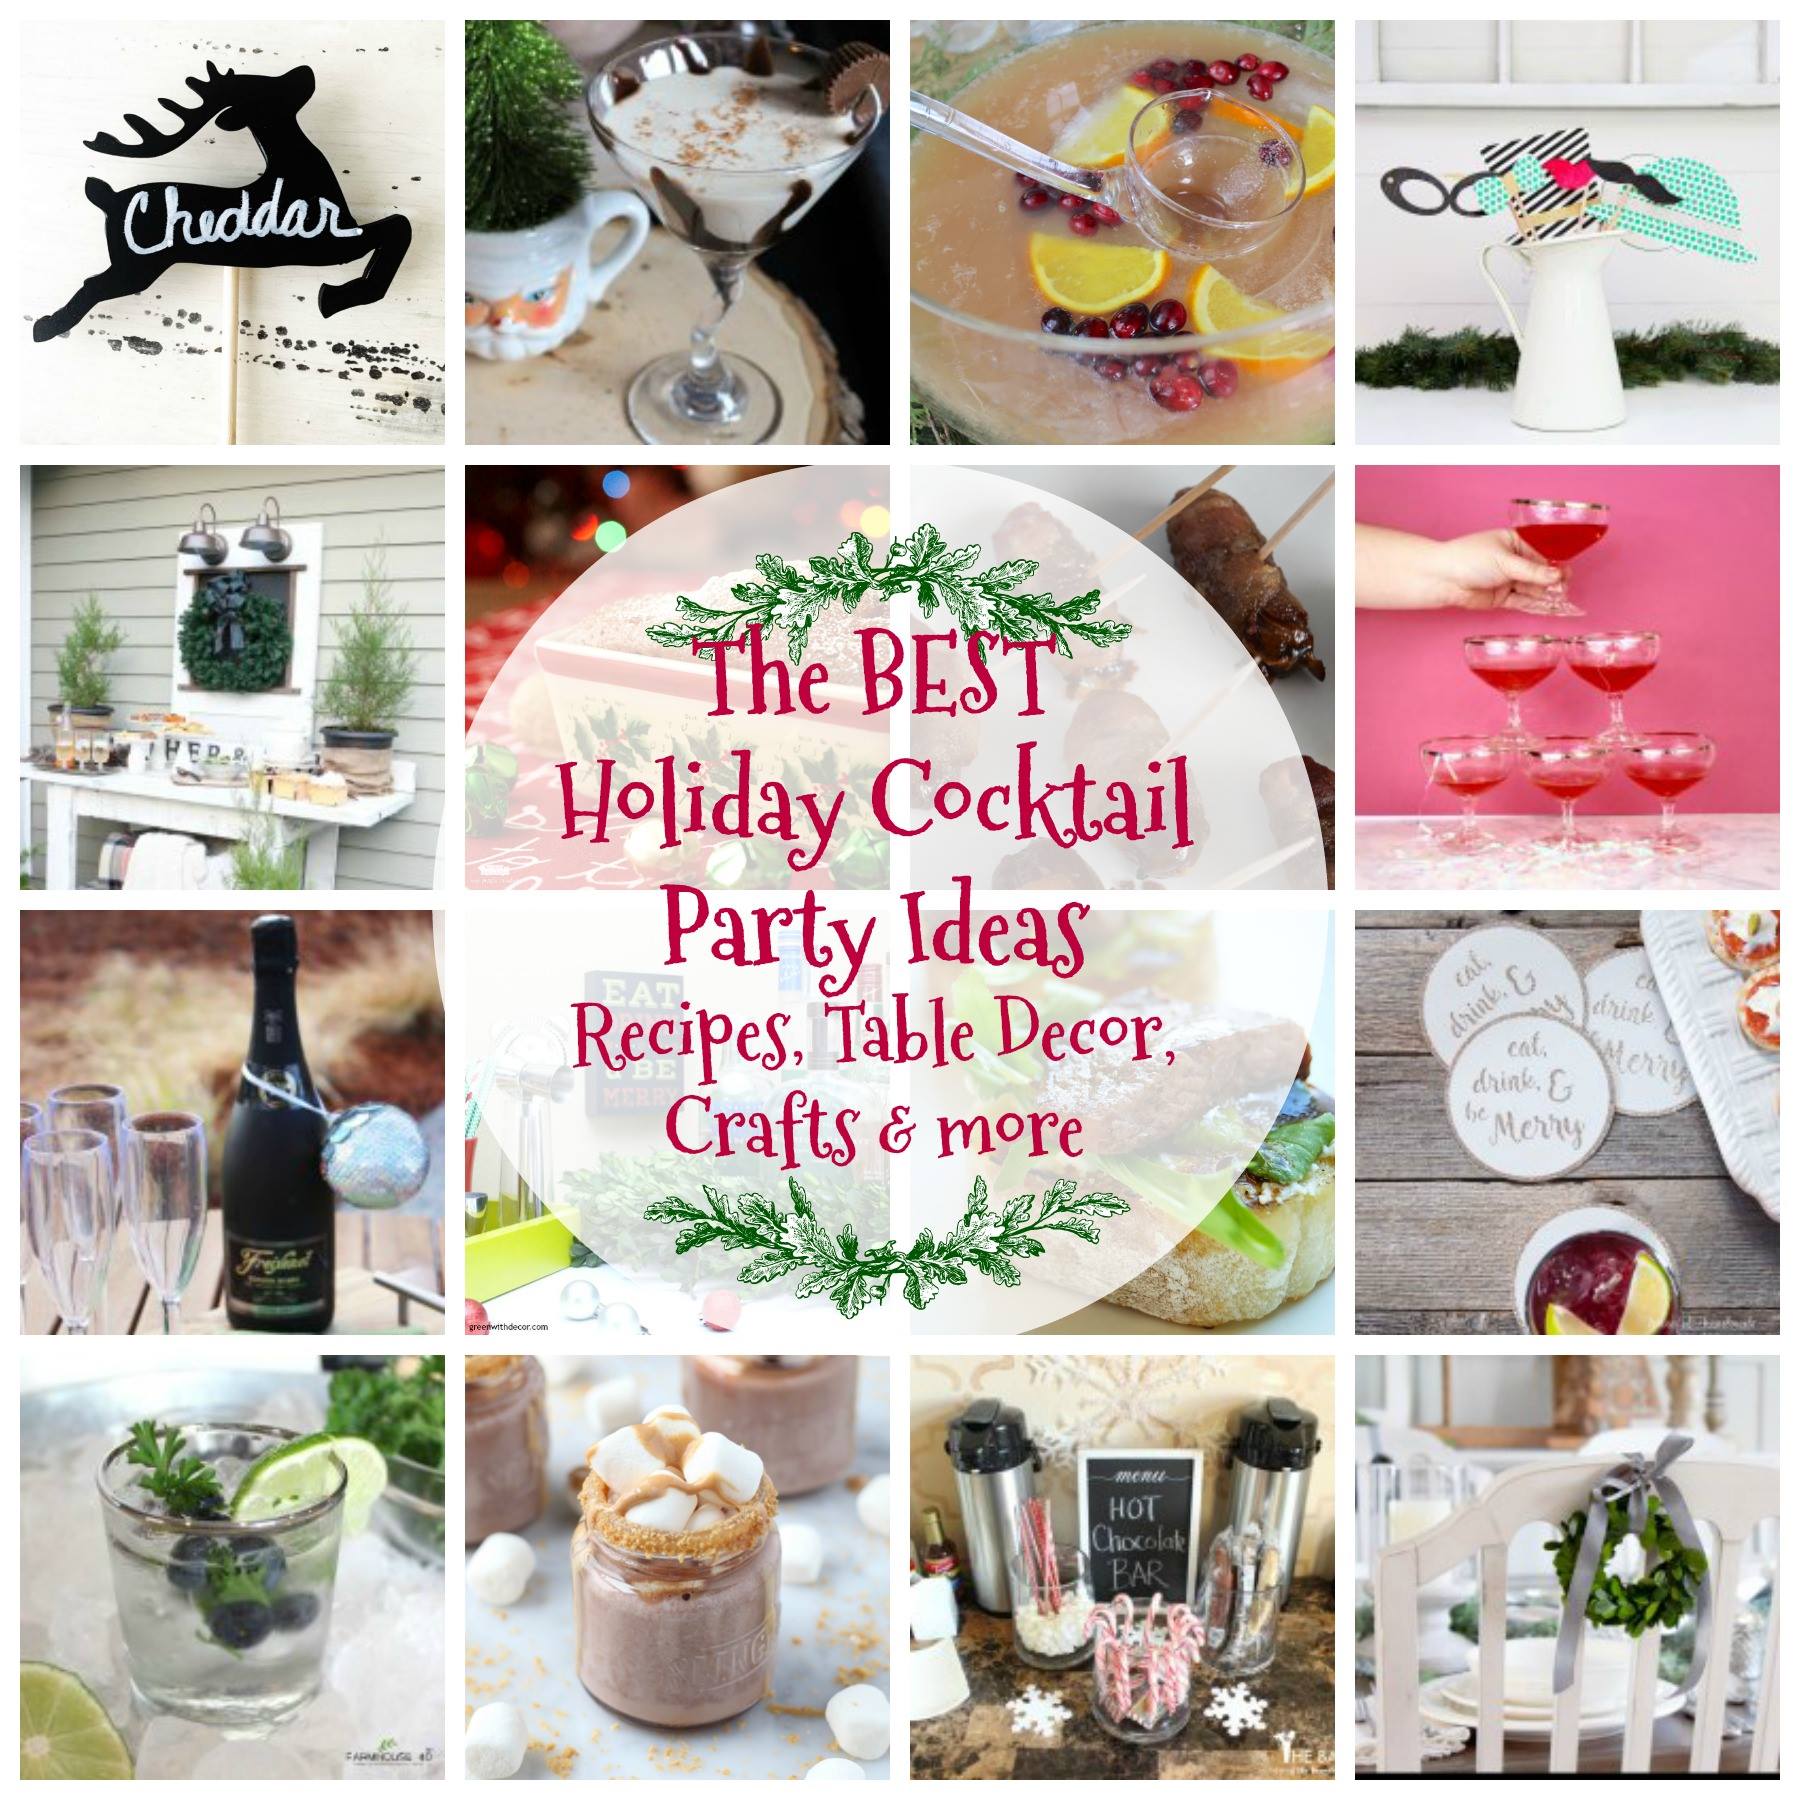
Virtual Holiday Cocktail Party: Photo Booth Props
Holiday parties can be so much fun! There are yummy foods to try, delicious drinks to drink, gorgeous decorations, and so much more. One thing that I’ve always wanted to try was to set up a photo booth for guests to take pictures and create some photo booth props. It is such a neat way to save the memory of the party. I have yet to create the photo booth, but I created all of the props in printable format to share!
Today, I’m also joining my friends from 2 Bees In A Pod in a Virtual Holiday Cocktail Party! (Thanks for including me, Vicki and Jennifer!) These ladies have rounded up some amazing bloggers to bring you great cocktail party recipes, table decor, crafts and more! You can check out all of these awesome ideas at the bottom of this post.
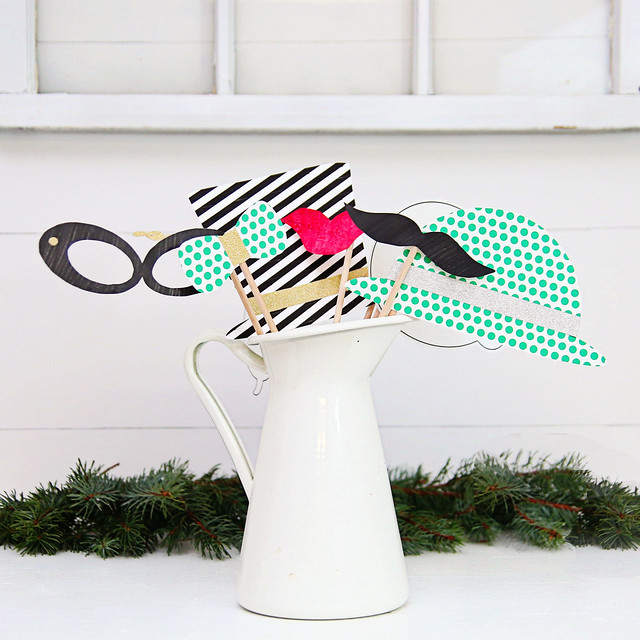
OK. Back to the photo booth props. I know I mentioned they were printable, but failed to let you know that they are also customizable. Oh, yeah! There are so many possibilities for these! As you can see, there are two word bubbles, two pairs of glasses, two hats, a set of lips, a necklace, a tie, and a mustache.

You can print these babies out on plain white cardstock and use them as they are. Color them in, add embellishments (glitter, sequins, feathers, etc.), and glue a small wooden dowel to finish them off. These would be great for the kids to work on or you can coordinate them with your party decor!
I colored in a few of mine with markers (the lips, mustache, and black glasses).

I also used a couple of the images as templates and traced them onto patterned printable paper (linked below). Then, I cut them out and added gold or silver washi tape to jazz things up.

The word bubbles are perfect for writing on. Modify them to fit the theme of your party!

I really love how these turned out! And… so do my kids. They couldn’t wait until I was done photographing everything to get their hands on these. I also gave them some undecorated props to add their own personal touches to.
CLICK HERE DOWNLOAD YOUR FREE PHOTO BOOTH PRINTABLES
BLACK/WHITE STRIPED PAPER | GREEN POLKA DOT PAPER
All of my printables are currently FREE for download for personal use only. However, this is subject to change in the future, so snag them at no cost while you still can! (View Terms of Use.)

Now it is time to continue on with this Virtual Holiday Cocktail Party and check out all of the other awesome contributions. There are so many fun and yummy ideas!
-
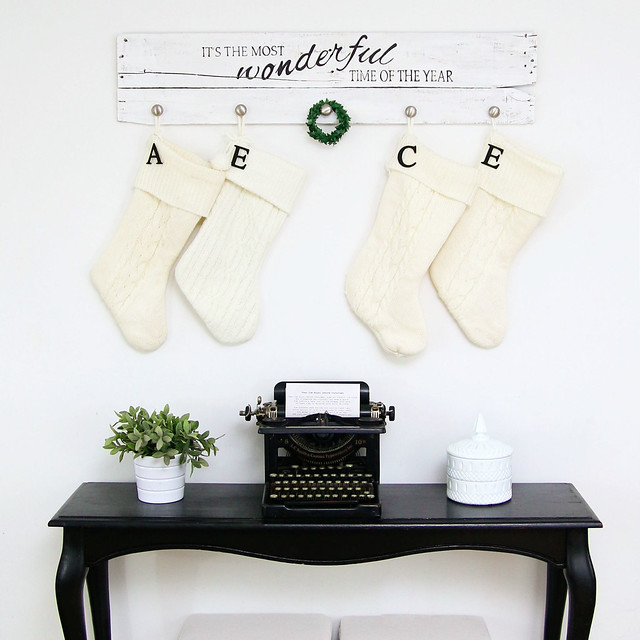
Holiday Entryway Decor
This year, our holiday decor is pretty minimal. Since we moved into the Country House just about a half of a year ago, our garage has been a disaster of boxes and furniture and trash and recycling. So, most of our holiday decor has stayed in the mess in the garage. We’ve put up our tree (see our Neutral Modern Farmhouse Tree) and a few wreaths outside, but today I wanted to share our holiday entryway decor.

Our entryway is really just the 4th wall of our living room with a small coat closet. (Click here to see the before tour of our Country House.)
You may remember the stocking holder that I made a couple of years ago. Unfortunately, our past couple of homes have not had a fireplace with a mantel. So, we were in need of a place to hang our Christmas stockings. This DIY hanger has been awesome and perfectly holds all of our stockings, even when they are filled with goodies on Christmas morning.
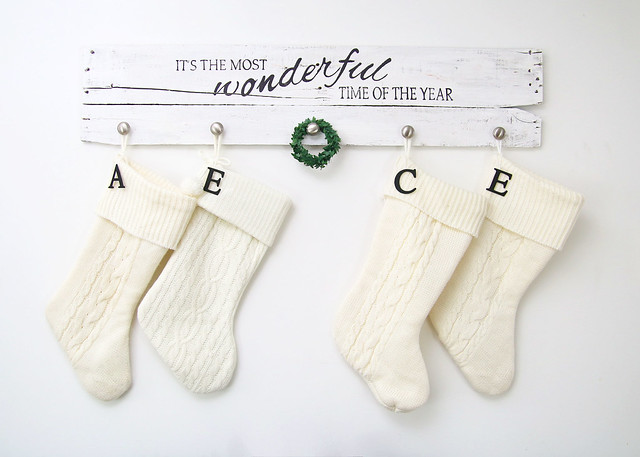
I also add some painted chipboard letters to each stocking so Santa knows where to put his loot. Yes, I know that there are two E’s, but if you look closely, you will be able to see that one of those stockings is a little different from the others. We had actually purchased the 3 matching stockings before our son was born and needed another creamy cable knit one to go with the rest when he joined the fam. I could not find that same pattern, so I settled for similar.

Underneath the stockings is a console table with a couple of storage ottomans below that. The ottomans are great for storing our kid’s shoes and work as extra seating in a pinch.
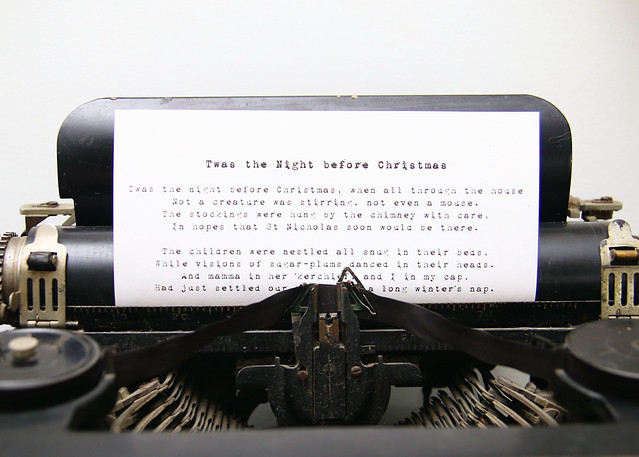
On top of the console table is a couple of vintage items that each belonged to one of my grandmas. The white, milk glass double bowl with a lid belonged to my paternal grandmother and the old typewriter was my maternal grandmothers. I love having keepsakes like these!

I also added an appropriately typed Christmas poem/story to the typewriter for the season.
This little space is lovely to walk into when we get home. Even though we don’t have a ton of decor up this year, there is just enough to make it feel merry and bright!
What do you think of our holiday entryway decor? Leave a comment to let us know!