-
Holiday Entryway Decor
This year, our holiday decor is pretty minimal. Since we moved into the Country House just about a half of a year ago, our garage has been a disaster of boxes and furniture and trash and recycling. So, most of our holiday decor has stayed in the mess in the garage. We’ve put up our tree (see our Neutral Modern Farmhouse Tree) and a few wreaths outside, but today I wanted to share our holiday entryway decor.

Our entryway is really just the 4th wall of our living room with a small coat closet. (Click here to see the before tour of our Country House.)
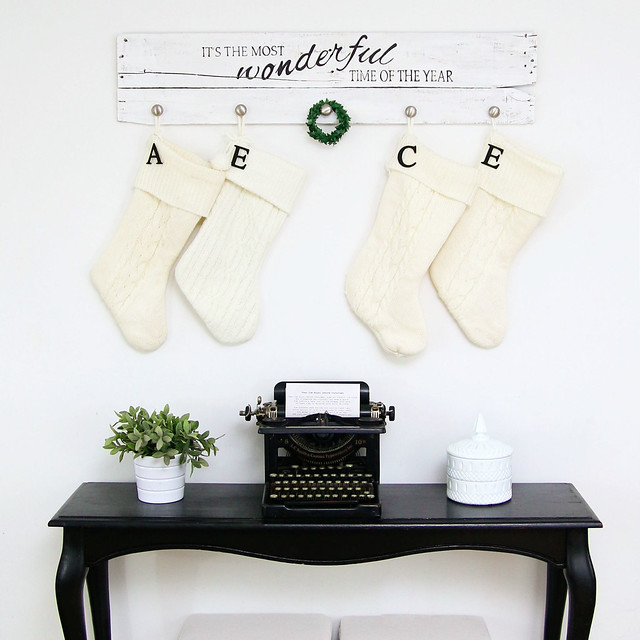
You may remember the stocking holder that I made a couple of years ago. Unfortunately, our past couple of homes have not had a fireplace with a mantel. So, we were in need of a place to hang our Christmas stockings. This DIY hanger has been awesome and perfectly holds all of our stockings, even when they are filled with goodies on Christmas morning.

I also add some painted chipboard letters to each stocking so Santa knows where to put his loot. Yes, I know that there are two E’s, but if you look closely, you will be able to see that one of those stockings is a little different from the others. We had actually purchased the 3 matching stockings before our son was born and needed another creamy cable knit one to go with the rest when he joined the fam. I could not find that same pattern, so I settled for similar.

Underneath the stockings is a console table with a couple of storage ottomans below that. The ottomans are great for storing our kid’s shoes and work as extra seating in a pinch.
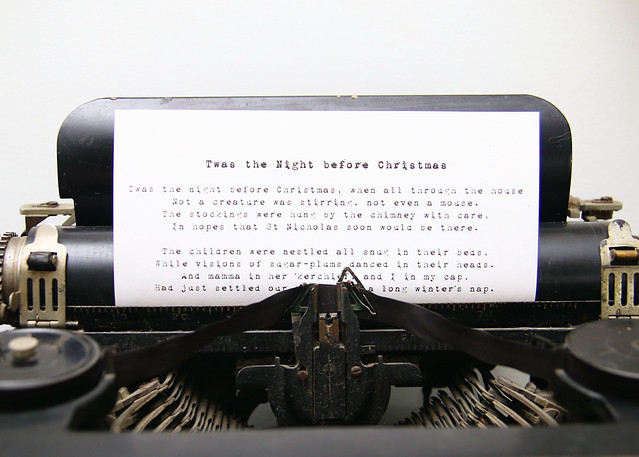
On top of the console table is a couple of vintage items that each belonged to one of my grandmas. The white, milk glass double bowl with a lid belonged to my paternal grandmother and the old typewriter was my maternal grandmothers. I love having keepsakes like these!

I also added an appropriately typed Christmas poem/story to the typewriter for the season.
This little space is lovely to walk into when we get home. Even though we don’t have a ton of decor up this year, there is just enough to make it feel merry and bright!
What do you think of our holiday entryway decor? Leave a comment to let us know!
-
My Home Style Blog Hop: Neutral Modern Farmhouse Tree
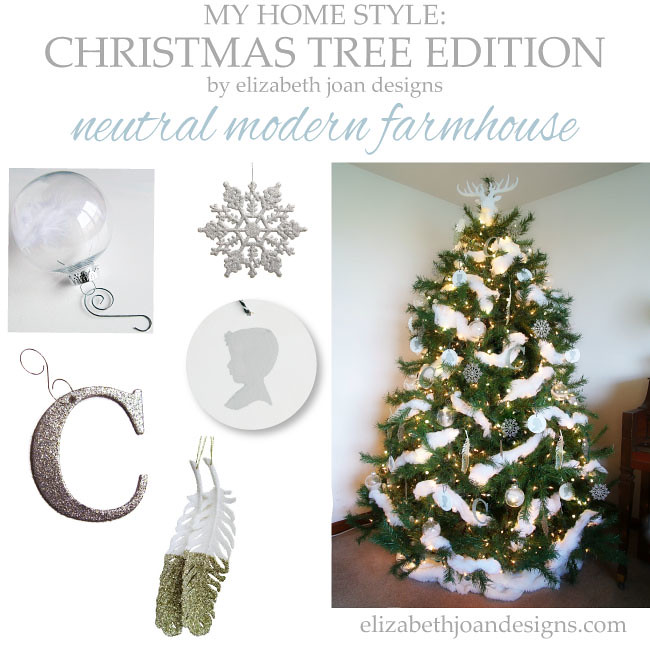
Welcome to the 2nd annual My Home Style Blog Hop: Christmas Tree Edition hosted by Casa Watkins. I’m so happy to be participating again this year and to be sharing my Neutral Modern Farmhouse Tree for Christmas with you. (Check out my Christmas tree decor style from last year.)
If you are heading over Lovely Etc., WELCOME to Elizabeth Joan Designs! My name is Erin and I blog about all things DIY, decor, etc. Isn’t Carrie’s tree and style amazing?! I just love her glam winter wonderland tree. If I were brave enough, I would have flocked my own tree this year. However, I opted not to because I have yet to research all of the details. (Is the flocking permanent? Can you unflock a tree? Does it shed?)
This Year…

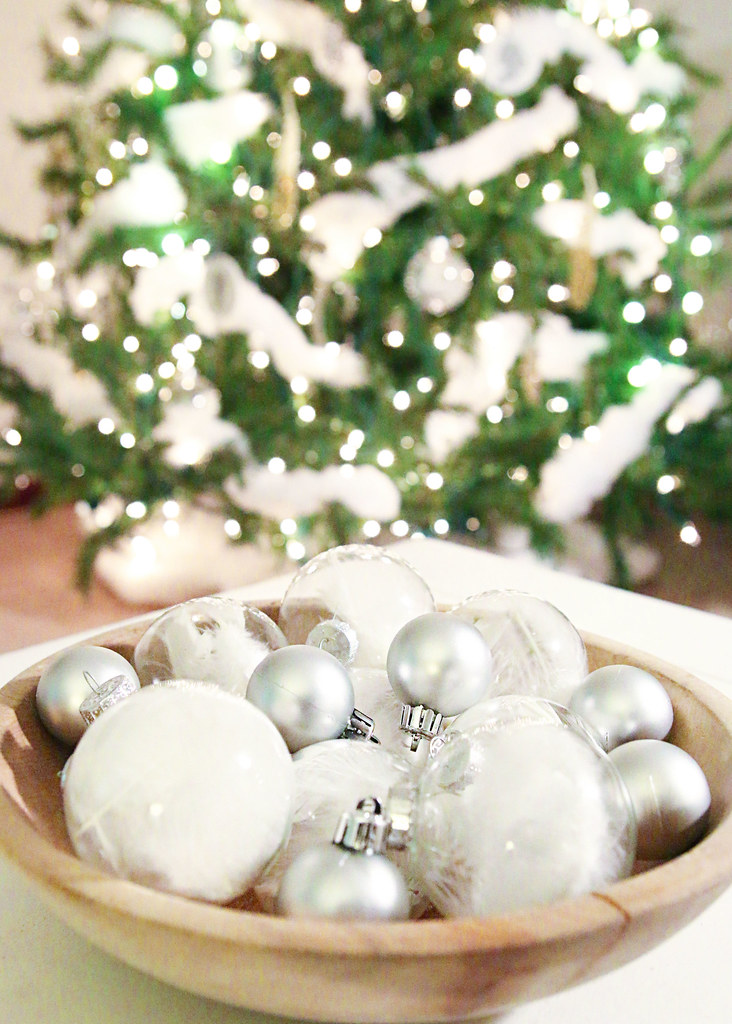
Anyway, my Christmas tree style for this year is similar to last year’s tree, in that I’ve used several of the same ornaments. However, I’ve really changed a few things up to give it a new, fresh look! Our tree is a lot brighter, thanks to some white batting (from a torn apart old pillow) that I added to give a freshly snowed upon look. I wanted to lighten things up and this was a great way to achieve that effect.
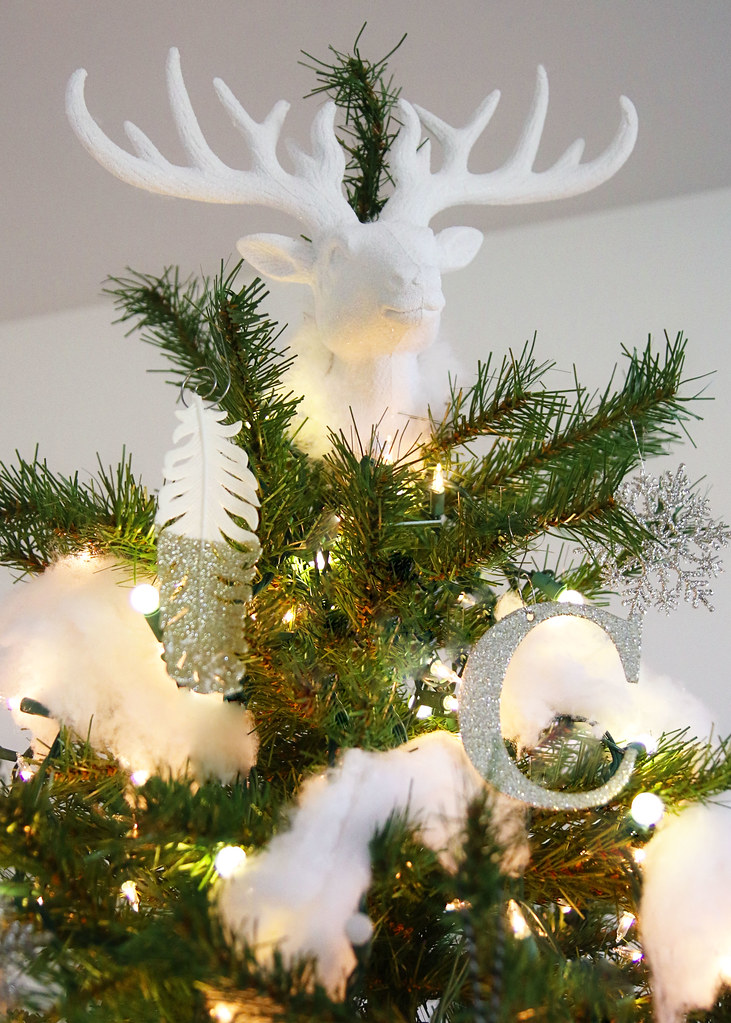
One of the new items that we wanted for our tree this year was a new tree topper! (In the past, we’ve used a star and a monogrammed C; our last name initial.) When my hubby and I saw this cute white, glittered reindeer head, we knew it would be the perfect addition to our tree. Isn’t he cute? I think we need to name him. *wink* And, for $6.98, I don’t really think I could have passed him up!
The Ornaments
We opted to keep our ornaments simple and went with a few tried and true favorites, along with a new find. I DIYed the feather ornaments and silhouettes of our kids. The rest were purchased on the cheap! Monogram C from Walmart.
This post contains affiliate links. Click here to view my full disclosure.
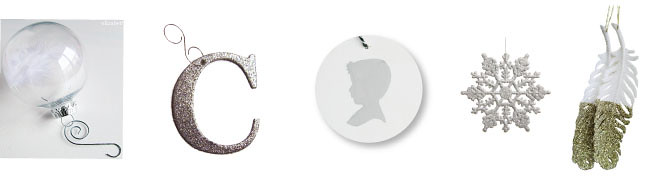
Feather Ornament | Monogram | Silhouette | Snowflake | Glitter Feather
We’ve also added a bazillion new lights to the tree. (OK, maybe that is a bit of an overstatement.) There are bigger bulb type lights mixed with traditional warm white lights. I love how glowy it looks in the evening!

You may not be able to tell from the photos, but tons of lights = tons of cords. And I have yet to figure out how to hide all of these. Seriously, when the Christmas lights are not on, it looks like I must have just thrown the bundles of lights at the tree and called it a day. It truly is a mess. I guess that is something to try to figure out how to improve on for next year!
Previously, I have described our home style as Neutral Modern Farmhouse and our Christmas tree definitely falls into the same category, even in this new house. I love to keep things simple with clean neutrals, but also have a comfortable and collected look. Kind of classic meets contemporary.
Thanks so much for stopping by today to check out the My Home Style Blog Hop: Neutral Modern Farmhouse Tree! To see more, browse the project gallery or follow me on Instagram or Facebook for fun sneak peeks!
Eager for more Christmas Tree styles? Head on over to Roots North and South next! Then, check out the other Christmas Tree stylings by these amazing bloggers.

Monday
Casa Watkins Living
Blue I Style
Polished Habitat
Southern State Of Mind
Up To Date Interiors
Lovely Etc.Tuesday
Elizabeth Joan Designs {You are here!}
Roots North and South
Postcards From The Ridge
The Striped House
Pocketful Of Posies
The Gathered HomeWednesday
Boxy Colonial
Ciburbanity
PMQ For Two
Farmhouse 40
Monica Wants ItThursday
The Happy Housie
Organized Nashville
Designing Vibes
This Is Our Bliss
Iris NacoleFriday
Fresh Crush
Domicile 37
Cassie Bustamante
Flourish and Knot
A Designer at Home -
Tween Bedroom Makeover Details and Sources
You guys! I must apologize. In the final reveal post, I said that I would share all of the Tween Bedroom Makeover Details and Sources with you last week. Oops! Over a week has passed and I’m just now getting around to finishing up this post. Part of it was probably laziness and the other part was burn out. I hear that completely overhauling a room in just 6 weeks can do that to a person. *wink* However, I’m ready to jump back in and tell you all about it.
Some of the links in this post are affiliate links. Click here to read my full disclosure.
To see all of the before photos, mood board, and all of the final photos of this space, click here!
As I already mentioned, this room was completely renovated. After some major gutting of the old carpets, we added new floors (peel and stick faux wood) and painted the walls (Benjamin Moore Gray Owl in Satin @ 50% ), trim, and doors (Behr Pure White in Semigloss).
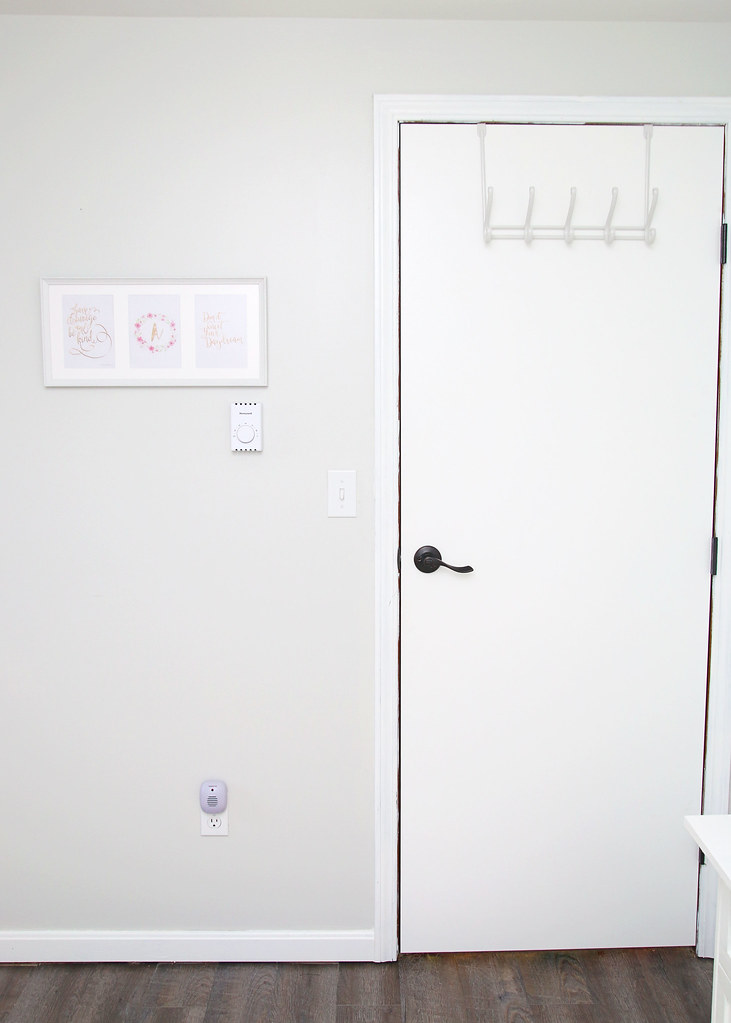
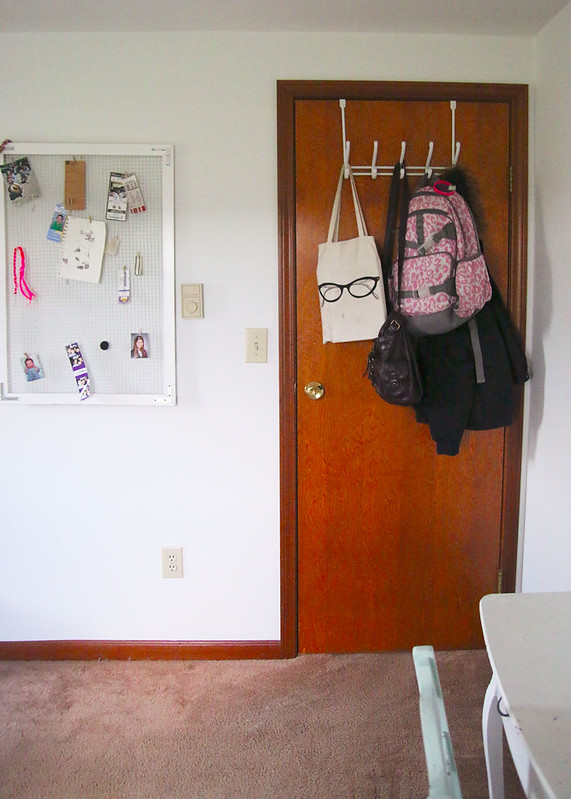
Over Door Hooks | Door Handle | Thermostat
We also replaced all of the electrical outlets, switches/plates, and the ugly almond thermostat.
Aren’t these printable art pieces perfect? Guess what!? They were all free!
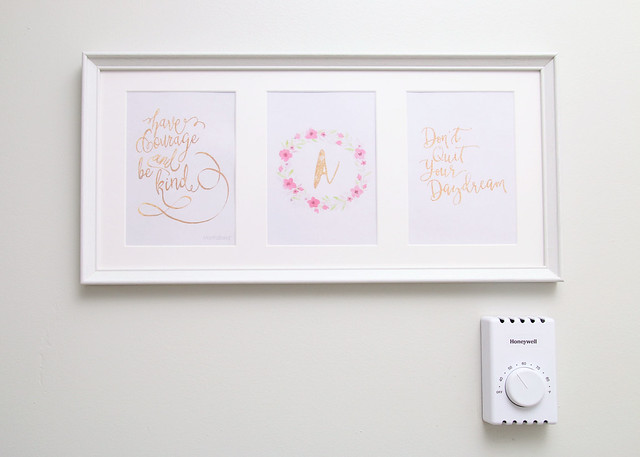
Have Courage Be Kind | Glitter Initial | Don’t Quit Your Daydream | Frame
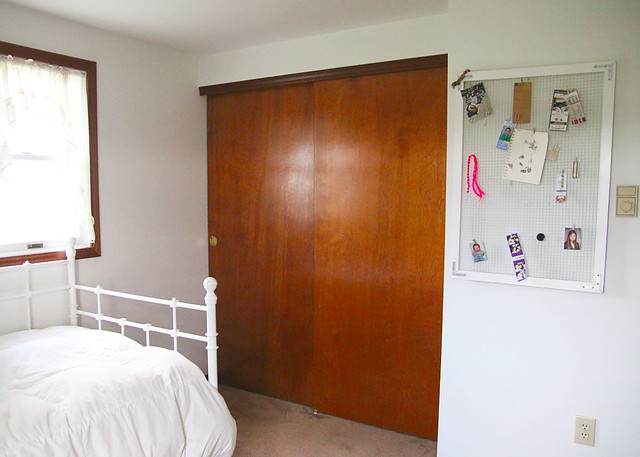
Since this room was craving some storage, we added large white boxes in the closet to help corral clutter and collections.

White Storage Boxes
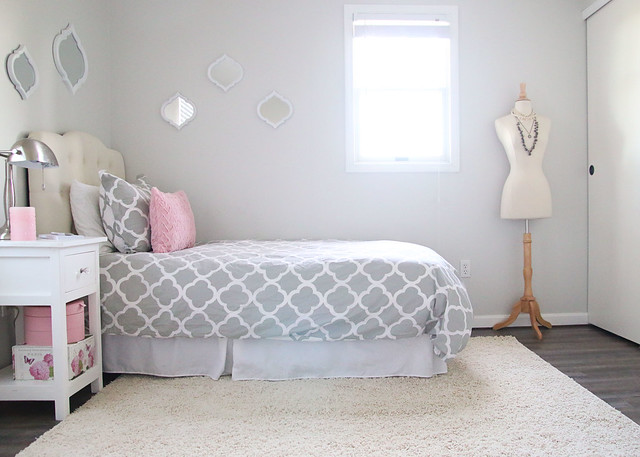
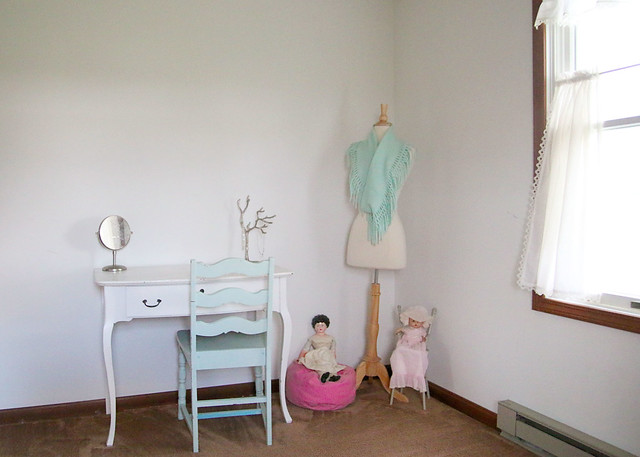
This pretty dress form is now a display area for new and vintage necklaces. Our creative girl also likes fashion and design, so her fabrics and sewing machine are just behind the doors of the closet. When inspiration hits, she can remove the necklaces and pin up a new outfit .

Dress Form | Blinds
Finding a tufted headboard that our daughter liked and also fit our budget was a bit of a challenge. It seemed that every place we looked was out of stock of this particular one. However, after a little waiting, we were able to score this puppy and it looks so beautiful in this space.
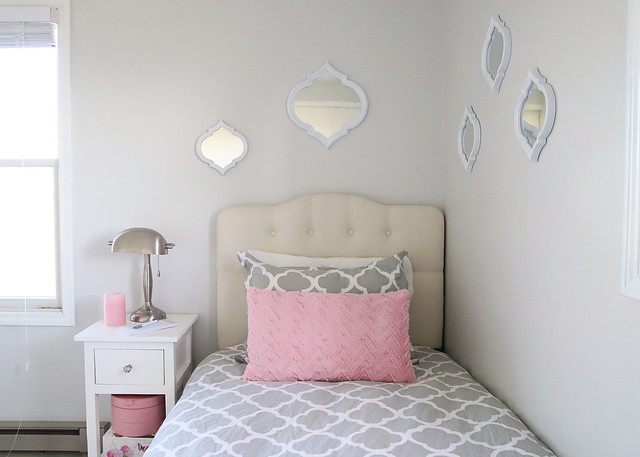
Headboard
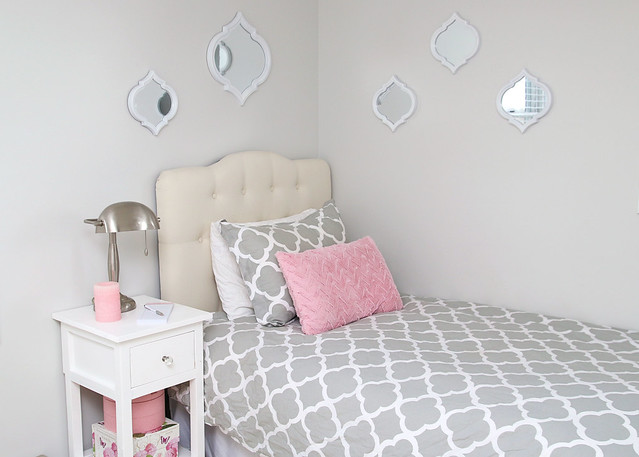
Aren’t these Morrocan mirrors cute? We snagged them for just $16 from Marshalls. The scale is a little off for my liking, but my daughter loved the shape and they just happened to go with the room.
The nightstand was a last minute idea. My hubby built this one from scratch, using building plans from Anna White. A drawer and a few pretty boxes below add more storage to this small room.
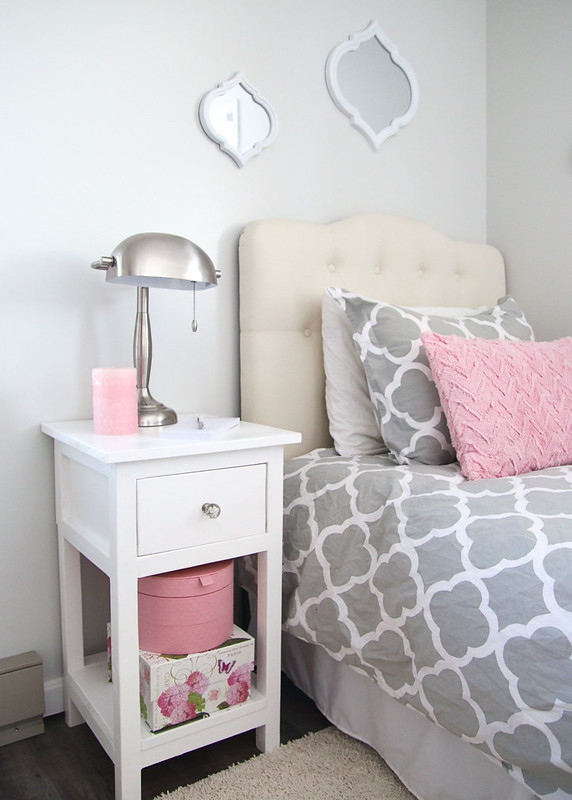
Drawer Knob | Pink Storage Box | Floral Storage Box
The gray and white clover pattern bedding was our first purchase for the room and one that we are so happy with. The duvet cover is reversible (gray on white) and adds some nice pattern in here.
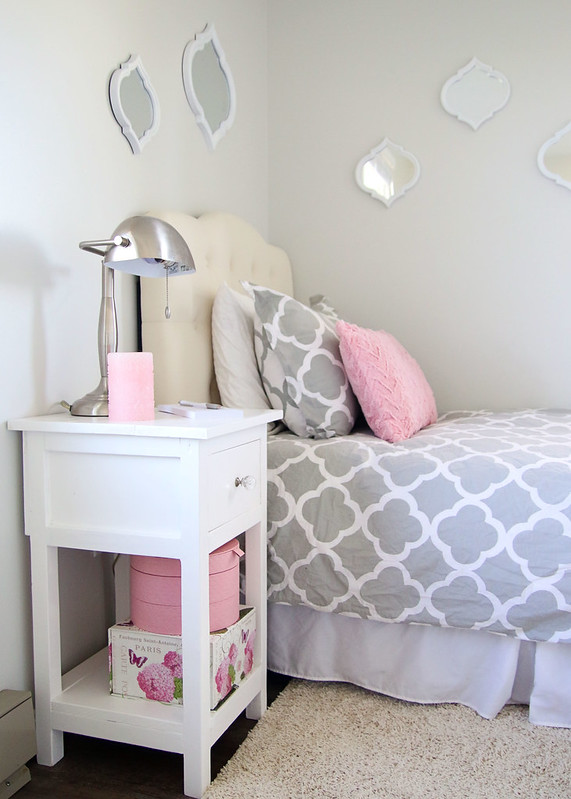
Duvet & Sham | Pink Pillow
By looking at this room, you probably wouldn’t guess that our daughter’s favorite color is purple. What? That’s right. The girl loves all things lavender. However, when looking for inspiration, she kept coming back to rooms that featured touches of pink and ultimately decided she liked the warmth and softness of a light pink color vs. purple.

Lamp – Passed On From Family | Pink Flameless Candle | Notepad
One item I haven’t talked about yet is this plush, cream, shag carpet we picked out. Since the new floors are pretty dark, we wanted to brighten the area with a soft rug. This fluffy option is perfect for stepping onto right out of bed in the morning. Or practicing splits and stretches. Whatever you may fancy.
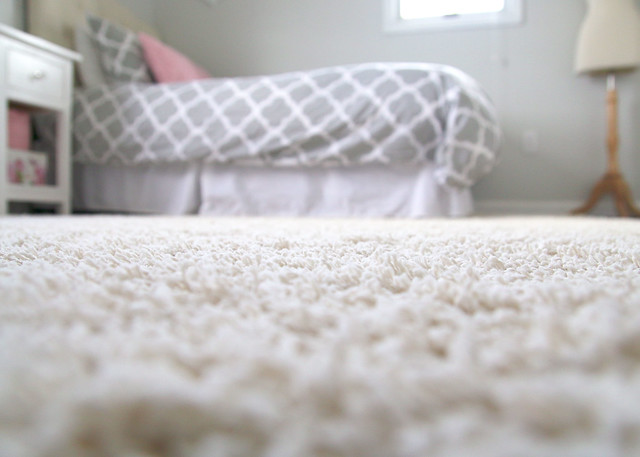
Area Rug
And if you’ve been following along, you may remember chandelier-gate 2016. (OK, it wasn’t really a scandal.) This pretty little number gave us a few installation problems, but luckily we worked them out.
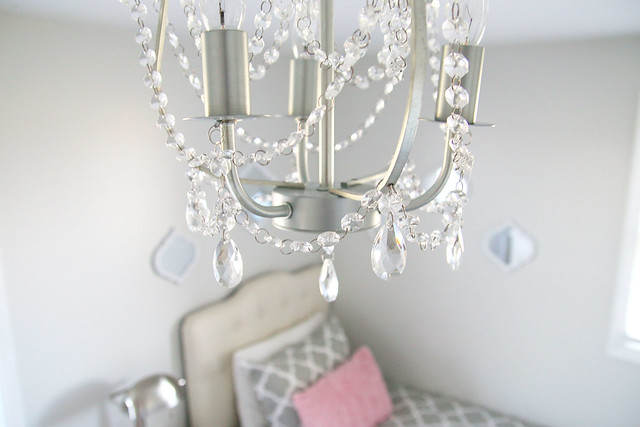
Chandelier | Ceiling Medallion
I already shared the details of how we built this “dresker” using two small chests of drawers. It is such a functional piece of furniture in this room since it doubles as both a dresser and a desk.

3 Drawer Chest | Drawer Pulls | Chair | Faux Sheepskin | Waste Can
The swivel chair and faux sheepskin were a few last minute requests from our daughter…
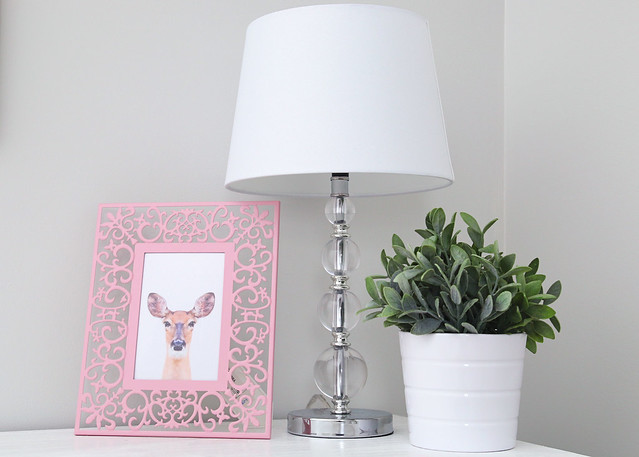
Pink Frame | Deer Print | Lamp | Plant & Pot
Along with some of these pretty accessories.
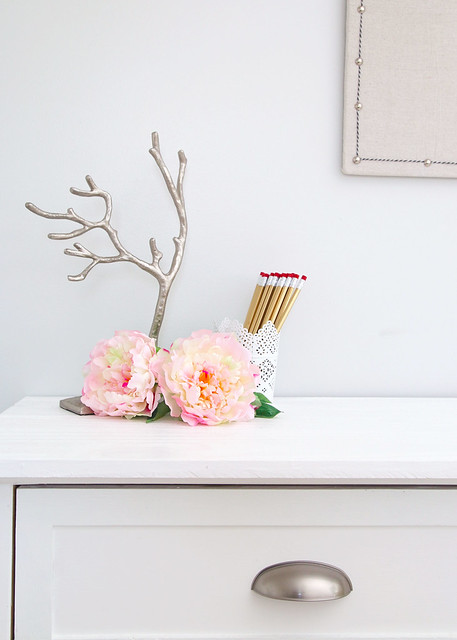
Jewelry Tree | Flowers | Pencil Holder
We wanted a place for the little miss to display photos and important reminders, so I whipped up this easy pinboard with an old corkboard, some dropcloth, baker’s twine, and upholstery tacks.
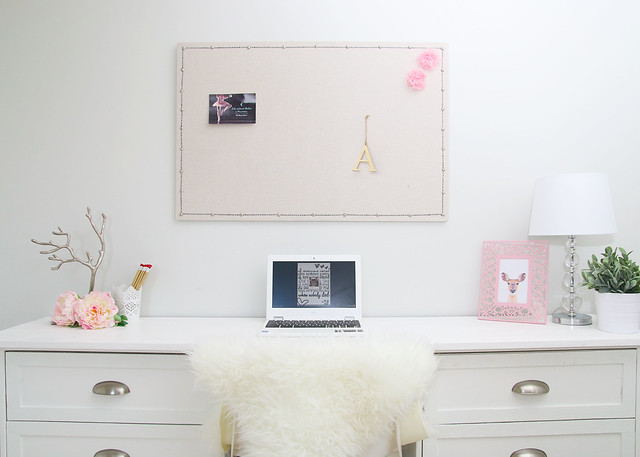
White Chromebook | Pom Pom Stickers
Wowza! I think that covers all of the tween bedroom makeover details and sources. We are so happy with how this room turned out and it is currently our favorite space in the house. Now we need to get working on some other rooms! Hmmm… I wonder which one will be next?
-
Build It Yourself, Family, Kids, Pets, Furniture Makeovers, Home Decor, One Room Challenge, Organization & Storage, Painting Projects, Room Makeovers, The Country House
Tween Bedroom Reveal
You guys! It is the end of week six of the One Room Challenge and to say that I am ecstatic would definitely be an understatement. These past six weeks have been a crazy whirlwind of work, but we are so excited with the way everything turned out. Check out our Tween Bedroom Reveal!
But first, let’s go back to the beginning and review where we started. Ugh. This room really needed some help.
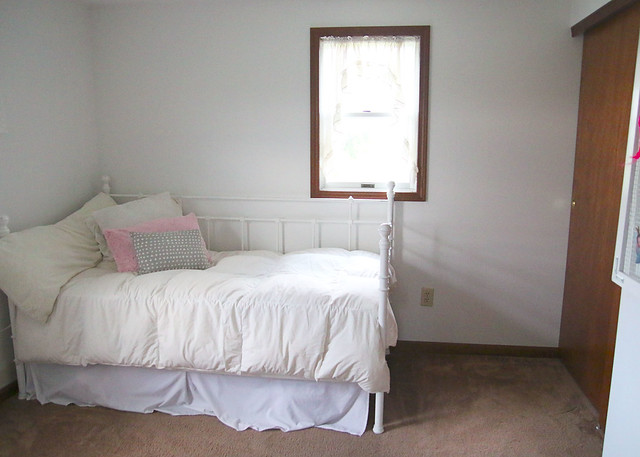
The old carpet and dark trim were just not working for us, not to mention the mismatched random furniture and lack of accessories just made to room look blah.
OK. Now, scrub your brain of those old, mismatched images and let’s move on to the pretty pics!
After some brainstorming with my daughter about how she wanted her room to look, plus some research to achieve that look on a budget, we came up with a beautiful and affordable mood board and design plan.

Here’s what was on the to-do list…
- Remove old carpet and replace flooring
- Paint walls, trim, & doors
- Replace old electrical plates, outlets, and switches
- Add new lighting
- Install window coverings
- Create a workspace that can also double as clothes storage
- Bring in color and textures with accessories
- Organize craft & art supplies, books, toys, and clothing
Come on in. Stay awhile.
This room is now our favorite in the house and we hope you enjoy the visual tour as much as we (especially our daughter) are loving the real thing. Let’s start at the entry door and work our way around the room.
Since this reveal is so pic heavy, I will be sharing more details and all of the sources next week in a separate post. Enjoy!


There was so much to do and we didn’t know if six weeks would be enough time to finish! Thank goodness we’ve lived to tell the tale of our first One Room Challenge. Now I think it is time to hibernate for the winter and recover from this whole process. Well, maybe just for the weekend. *Wink*
If you have missed any of the progress in this room, feel free to go back and check out how we went from meh to marvelous!