-
Sealing My Concrete Counter Tops
All aboard! Welcome to the second post on concrete counter tops! This project has nothing to do with trains, but I recently took my two charming little men to a transportation museum where we got the opportunity to ride a real trolley. (Check out Emily’s/Erin’s Instagram for photos.) I may or may not have picked up a few railroad terms along the way. Anyway… Today, I will be sharing the final steps of this kitchen project: sealing my concrete counter tops. Choo choo! (Told you I could speak train!)
First step to sealing these bad boys was to impregnate the counter. YES! You read that right, but it’s not what you think. I applied two separate coats of 511 Impregnator Sealer to the surface using a rag. I let it dry for at least 24 hours between each coat.

*Side Note: You may get a few funny looks from the hardware store employees if you ask them to show you where the impregnator is. Just sayin’!

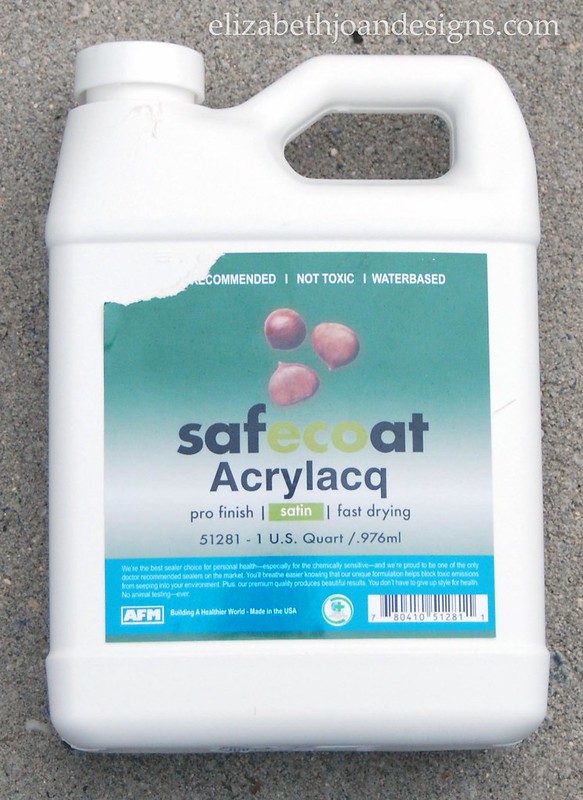
Next, I brushed on several coats of Safecoat Acrylacq. This stuff is awesome! It really protects the concrete and it is non-toxic, making it safe for food surfaces.

As you can see, the sealing process is pretty straight forward, but for this post, I also wanted to include a few tips and observations I learned through my experience of working with Ardex Concrete.

1. Ardex Concrete Counter Tops are not for the perfectionist – Luckily, neither my husband nor I fall into this category. Don’t get me wrong, we like things to look good and be done right, but if you are someone looking for the perfect looking, no-flaw counter top, this is just not for you. These counter tops are ever changing do to the moisture your surfaces are exposed to. The sealer keeps most of the moisture out, but if you are not diligent about cleaning your counter, you may get discoloration. Personally, I have really come to like the additional marks and tonal differences our counters have taken on, but I can see how that maybe it wouldn’t be for everyone.

2. Mixing Ardex Concrete – When mixing the powder with water, I found it best to add the water to the powder vs. the powder to the water. It seems to mix up easier with a smoother consistency. (Just my observation here.)
3. Applying the mixture to the existing surface – Apply extremely thin layers. If you think it is a thin layer, make it thinner. I learned this the hard way, so if you are attempting these counters, please learn from my mistakes. The thinner the layer, the quicker the drying and sanding processes will go, and the more even the end result. Thinner = Better (I am speaking just in this scenario, not life.)
4. Seal, seal, seal, seal, and seal again! – In tip number 1, I mentioned that I like the marks and tonal differences in the concrete. While this is very true, I don’t know too many people who like water rings on their surfaces. So to avoid these, I highly recommend lots of sealing.
5. Cleaning Concrete Counters- I found that Method Daily Granite Cleaner and Polish works wonders for clean dried bits of gunk off our kitchen counters.

Well, there you have it. An honest experience working with Ardex Concrete Counters. What do you think? We absolutely LOVE them. Is this project something you would try? Leave us a comment and let us know!

_____________________________________________ You may also like:

Grain Sack Stripe Stool 
Heriloom Dresser Makeover 
Easy Pom Pom Wreath 
Horseshoe Plate Holder
-
Fall-oween Home Tour Hop
I’m so happy to be participating in the 2015 Fall-oween Home Tour Hop. There are a total of 16 participants, so that means lots of fall/Halloween home decor eye candy for your viewing pleasure! After checking out my home tour (this is the first time I’ve shared my living room, friends!), make sure to head over and view all of the other amazing homes in the tour! Seriously, these ladies have a lot of talent and so many fun decorating ideas!

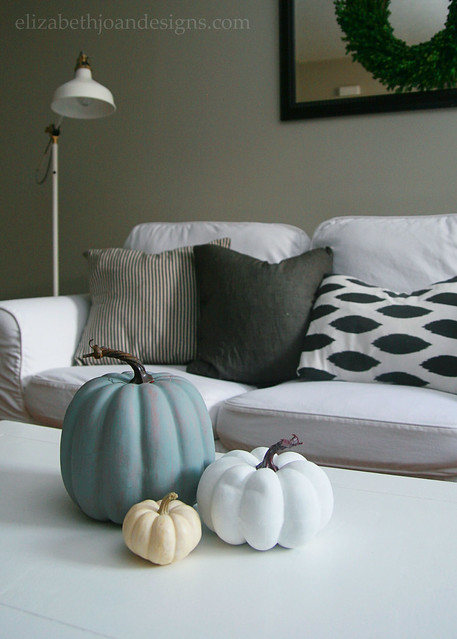
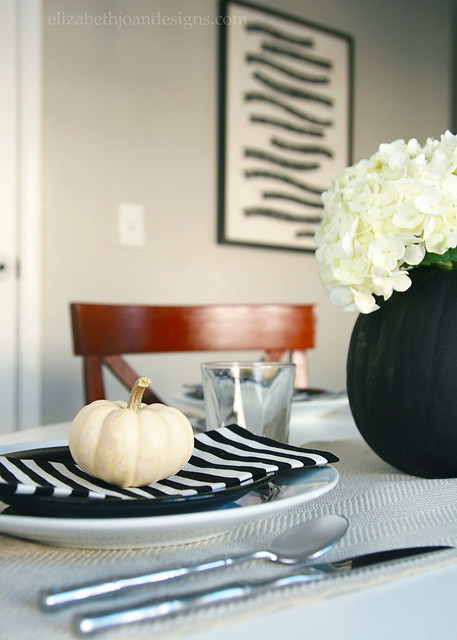
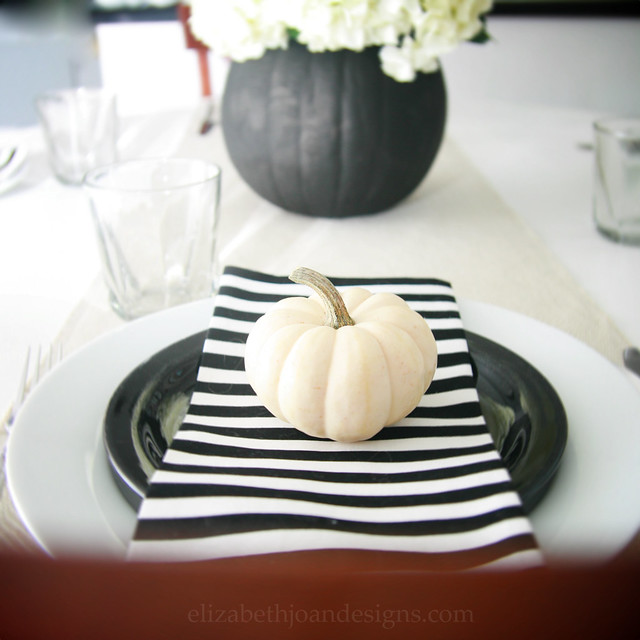
This year, we decided to forego the over-the-top Halloween decorations and stuck with just pumpkins. Can you really go wrong with pumpkins in the fall? I found a bunch of great natural and neutral options at Trader Joe’s and mixed those with some store bought decor pumpkins that I painted white/black/gray.

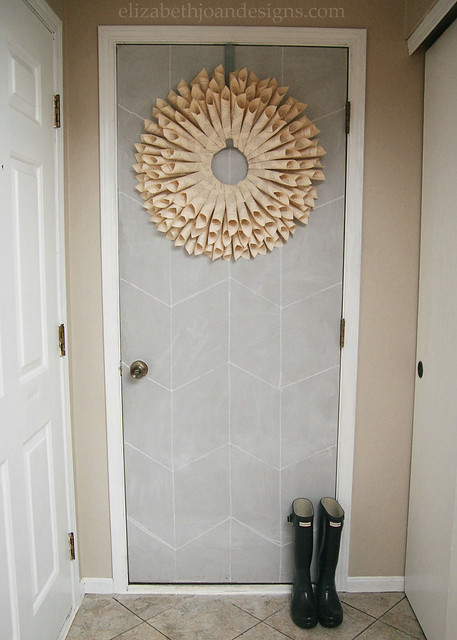
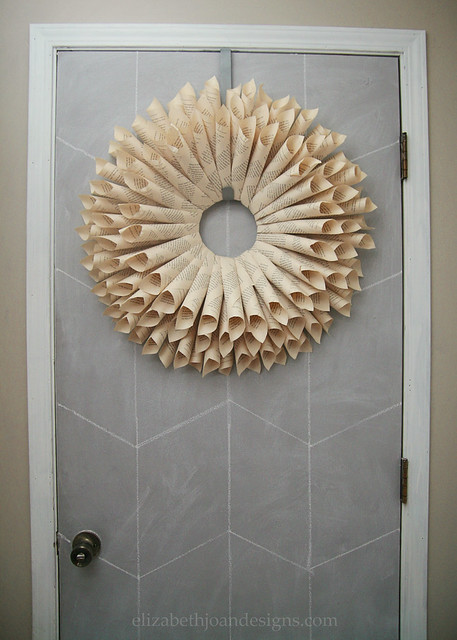
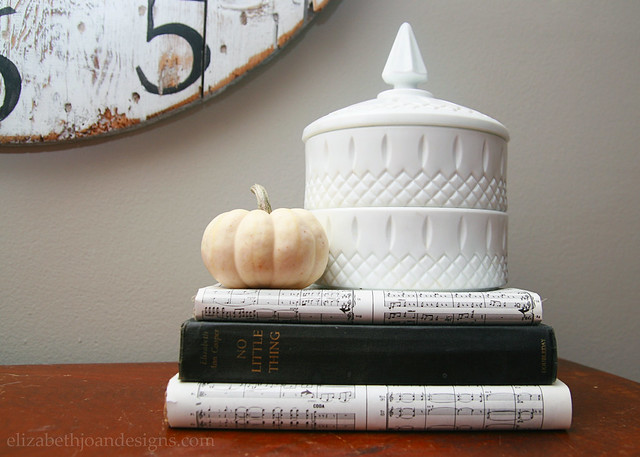
Welcome to our home! To dress up the foyer, I added a simple herringbone pattern to the gray door with chalk, in addition to the old book page wreath that has been hanging around here for years. (It has held up wonderfully, by the way!)
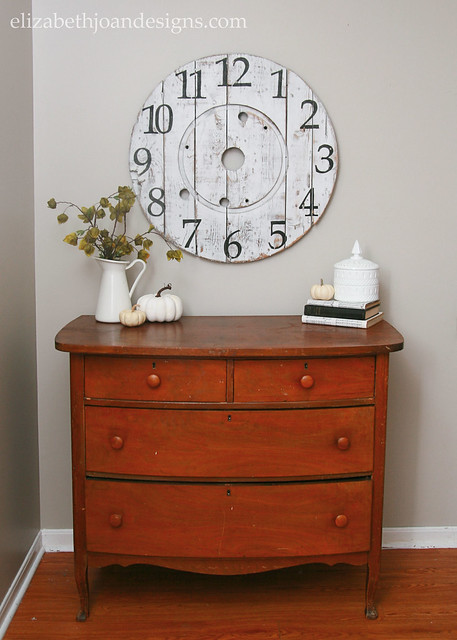
Just inside the door is an old dresser we found on Craigslist for just $30! I added some greenery and a few pumpkins to dress it up a bit, but obviously, the cable spool clock is the main star of this area.

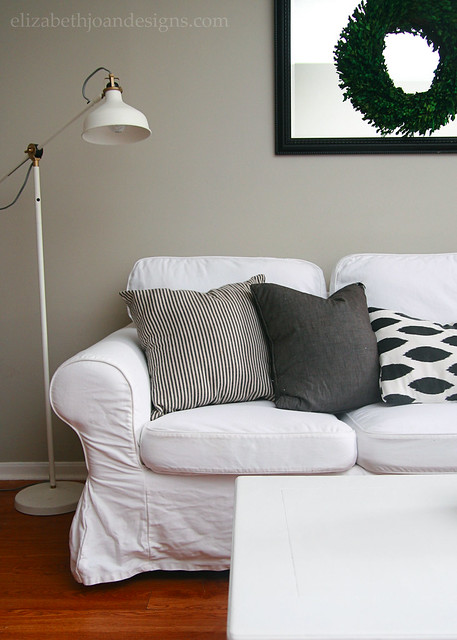
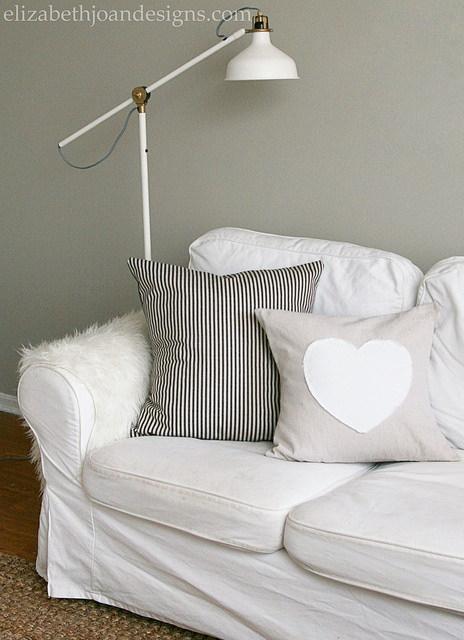
Can I just say that I love our Ikea Ektorp sofa and chair in our living room? Seriously, this couch and chair are the best things ever. (No, we have not been compensated by Ikea in any way for saying this.) They are comfortable for sitting/sleeping and have washable slip covers that can easily be cleaned up when our puppy decides to jump all over them with muddy paws.

Nevermind the wrinkles. That is just a side effect of frequent washing
and laziness.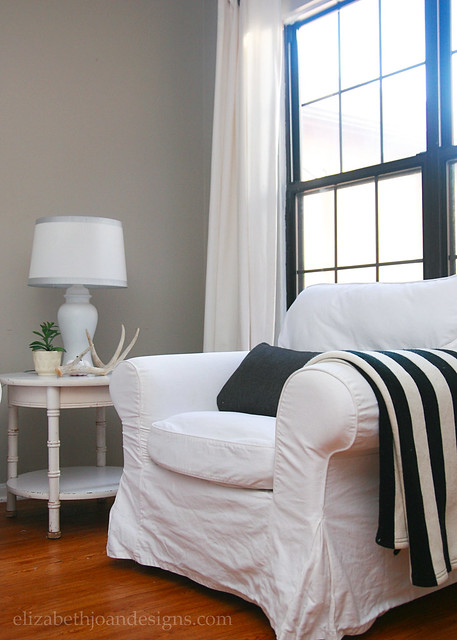
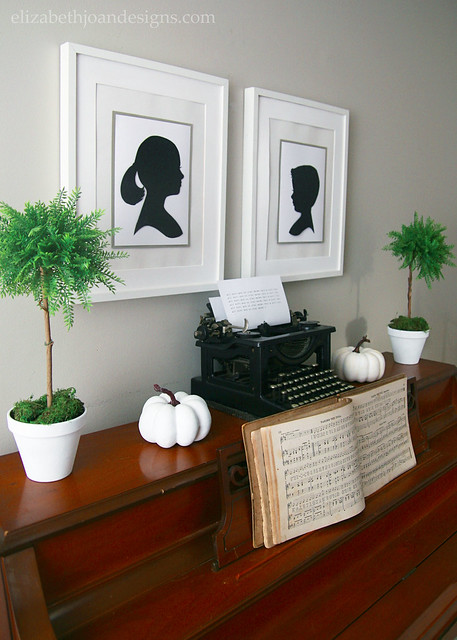
This piano was our mother’s childhood piano and I inherited it from my grandparent’s home several years ago. I remember playing Chopsticks and other simple songs on it as a kid and I love that our children can now do the same.
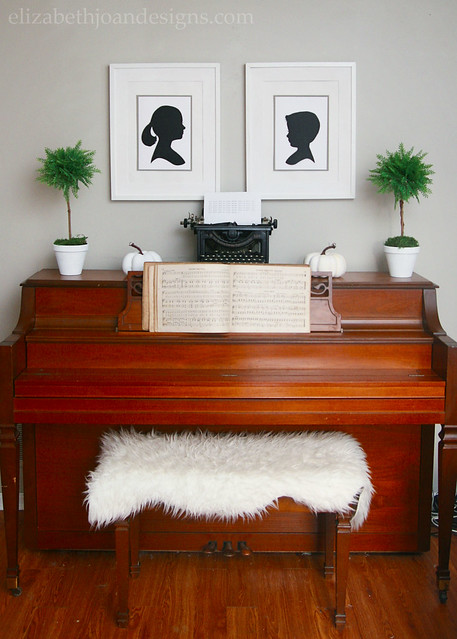
Simple Silhouette Tutorial/Faux Topiary Tutorial
Our kitchen hasn’t changed much since the last time I shared an update.
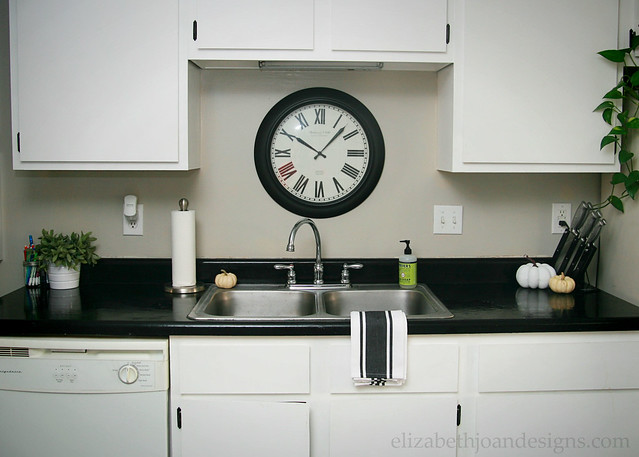
We would eventually like to add some shaker style fronts to our cabinets and hardware to dress things up a bit.

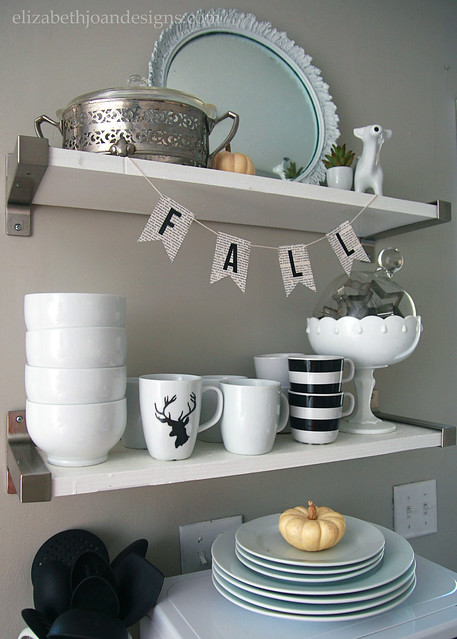
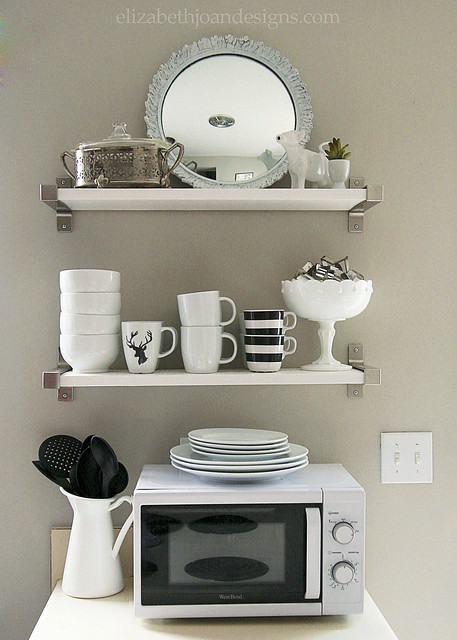
We installed these open shelves last year and absolutely love them! Yes, some of the items get dusty (the stuff on top), but it takes just a few seconds to wipe them off.
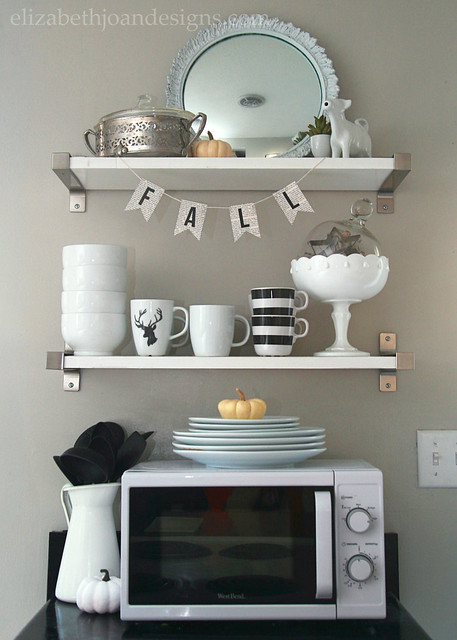
And being able to grab regularly used dishes and mugs easily has been great. I’m much more likely to make a cup of coffee these days (with sugar and cream, thank you very much!)
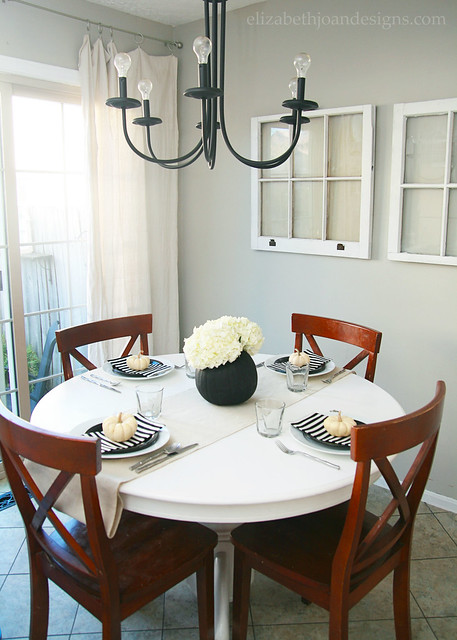
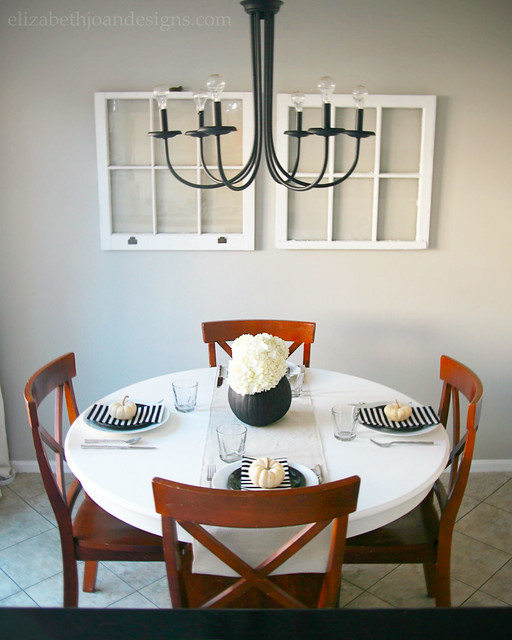
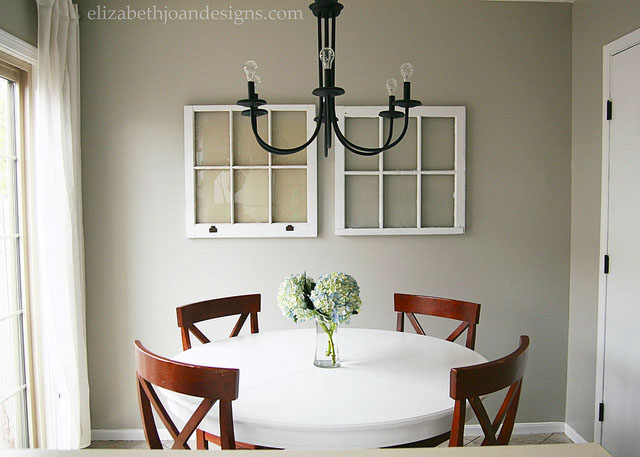
Our breakfast nook also hasn’t changed much. We love this little space and hopefully, one of these days, we will get around to updating the chairs.
So that’s it! Our home all decked out for fall, that is, if you consider decked out to be very simple and neutral. But it is just the way we like it!
Now, head on over to check out the other homes in the Fall-oween Home Tour Hop! So many amazing ideas!

1. Farmhouse 40
2. Around the Watts House
3. Domicile 37
4. Our House Now a Home
5. Hobnail Salvaged Goods
6. The House Down The Lane
7. Pocketful of Posies
8. Average But Inspired
9. Karen’s Up On The Hill
10. Beauteeful Living
11. Casa Watkins
12. What Rose Knows
13. Shabby Grace Blog
14. The Deans List
15. Green With Decor
16. Elizabeth Joan Designs -
Neutral Modern Farmhouse, Our Home Style
We are so excited to be taking part in the My Home Style Blog Hop, hosted by Casa Watkins! (Thanks for including us, Stephanie!) There are 20 bloggers total, so that means a lot of fun different home styles and inspiration to check out. If you haven’t seen all of the home styles, we recommend starting at the beginning and click through them all. So many awesome spaces! If you are coming over from visiting Carrie’s vintage and modern home at Lovely Etc., WELCOME!

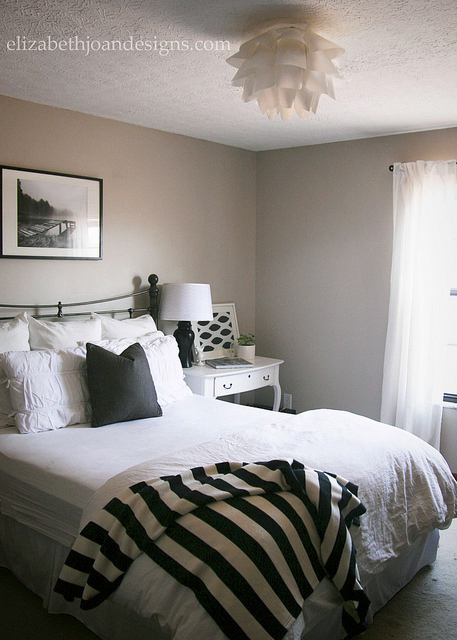
Sources – 1. Black Chandelier, 2. Black & White Ticking Pillow, 3. Cross Back Chair, 4. Gray Throw Pillow, 5. Moss Ball, 6. Eivor Throw, 7. Printable Letters, 8. Square Basket, 9. Vintage Olive Bucket
If you are new to Elizabeth Joan Designs, welcome to you too! We are Erin and Emily, two sisters who have a passion for DIY and creativity. We love to remodel, refurbish, and up-cycle. Plus, we both have a very similar decorating style which we would describe as Neutral Modern Farmhouse. We love to keep things simple and have a repurposed and comfortable look. Kind of classic meets contemporary.
Erin’s House
Neutral
Both Emily and I enjoy using neutral decor and furniture in our homes. Whites, grays, blacks, creams, and natural wood tones make up the majority of the items we own.
Emily’s House
Some people may find that boring, but we think that all of the neutrals in our homes gives us a sense of calm, since we both have some rambunctious, but fun, little kids in our lives.
Erin’s House
Neutrals also work well for our fickle decorating minds. It is easy to switch things out to another room and we can easily add pops of color or pattern in with accessories if we ever get the urge for variation.
Erin’s House
Modern
As much as we love a cozy a home, we also enjoy adding modern elements to change things up, but also add a little structure.
Emily’s House
Contemporary lines and patterns mix easily with our simple neutral decor and still allow the rooms to remain inviting and warm.
Erin’s House
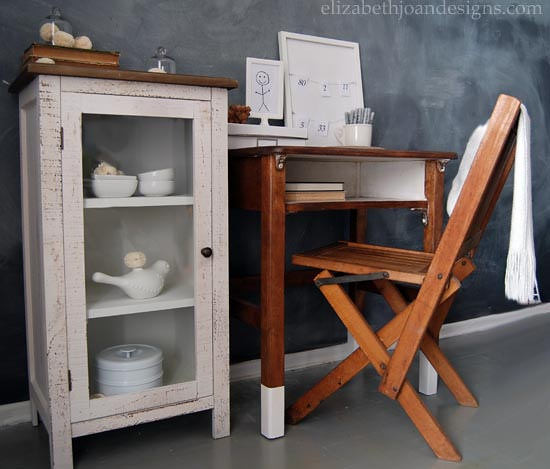
Farmhouse
One of the strongest design styles in our homes is the Farmhouse style. It is kind of a mix of cottage and industrial with it’s warm woods, painted refinished furniture pieces, and metal structures. We really enjoy that re purposed nostalgic feel that antiques can add to take you back to a simpler time. Eventually, we would love to add in some plank walls and maybe a sliding barn door or two!
Emily’s House

Thanks so much for stopping by to check out our home style today! We hope you enjoyed a peek into our homes and the styles that make us happy. To see more, browse our project gallery or follow us on Instagram (Erin’s Instagram/Emily’s Instagram). Now it’s time to hop on over to Pretty Practical Home, to meet Sharon and check out her classic, colorful and curated style! When you are finished there, make sure to continue on and check out all of the other amazing particpants!
 Tuesday:Wednesday:Thursday:
___________________________________________________________________________________
You may also like:
Nightstand Makeover 
Picture Frame House Numbers 
Mouse Trap Photo Holder 
Kitchen Pegboard -
$10 Michaels Gift Card & Halloween Craft Bundle Giveaway
Soon, Halloween will be upon us. We want to thank you for being such loyal readers and get you in a spooky mood with a chance to enter a $10 Michaels Gift Card and Halloween Craft Bundle.

This Craft Bundle consists of:
– (1) $10 Gift Card to Michaels Stores (Not Pictured)
– (1) Package of Fine Tip Metallic Sharpie Markers
– (1) Halloween Clothespins – 8pc.
– (1) Popsicle Sticks – 50pc.
– (1) Standard Baking Cups – 75pc.
– (1) Roll of Decorative Tape
– (2) Rubber Halloween Stamps
– (1) Glitter Glue – 3fl. oz.
– (1) Black Non-Toxic Glitter – 3oz.
– (1) Gold Glitter Tape
– (1) Washi Crafting Tape – 6yd.
– (2) Oven Bake Clay – 2.4oz
– (2) Wooden Tags
– (1) Skeleton Ribbon – 7/8″ x 3yd.
– (1) Martha Stewart Crafts Dimensional Silhouette kit – 12pc. -makes 6
– (1) Ghost Shaped Cookie Cutter
– (1) Pumpkin Shaped Cookie Cutter
– (1) Gloss Finish Mod Podge – 2fl. oz.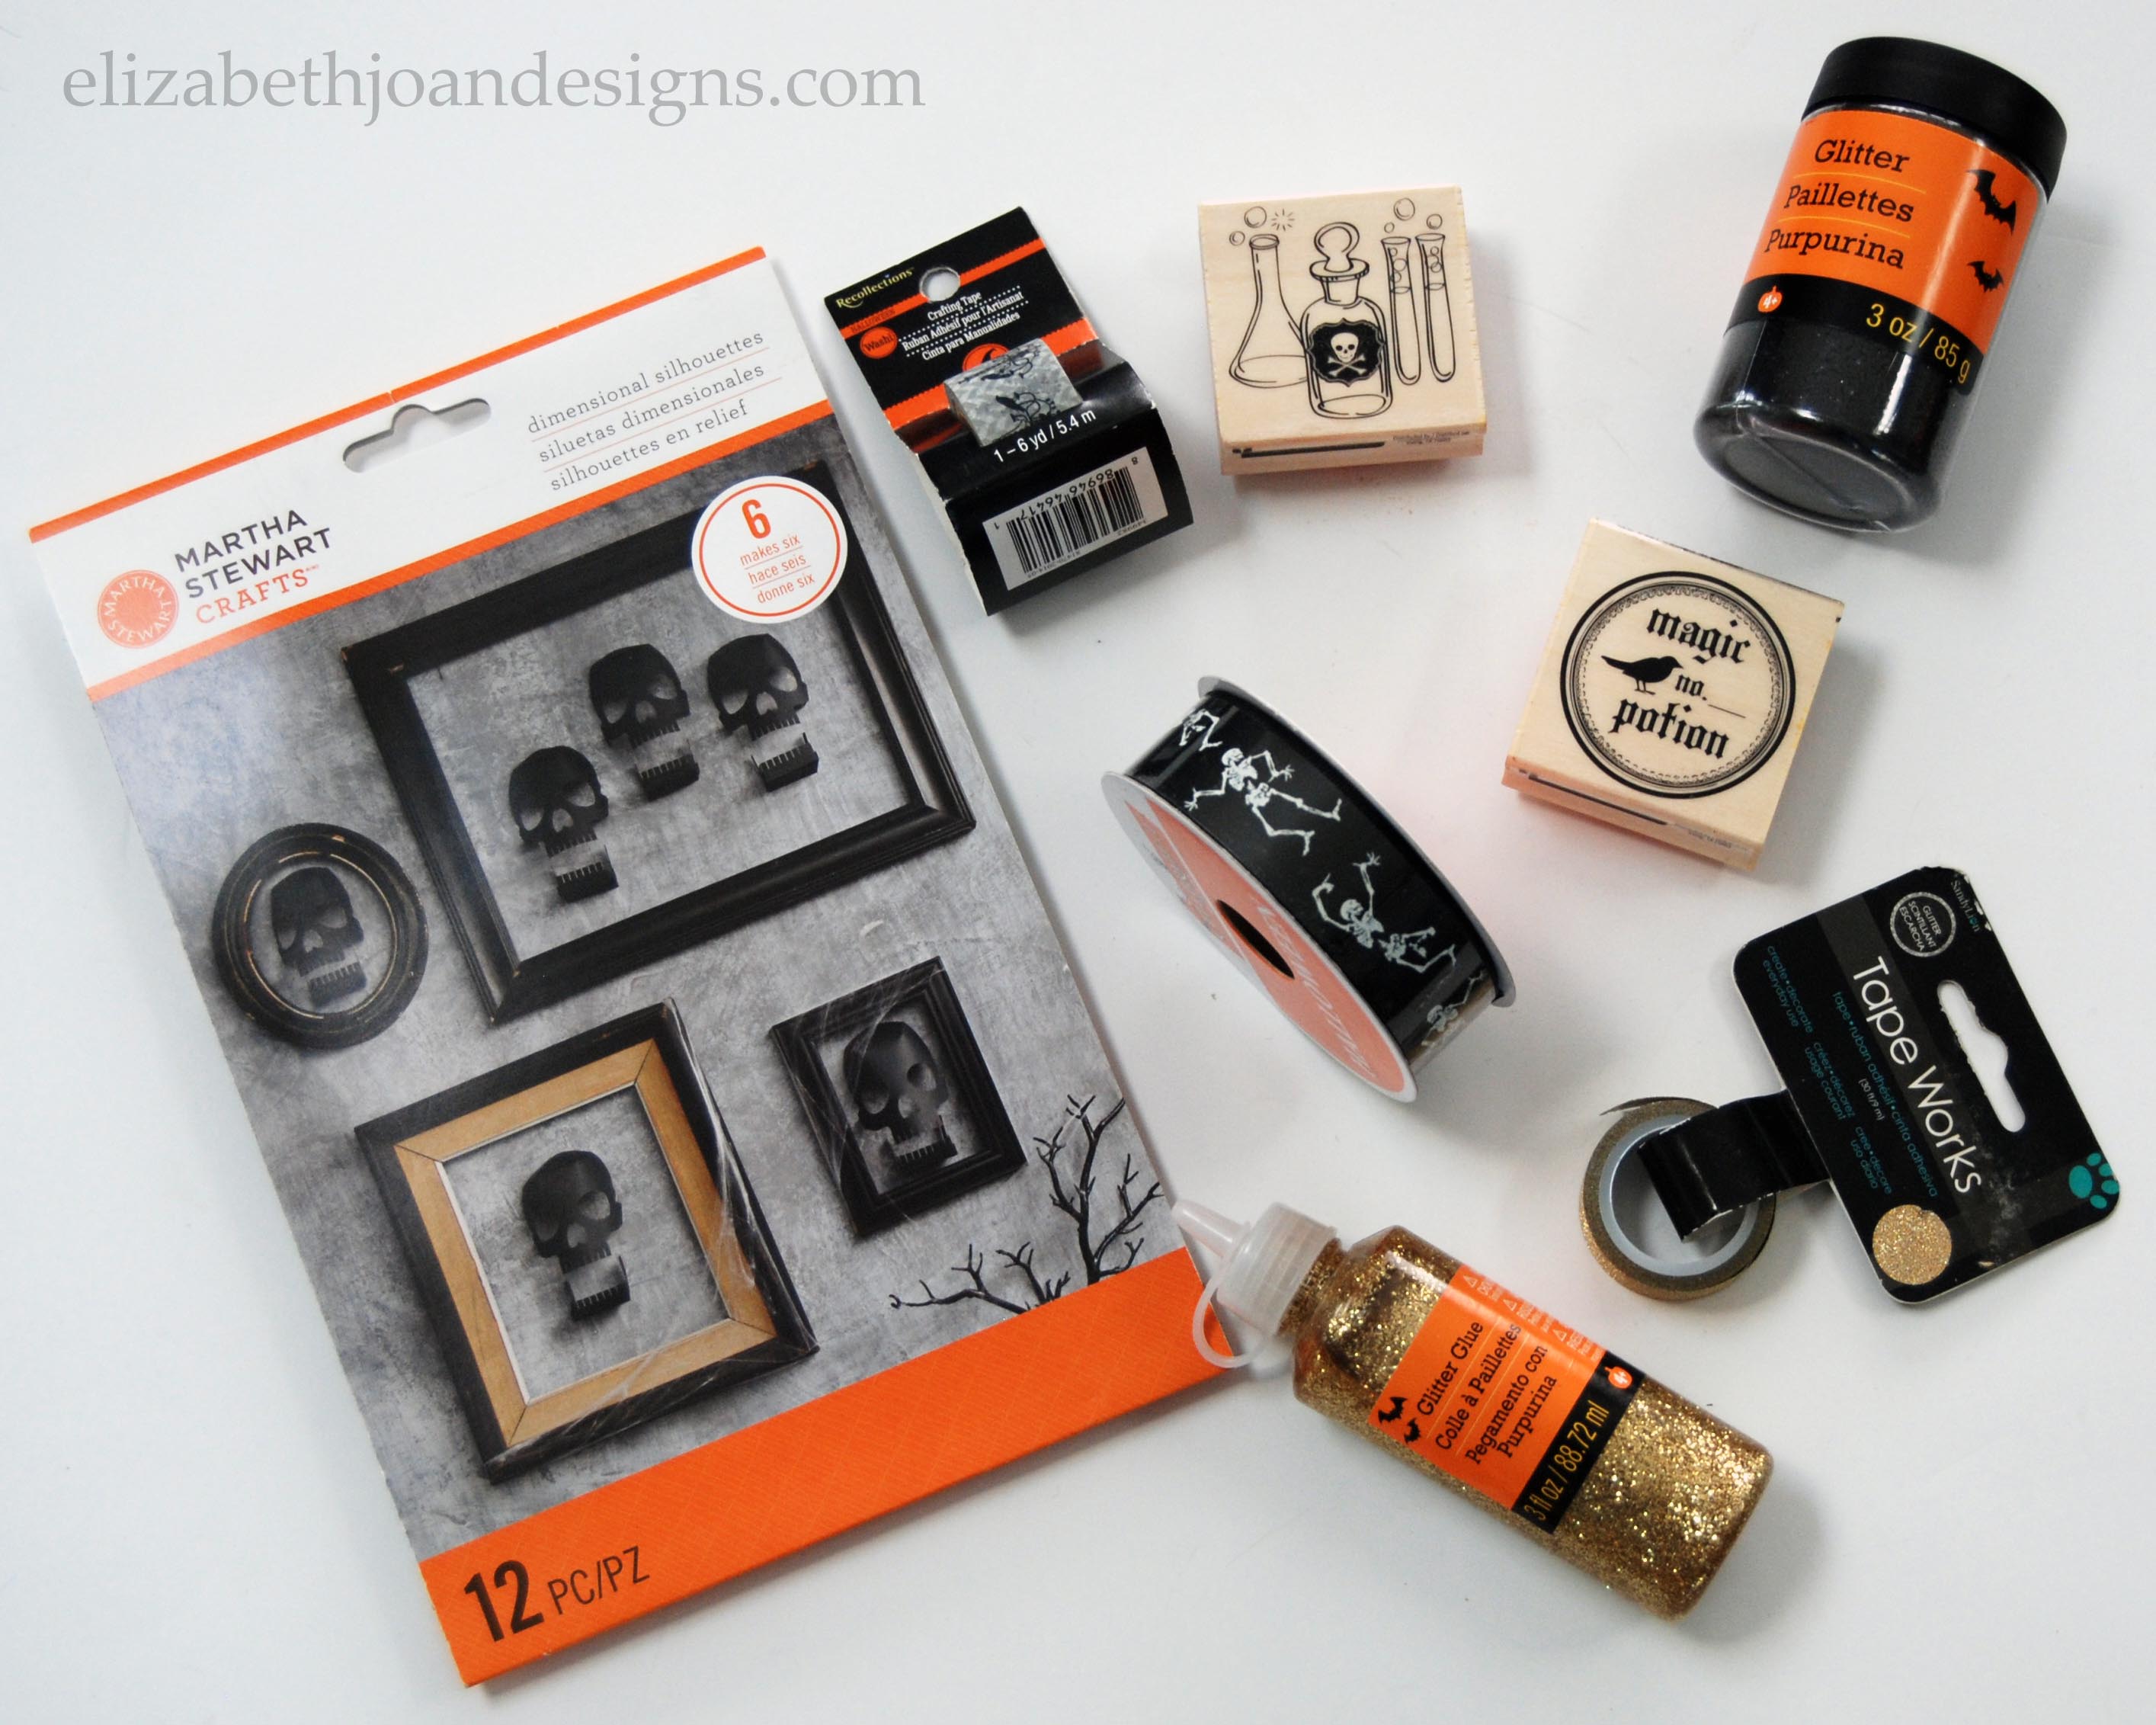

a Rafflecopter giveaway
This contest is open to United States of America residents only. All entrants must be 18 years of age or older. We will contact the randomly selected winner within 48 hours of the contest close. Void where prohibited or restricted by law. This giveaway is in no way sponsored, endorsed or administered by, Advantus Corp., Martha Stewart Crafts, Michaels Stores Inc., Mod Podge, Newell Rubbermaid Products, Sandy Lion, Scotch, and Sculpey, or associated with, Facebook, Instagram, Pinterest, or Twitter.
_______________________________________________________________________________________ We are so excited to be participating in the My Home Style Blog Hop hosted by Casa Watkins! Tomorrow, we will be sharing our home style with you, however, you must check out all of the fun styles that are being shared today!Tuesday:Wednesday:Thursday:
