Sealing My Concrete Counter Tops
All aboard! Welcome to the second post on concrete counter tops! This project has nothing to do with trains, but I recently took my two charming little men to a transportation museum where we got the opportunity to ride a real trolley. (Check out Emily’s/Erin’s Instagram for photos.) I may or may not have picked up a few railroad terms along the way. Anyway… Today, I will be sharing the final steps of this kitchen project: sealing my concrete counter tops. Choo choo! (Told you I could speak train!)
First step to sealing these bad boys was to impregnate the counter. YES! You read that right, but it’s not what you think. I applied two separate coats of 511 Impregnator Sealer to the surface using a rag. I let it dry for at least 24 hours between each coat.

*Side Note: You may get a few funny looks from the hardware store employees if you ask them to show you where the impregnator is. Just sayin’!

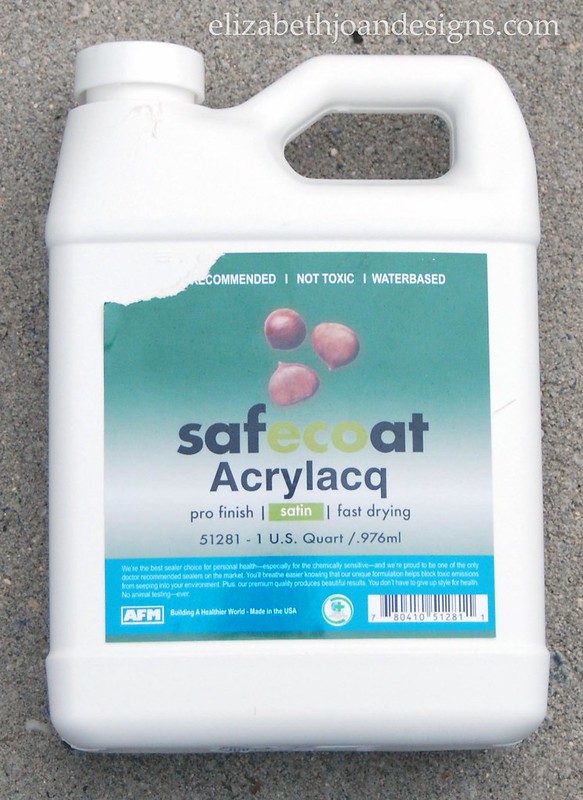
Next, I brushed on several coats of Safecoat Acrylacq. This stuff is awesome! It really protects the concrete and it is non-toxic, making it safe for food surfaces.

As you can see, the sealing process is pretty straight forward, but for this post, I also wanted to include a few tips and observations I learned through my experience of working with Ardex Concrete.

1. Ardex Concrete Counter Tops are not for the perfectionist – Luckily, neither my husband nor I fall into this category. Don’t get me wrong, we like things to look good and be done right, but if you are someone looking for the perfect looking, no-flaw counter top, this is just not for you. These counter tops are ever changing do to the moisture your surfaces are exposed to. The sealer keeps most of the moisture out, but if you are not diligent about cleaning your counter, you may get discoloration. Personally, I have really come to like the additional marks and tonal differences our counters have taken on, but I can see how that maybe it wouldn’t be for everyone.

2. Mixing Ardex Concrete – When mixing the powder with water, I found it best to add the water to the powder vs. the powder to the water. It seems to mix up easier with a smoother consistency. (Just my observation here.)
3. Applying the mixture to the existing surface – Apply extremely thin layers. If you think it is a thin layer, make it thinner. I learned this the hard way, so if you are attempting these counters, please learn from my mistakes. The thinner the layer, the quicker the drying and sanding processes will go, and the more even the end result. Thinner = Better (I am speaking just in this scenario, not life.)
4. Seal, seal, seal, seal, and seal again! – In tip number 1, I mentioned that I like the marks and tonal differences in the concrete. While this is very true, I don’t know too many people who like water rings on their surfaces. So to avoid these, I highly recommend lots of sealing.
5. Cleaning Concrete Counters- I found that Method Daily Granite Cleaner and Polish works wonders for clean dried bits of gunk off our kitchen counters.

Well, there you have it. An honest experience working with Ardex Concrete Counters. What do you think? We absolutely LOVE them. Is this project something you would try? Leave us a comment and let us know!

You may also like:


5 Comments
Charles Kemp
Thank you for the tips on what to use for concrete countertops. It would be really smart to put something on the counter so that you don’t ruin the concrete. It would make everything easier to clean as well.
Erin
Thanks, Charles! Safecoat Acrylacq sealer was applied to help protect the concrete. Hope that helps!
Frank
How much 511 and Acrylacq did you wind up using? Do you know how many sq ft your countertop is?
Erin
2 coats of 511 and 4 coats of Acrylacq. The countertop is approximately 40 sq. ft. Hope that helps!
Abby
How have the countertops held up? I felt like I used enough of both sealers and there are a bunch of oil marks that have seaped through underneath our sealers. I’m so sad about it but we are redoing them right now and want to make sure I use enough sealer or use a different type of sealer if it’s the type of sealer that’s allowing the oils to seal through and make rings inside.