Buffet Table
Alright, I’ve got problems! But that’s a completely different story. For this post, I am just sharing a solution to a few kitchen decorating flaws my husband and I possess. We have had a blank wall in our kitchen pretty much the entire time we’ve lived here and could not seem to find anything that fit the space, our style, and price range. On a different note, we’d also relocated our microwave to the basement to save on kitchen counter space. So, the fix for these two ridiculous “problems” was to build a buffet table for our blank space that would also house the microwave. (I totally made that sound like I was a part of the building process, but honestly my husband, Adam, deserves all the building credit here.)

Adam generally followed the plans provided for free at Craftsman Drive with a few adjustments in lumber size and tools.
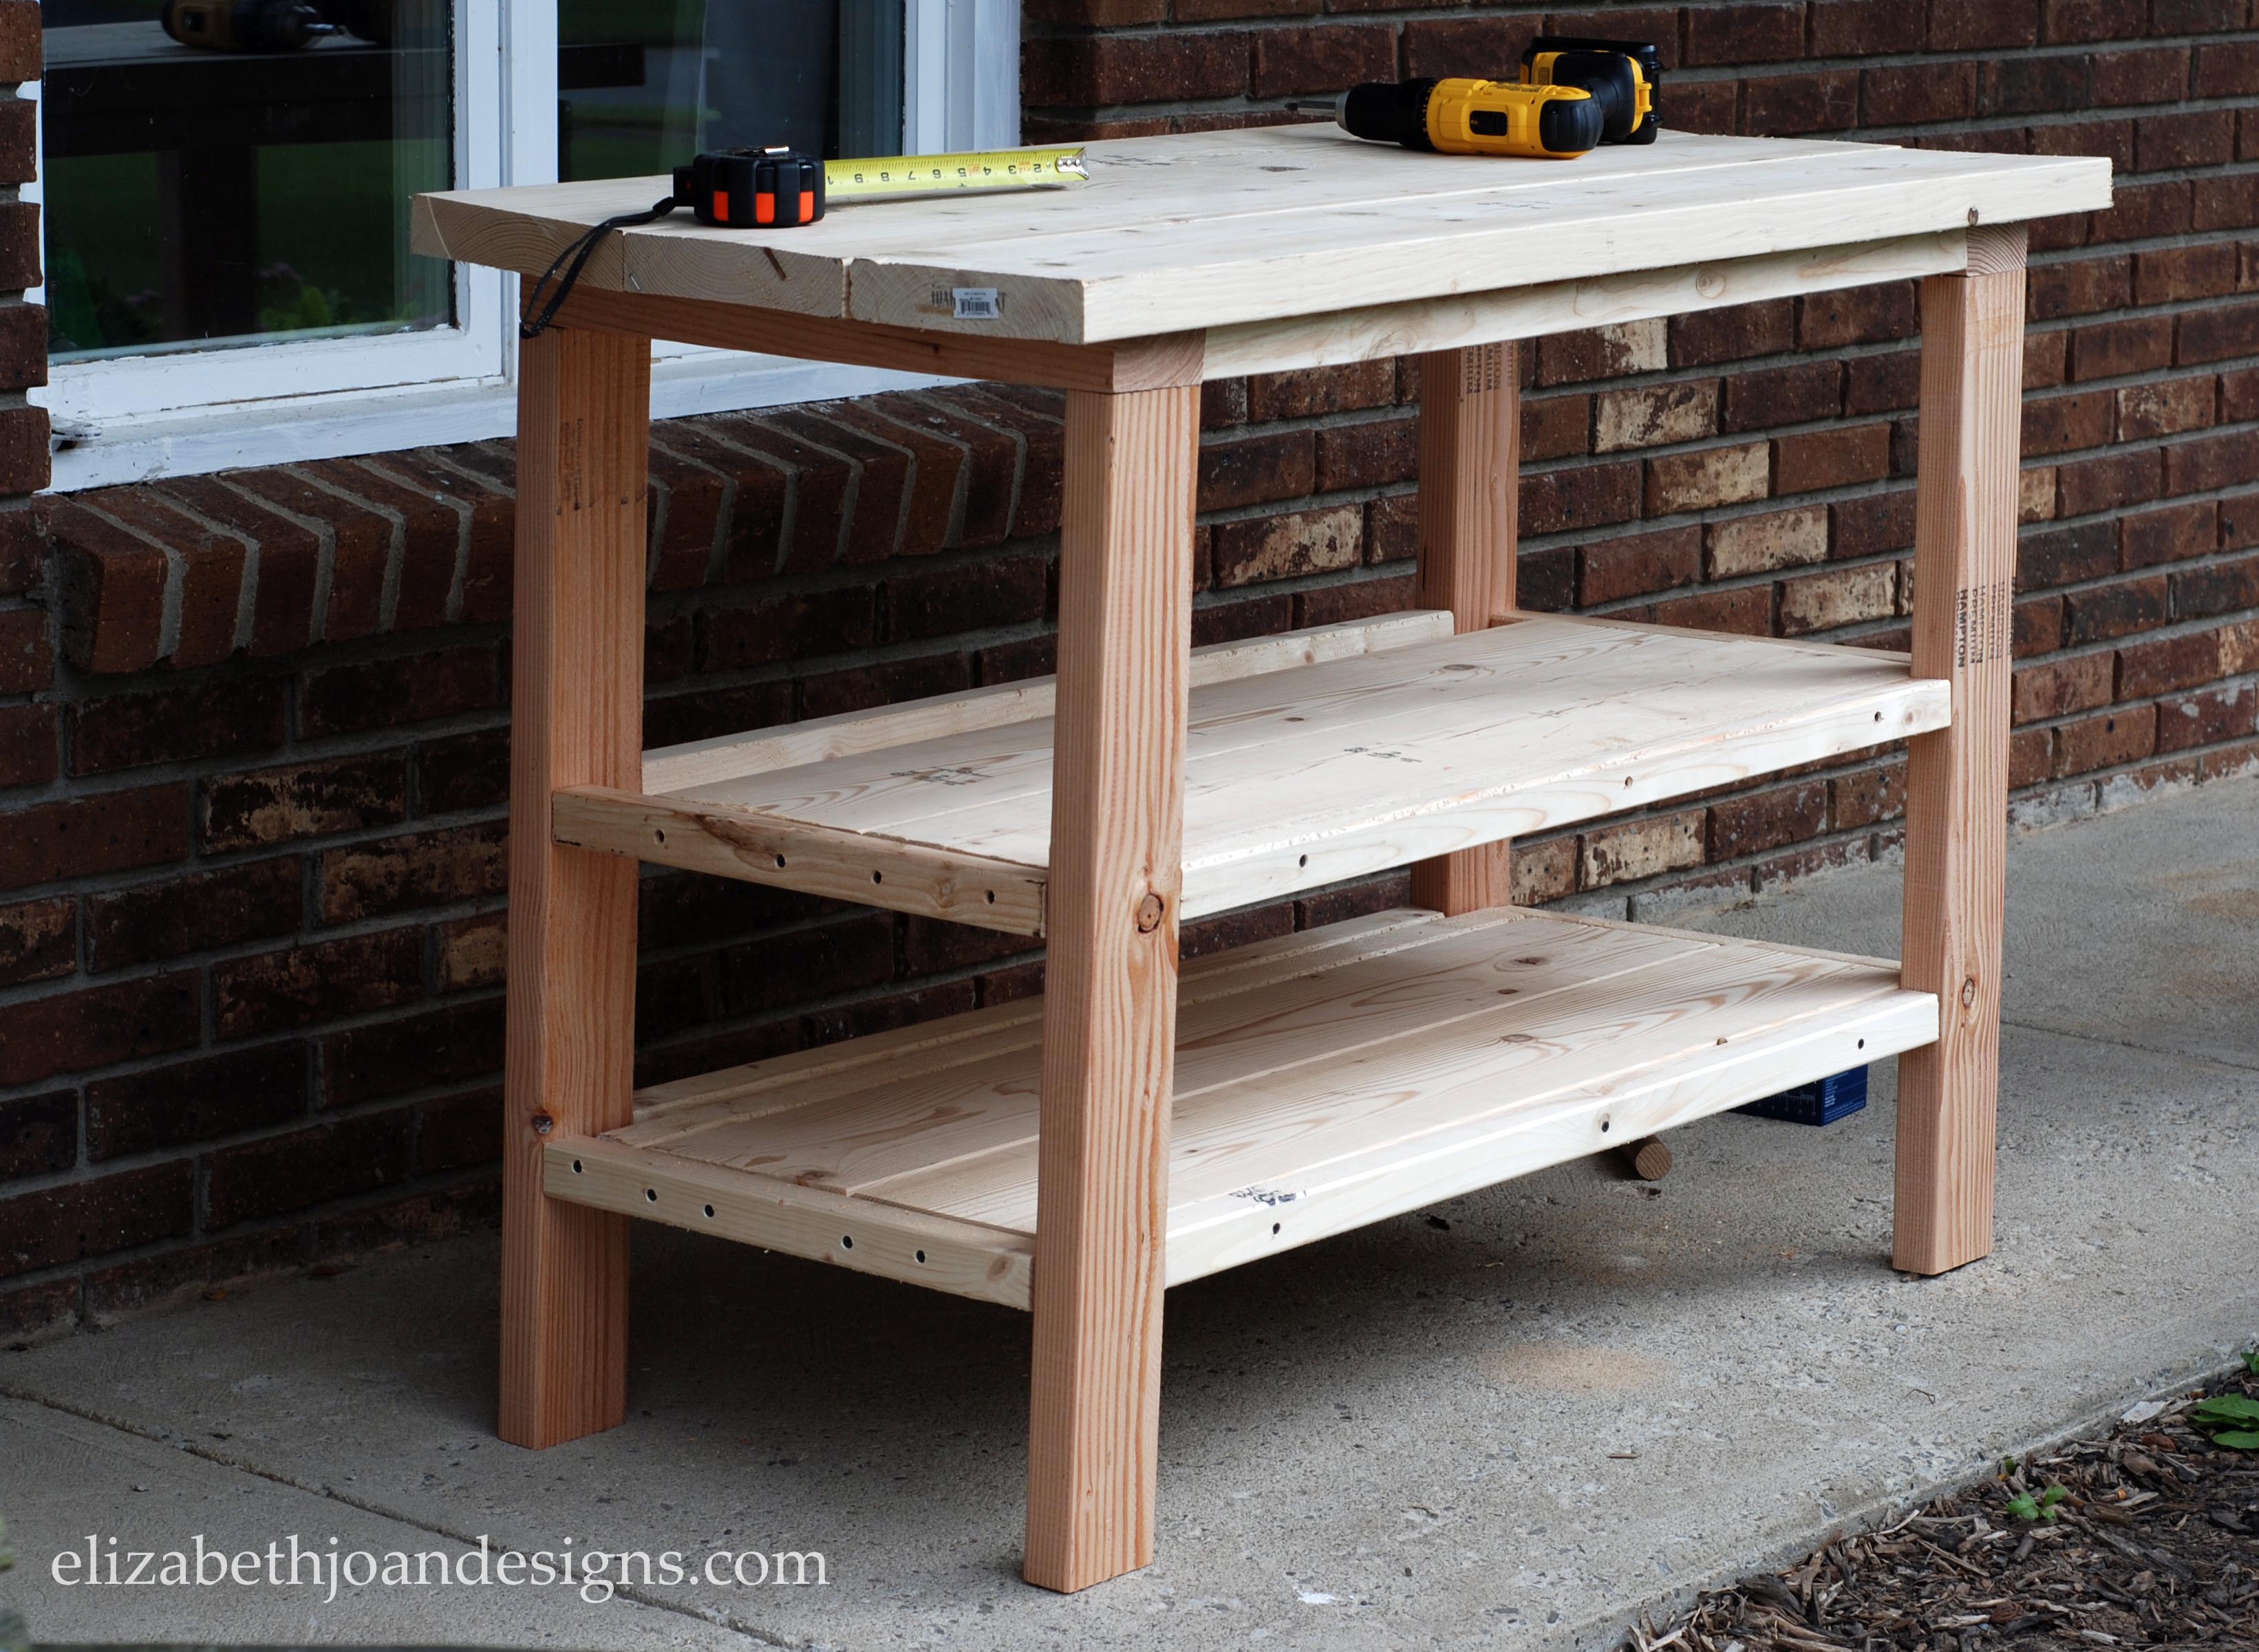
Base: 32″ high | 43″ wide | 19 1/2” deep
Top: 48″ wide | 22″ deep
Both Shelves: 43″ wide | 19 1/2″ deep
Total Height: 33″
The building process only took a few hours and I am absolutely thrilled that he took the time to make this for us. It was something on my to-do list for a while, but I just couldn’t seem to find the time to fit it in.
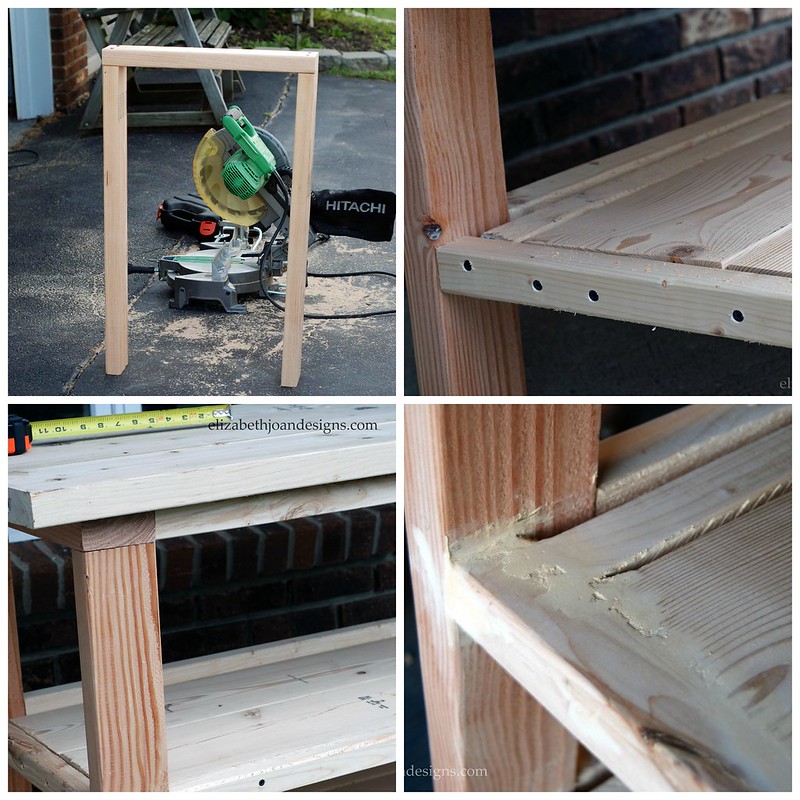
This is the first project we have ever used a Countersink Drill Bit when drilling pilot holes. The results were amazing. No screw heads sticking our of the wood for this table! We wish we had had one of these magical bits while making our dining room table. If you have never used one before, I encourage you to try one on your next furniture building adventure.

After Adam put his blood, sweat, and tears into building this sturdy table, it was my turn to finish it off.
First, I primed the entire table.
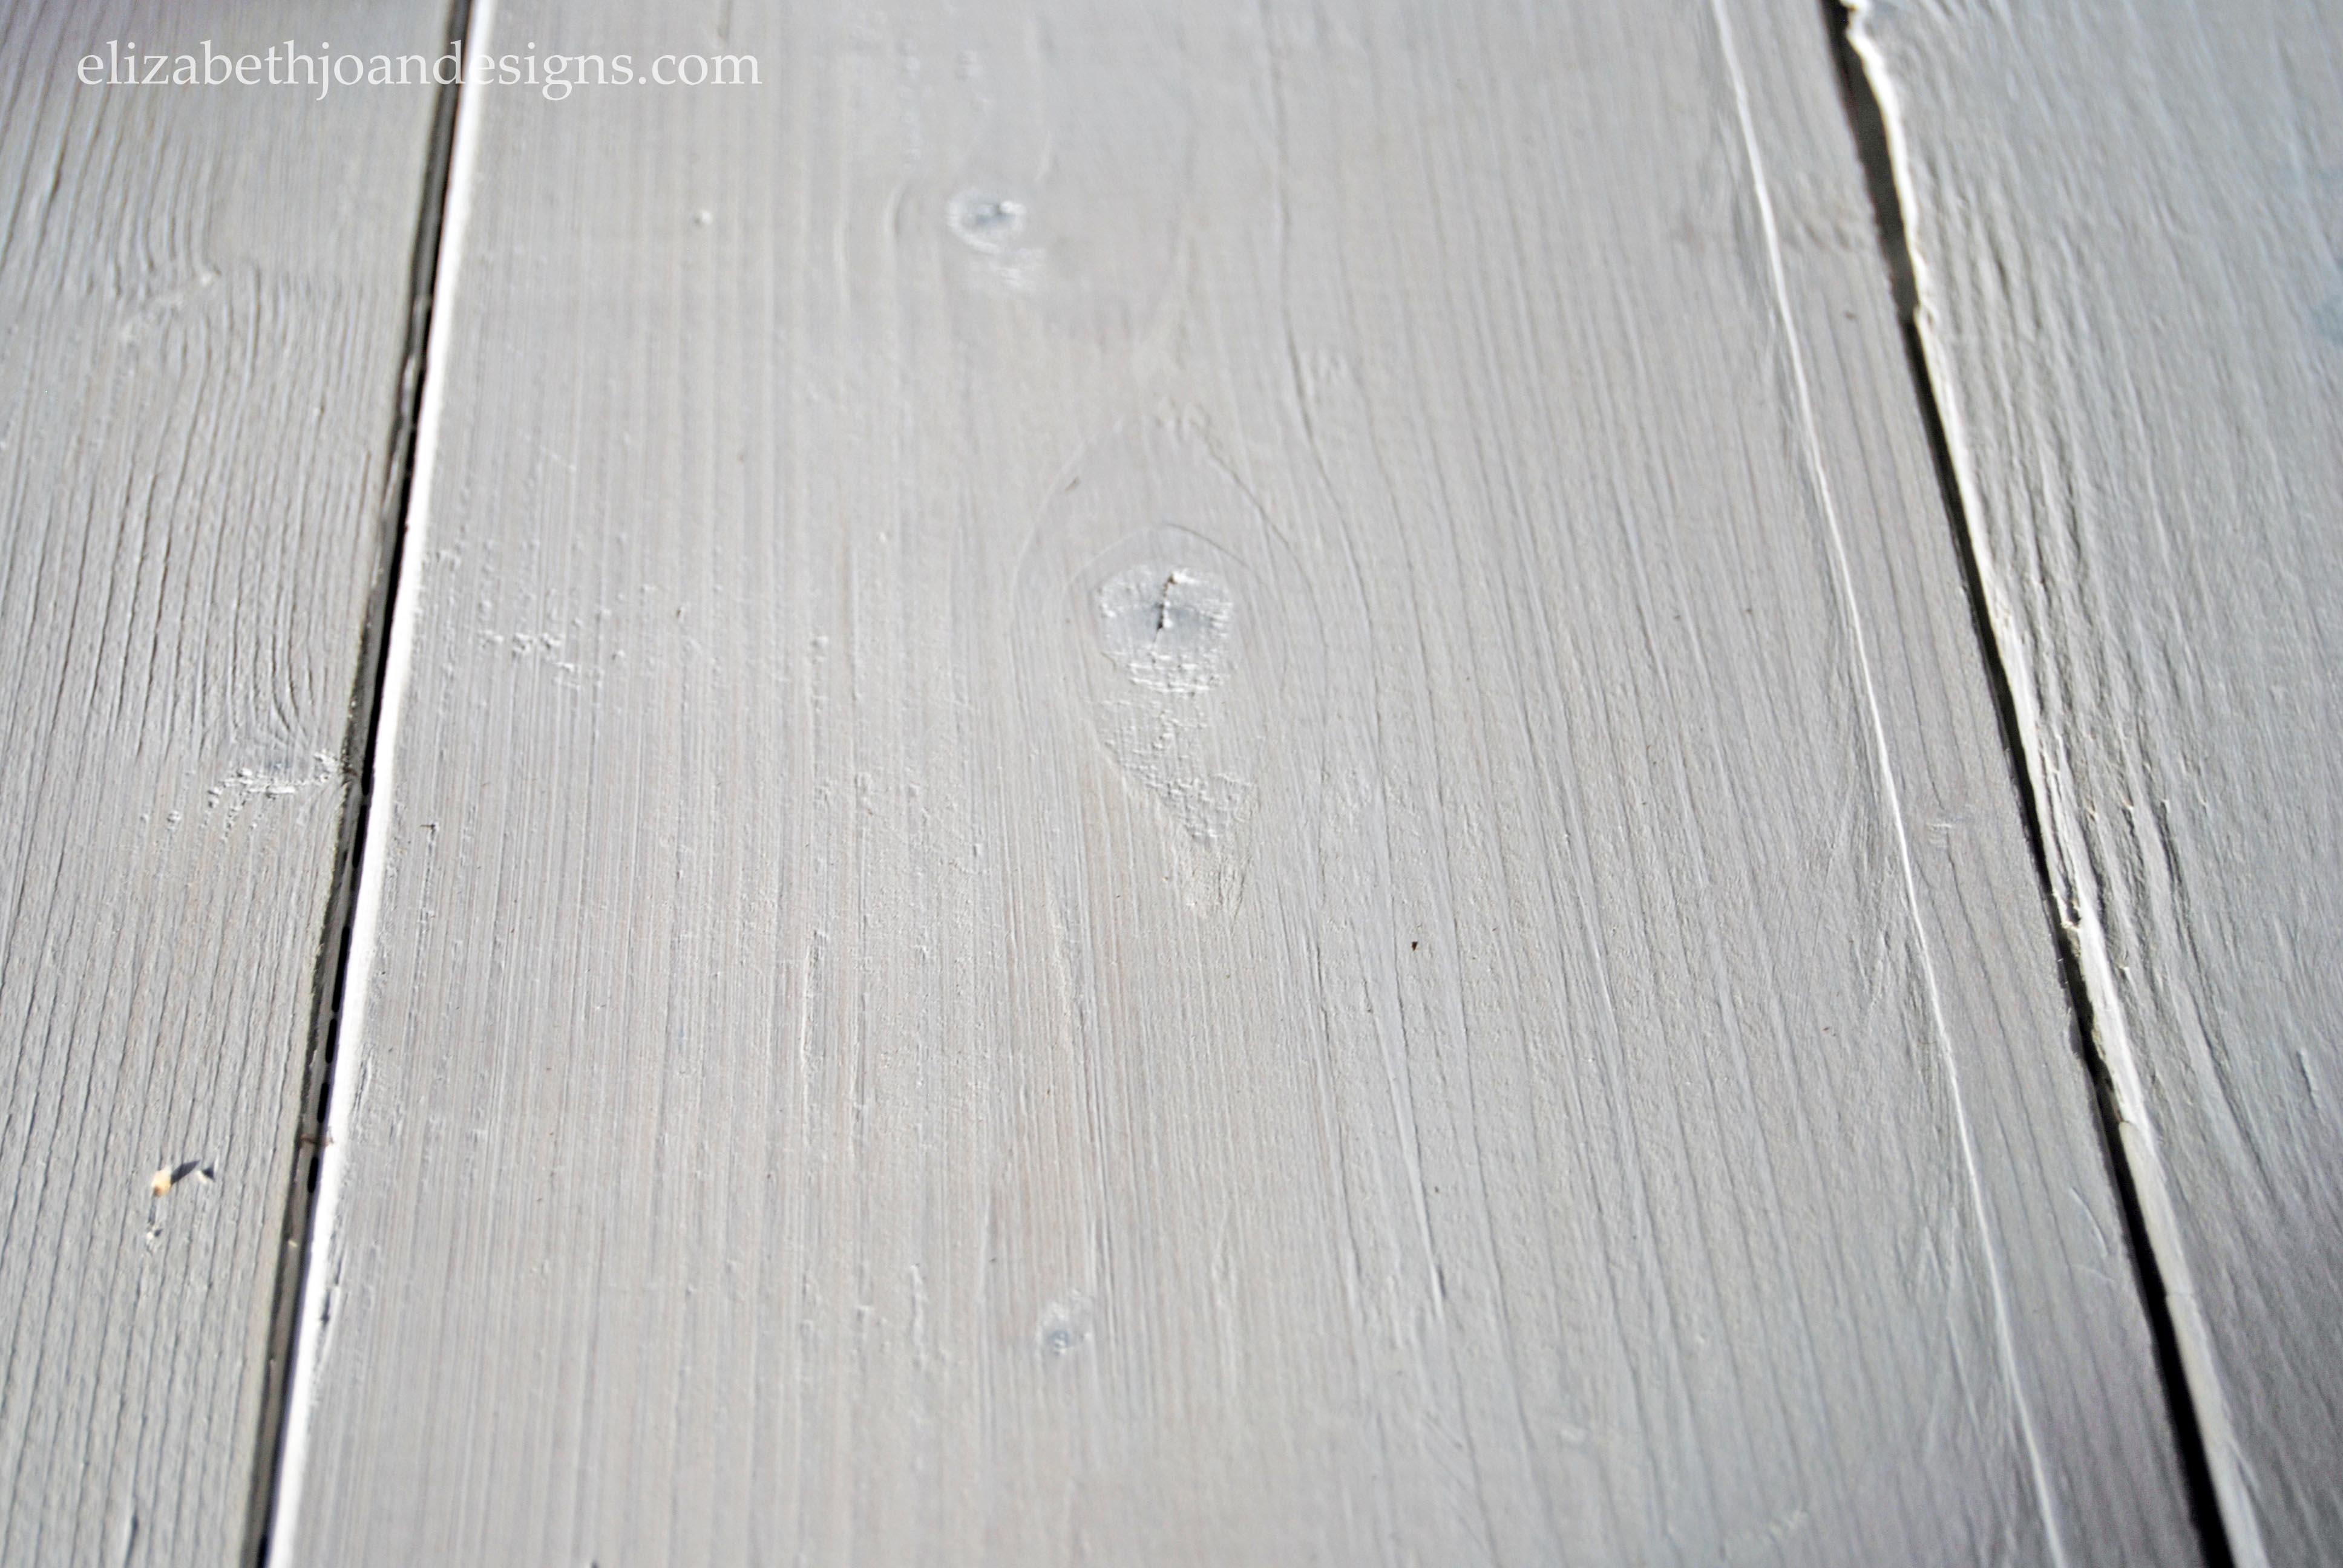
Next, I used a natural bristle brush to paint on two coats of white paint.
Finally, 4 layers of Minwas Polycrylic were applied to the buffet using a synthetic bristle brush. This will provide protection against long-term normal wear and tear.

What do you think of this charming new piece?
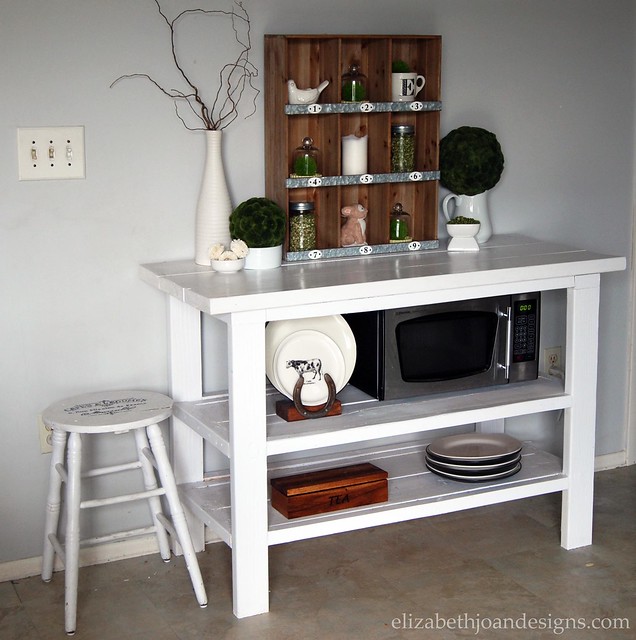
I am head over heels for this beautiful addition to our kitchen. Simple yet functional! And on the plus side, there will be no more running up and down the stairs to the basement to warm up leftovers, as now the microwave has the perfect new home.
You may also like:


2 Comments
Kristi
LOVE, LOVE, LOVE how this turned out! SUCH a functional and beautiful piece! PERFECTION!
Emily
Thank you so much Kristi! Hubby did a great job!