-
Spooky Fall Decor
I usually don’t go all out on decorating for the holidays. Of course there are a few times a year that get a little more festive than others, but typically, for Fall, we only decorate a few pumpkins and call it a day. However, after reading Bre’s post (25 No Mantel Fall Decor Ideas), I decided to get a little
creativespooky and add some fun decor to our console table.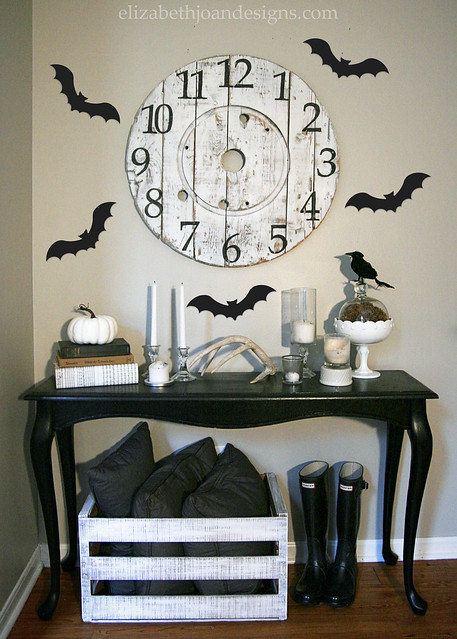
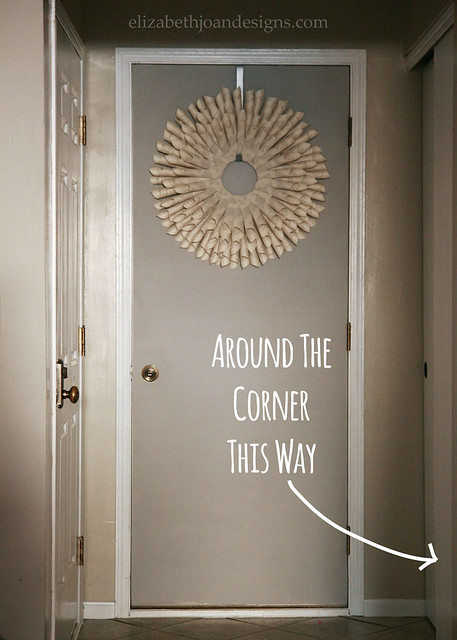
I don’t really know what to call this area. It is just around the corner from our foyer and at the bottom of the stairs. Is it an entryway? Hall? Or something else? $5 goes to the person who can correctly label this space. Kidding!
To decorate the area, I pulled together a lot of items from around the house and also grabbed a few items from the dollar store (candles, crow, etc.) You may recognize the Cable Spool Clock and the Budget Friendly Glass Hurricane.
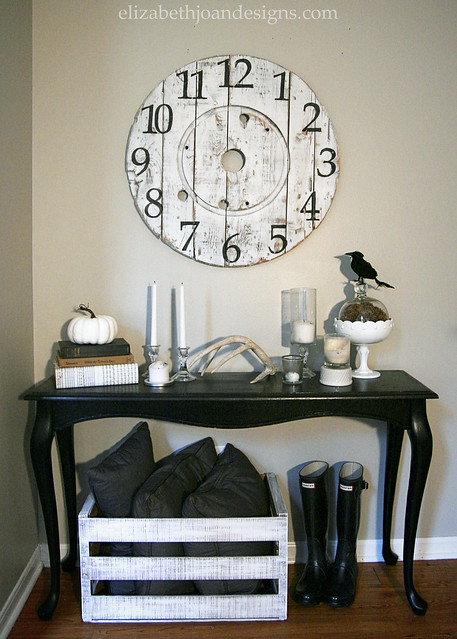
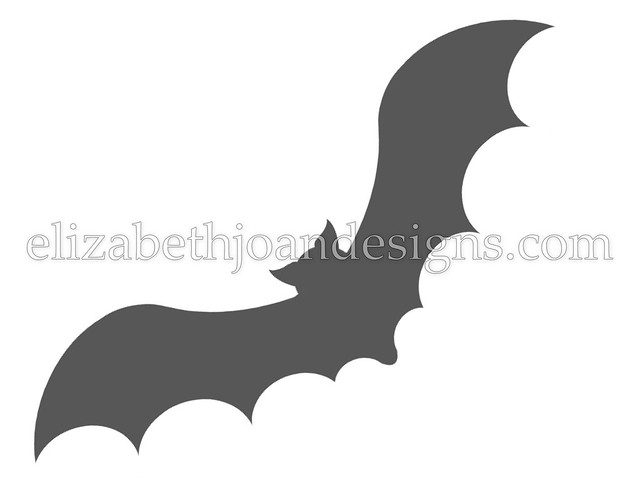
I decided to add the bats after I remembered that we had shared a great bat printable last year. They add a little something extra. I printed, cut out, and then traced it onto black card stock. And as far as placement, I decided just to wing it. Ha ha!

Print out your own flying insectivore (those are fancy words for a bat) below.
Click the image below for the free PDF link. Please download the file and open with Adobe Reader to ensure proper print sizing. When printing, make sure that Page Scaling is set to “Fit Printable Area” and Borderless Printing is selected.
So what do you think? Did we nail it or is this table scape just a bit too batty for you?
____________________________________________________________________ Check out our Halloween Party Invitation Printables for you upcoming shindig!

____________________________________________________________________
You may also like:
Last Minute Pumpkin Decorating 
Octonauts Costumes 
Freezer Paper Stenciled Treat Bag 
Halloween Mantle -
A Nightstand Fairytale

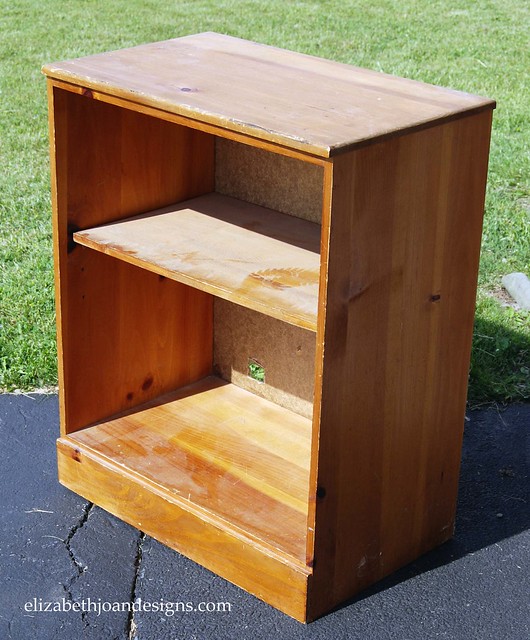
Once upon a time, there were male roommates who decided it was time to move out of their crappy apartment and on with their separate lives. During this transition, one of the guys abandoned a nightstand. One of the other men thought “Sweet! Free furniture!” and decided to rescue it.
The nightstand inheritor then went on with his life and later got married to a wonderful woman with a passion for DIY. (That’s me!)
Over the coarse of the next eight years, this nightstand was toted back and forth across the country with the couple, to find it’s self only miles from where this journey first stated. The thought of getting rid of this piece of furniture definitely crossed the couple’s minds, but the wife always new great things were in the future of this nightstand.
After several years of spending quality time in the couple’s basement, it was finally time for this gem to make a reappearance in the world with a band new look.
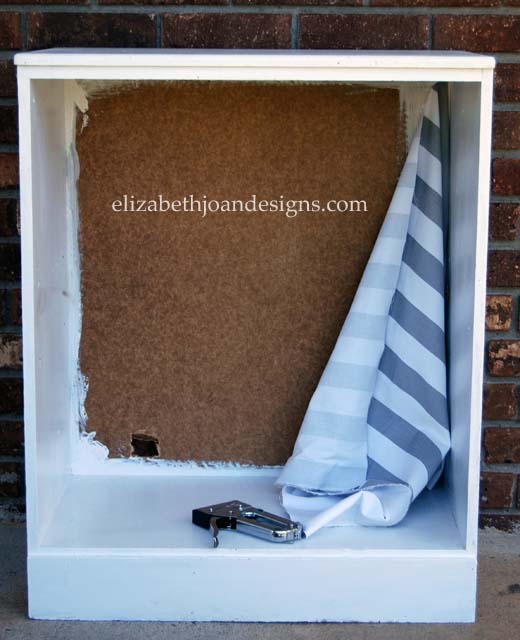
This makeover began with a light exfoliation of the exterior using 120 grit sand paper.
Next, a hydrating mask of primer was applied to the surface area and allowed to dry.
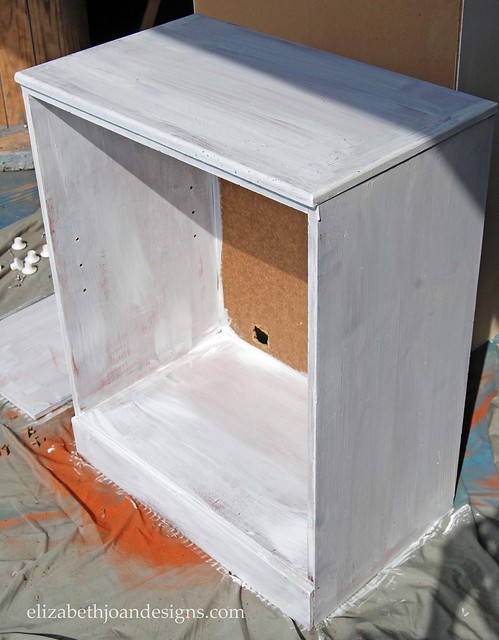
This process was then followed by two layers of white paint brushed onto the nightstand.
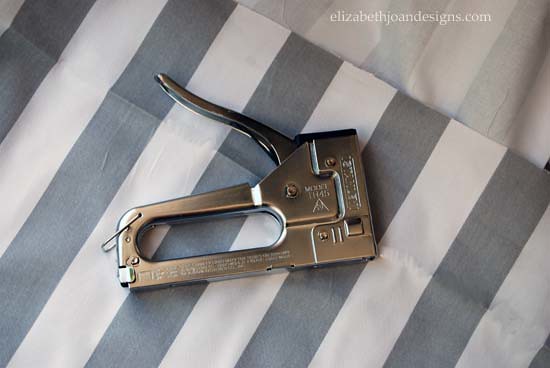
Finally, fabric and a staple gun were used to dress up the interior backing of the furniture.
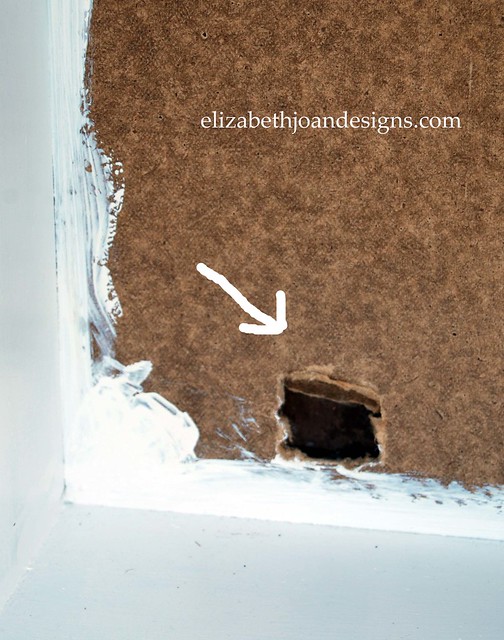
Hey, nobody’s perfect. Even this little gal had some imperfections that deserved a bit of cover-up.
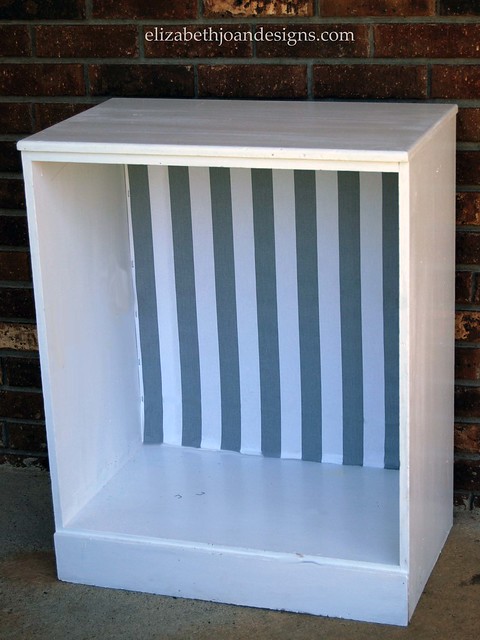
Isn’t she a beauty?
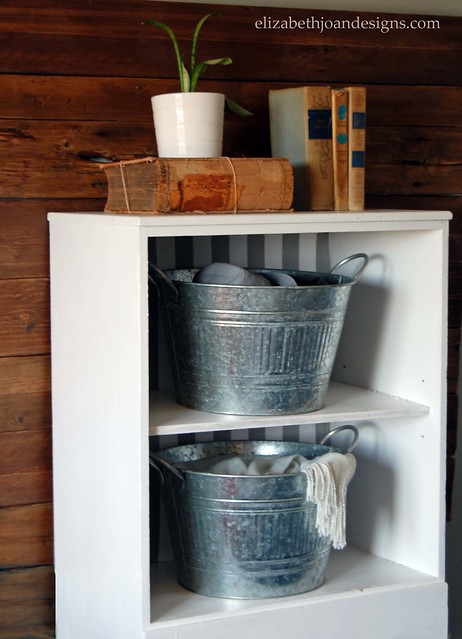
The husband and wife couple were extremely pleased with this furniture transformation. And they all lived happily ever after. The End.
_____________________________________________________________________ You may also like:
Numbered Counter Stools 
Cable Spool Clock 
Numbered Wooden Crates 
Ikea Apa Storage Makeover -
Updating the Foyer, Again
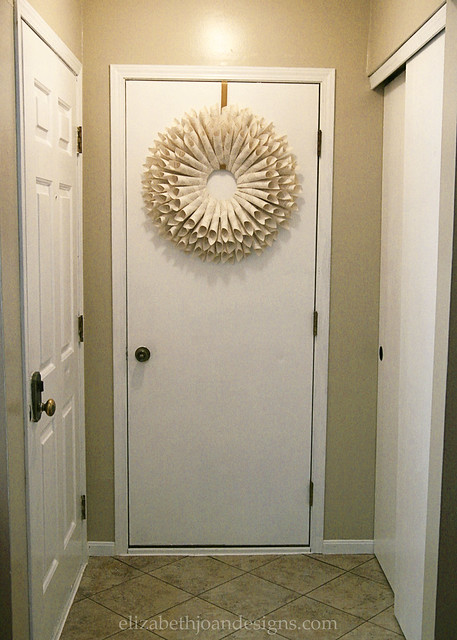
I know. I know. I should leave well enough alone. But I just couldn’t. There was just something off with our foyer, so I decided to paint the door going to the garage. Again.

You can see in the before photo below the difference that a little paint and lighting (natural vs. artificial) can make. Obviously, it was a lot better than the previous state it was in, but I just felt it still needed a little something more.
As far as paint goes, I kind of went back and forth on what I wanted to do. I had been researching chalk paint (which is technically not the same as chalkboard paint) and thought it might be something I wanted to try on a few furniture pieces. I honestly had no idea that chalkboard paint and chalk paint were two different things until a month or two ago. Chalk paint is a paint with a chalky type matte texture that is great for furniture, especially when antiquing pieces. You typically apply either a clear or dark wax over the top of it to finish it off. Chalkboard paint is made to be used specifically for writing on with chalk, a la classic school house chalkboards.
However, after reading a great post about chalk paint by Diane from In My Own Style, I was eager to try out chalk paint since it appeared that it could possibly pull double duty as a great furniture paint (with wax) and another option for chalking on (without wax.)
So, after receiving several 50% off coupons in the mail from JoAnn’s, I decided to head to the store where I found these.

I decided that for the door, I wanted the option of being able to write on it with chalk, since it is the last thing anyone really sees on their way out. Being able to remind the fam of things like “don’t forget to take lunch,” or “soccer tonight at 6” would come in really handy. So, I started in on the first coat of paint.

It seemed to adhere really well to the semi-gloss paint that was already on the door and I didn’t have to sand or use any primer. Woo to the Hoo! I ended up putting on 2 coats and the coverage was amazing.

After it had cured, I attempted to write with chalk on the door. Success! I started in a small, inconspicuous area and found that I didn’t need to prime the door with chalk and that all evidence of script-y chalk writing easily wiped off with a dry cloth. Of course, then I had to get a little more creative…
Stripes are nice.

And this lovely trellis pattern mixed with the scribbles of a 3 year old is the perfect blend of business on the top and party on the bottom. Kind of like a mullet.

I love the way that the gray cools the space and that the door is now a focal point. What are your experiences with chalk paint? Were you as oblivious as I was about the differences of chalk paint vs. chalkboard paint? I swear that I’m not that ditzy. My blonde hair is from a bottle. Just ask my
stylistsister. -
Pick My Seat
Literally. I need your help. I know that’s kind of a weird title, but you will understand it better as you read along. Promise.
You may or may not remember our Revamping the Breakfast Nook post. We are coming along in this room slowly, but surely. The newest addition is this painted, round, oak, pedestal table. (Holy adjectives!) Isn’t she purdy?
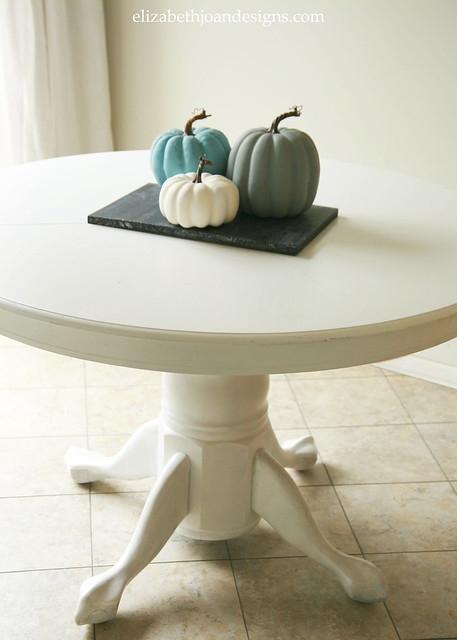
We actually found this table on the side of the road. It was a bit beat up, with a crack in the pedestal that needed repaired, but it came with all of the essential hardware. So, we decided to load it in our Jeep and bring it home.

After a little TLC in the form of wood glue, sanding, priming and painting, she was as good as new. Here she is all decked out with a little non-traditional fall decor. Looking good!
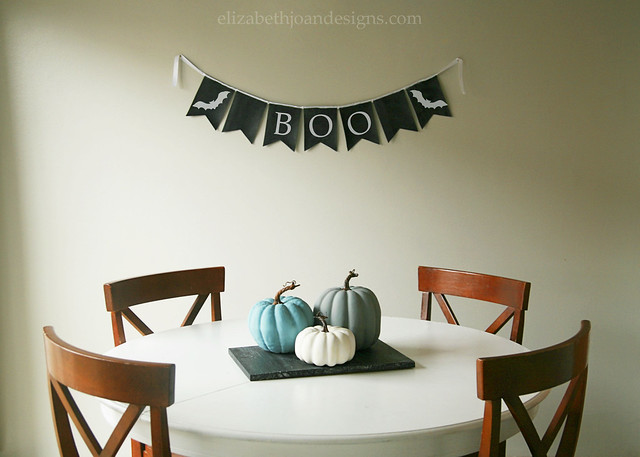
The chairs are the same ones we had with our previous table. But we’re now thinking that maybe it’s time to change things up, since we have this nice, “new” table to enjoy. Here are some of the choices we are considering.
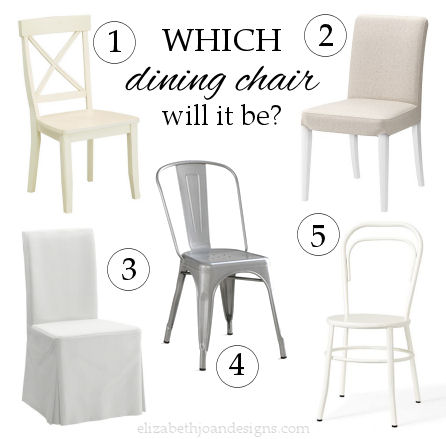
1. If we keep our current chairs, the plan would be to paint them white, like these from Overstock.
2. I really like the clean look of this type of upholstered chair, and the removable cover means that we could keep it clean from the grubby little hands that would be touching it during meals.
3. This chair (technically, the same chair as #2) is slip-covered, so it can also be washed if it gets dirty. The dressed up look is definitely a favorite and would add a bit of relaxed elegance to the breakfast nook.
4. I’ve been toying around with the idea of buying something similar to these chairs. I love their vintage, industrial feel, but I wonder how comfortable they would be.
5. This one borrows its look from the classic bentwood café chair and the curved lines could work well with those of the new table. The sale price is also pretty appealing.
We’d love your input on finding the perfect dining chairs. There are tons of great options out there and these are just a few that we feel could work for us. Which chair is your top pick? Do you have any experiences with the choices listed or recommendations other than these? Let us know!