-
DIY Teacher Desk Organization Station
This shop is part of a social shopper marketing insight campaign with Pollinate Media Group®, but all my opinions are my own. #pmedia #inspirestudents http://my-disclosur.es/OBsstV”
Today I will be sharing with you an easy DIY Teacher Desk Organization Station. This adorable school supply holder is made with oodles of recyclables. How awesome is that?
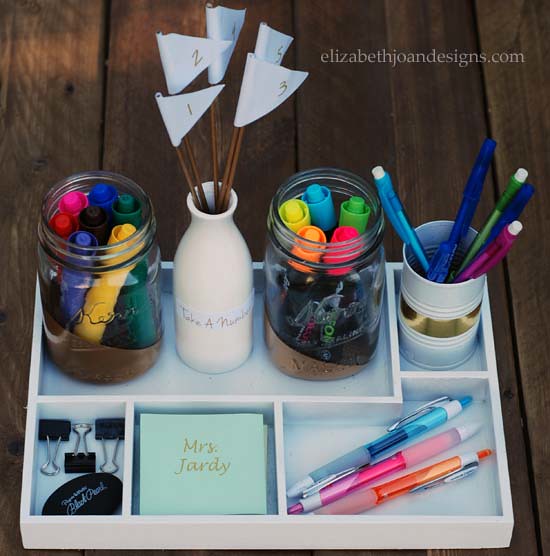
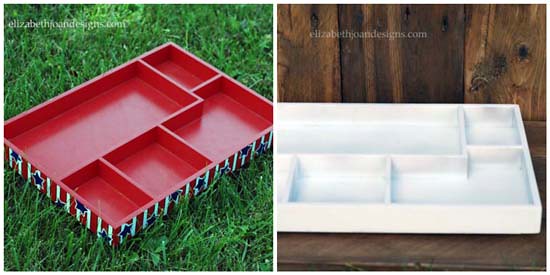
My supply list for this project was pretty basic. I used an old discarded Melissa and Doug toy tray, ribbon, glue stick, two hand-me-down Mason jars, one small empty can (previously used for tomato paste,) spray paint, several sheets of scrap paper, wooden dowels, and painters tape.
Here’s how I made it.
First, I lightly sanded the toy tray and spray painted it with glossy white paint to give it a much cleaner look.
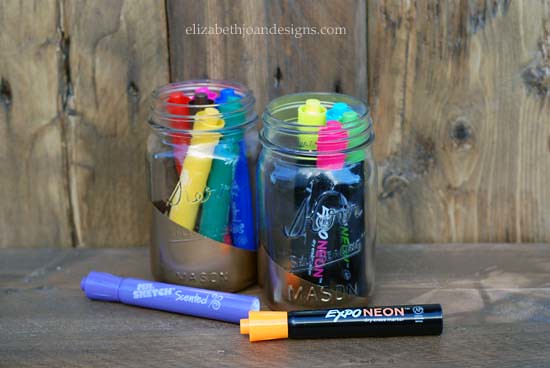
Next, I jazzed up two jars with spray paint. I love the look of paint dipped Mason jars and a touch of gold is all I needed to add a bit of glam to this project. I used painters tape and scrap paper to protect the undipped portion from over spray.

Then, an old empty can of tomato paste took a turn transforming its color to white. (No, it didn’t change its own color. I just spray painted it, but I thought saying it like that was much more exciting. Tada! *Jazz Hands*) I added a piece of ribbon around the middle of the can to give it a little something extra.

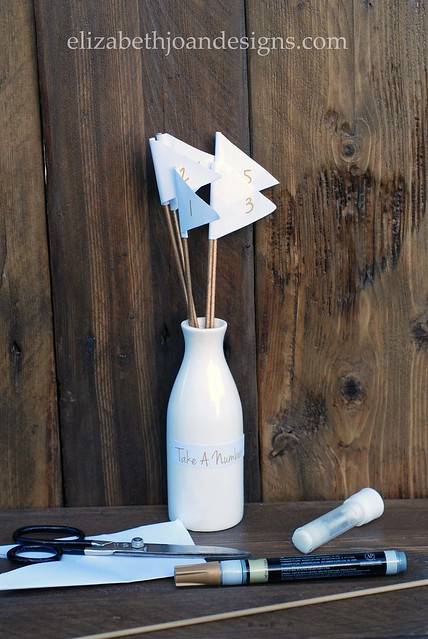
The vase I had just lying around. It was just looking for a purpose and it found one. It holds these adorable homemade “Take a Number” flags. They were assembled using wooden dowels, a glue stick, a marker, and scrap paper. Aren’t they cute?
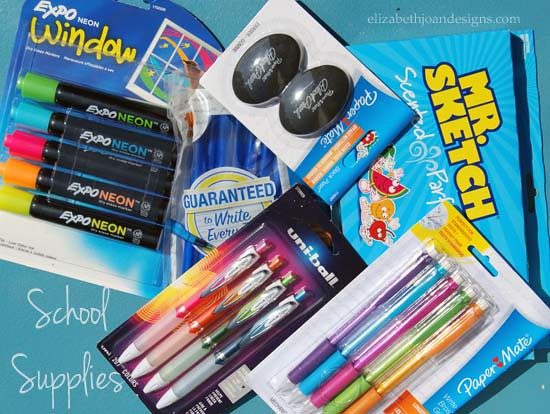
Finally, it was time to add all the essential school supplies to the tray and containers. The cost was pretty minimal. Yay! Who doesn’t love that? I had shopped at Office Max for the school supplies and found they had a great deal going on. It is Save $5 off your purchase of $20 or more on select Newell Rubbermaid Brands (PaperMate, Expo Neon Window Markers, Sharpie, Uni-Ball, & Mr. Sketch. While supplies last.) Woo hoo! If you are not part of Office Max/Office Depot’s rewards program yet, you should take advantage of it by clicking here.
I love how this desk organizational tray turned out. Everything has a place. It would make the perfect teacher gift for back to school time or any other special occasion. The teacher that receives this tray will be the envy of the faculty for sure!
-
Chalk Cloth Bunting
I love a simple project and that’s what you are getting today. DIY Chalk Cloth Bunting. It’s not just adorable, but can be used for all types of celebrations. Oh, and it’s easy too. Perfect for a lazy day sitting in front of the boob tube, when your energy is drained and minimal is all you can muster.

I had some extra chalk cloth left over from this project, so I decided to use that to make the bunting. Original, right? I think that everyone in blogland has probably made a bunting or banner of some kind (even Emily did it,) and well, I just didn’t want to be left out.
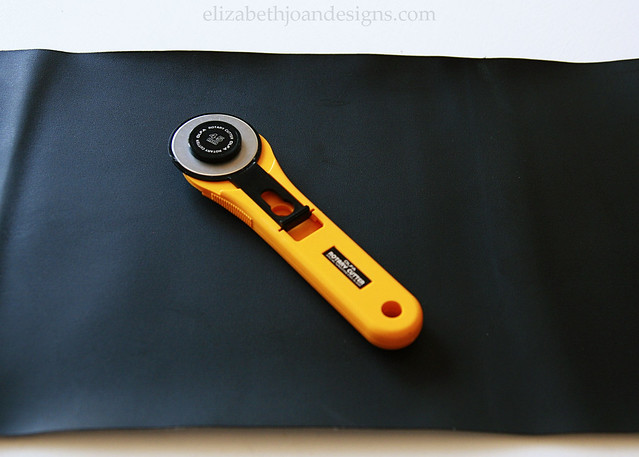
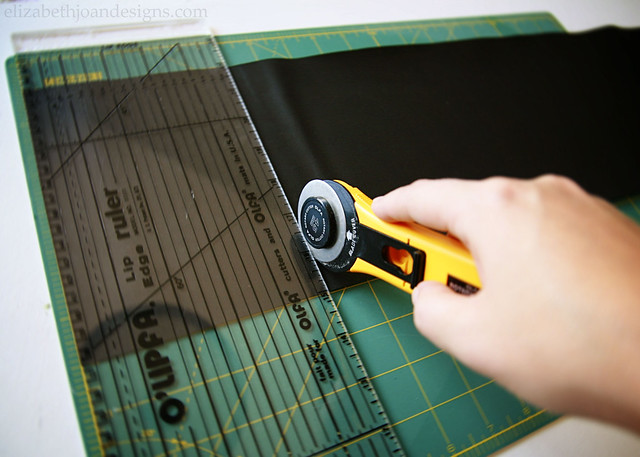
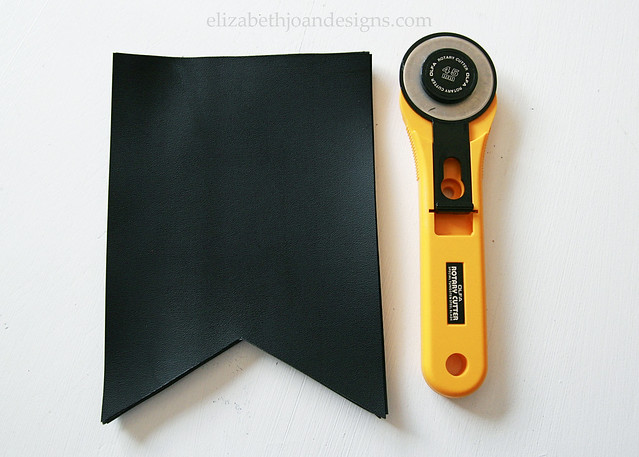
Using a rotary cutter, I cut out 7 pieces of the cloth measuring 5 inches x 7 inches each. Why 5″ x 7″? Because it just sounded good.
Next, I measured approximately 1.5 inches up and 2.5 inches in from each side (the center) and marked a spot with a pencil on the bottom of each piece. Starting at the corner, I cut a straight line in to the dot on an angle and did that for both sides. Then, I used that piece to trace a cutting line on the rest of the fabric pieces…
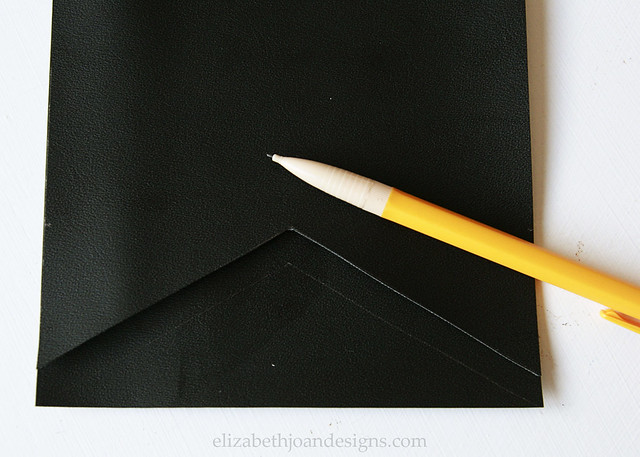
And cut out each of them.
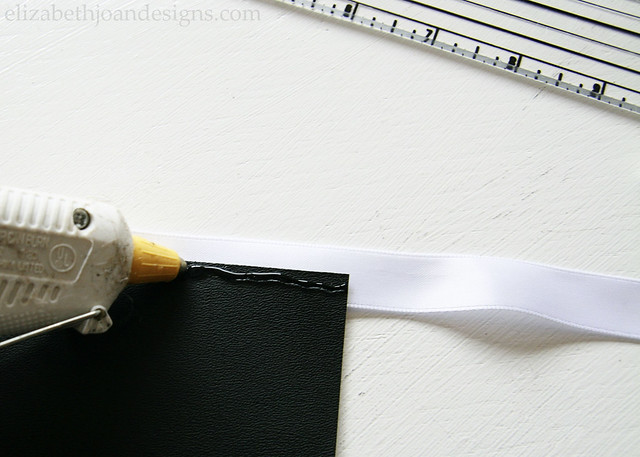
After that, it was time to attach some ribbon.
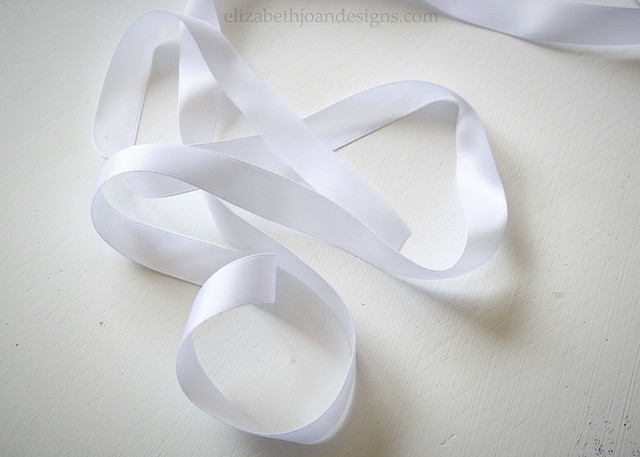
I used ribbon (you could also use bias tape) to attach the chalk cloth pieces together with some hot glue. Just fold the ribbon in half and add glue to the inside part.
The chalk cloth needs to then be primed before anything is written on it. You can find out how to do that in this post. Then just dust off the excess with a dry piece of scrap cloth or fabric.

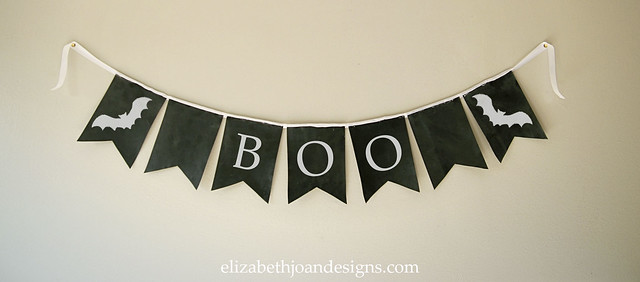
Finally, write out a little message. The best thing about this bunting is that it is customizable and can be used for multiple occasions. Here is how we are using it this fall!
_____________________________________________________________________ You may also like:
Chalk Cloth Map 
Halloween Mantle 
Chalkboard Lettering 
Freezer Paper Stenciled Treat Bag -
Faux Roman Shade
If you’ve been following along, then you probably know that we’ve been working on our kitchen and I wanted to share a little update that has made a big impact on the space.
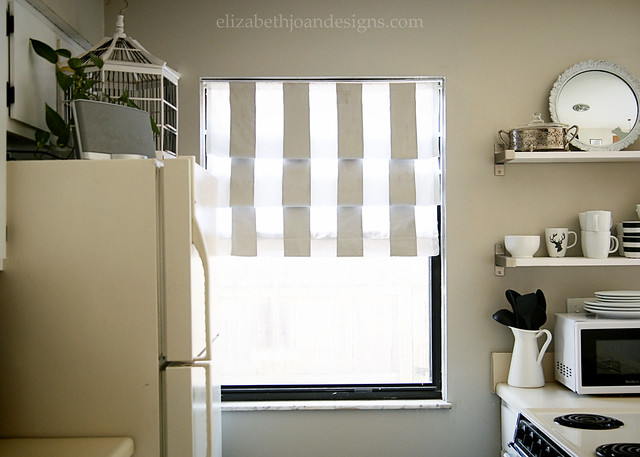
I love the look of Roman shades (especially this striped one from Dear Lillie) and knew that I wanted something similar in our kitchen instead of the horribly over sized mini-blinds that were there when we bought our home. Seriously, who hangs blinds above the window on the wall?

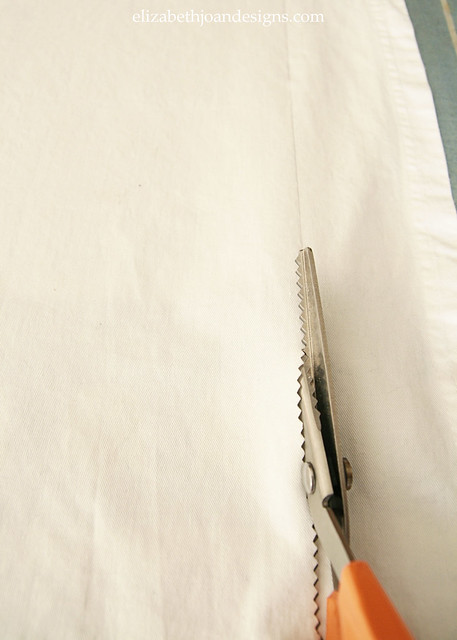
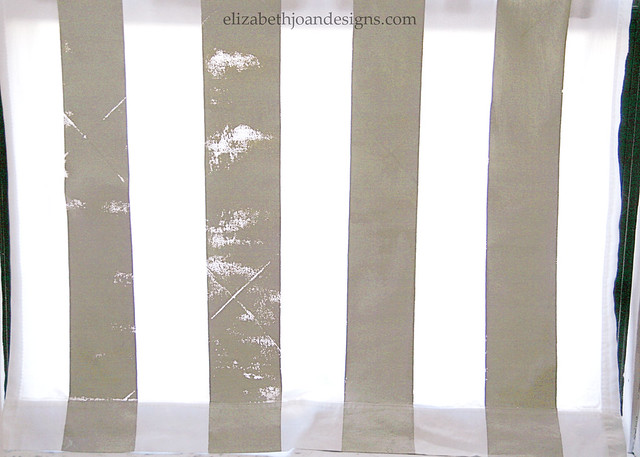
However, I didn’t have the patience to wait for similar fabric to be shipped to me, so I decided to use an old white curtain we had in storage and paint it with stripes. I started by removing the blinds and measuring the window dimensions. Then, I marked where the edges would be on the curtain and cut along the left side and top. leaving some seam allowance and room for a pocket along the top. (I used the existing finished edges on the bottom and right side.)
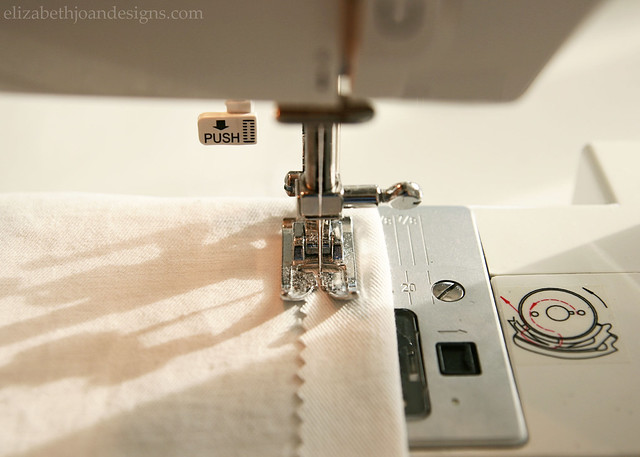
Next, I sewed the unfinished sides, leaving a pocket along the top for a tension rod to go through.
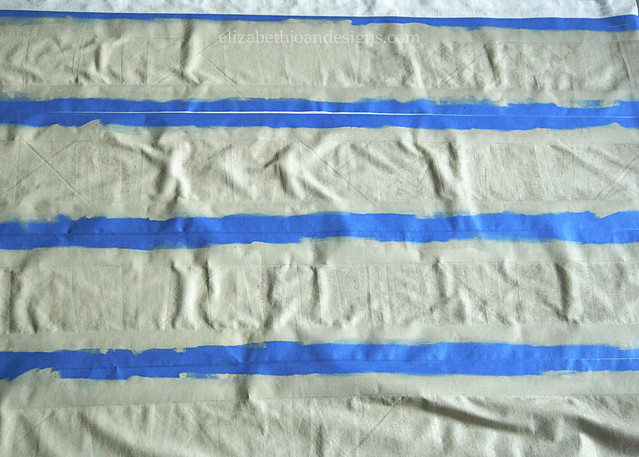
To paint the stripes, I kind of followed this tutorial from Perfectly Imperfect. The color is Benjamin Moore Revere Pewter, which is the same as our wall color in the kitchen.
Once everything was dry and the tape removed, I hung the curtain up on the tension rod. Unfortunately, there were some places where the light was still visible through the paint and it looked pretty funky. See?
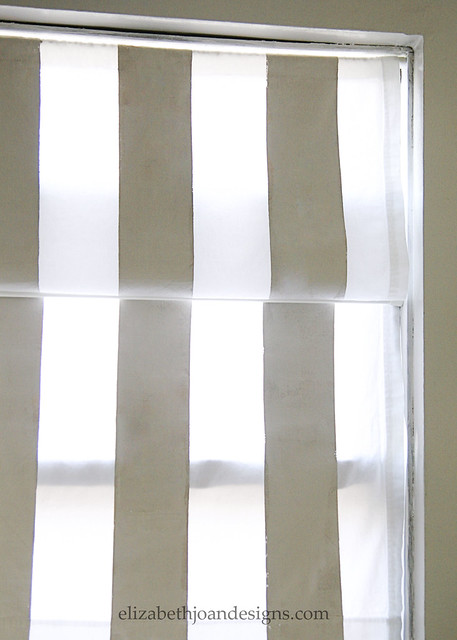
So, I used a paint brush to touch up those spots and everything in the world was good again.
Finally, it was time to make this simple, straight curtain into a Roman shade. I placed two more cheap tension rods in front of my fabric roughly 6 inches from the top rod and from each other.

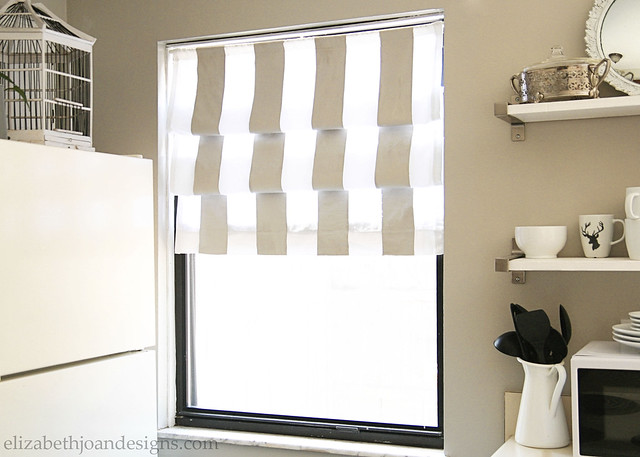
Then, I pulled a section forward from behind the middle rod and draped it over the front. I did the same for the bottom tension rod too, which gives the look of a roman shade, minus the functionality. (If you are looking for a DIY Roman shade that works, check out Emily’s post, A Shady Project.)
I think this was the perfect item to add some interest to our kitchen!
If you want to see more of what we’ve accomplished in this room, check out the posts Shelf Obsessed and Revamping the Breakfast Nook.
_____________________________________________________________________ You may also like:
Dining Chairs Update 
DIY Roman Shade 
Open Shelving in the Kitchen 
Revamping The Breakfast Nook -
Sometimes It’s the Little Things
Whenever I get a free chance, I am still trying to work on our playroom. It really is coming close to being finished. I just had lost a bit of my motivation and I finally feel like I might be getting back on track.
I have already shared a lot of the larger projects like:

Kid’s Table Makeover 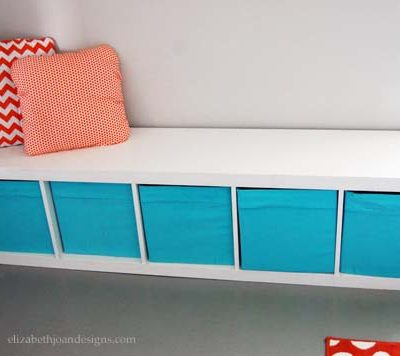
The Key to Painting Laminate Furniture 
Toy Organization 
Ikea Trofast Makeover 
Chalkboard Paint Accent Wall 
Ikea Apa Storage Makeover But now it is time to share some of the smaller projects that still contribute big impact to the room.
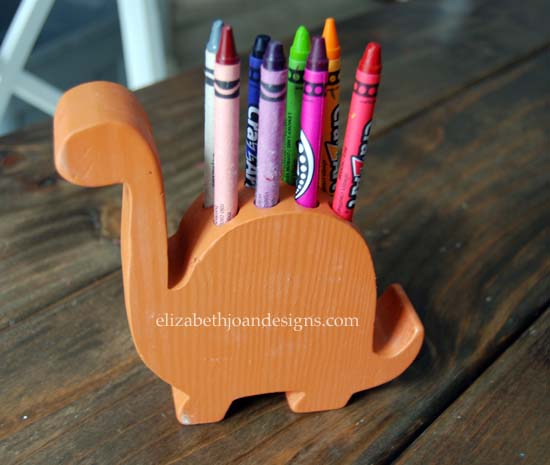
1. This friendly dinosaur, named Frank (I just made that up) was an unfinished piece I came across while shopping at JoAnne Fabrics. Combined with their famous 40% off coupon, this guy was a great deal.
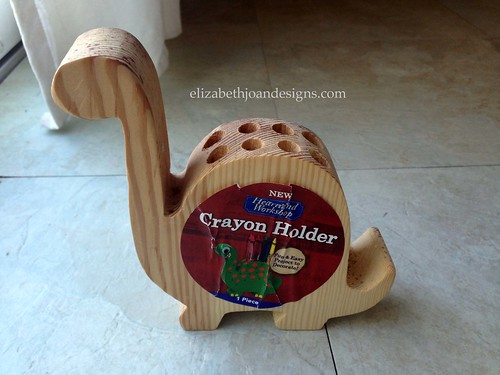
I knew spray-painting him orange would give me the pop of color I was looking for. Isn’t he adorable?
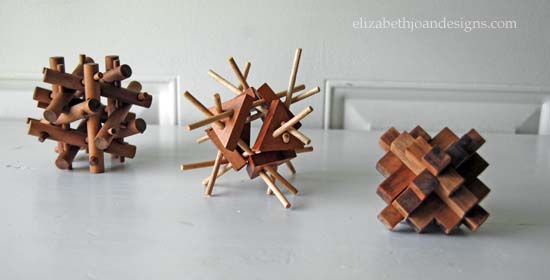
2. Mind puzzles can be extremely hard to solve. So what do I do, I take a few of my husband’s apart and stain them the color of my choice. Then ask him, oh so kindly, to reassemble each one. Luckily, I have a pretty awesome husband that accepted my challenge and put each and every piece back in its’ rightful place. (THANK YOU, Adam!)
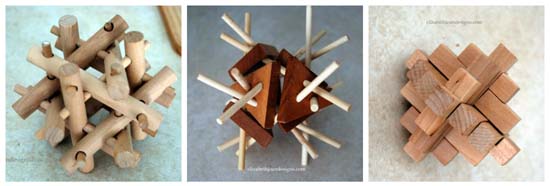
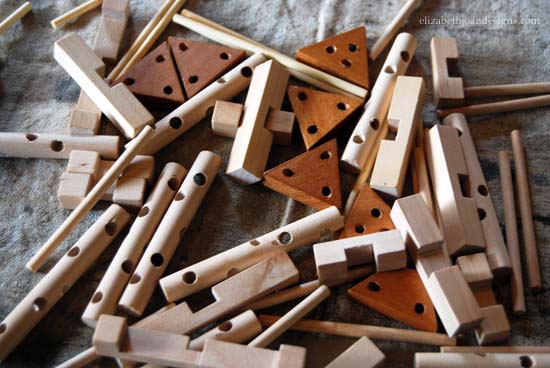
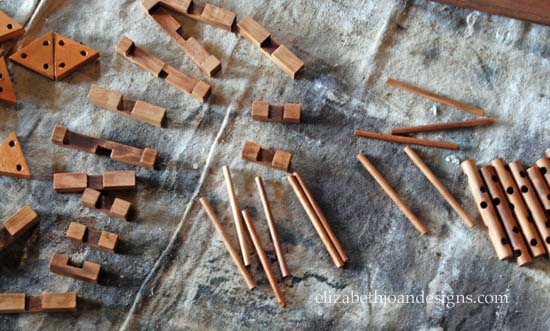
I love the way these intricate brainteasers look. Perfect for our playroom!
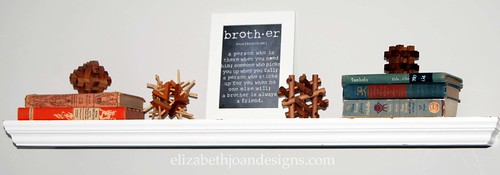
3. If you follow me on Instagram, then you may remember seeing this picture of fun garage sale finds featuring a floating shelf I purchased for $1.
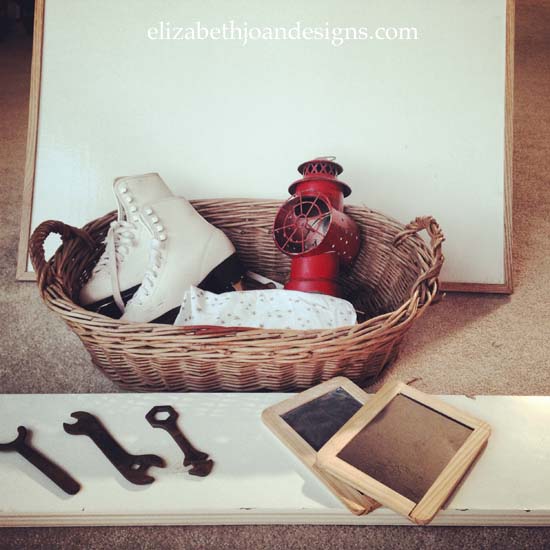
You can’t really beat that price, right? I brought it home and touched up a few dinged spots on it with some wood filler and painted over it to make it match the rest of the shelf.
My touch ups made this shelf look like new! We are so happy with the results!
Well folks, that’s all I have for today. Hopefully one of these days I will be able to share the full playroom reveal with you, but until then, toodle-loo!
_______________________________________________________________________________ You may also like:

Octonauts Costumes 
Paint Dipped Box Baskets 
Toddler Entertainment 
Faux Metal Letter