-
Last Minute Pumpkin Decorating
(This is a re-post from Oct. 25, 2013.)
This is a post for all of you procrastinators out there. You know who you are. In fact, you and I are not so different. I save most things for the last minute. This is something about myself I am working on, but I can always do that later. Right?
This past weekend, my family and I made an 8 hour journey to Ohio where Erin and I grew up. This was the first time, since starting our blog, that Erin and I had a chance to see each other. (More on that later.) While we were there, we visited our uncle’s farm and picked out a few pumpkins to decorate.
Here are a few of our favorite, no-carve, last minute pumpkin decorating ideas:
1. This pumpkin has a black mesh covering. We love the look and better yet, it took all of two minutes.
<

2. All dressed up and no place to go; this pretty little package was decoupaged with wrapping paper and tied with a bow. Popcorn anyone?

3. Tangled in a web of yarn, this pumpkin is the victim. Beware of mini spider pumpkins!

4. Change things up and instead of spooky, try a nautical theme! This pumpkin was painted white. Then we traced a starfish on it, applied glue with a paint brush, and added sand to finish the look. Ahoy!

5. Boo! I know, scary right? (Okay, not really.) Using yarn and dressmaker pins, we created this 3D work of art.

We love our simple no-carve pumpkins. How do you decorate yours?
-
Sealing My Concrete Counter Tops
All aboard! Welcome to the second post on concrete counter tops! This project has nothing to do with trains, but I recently took my two charming little men to a transportation museum where we got the opportunity to ride a real trolley. (Check out Emily’s/Erin’s Instagram for photos.) I may or may not have picked up a few railroad terms along the way. Anyway… Today, I will be sharing the final steps of this kitchen project: sealing my concrete counter tops. Choo choo! (Told you I could speak train!)
First step to sealing these bad boys was to impregnate the counter. YES! You read that right, but it’s not what you think. I applied two separate coats of 511 Impregnator Sealer to the surface using a rag. I let it dry for at least 24 hours between each coat.

*Side Note: You may get a few funny looks from the hardware store employees if you ask them to show you where the impregnator is. Just sayin’!

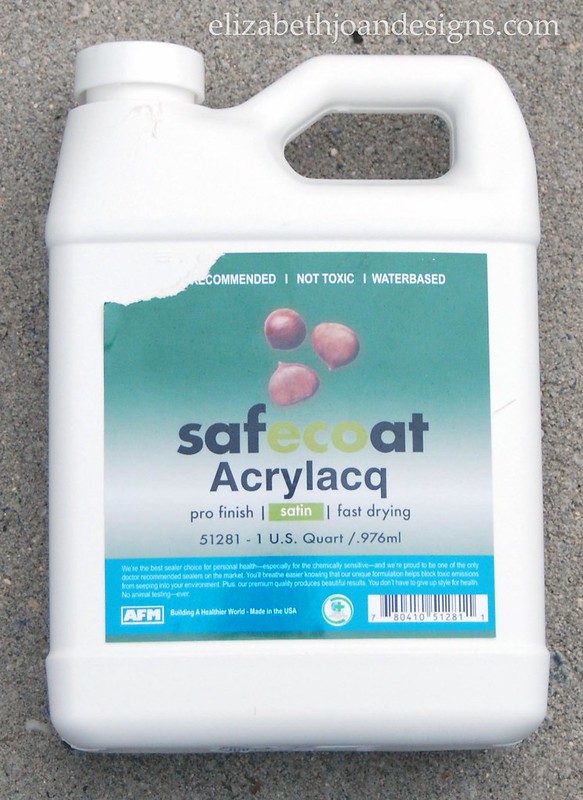
Next, I brushed on several coats of Safecoat Acrylacq. This stuff is awesome! It really protects the concrete and it is non-toxic, making it safe for food surfaces.

As you can see, the sealing process is pretty straight forward, but for this post, I also wanted to include a few tips and observations I learned through my experience of working with Ardex Concrete.

1. Ardex Concrete Counter Tops are not for the perfectionist – Luckily, neither my husband nor I fall into this category. Don’t get me wrong, we like things to look good and be done right, but if you are someone looking for the perfect looking, no-flaw counter top, this is just not for you. These counter tops are ever changing do to the moisture your surfaces are exposed to. The sealer keeps most of the moisture out, but if you are not diligent about cleaning your counter, you may get discoloration. Personally, I have really come to like the additional marks and tonal differences our counters have taken on, but I can see how that maybe it wouldn’t be for everyone.

2. Mixing Ardex Concrete – When mixing the powder with water, I found it best to add the water to the powder vs. the powder to the water. It seems to mix up easier with a smoother consistency. (Just my observation here.)
3. Applying the mixture to the existing surface – Apply extremely thin layers. If you think it is a thin layer, make it thinner. I learned this the hard way, so if you are attempting these counters, please learn from my mistakes. The thinner the layer, the quicker the drying and sanding processes will go, and the more even the end result. Thinner = Better (I am speaking just in this scenario, not life.)
4. Seal, seal, seal, seal, and seal again! – In tip number 1, I mentioned that I like the marks and tonal differences in the concrete. While this is very true, I don’t know too many people who like water rings on their surfaces. So to avoid these, I highly recommend lots of sealing.
5. Cleaning Concrete Counters- I found that Method Daily Granite Cleaner and Polish works wonders for clean dried bits of gunk off our kitchen counters.

Well, there you have it. An honest experience working with Ardex Concrete Counters. What do you think? We absolutely LOVE them. Is this project something you would try? Leave us a comment and let us know!

_____________________________________________ You may also like:

Grain Sack Stripe Stool 
Heriloom Dresser Makeover 
Easy Pom Pom Wreath 
Horseshoe Plate Holder
-
$10 Michaels Gift Card & Halloween Craft Bundle Giveaway
Soon, Halloween will be upon us. We want to thank you for being such loyal readers and get you in a spooky mood with a chance to enter a $10 Michaels Gift Card and Halloween Craft Bundle.

This Craft Bundle consists of:
– (1) $10 Gift Card to Michaels Stores (Not Pictured)
– (1) Package of Fine Tip Metallic Sharpie Markers
– (1) Halloween Clothespins – 8pc.
– (1) Popsicle Sticks – 50pc.
– (1) Standard Baking Cups – 75pc.
– (1) Roll of Decorative Tape
– (2) Rubber Halloween Stamps
– (1) Glitter Glue – 3fl. oz.
– (1) Black Non-Toxic Glitter – 3oz.
– (1) Gold Glitter Tape
– (1) Washi Crafting Tape – 6yd.
– (2) Oven Bake Clay – 2.4oz
– (2) Wooden Tags
– (1) Skeleton Ribbon – 7/8″ x 3yd.
– (1) Martha Stewart Crafts Dimensional Silhouette kit – 12pc. -makes 6
– (1) Ghost Shaped Cookie Cutter
– (1) Pumpkin Shaped Cookie Cutter
– (1) Gloss Finish Mod Podge – 2fl. oz.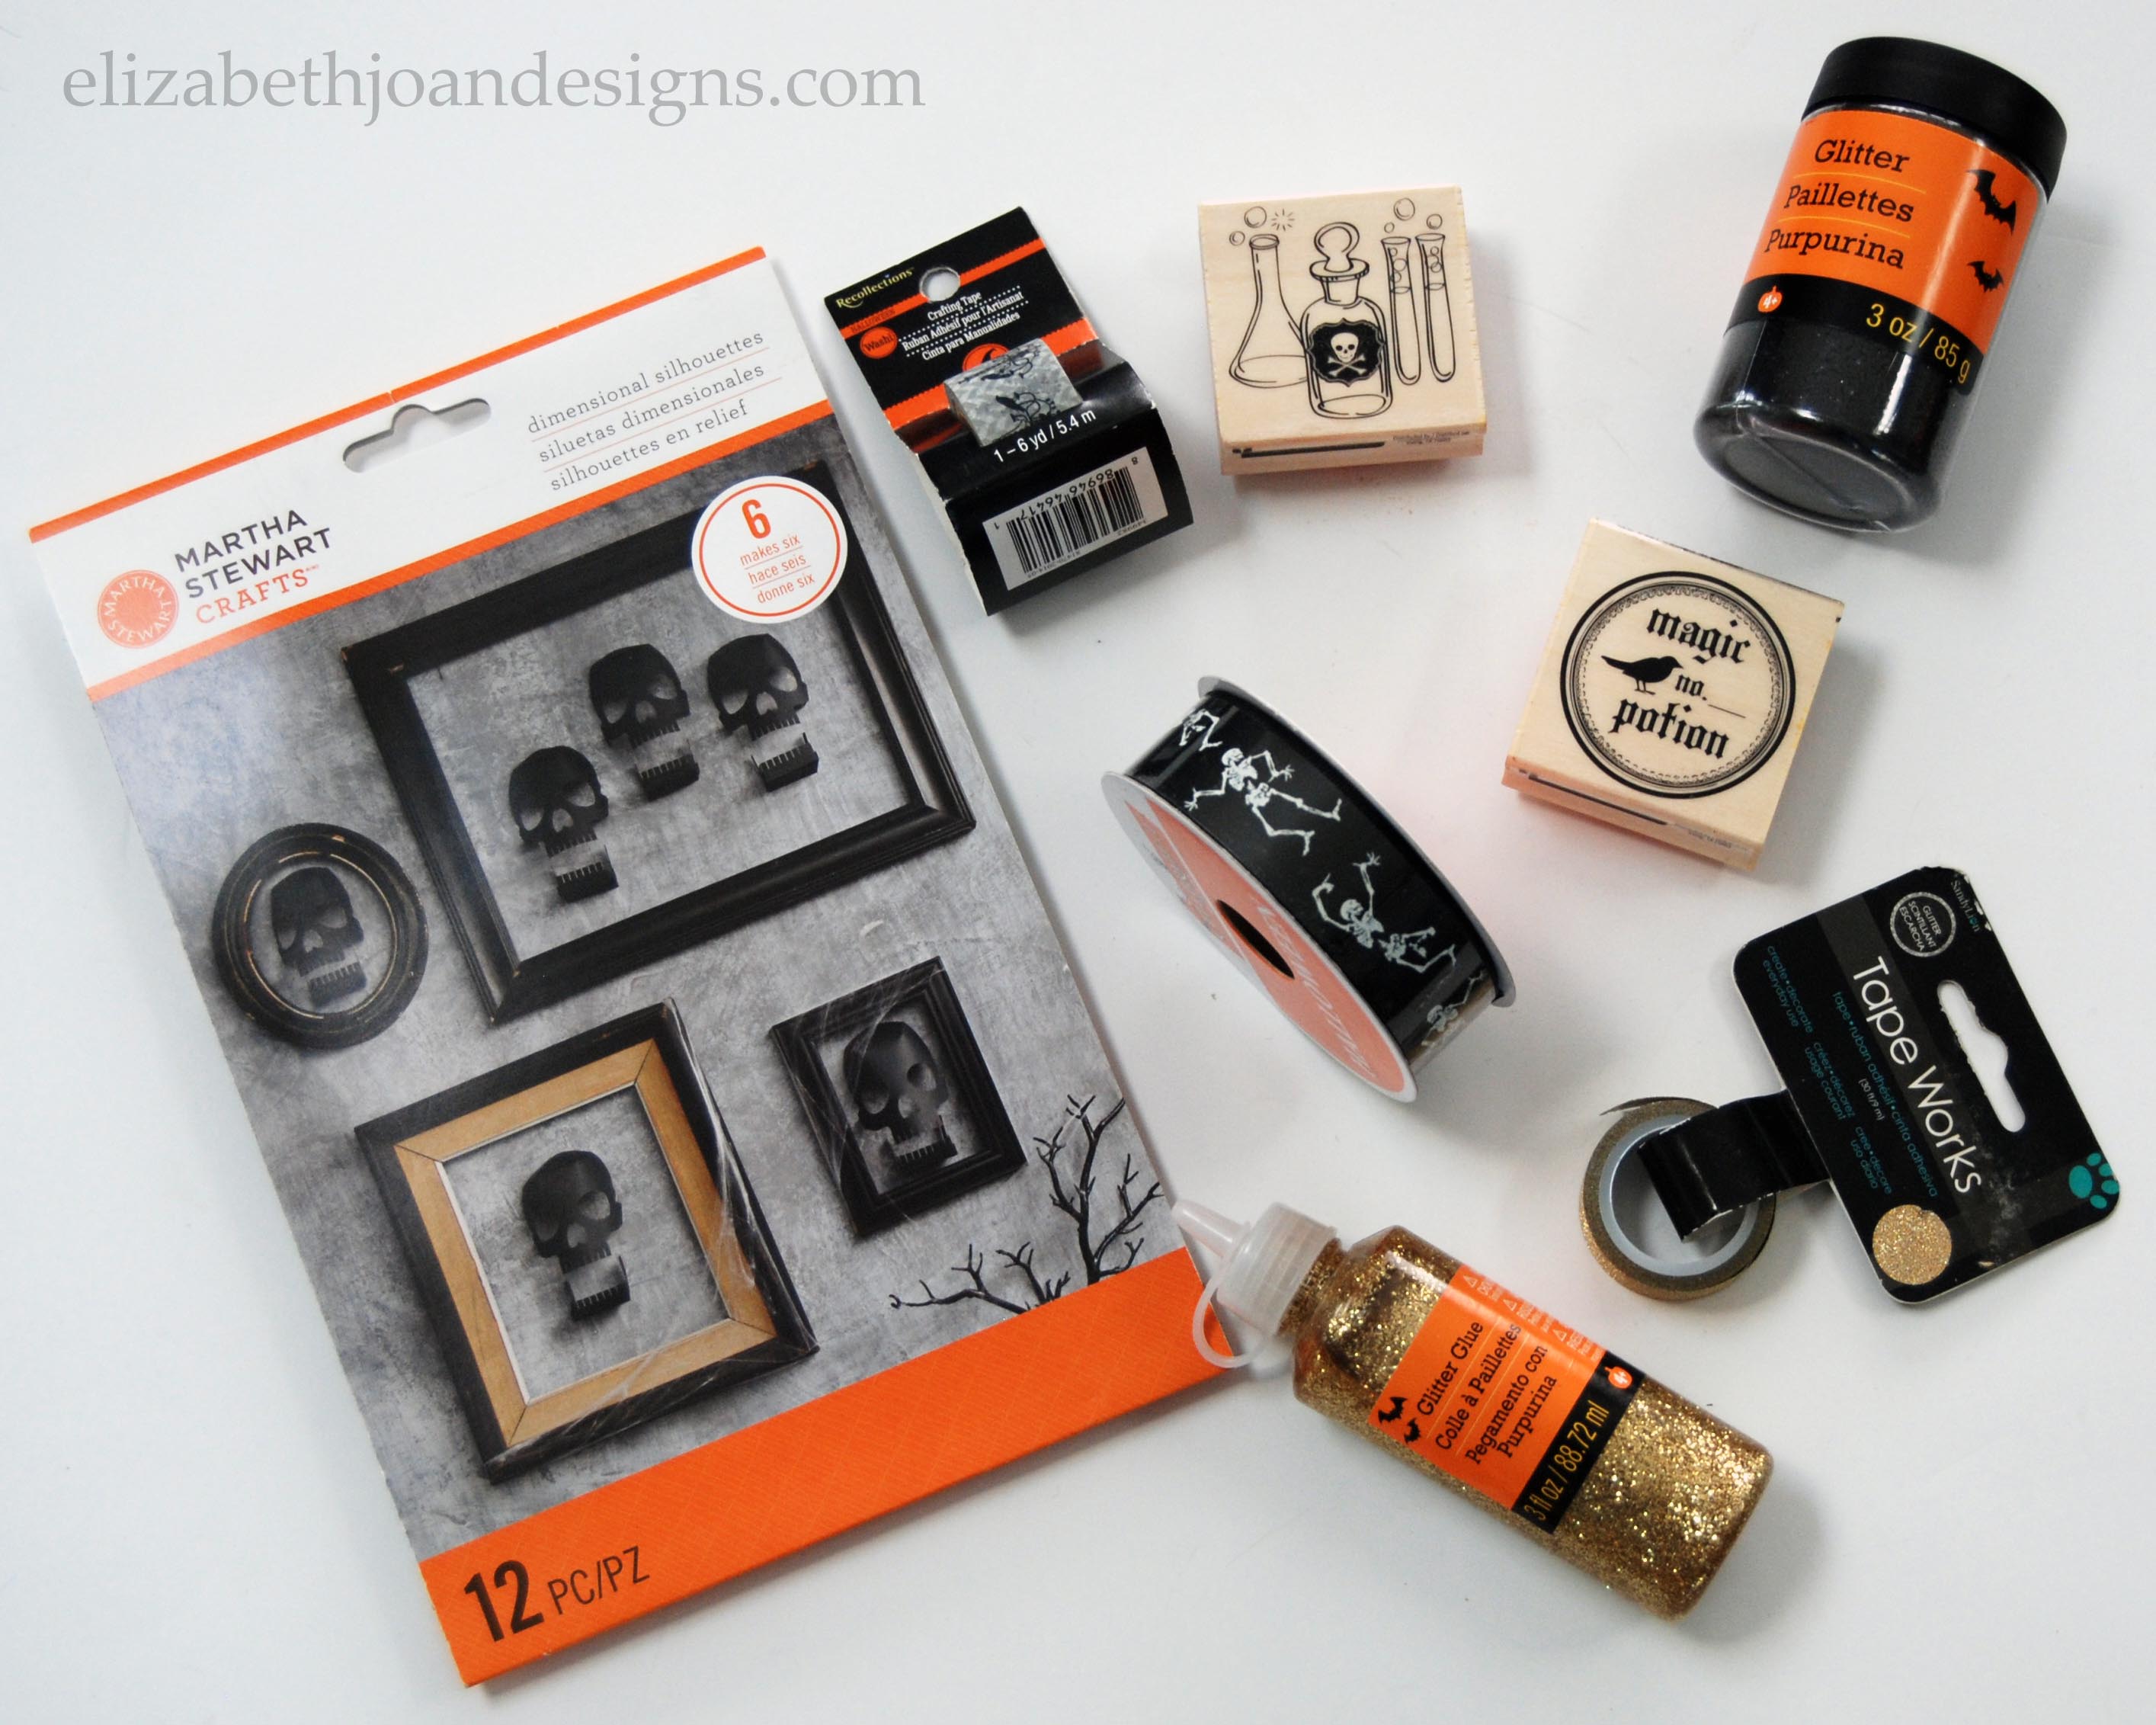

a Rafflecopter giveaway
This contest is open to United States of America residents only. All entrants must be 18 years of age or older. We will contact the randomly selected winner within 48 hours of the contest close. Void where prohibited or restricted by law. This giveaway is in no way sponsored, endorsed or administered by, Advantus Corp., Martha Stewart Crafts, Michaels Stores Inc., Mod Podge, Newell Rubbermaid Products, Sandy Lion, Scotch, and Sculpey, or associated with, Facebook, Instagram, Pinterest, or Twitter.
_______________________________________________________________________________________ We are so excited to be participating in the My Home Style Blog Hop hosted by Casa Watkins! Tomorrow, we will be sharing our home style with you, however, you must check out all of the fun styles that are being shared today! Tuesday:Wednesday:Thursday:
 -
Our Experience with Ardex Concrete Counters
This post by Little Green Notebook on concrete counter tops was the first I had seen of its kind and I was immediately inspired. I knew right then and there that I had to do that! It’s been a little over a year since I originally saw that post and I have finally made over my kitchen counter tops. So today, I am sharing Our Experience with Ardex Concrete Counters.
Supplies
(2) Ardex Feather Finish Concrete Bags
(1) 1 Gallon Bucket
(2) 1 Quart Measuring Cups
Hand Sanding Block
Sand Paper of a Variety of Grits
(1) 4″ Putty Knife
(1) 10″ Trowel
Supplies not pictured
(1) 1″ Putty Knife
(1) 12″ Taping Knife
Plastic Drop Clothes
Painters Tape
Paint Stirrers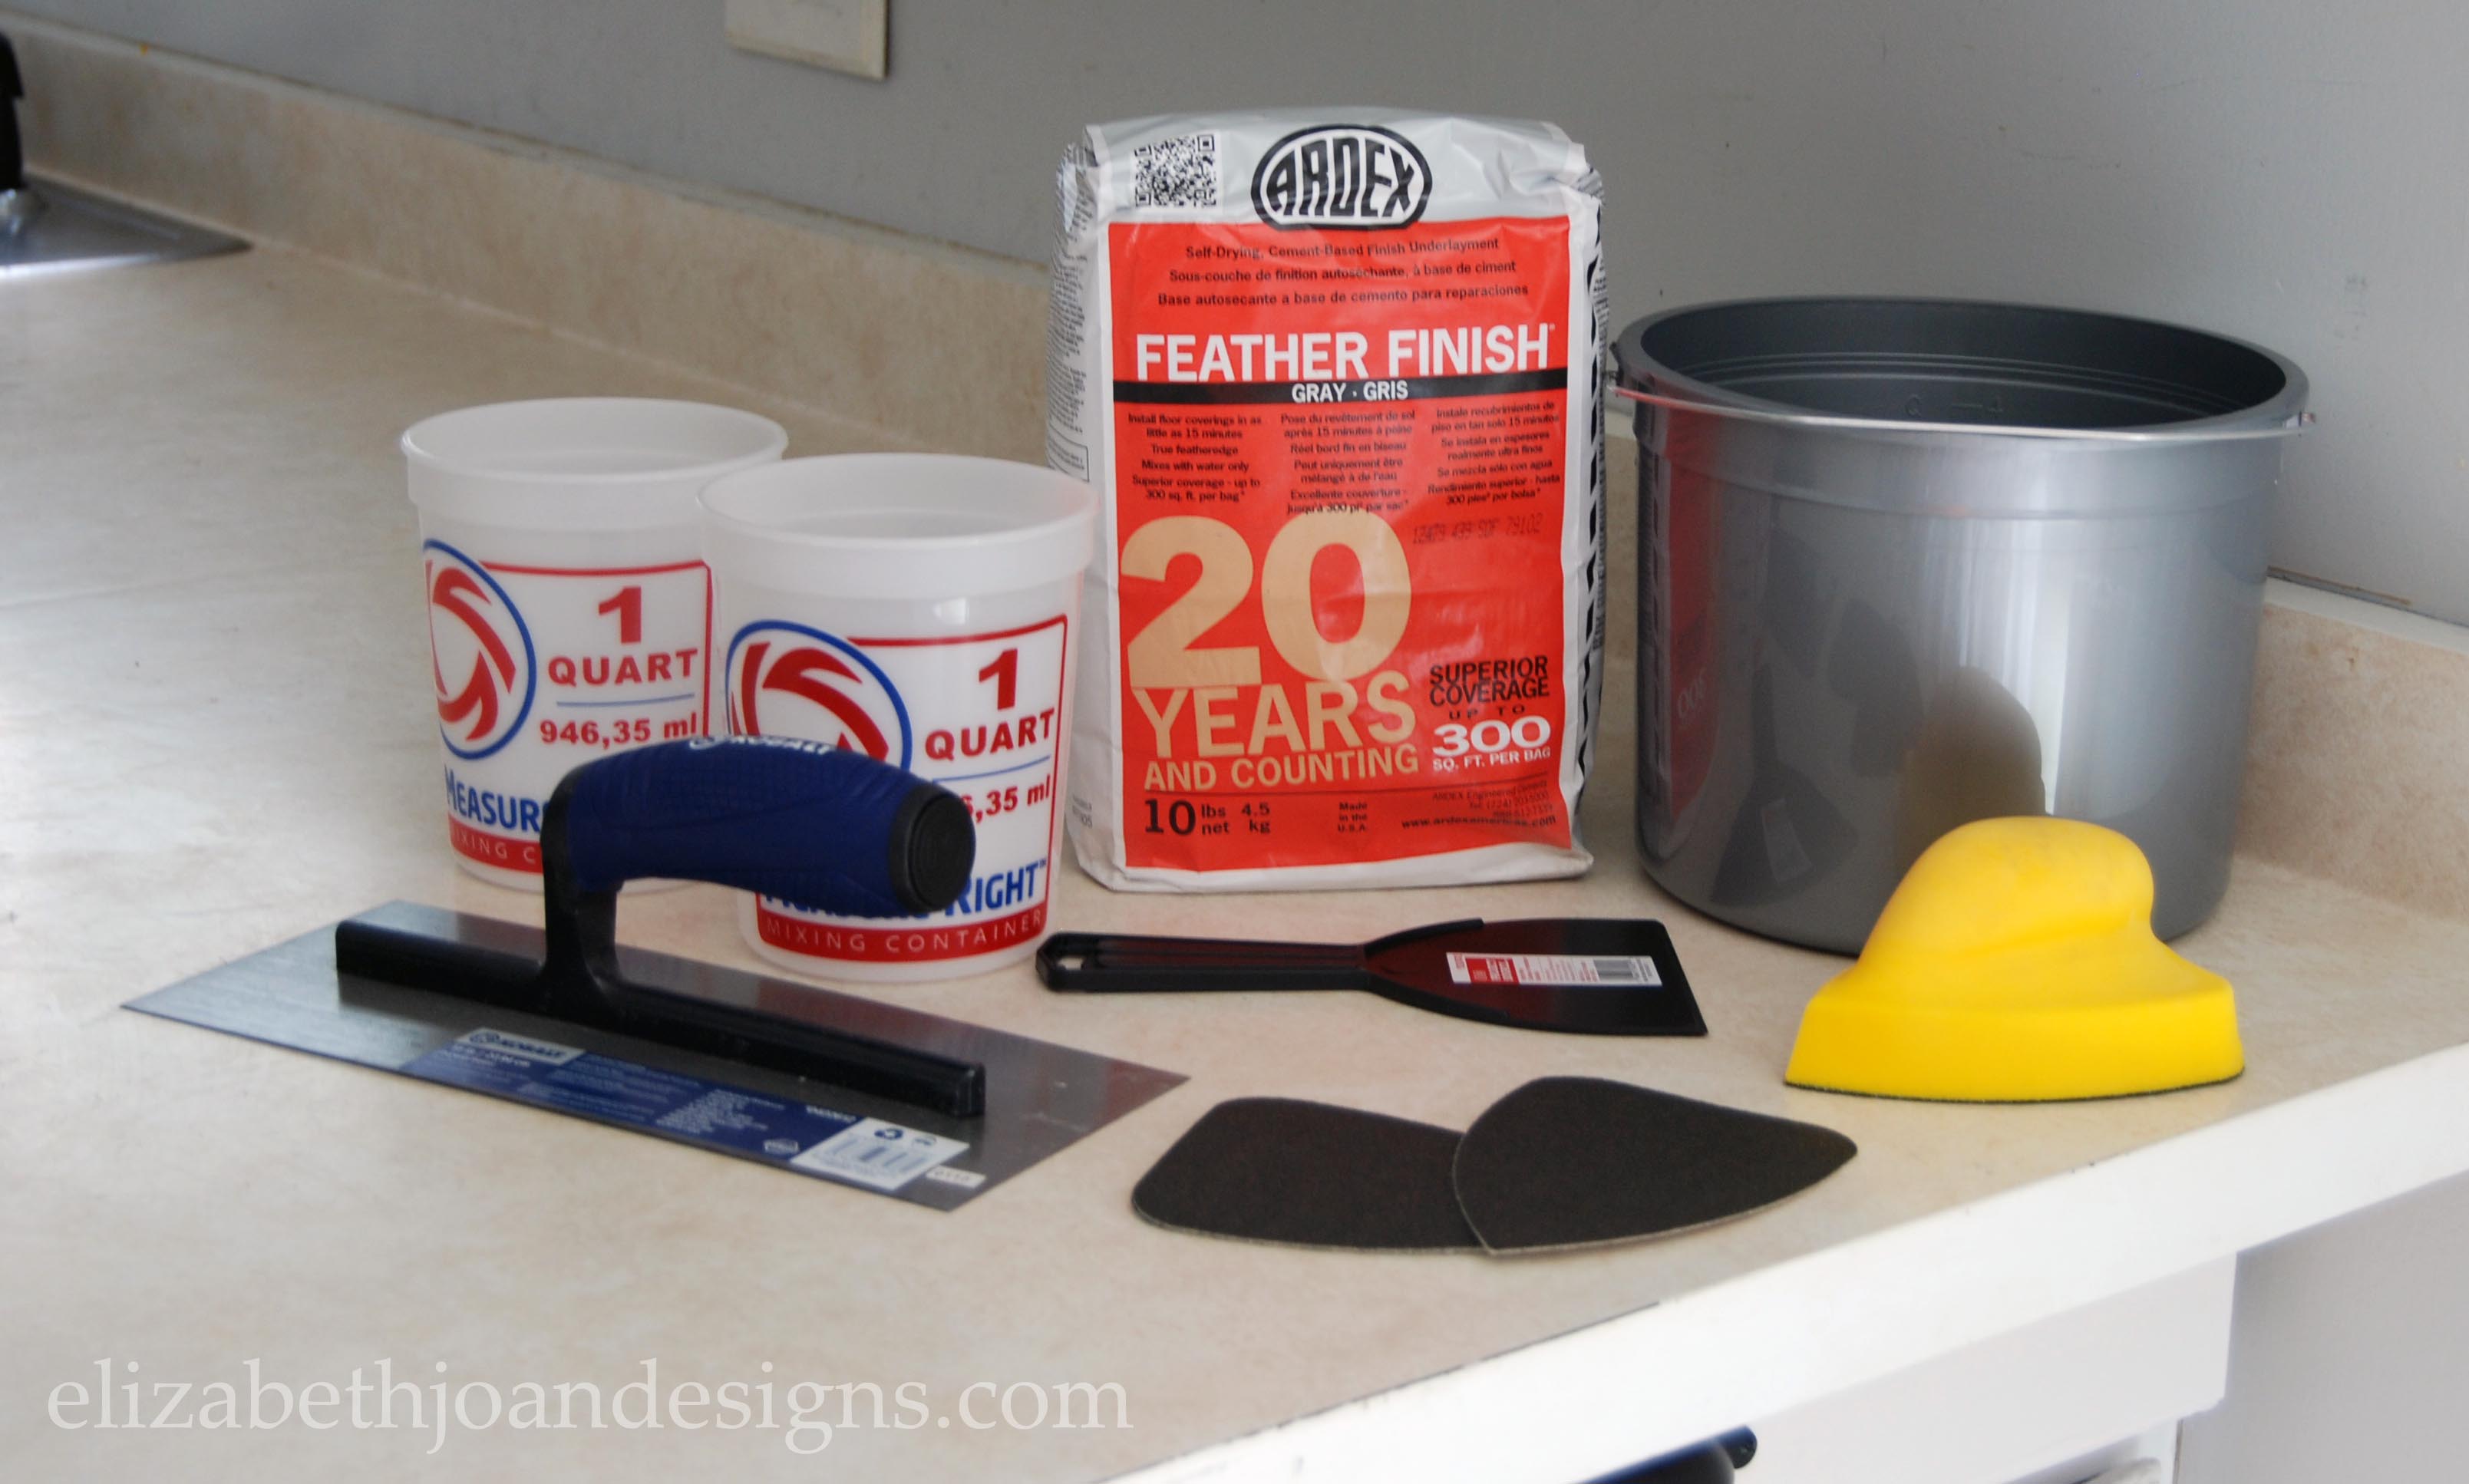
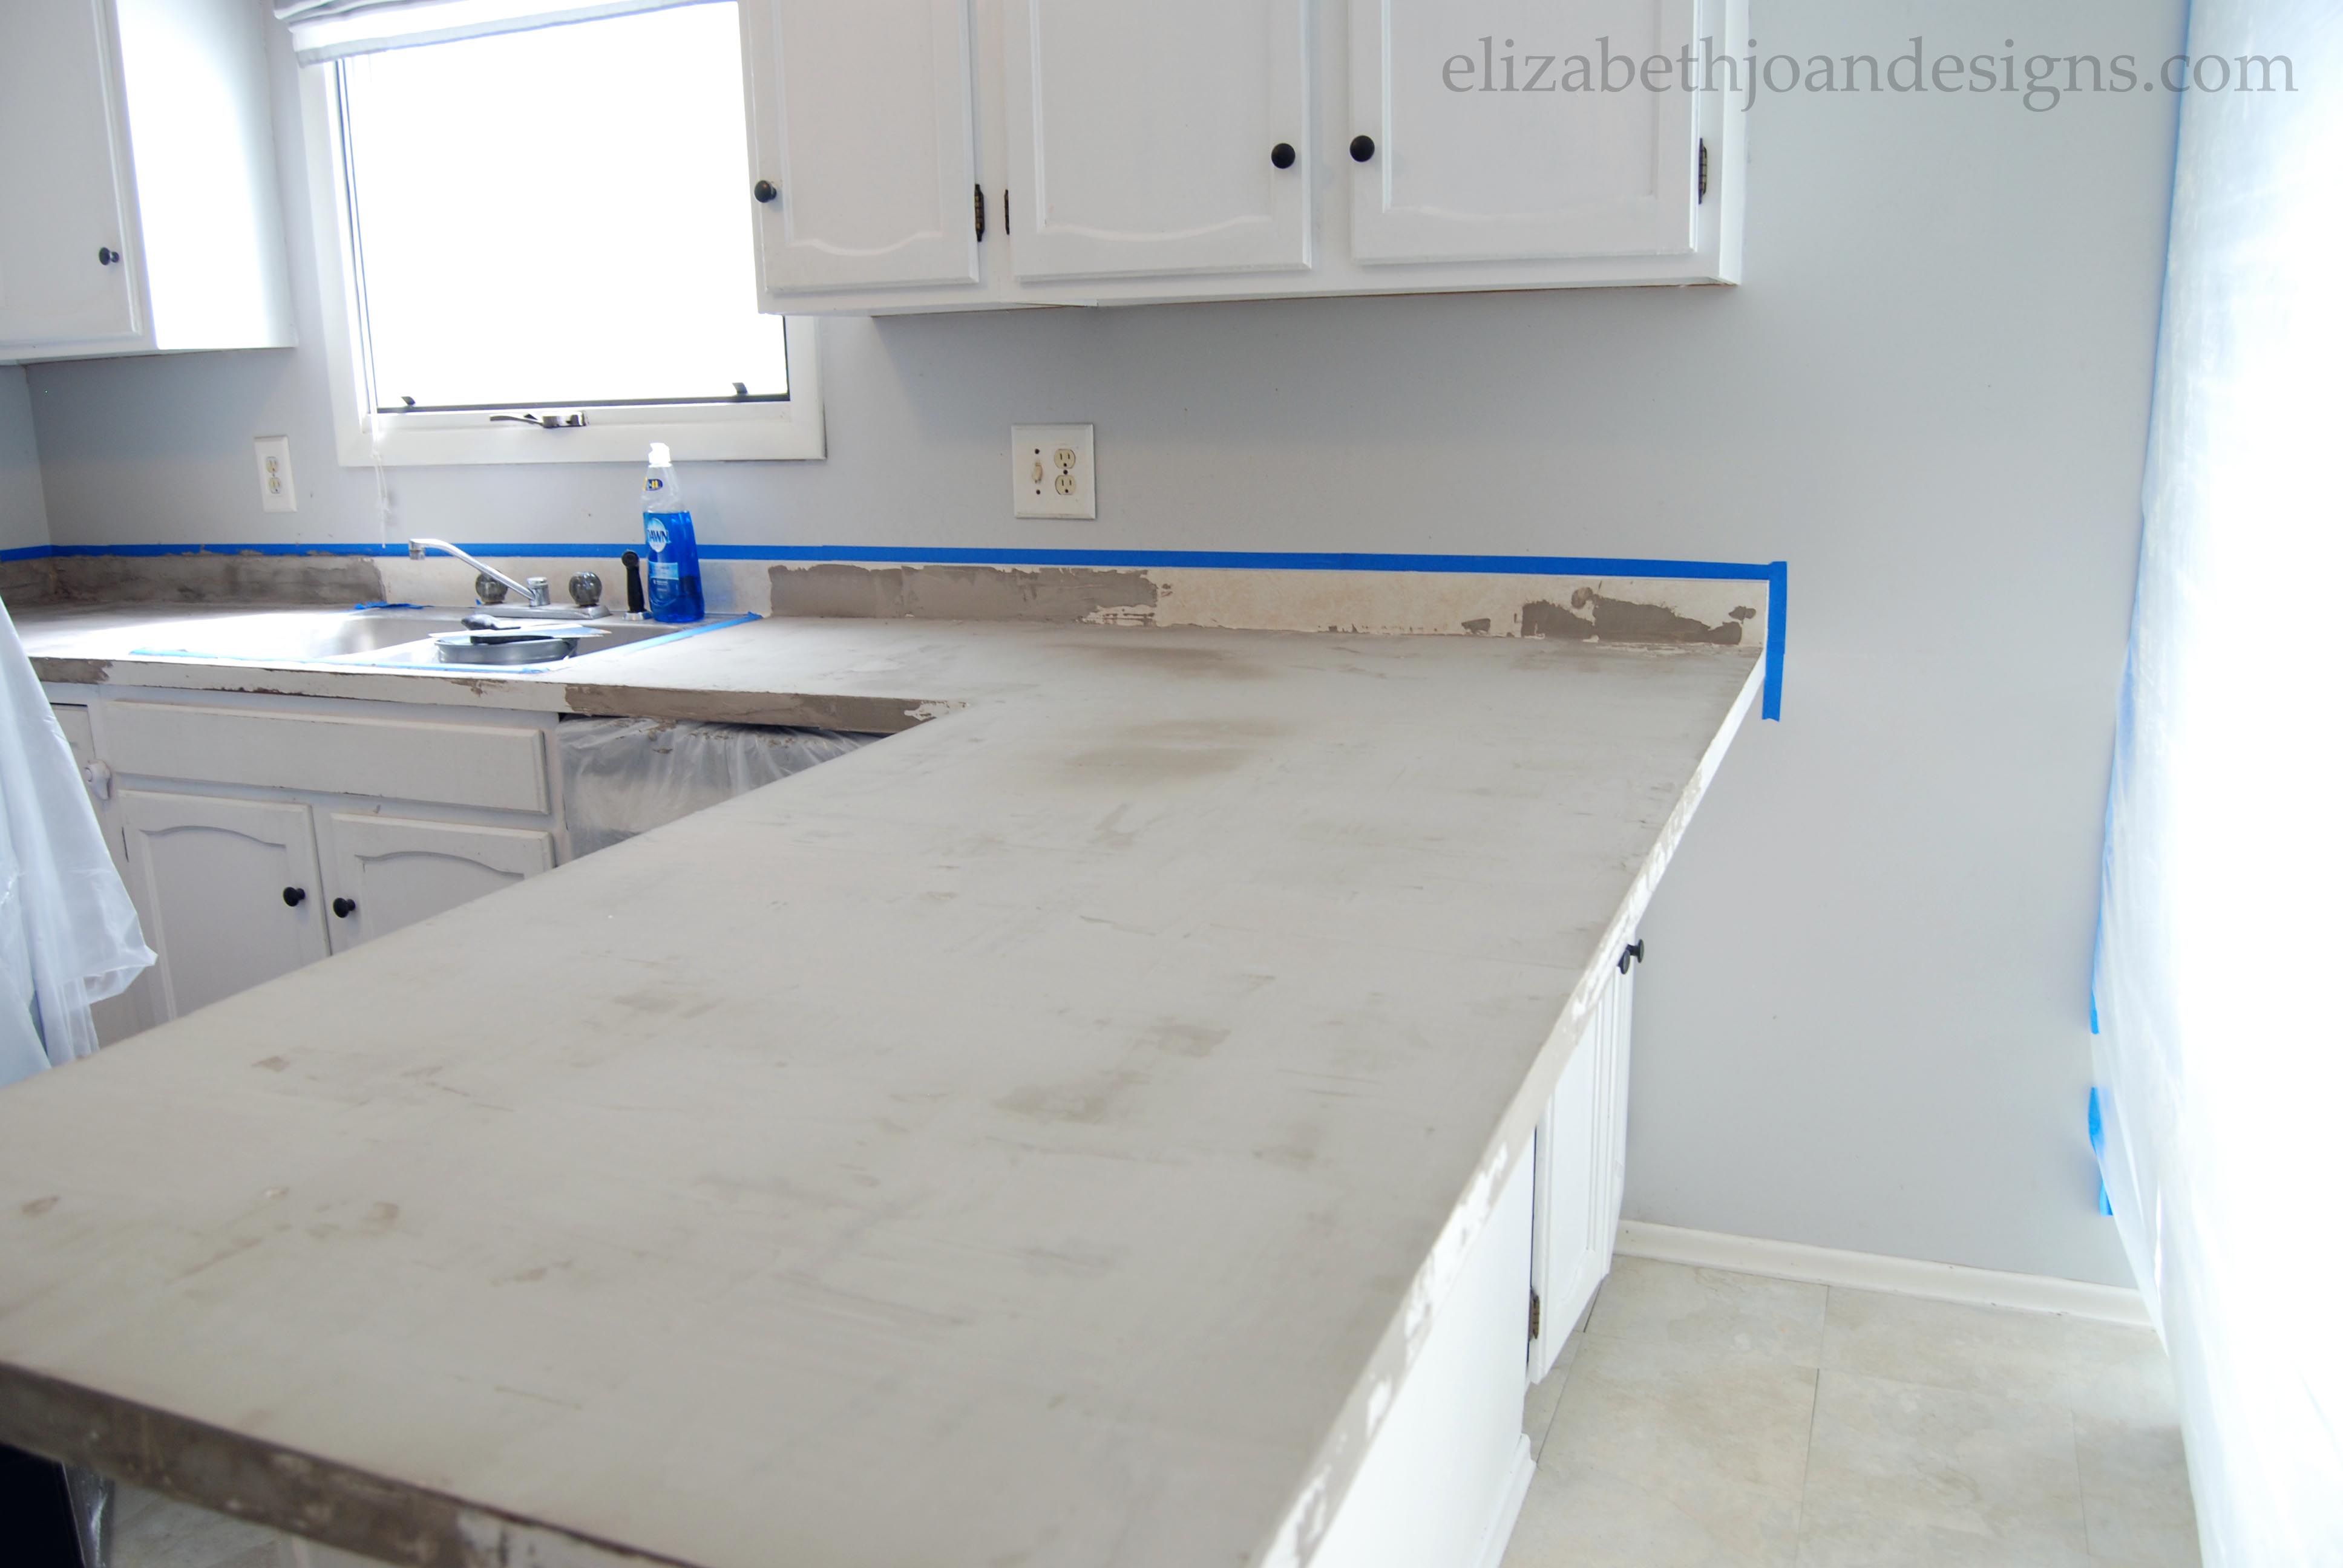
First, I prepped the work area by covering all surfaces except the floor with plastic drop cloths. Our house has such an open floor plan that I even walled off the kitchen with plastic in an attempt to contain the upcoming dust storm.


I also taped all along the wall and edge of the sink. This worked great for keeping a nice clean edge.
Next, 50 grit sandpaper was used to rough up the surface of the preexisting laminate counter top.
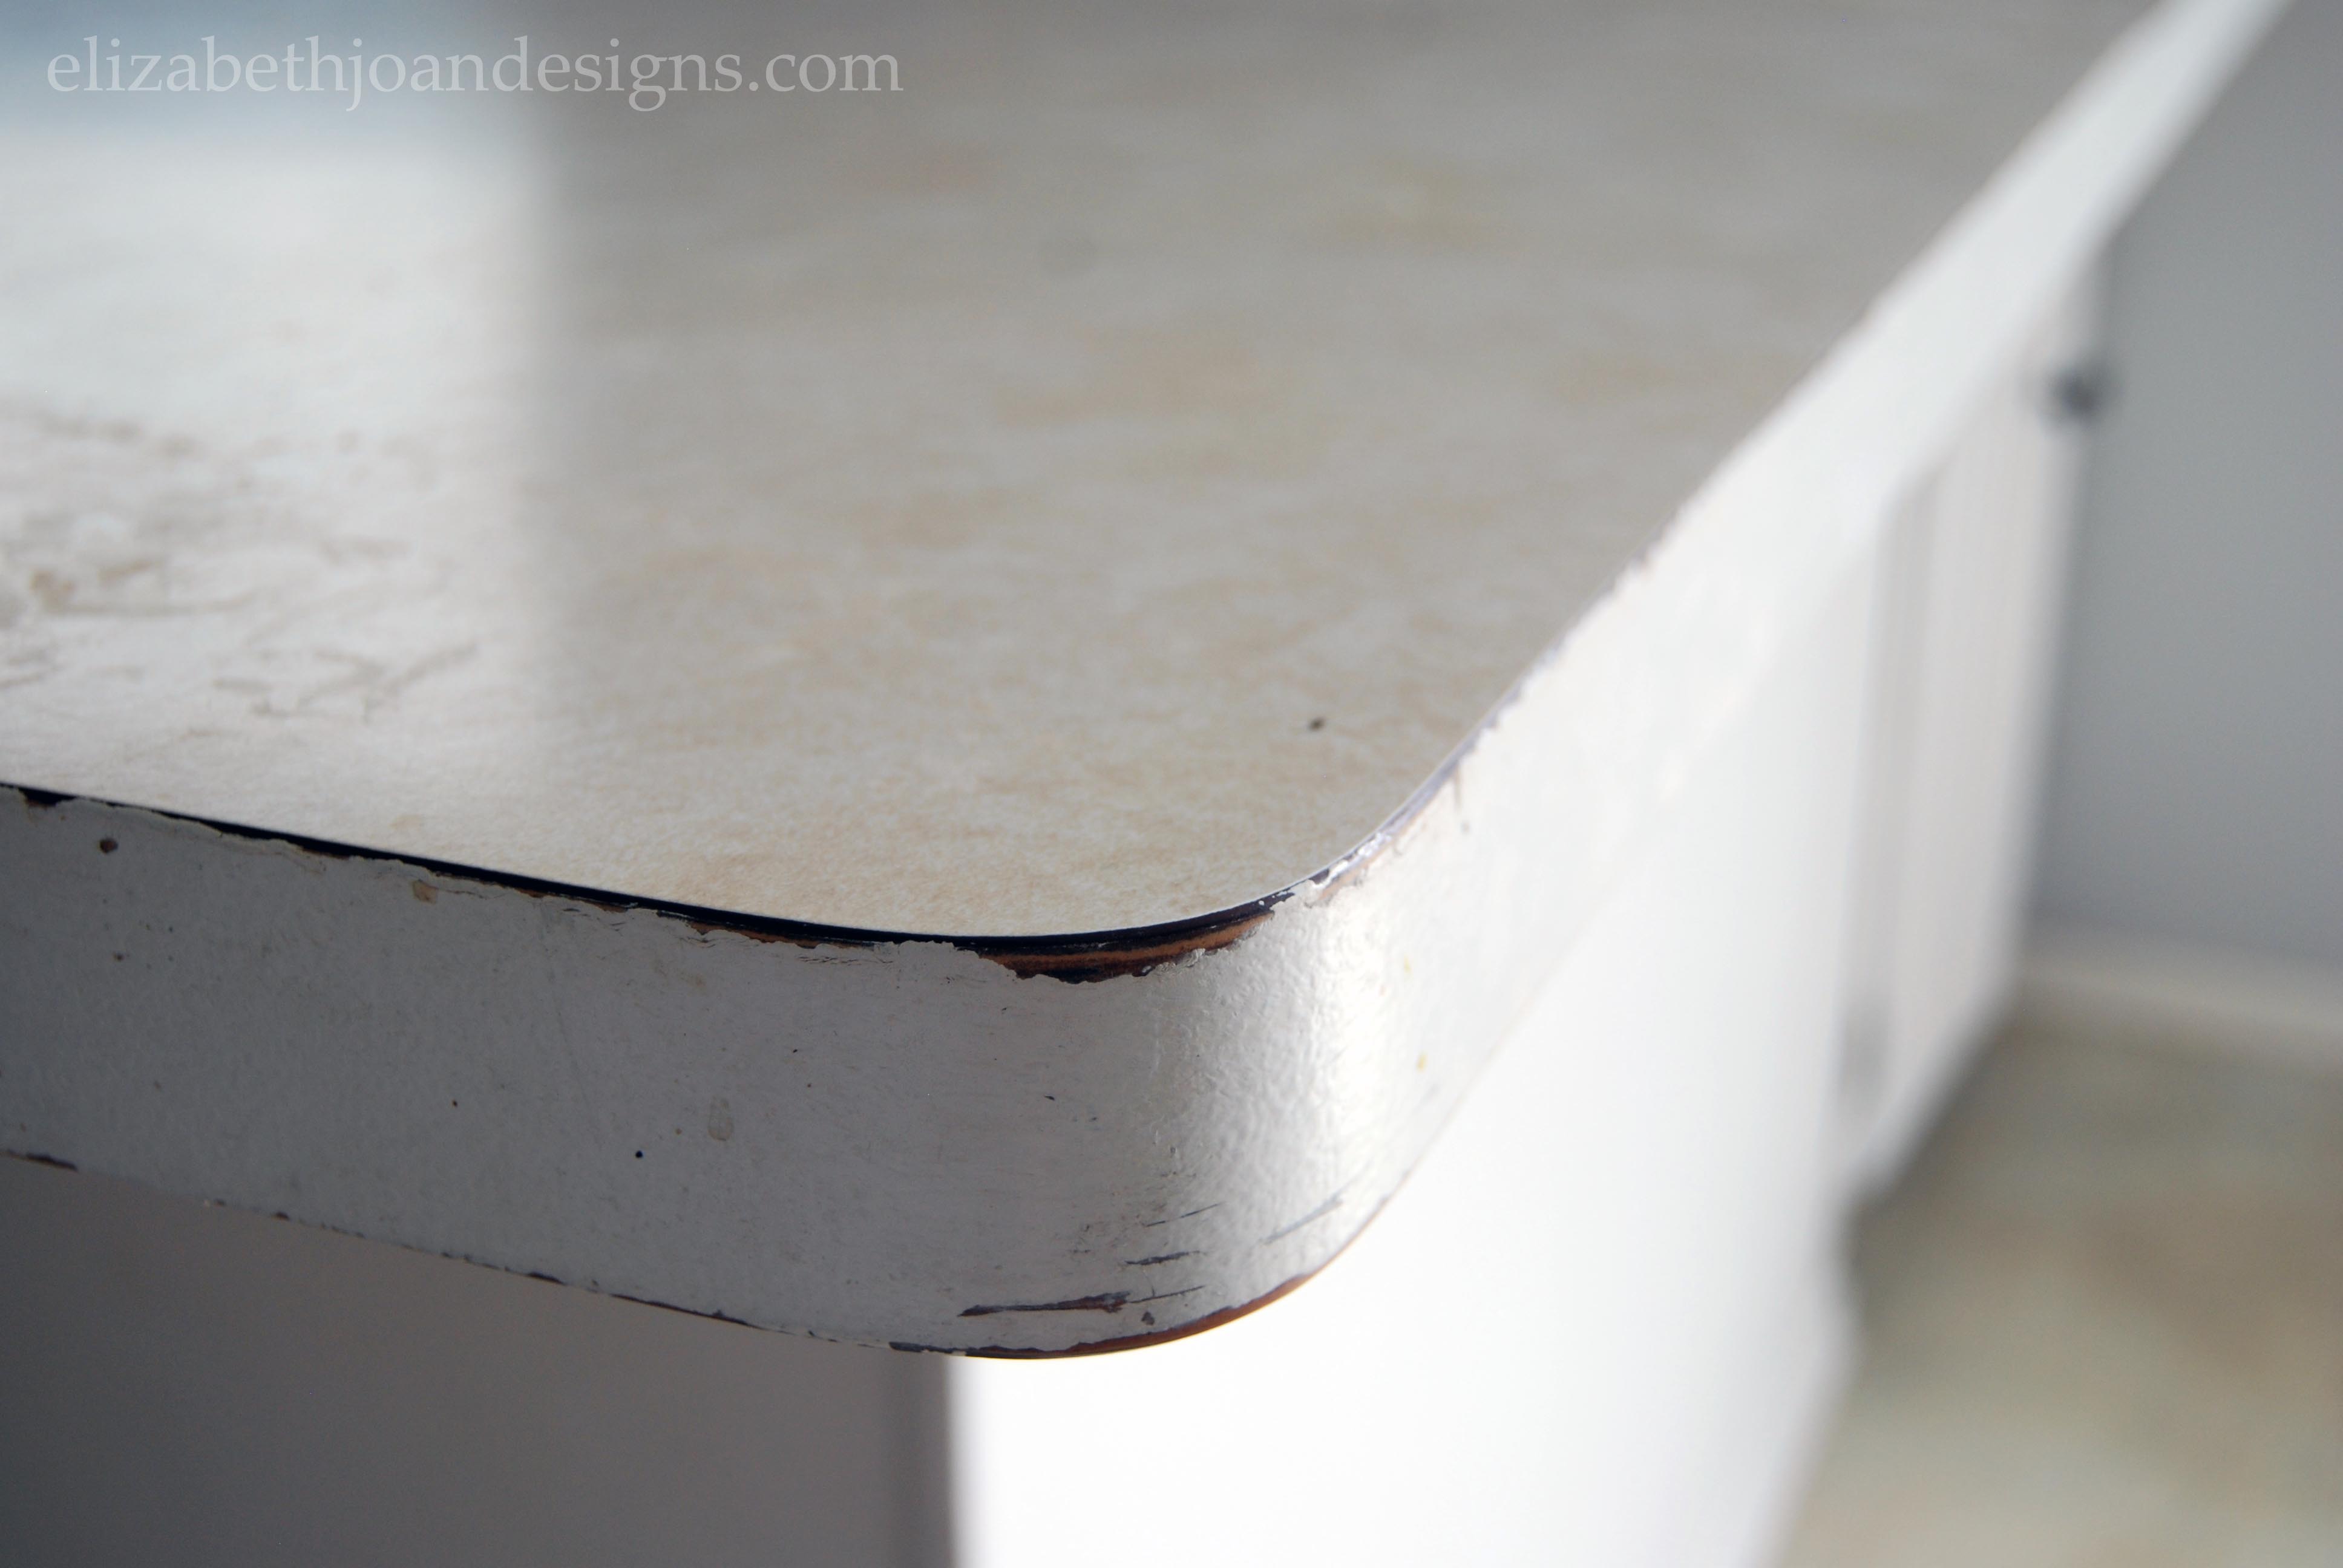
The old off-white laminate had so many flaws, it really was time for an update.

Then, I mixed up water and the concrete powder. The Ardex package calls for 2 parts powder and 1 part water. After trial and error, I concluded that 1.5 parts powder to 1 part water worked best for me.
After that, I applied the toothpaste like concoction to the counters using the trowels, 4″ and 1″ putty knives for the small spaces, and the 12″ knife and 10″ trowel for the larger areas.

Here is what it looked like during the first coat.
To mold the edges of the counter I would let the concrete mixture dry a little and form an edge with my fingers while wearing rubber gloves.

I let every coat completely dry (there were four coats total) then I hand sanded the dry concrete using 80 grit and 120 grit sand paper.

This process was A LOT of work and made a huge mess.

Finally, I used a shop vac to clean up the big grubby mess. This took forever, but I am so glad to rid our floors of little grimy footprints.
I am in love with how these counters turned out! They really are beautiful!
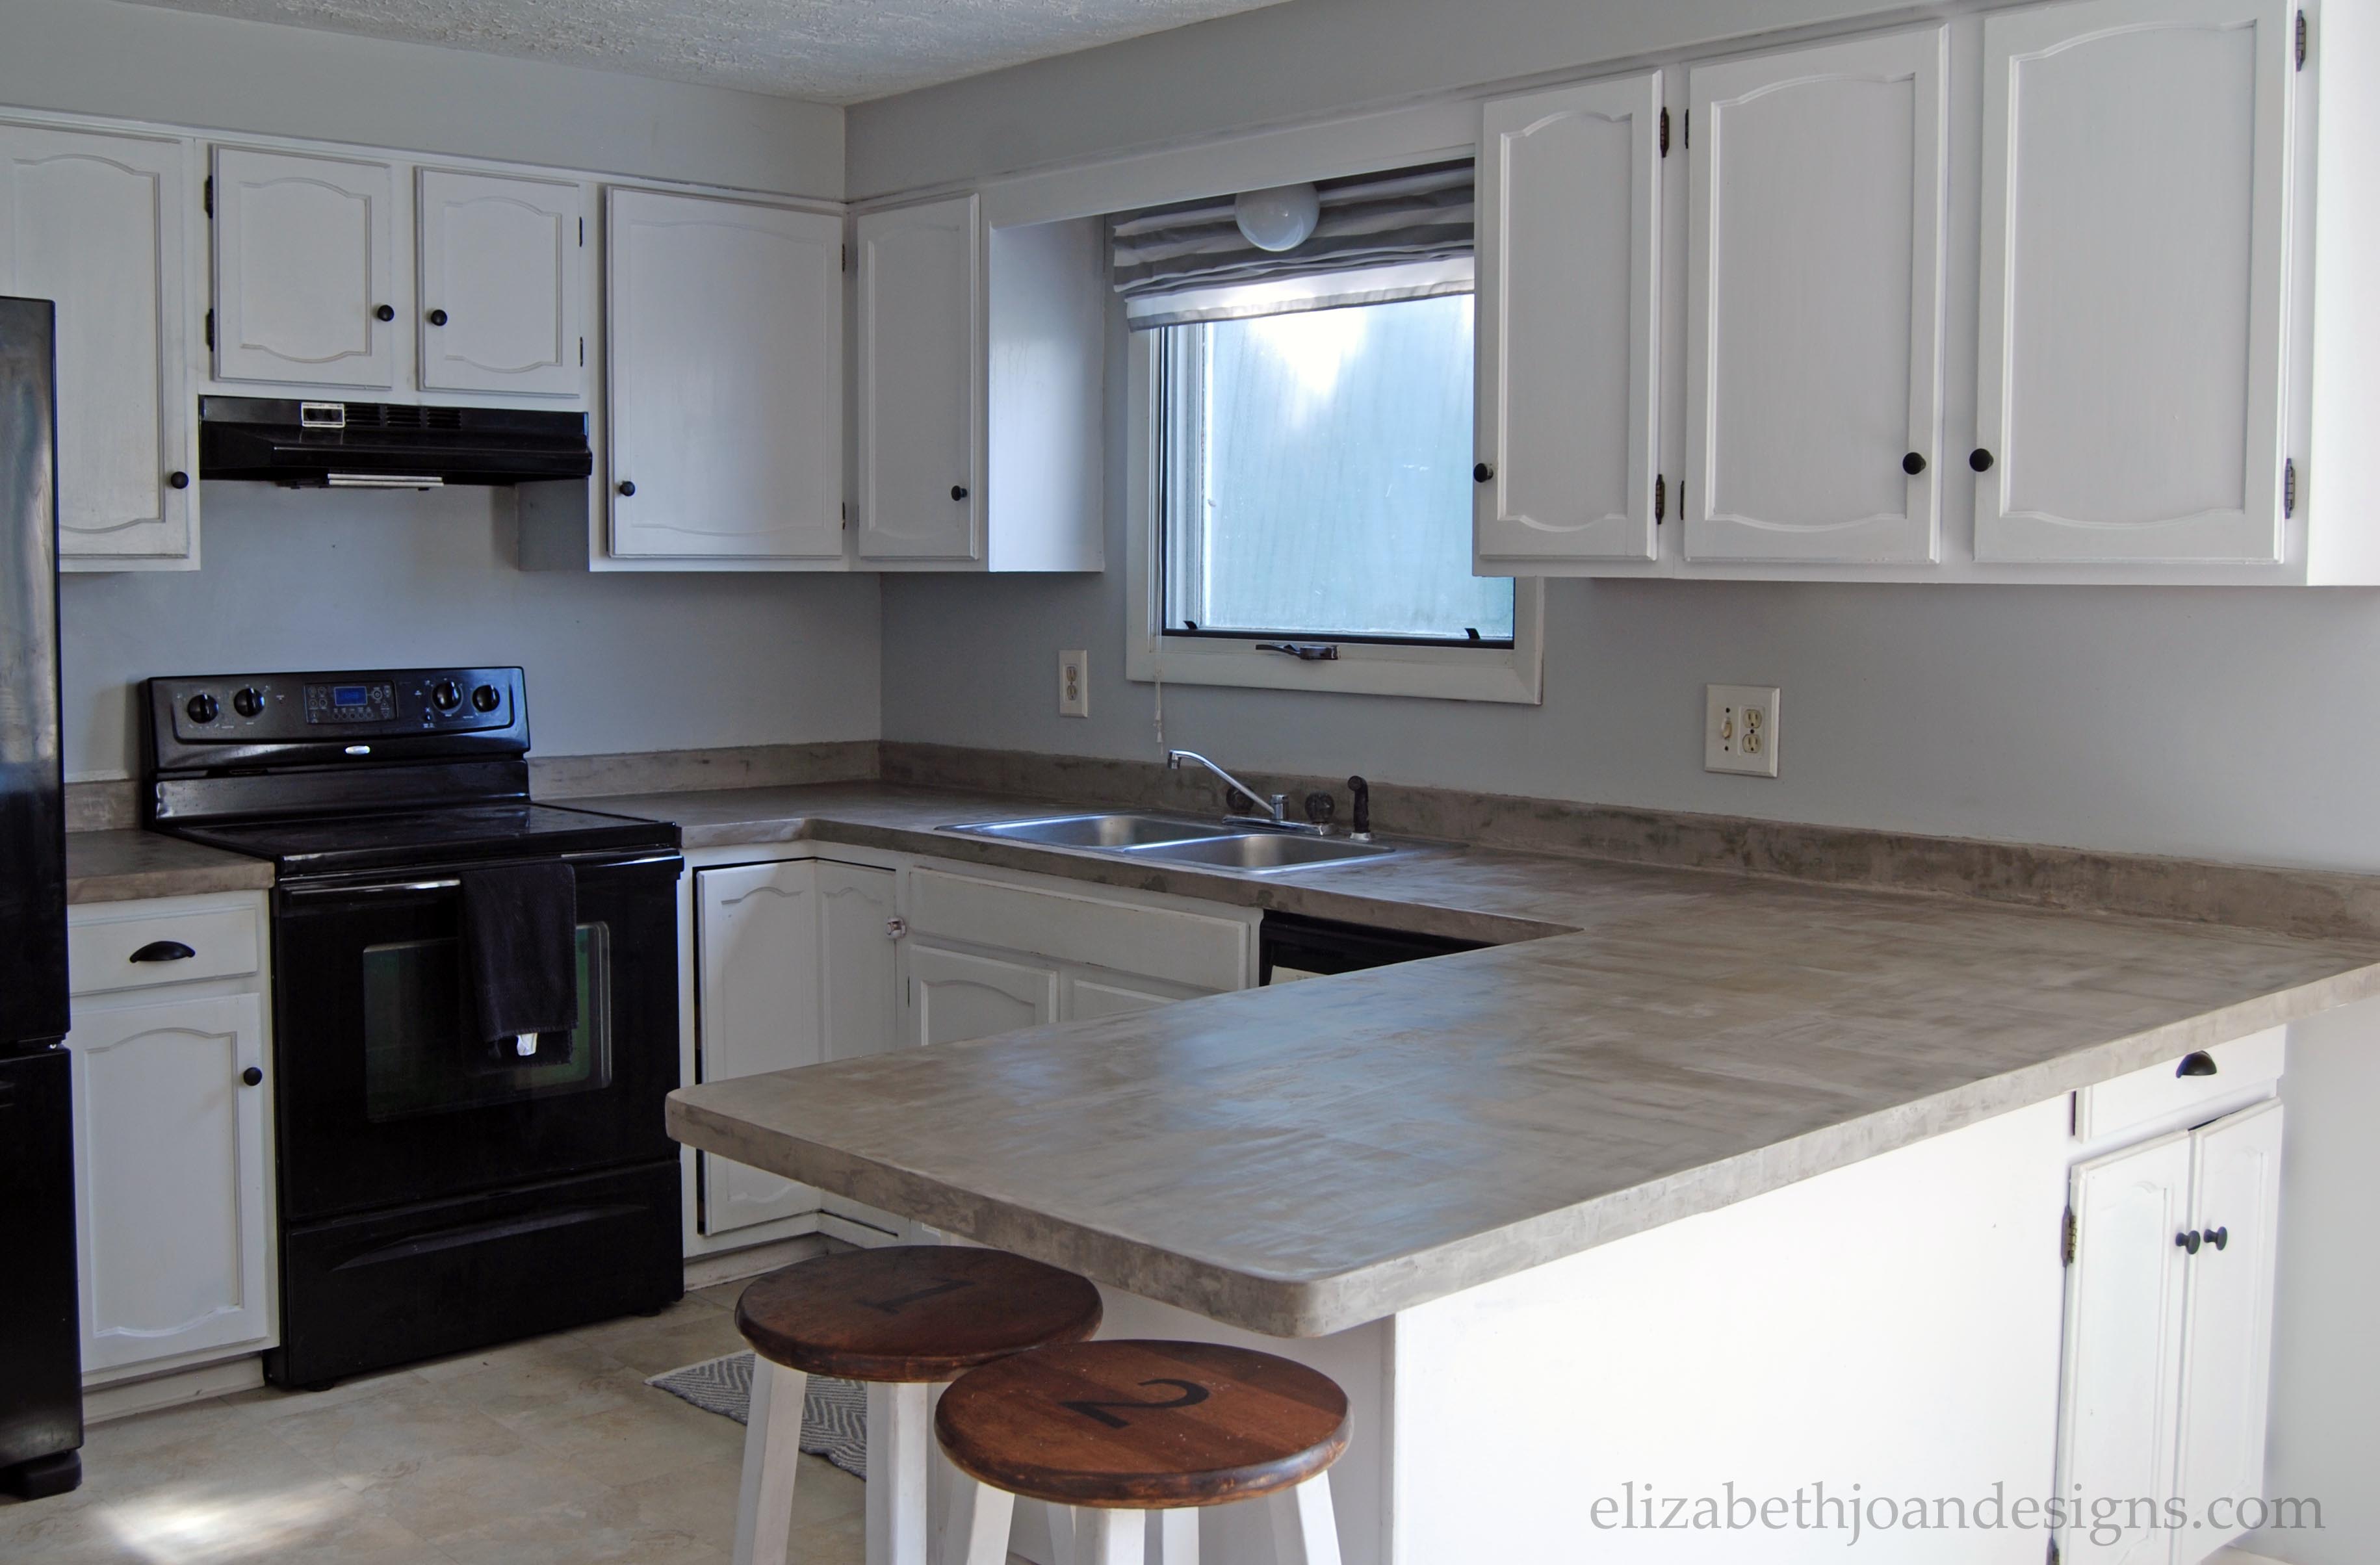
Please come back soon and check out the sealing process. I can’t wait to share the rest of this fun DIY with you!
* UPDATE * The Counters are Sealed! Check out the process and see a few tips and lessons I learned along the way!
________________________________________________________________________
Here are a few other projects we’ve done in our kitchen that you may enjoy seeing.
Painted Dishwasher _____________________________________________ You may also like:

Magnetic Oven Mitt
Grain Sack Stripe Stool 
Open Shelving in the Kitchen 
Dining Room Progress


