-
Do You Want To Build a Snowman?
Do you want a Build a Snowman? I do! It’s time for another exciting chapter in The Home Depot Monthly Gift Challenge. In the past, we’ve shared How To Build A Wine Bottle Bird Feeder, 10 Minute Rope Curtain Ties, 2×4 Artwork, a Pegboard Luminary, Wood Box Caddy, and an Industrial Book Rack. Here’s how the challenge works: a different item is chosen from The Home Depot by one of our group members and then we each make a gift to be given to a different recipient each month. October’s item was a furniture leg or bun foot and the lucky recipient is my in-laws. Today, I am sharing a cute project you can make just in time for the holiday season.


This challenge is in no way associated with The Home Depot. We just love their stuff!
Supplies
– Foam-board
– 3 Lids, plates, or other items in various circular sizes to use as patterns for the head, middle and bottom of the snowman
– X-ACTO knife
– Scissors
– White yarn
– Twigs/sticks
– Buttons
– Craft Glue
– Hot Glue Gun and glue sticks
– Furniture leg – you may need additional tools to shape it the way you would like. I used a miter saw, sander, hammer, and a chisel.First, I traced three different sized circular lids onto a piece of white foam board. The smallest circle is for the head, the middle sized for the body, and largest for the bottom of the snowman.
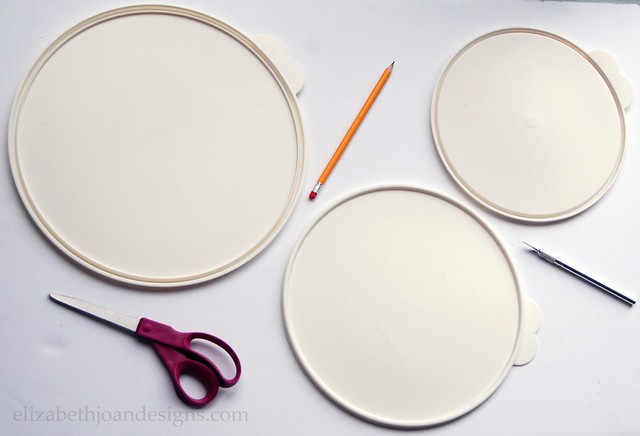
Next, the three circles were cut from the foam board using a X-ACTO knife and scissors.

Then starting from the center working my way to the edges, I wrapped all three foam circles with some of the softest yarn I could find, Bernat Baby in white. I wanted him to be extra fluffy looking. Using craft glue every so often, I secure the yarn in place.
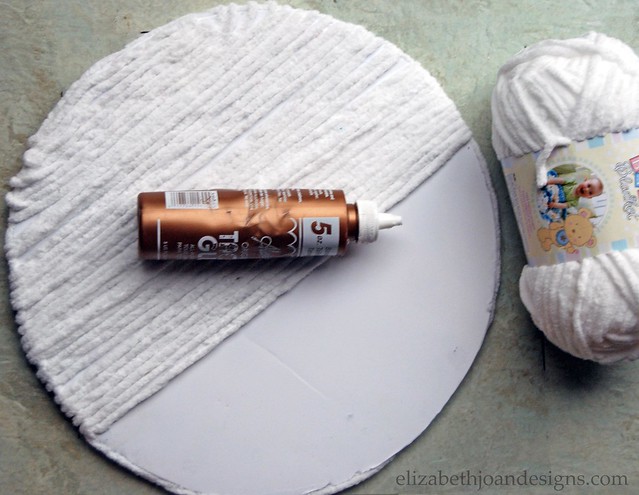
This part took a little longer than I thought it would, but the end result makes the extra time put into it totally worth it.

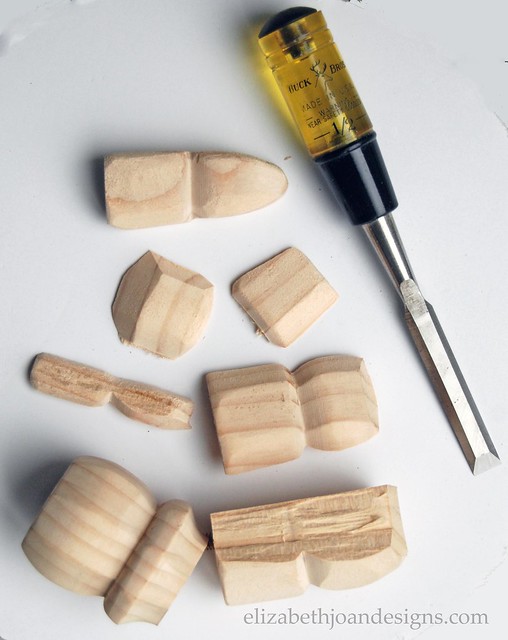
After that came the challenging part: the furniture leg.
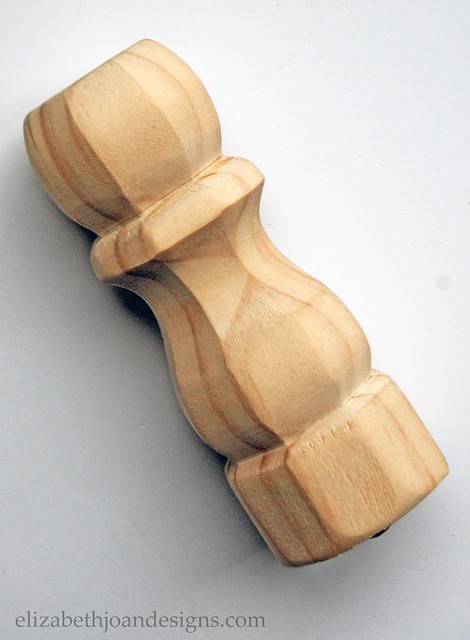
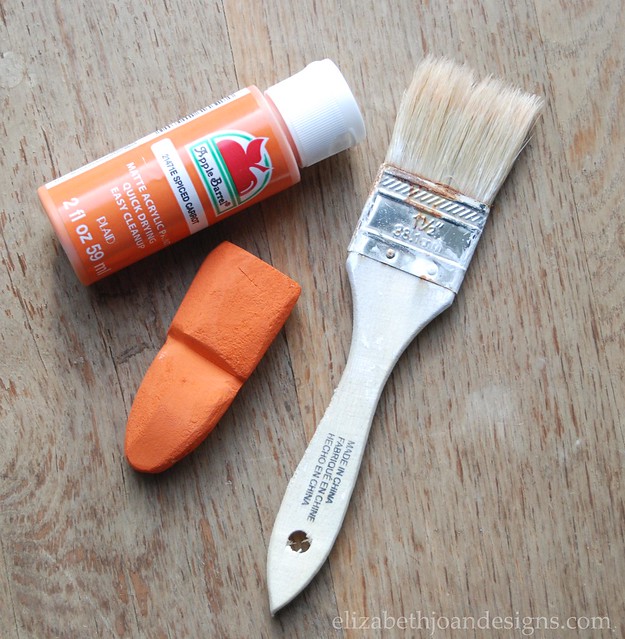
It took a few tools to turn this bad boy into a snowman’s carrot nose. I cut the leg with the miter saw, split one half of the leg with a hammer and chisel, shaped a piece of the wood with a sander, and painted it carrot orange with acrylic paint and a brush.
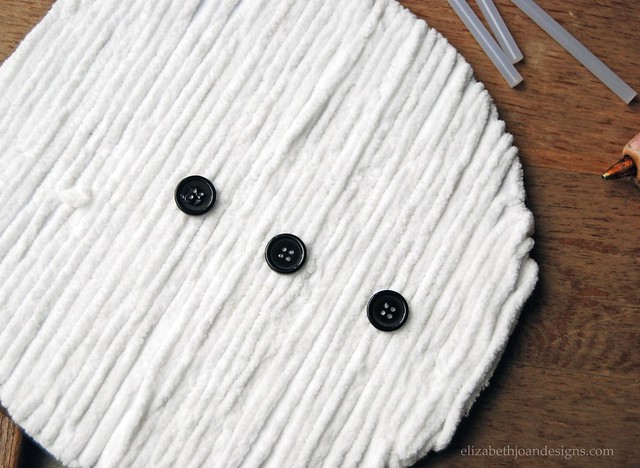
Then, it was time to bring out the hot glue gun. Two buttons for eyes, eight baby buttons for the grin, and one re-sized and re-shaped piece of a furniture leg were all glued to the smallest yarn covered foam board to make the adorable face.

I also hot glued three black buttons to the middle section.
Finally, I attached the three snowball pieces together with more hot glue and added the arms to the back as a final touch.

The sticks don’t have to be the same length. They just have to appear the same length from the front.
Isn’t he cute?
I love him! I gave him to my mother-in-law last weekend and she really likes him. Yay!
Please hop around and check out all of the other amazing projects for this month’s challenge.
You may also like:

Easy Pom Pom Wreath 
Stocking Hanger 
Last Minute Silhouette Ornament 
Festive Paper Stars -
5 Minute Friday: Printable Thanksgiving Leftover Bags

Welcome to 5 Minute Friday. This is a weekly post where we share quick tips, projects, and recipes that can all be completed in 5 minutes or less! The topic this week is Printable Thanksgiving Leftover Bags.

It’s mid-November and we are quickly approaching my favorite holiday, Thanksgiving. Turkey, corn, mashed-potatoes, cranberry salad and pumpkin pie! Yum! With all of that delicious food there is bound to be mounds of leftovers. Now, only if you had cute bags to send some of that food home with your holiday guests…Oh wait you can! Just follow this super easy tutorial and you will be all set.
Supplies
– Paper Bags- the plain old brown lunch ones work great
– Printer- I have an inkjet and these bags turned out awesome! Results may vary with a laser printer.Ready! Here we go!
Step 1:
Place your brown paper bag against a plain piece of computer paper in your printer so the ink prints on the same side as the flap. There is a seam down the non-flap side of the bag that makes printing difficult if you try using it.
Step 2:
Print one at a time. The plain computer paper will feed through with your bag. And that’s it!
Super easy, right?
Click the image below for the free PDF link. Please download the file and open with Adobe Reader to ensure proper print sizing. When printing, make sure that Page Scaling is set to “None.”

For more freebies, check out our Printables gallery.
All of our printables are currently FREE for download for personal use only. However, this is subject to change in the future, so snag them at no cost while you still can! (View Terms of Use.)
_____________________________________________ You may also like:

Grateful Art 
Buffet Table 
Brightening The Foyer 
DIY String Painting
-
Curbside Dresser Gets A New Look
There are some days I go out looking for treasures discarded on the side of the road. Then, there are other days where I am driving somewhere with a purpose and decide I am going to have to be late to that destination so I can pick up a gem. (My dentist will understand, right?) The latter is exactly what was happening when I stopped to claim a bright yellow dresser. It was perfect for my youngest son’s room, except it was yellow (not the look we were going for.) After sitting in my basement for several months, it’s time this curbside dresser gets a new look.

The first step to this makeover was to give the bright yellow exterior a good coat of primer.

Next, the dresser received two coats of gray paint. I had the hardware store color match the paint to Restoration Hardware’s paint color, Charcoal. It’s mostly grey with a hint of blue. I love this color! You may recognize this color from our
how to mix your own chalkboard paint post.
Then, using a bowl as my guide, I painted a large circle white. This spot will mimic a race cars numbering.
After that, it was time to give this baby a few details to go with my son’s vintage car themed bedroom. Using painters tape, I sectioned off racing stripes that I painted white and red.


I love the look of the number 5, so I printed the digit out on regular ol’ computer paper. Then, I traced it onto freezer paper to make a stencil. I used the exact technique Erin did on her Halloween Trick or Treat Bags.

This method worked perfectly! I taped my homemade stencil to the dresser and used a spouncer and a little red paint add the numeral.


Finally, I exchanged the cheap plastic hardware for these beautiful antique bronze ones.

My son LOVES his new to him dresser! This dresser has come a long way from it’s golden days.

_____________________________________________ You may also like:

Childhood Dresser Makeover 
Entertainment Stand Dresser 
2×4 Art 
Hardware Change-A-Roo
-
Decoupage Pumpkin
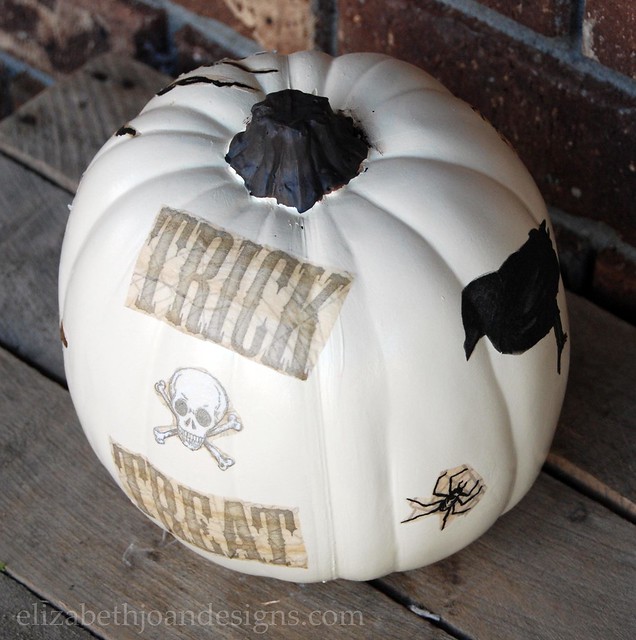
Last weekend while visiting my in-laws, my mother-in-law shared a project that she had been working on with my husband’s aunt. They had taken pretty, floral patterned, paper napkins and mod-podged them onto artificial pumpkins. They were so beautiful! I was inspired to do the same, except I really wanted to see what Halloween napkins would look like. Without further ado, here is how I made my decoupage pumpkin.

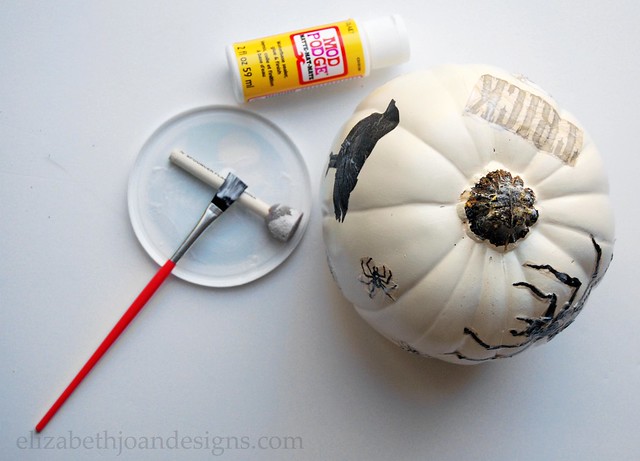
Supplies1 Artificial Pumpkin
Mod-Podge
Paint Brush or Spouncer
Paper Napkins in Assorted Designs
Scissors
Acrylic Paint- Brown or Black (optional)
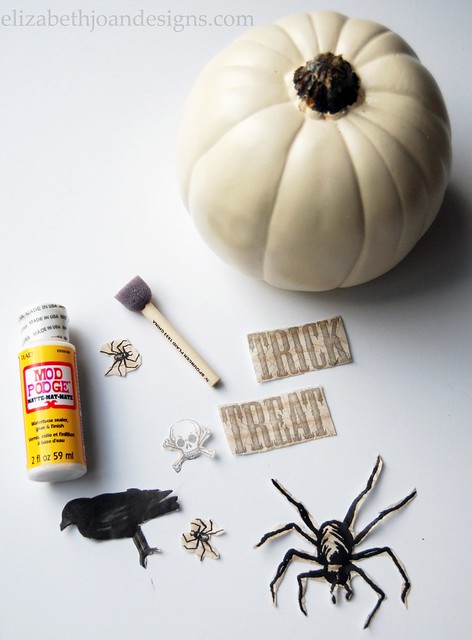
1st – With scissors, I cut out a few fun Halloween shapes from the paper napkins. (I really like that big spider.)
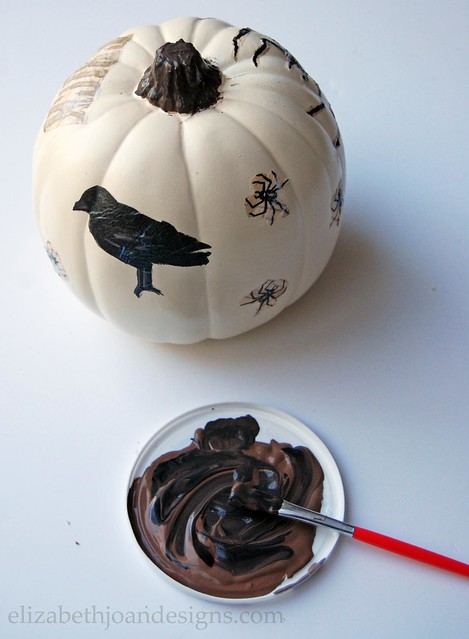
2nd – I painted the backs of the fall shapes with mod-podge and stuck them to the pumpkin and applied more mod-podge on top.
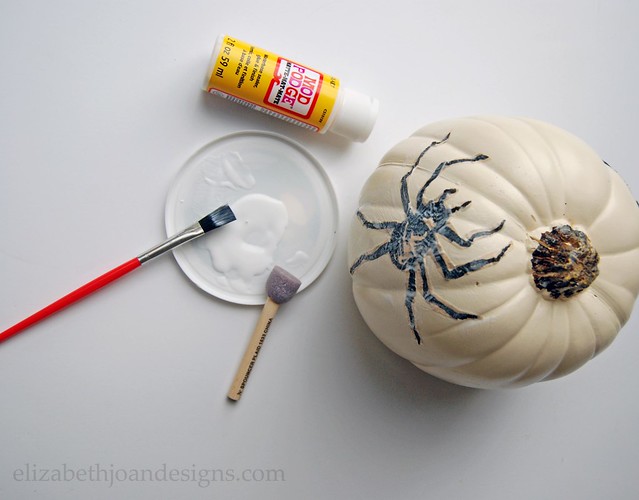
3rd – To add the finishing touches, I mixed up a variety of acrylic paints (I didn’t have straight-up brown or black.) and painted the stem of the pumpkin to darken it a little. My mixture possessed a brown/black swirly look.
What do you think? Simple, right? I love how it turned out. The perfect fall/ Halloween decor.
Your possibilities are pretty endless here. So grab some of your favorite patterned paper napkins and a couple artificial pumpkins and get to work! We’d love to see your designs!