-
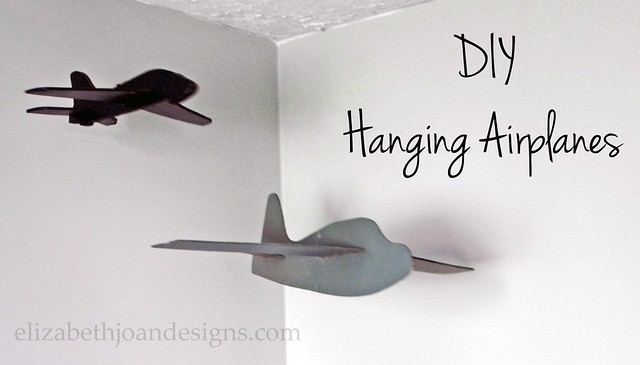
Super Cheap & Extremely Easy Hanging Airplane
To accent my oldest son’s vintage airplane room, I have been searching for ideas on how to make or buy a light-weight simple aircraft to hang from the ceiling. I wasn’t having too much luck until one day I was holding a monthly swap party and a friend of mine showed up with a foam glider she was ready to part with. It was the perfect thing to make a super cheap and extremely easy hanging airplane.
Supplies
Foam glider
Paint (in any color your little heart desires)
Primer
Thread
Single hole punch
Eye-hook
First, I carefully removed the glider from the package and coated it with primer.
Next, 2 coats of blue paint that I had left over from another project were applied to the plane’s surface.

After the glider was finish drying, I punched a hole in the center with a single hole punch.
Finally, I attached the eye-hook to the ceiling, strung the plane with neutral colored thread, and hung through the eye hook and securely tied a knot. This will hopefully keep it from gliding through my son’s bedroom in the middle of the night.

My little guy was so pleased with how this turned out that he immediately requested another. I picked up the second glider at the dollar store and spray painted that one.

You really can’t beat that price for this project!
_____________________________________________ You may also like:

Easy Gallery Wall 
Upcycled Tripod Table 
File Cabinet Garage Storage 
Chalkboard Succulent Planter
-
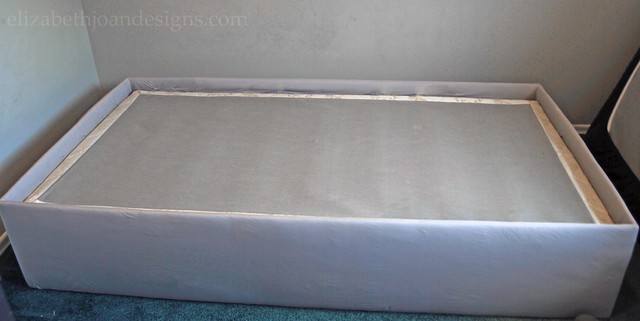
DIY Upholstered Bed Frame Part: 2
Recently, I shared the first steps of the bed frame my husband and I are making for our youngest son. Today, the story continues with the DIY Upholstered Bed Frame Part:2. Follow along to see how we finished things up and added a fabric covered headboard.

Supplies for Headboard
Plywood measured to the width of bed frame
(2) 1x4s measuring 4′ each
Quilt Batting
Fabric
Staple gun with lots of staples
Drill and screws
(4) L-shaped bracketsOkay, this is what the bed framelooked like where we left off last time.
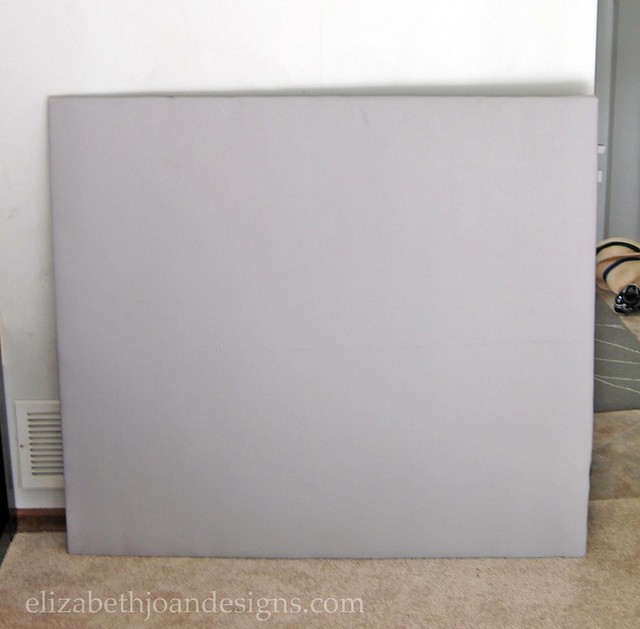
To create the headboard, I started by wrapping the plywood with quilt batting and attaching it with staples to the back.

Next, I stretched the fabric tightly over the padded plywood and stapled around the edges of the back to secure.

Then, two L-shaped brackets were attached to each of the 1x4s and the non-fabric side of the plywood near the top and bottom of the plywood. This created legs for the headboard.
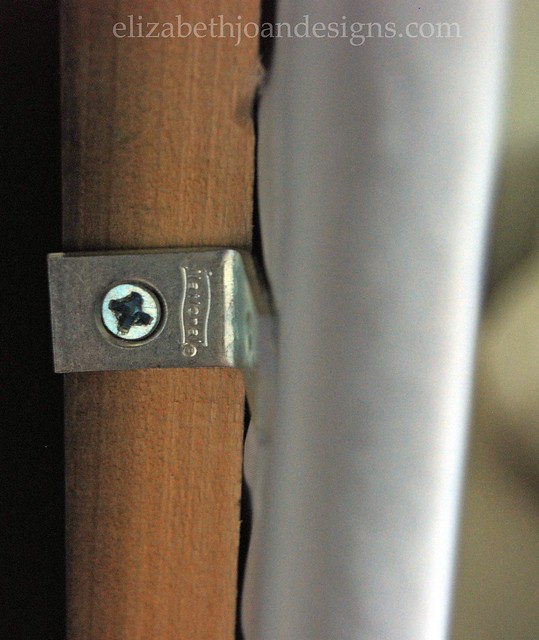
Finally, we secured the legs to the bed frame with screws.
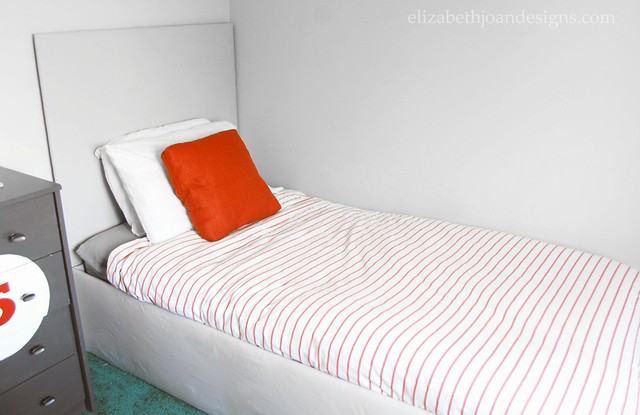
We are so happy with how this turned out. It was a big project, but totally worth all the effort.
_____________________________________________ You may also like:

Buffet Table 
Childhood Dresser Makeover 
Frayed Heart Pillow 
Pinky’s Painted Desk
-
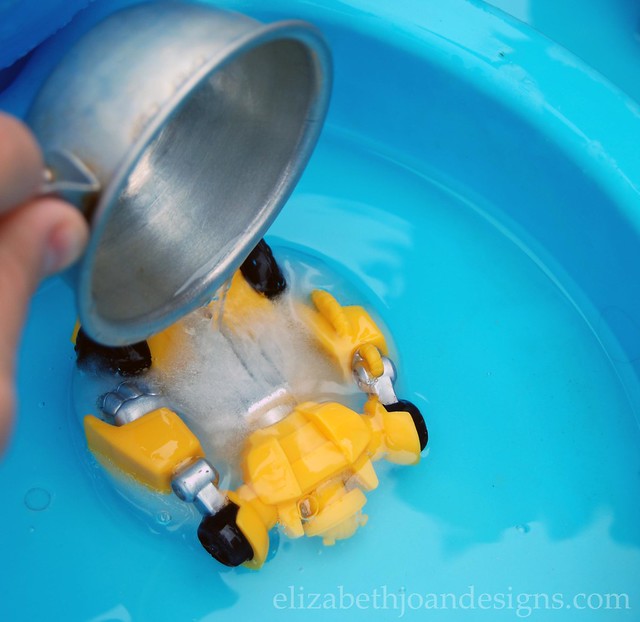
Beat the Summer Heat with an Ice Block Treasure Hunt
My kids will start their new school year in about three weeks. But until then, we are doing whatever we can to stay cool in this 90 degree weather we’ve been having. I have been sneaking my kids’ toys and freezing them in a bowl of water to beat the summer heat with an ice block treasure hunt. I have seen this project done a few different places across the web and my kids have enjoyed it so much that I wanted to spread the joy.
Supplies
Plastic toys
Freezer safe bowls
Water
Wooden Hammer
Bowl of warm water
ScoopStep 1:
Place the plastic toy in a freezer safe container.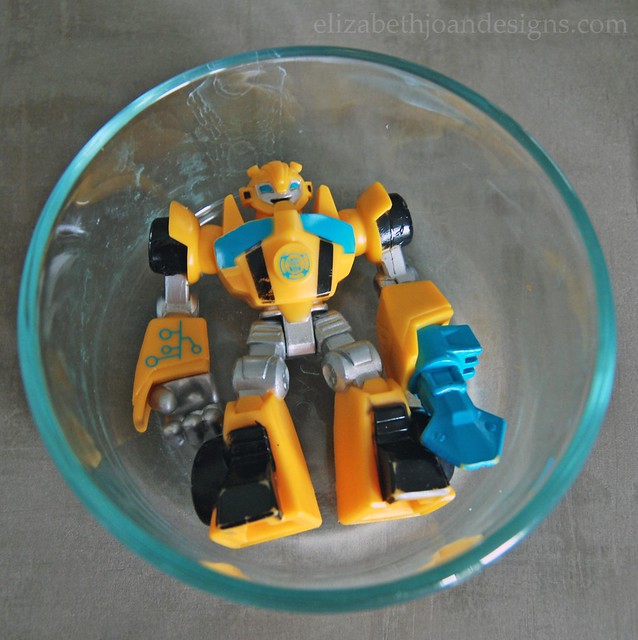
Step 2:
Add enough water to the bowl to cover toy completely.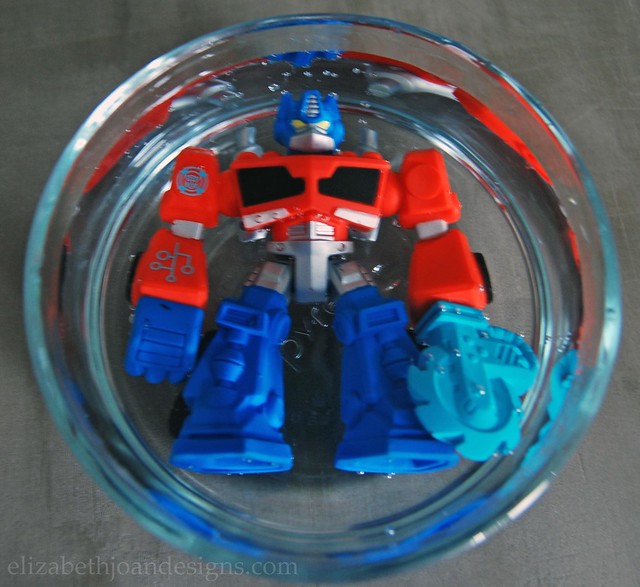
Step 3:
Place the bowl in the freezer. I usually do more than one at a time and let them freeze overnight.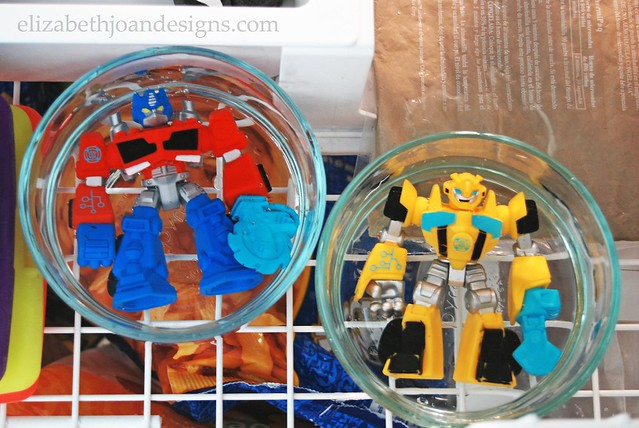
Step 4:
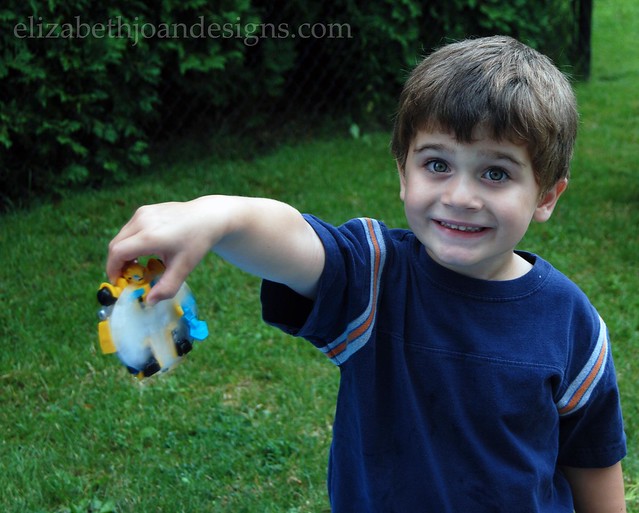
Take the bowl out of the freezer and gently remove the ice block from the container. If you are having a hard time releasing the ice from the bowl, scoop a little Luke-warm water on the bottom. My kids work in their water table. I find that it is a lot less mess this way. If you do not have a water table, I am sure a plastic container would do just fine too.*Do not hit glass container with hammer. That never turns out good. Trust me.
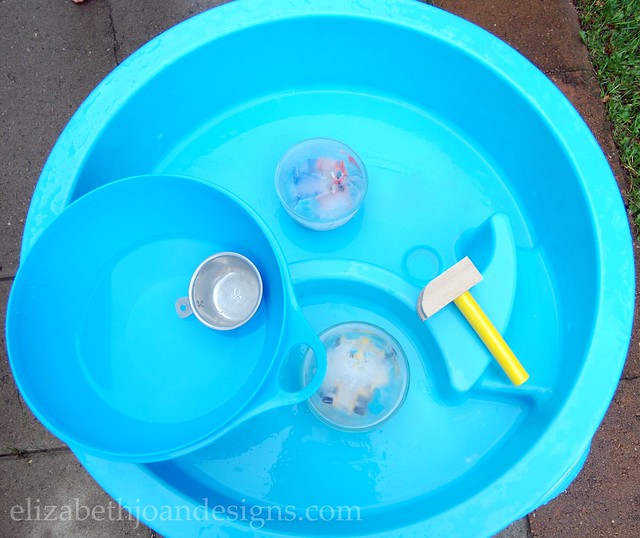
Step 5:
Use hammer, Luke-warm water, and scoop to thaw the ice and free the toy.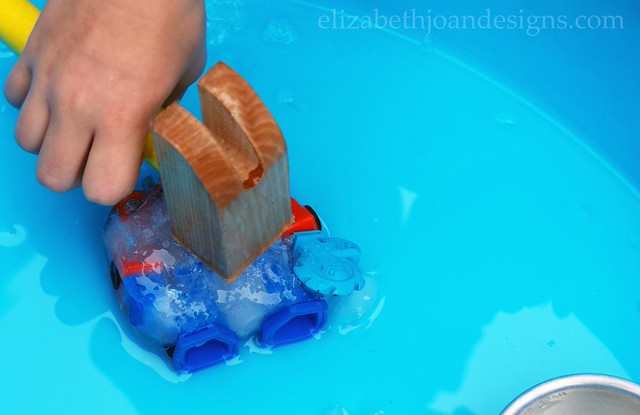
Well, that’s all there is to it. Pretty simple huh? My kids LOVE this so much that they can get hours of enjoyment out of it each time we do it.
_____________________________________________ You may also like:

Toy Organization 
Monogrammed Stamped Clay 
Toddler Entertainment 
Wire Mesh Pin Board
-
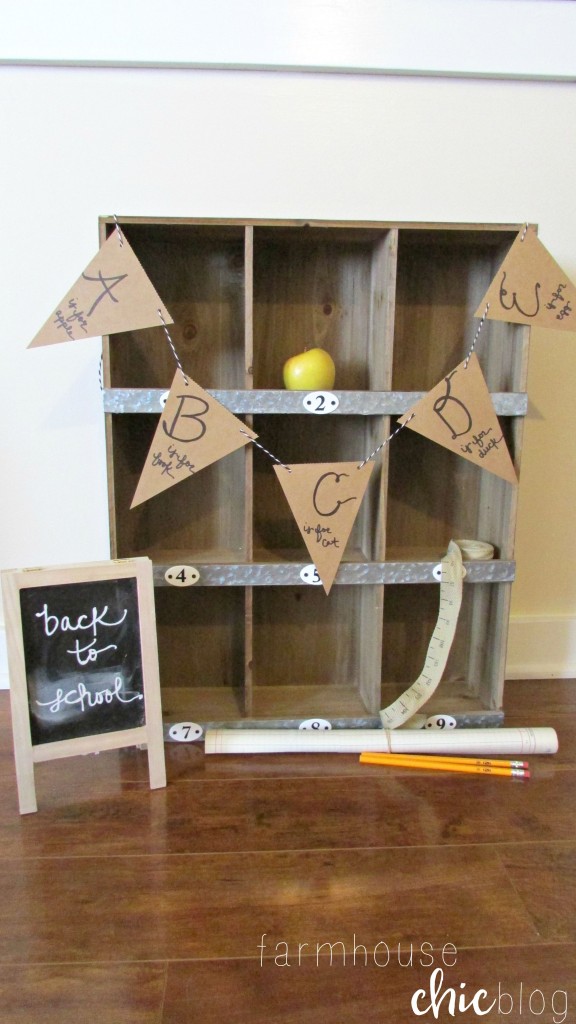
18 Amazing Back to School Ideas
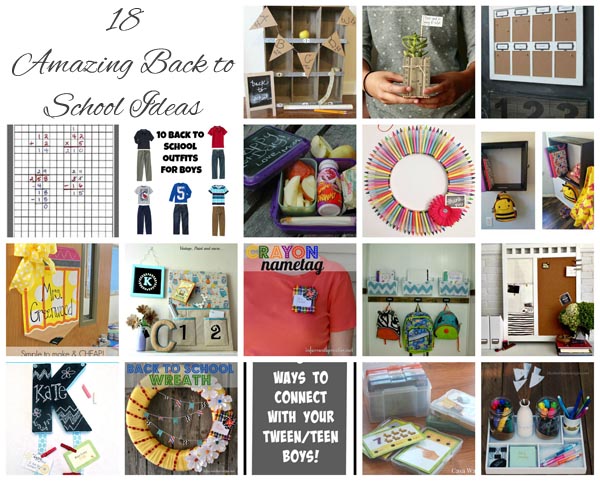
Back to School Vignette from Farmhouse Chic Blog
Ruler Succulent Planter from Elizabeth Joan Designs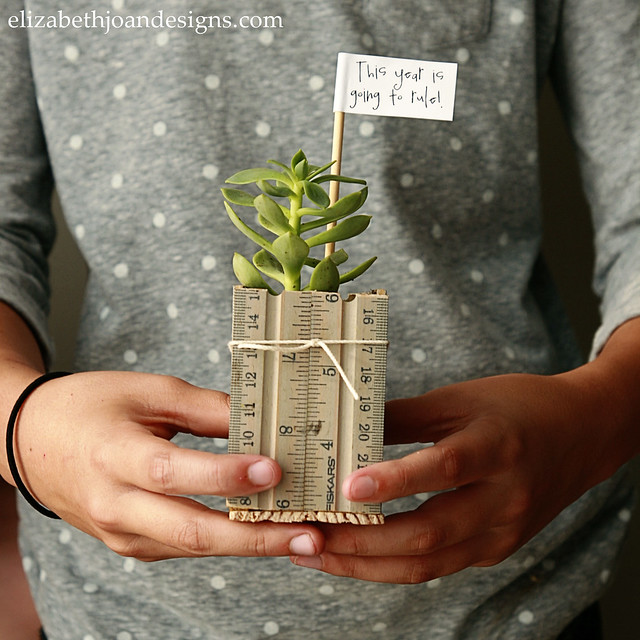
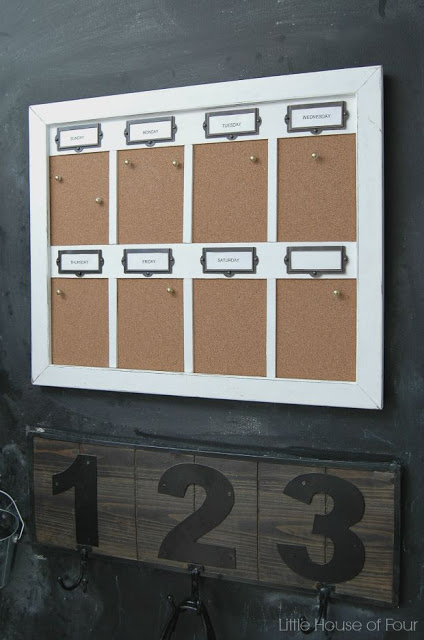
DIY Weekly Cork Board Organizer from Little House of Four
How to Organize Math Problems from I’m not a Trophy Wife

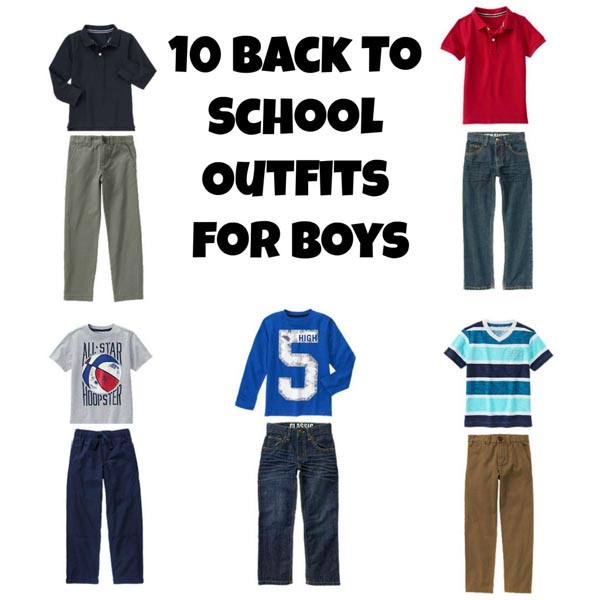
10 Back To School Outfits for Boys from Tastefully Frugal
Chalkboard Lunch Containers from Little House of Four

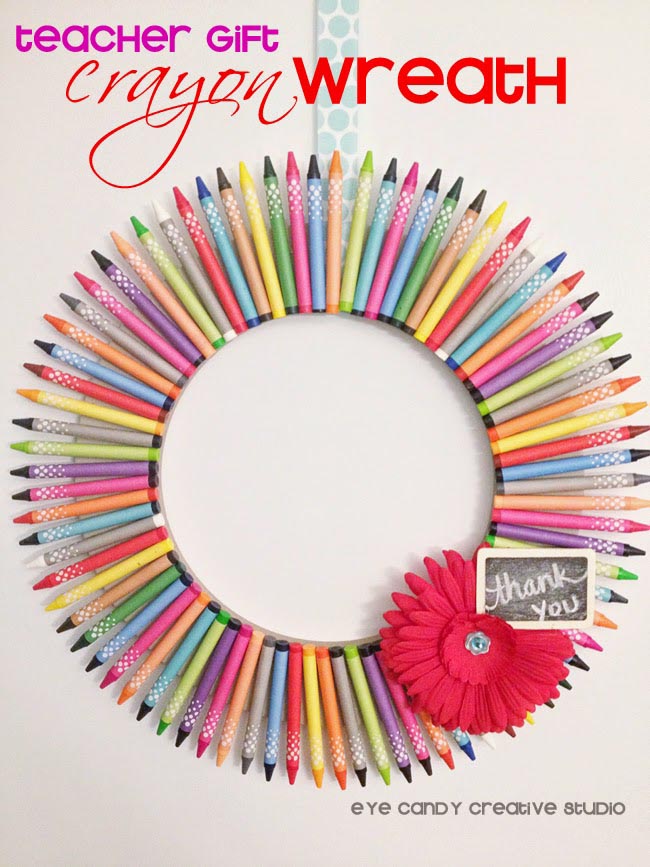
Crayon Wreath Teacher Gift from Eye Candy Creative Studio
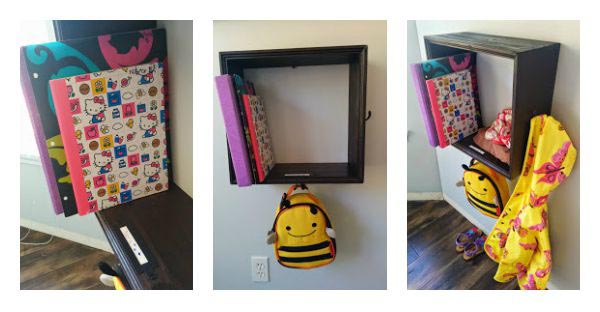
Shadow box Organizer from Our House, Now a Home
DIY Door Hanger – Personalized Teacher’s Pencil from 3 Little Greenwoods

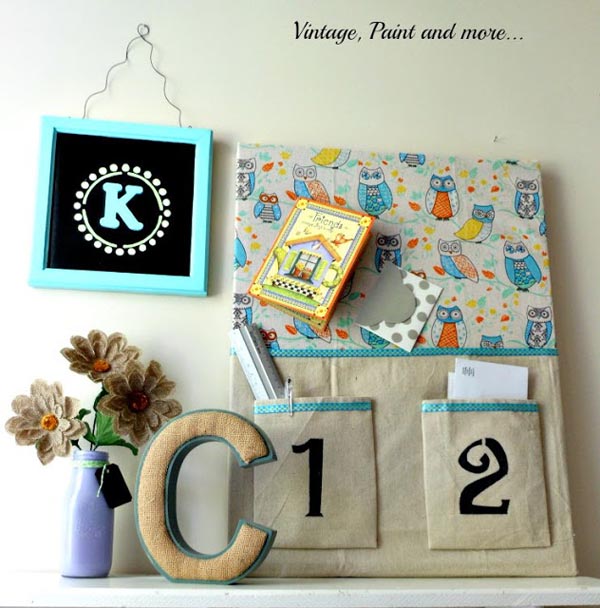
DIY Dorm Decor from Vintage, Paint, and More
Crayon Name Tag from Infarrantly Creative

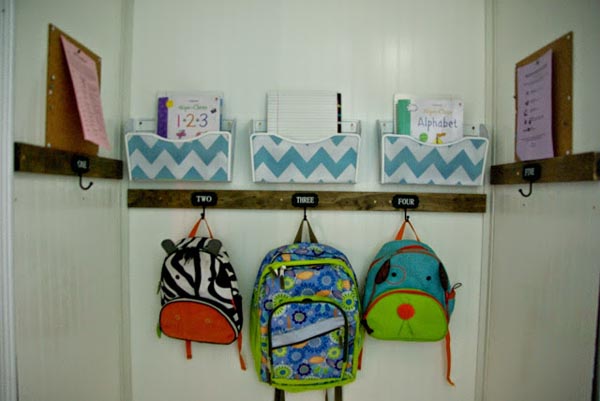
Mudroom Organization from Our House, Now a Home
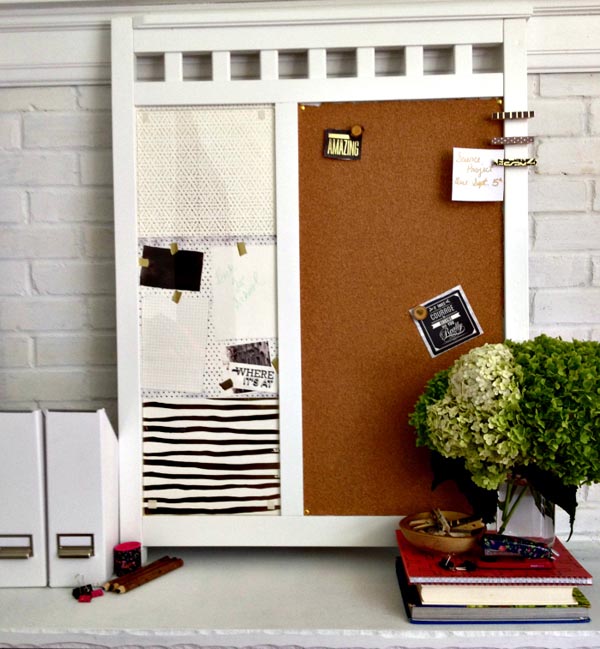
DIY Bulletin Board+ Accessories from Houseologie
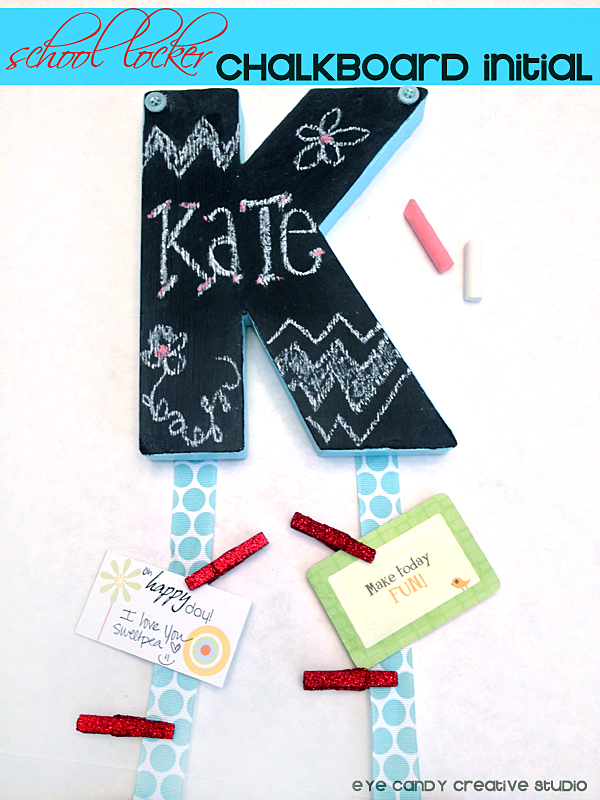
DIY School Locker Chalkboard Initial from Eye Candy Creative Studio
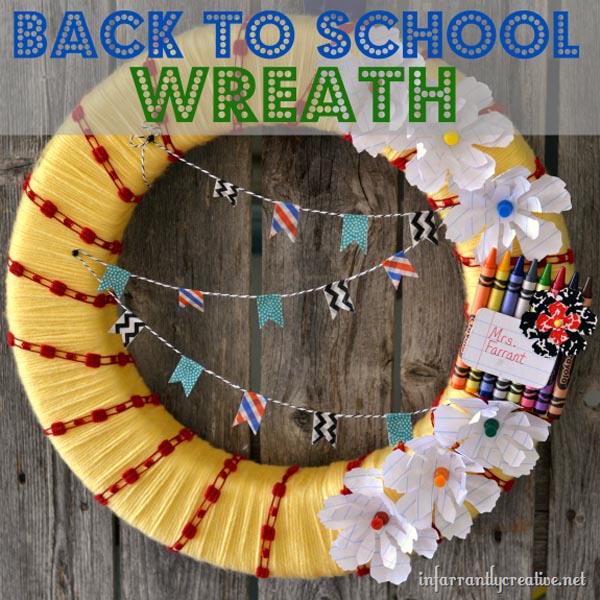
Back to School Wreath from Infarrantly Creative
5 Ways to Connect with your Tween/Teen Boys from I’m not a Trophy Wife
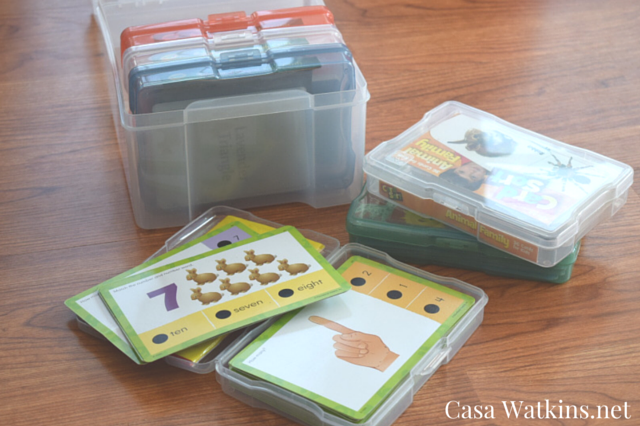
How I Got Rid Of Flashcard Clutter from Casa Watkins
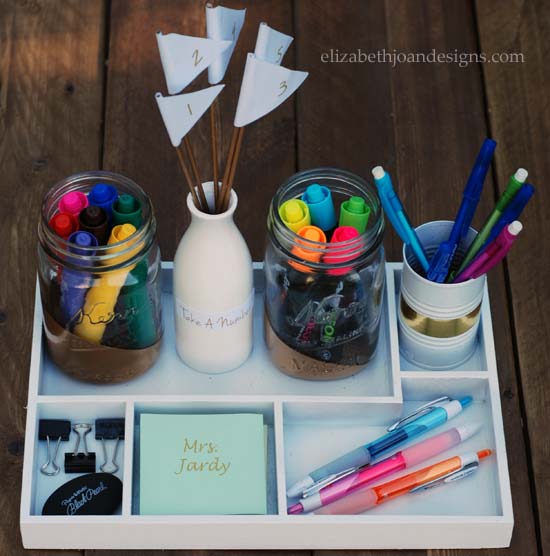
DIY Teacher Desk Organization Station from Elizabeth Joan Designs