Do You Want To Build a Snowman?
Do you want a Build a Snowman? I do! It’s time for another exciting chapter in The Home Depot Monthly Gift Challenge. In the past, we’ve shared How To Build A Wine Bottle Bird Feeder, 10 Minute Rope Curtain Ties, 2×4 Artwork, a Pegboard Luminary, Wood Box Caddy, and an Industrial Book Rack. Here’s how the challenge works: a different item is chosen from The Home Depot by one of our group members and then we each make a gift to be given to a different recipient each month. October’s item was a furniture leg or bun foot and the lucky recipient is my in-laws. Today, I am sharing a cute project you can make just in time for the holiday season.


This challenge is in no way associated with The Home Depot. We just love their stuff!
Supplies
– Foam-board
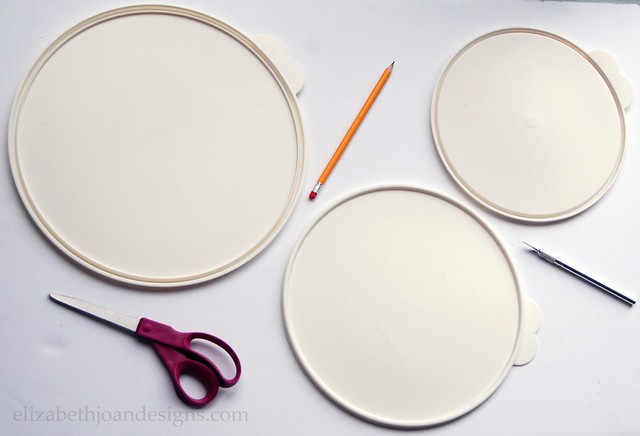
– 3 Lids, plates, or other items in various circular sizes to use as patterns for the head, middle and bottom of the snowman
– X-ACTO knife
– Scissors
– White yarn
– Twigs/sticks
– Buttons
– Craft Glue
– Hot Glue Gun and glue sticks
– Furniture leg – you may need additional tools to shape it the way you would like. I used a miter saw, sander, hammer, and a chisel.
First, I traced three different sized circular lids onto a piece of white foam board. The smallest circle is for the head, the middle sized for the body, and largest for the bottom of the snowman.
Next, the three circles were cut from the foam board using a X-ACTO knife and scissors.

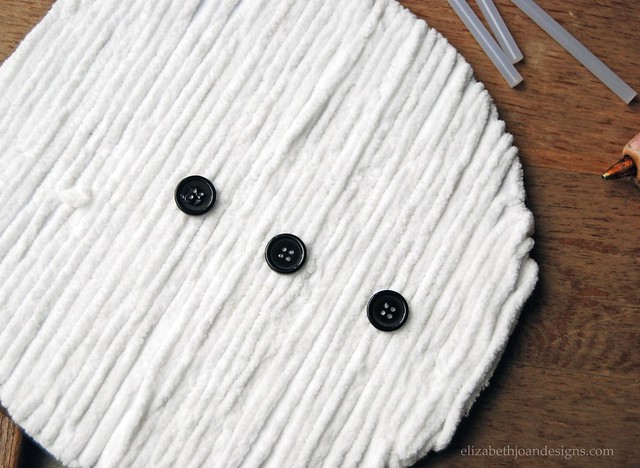
Then starting from the center working my way to the edges, I wrapped all three foam circles with some of the softest yarn I could find, Bernat Baby in white. I wanted him to be extra fluffy looking. Using craft glue every so often, I secure the yarn in place.
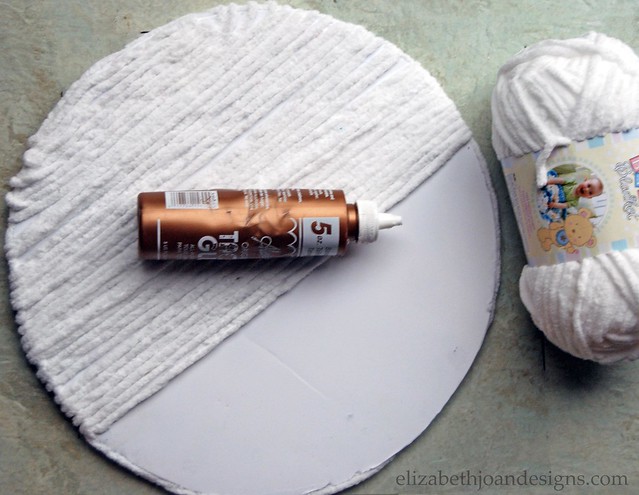
This part took a little longer than I thought it would, but the end result makes the extra time put into it totally worth it.

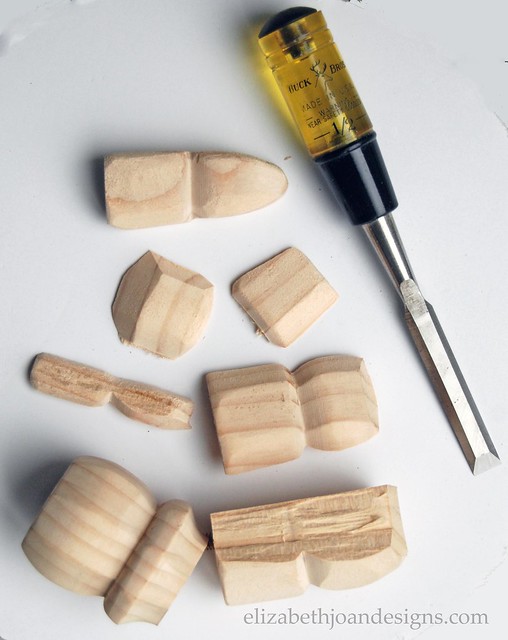
After that came the challenging part: the furniture leg.
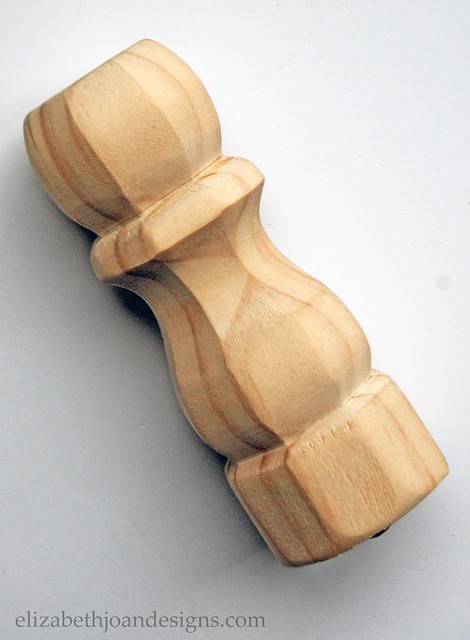
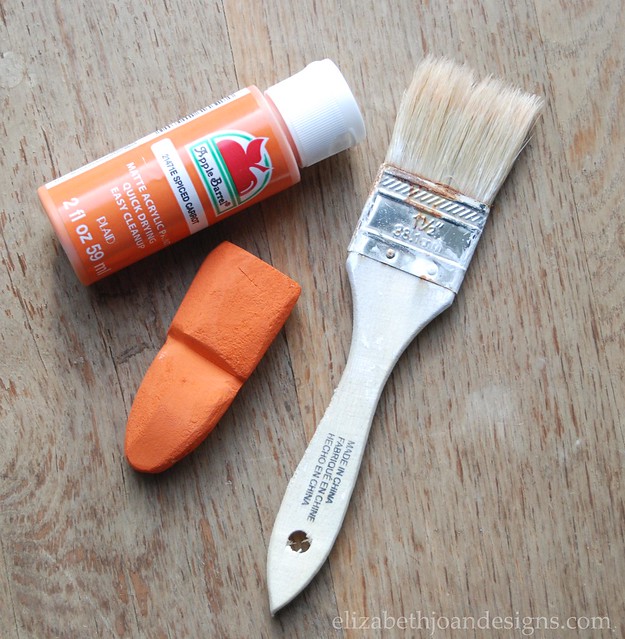
It took a few tools to turn this bad boy into a snowman’s carrot nose. I cut the leg with the miter saw, split one half of the leg with a hammer and chisel, shaped a piece of the wood with a sander, and painted it carrot orange with acrylic paint and a brush.
Then, it was time to bring out the hot glue gun. Two buttons for eyes, eight baby buttons for the grin, and one re-sized and re-shaped piece of a furniture leg were all glued to the smallest yarn covered foam board to make the adorable face.

I also hot glued three black buttons to the middle section.
Finally, I attached the three snowball pieces together with more hot glue and added the arms to the back as a final touch.

The sticks don’t have to be the same length. They just have to appear the same length from the front.
Isn’t he cute?
I love him! I gave him to my mother-in-law last weekend and she really likes him. Yay!
Please hop around and check out all of the other amazing projects for this month’s challenge.
You may also like:


6 Comments
Shannon Churchill
Such a fun project guys! I’m gonna try it with my kiddos. Nice work.:)
Emily
Thanks Shannon! I am stuck in bed with strep throat. As soon as I am feeling better I will try getting the tutorial up.
Shelly
So cute!
Lindi
What a cute way to use the furniture leg! So perfect for winter :)
Amberjane
Love your snowman – Thank you for sharing with Pin worthy Wednesday
Penny Stewart
L9ve your snowman lets do more please