-
Anniversary Decor
My wonderful husband, Adam, and I celebrated our 7th anniversary this past Sunday. We typically don’t make a big deal out of this special day since it is so close to Christmas. We usually cook a fun meal together and play a board game. No gifts. But this year, I was extremely inspired by a beautiful post on Ways to Strengthen your Marriage from Dwelling in Happiness to make a little extra effort to show my hubby how much he means to me. With sticking to our “no gifts” pact, I had to get creative with some anniversary decor.

Sunday morning while Adam was out of the house for a bit, the kiddos and I went down to the basement and retrieved my box of wedding decor. Our buffet table was decorated with all of our mementos and when Adam arrived home he was pleasantly surprised.
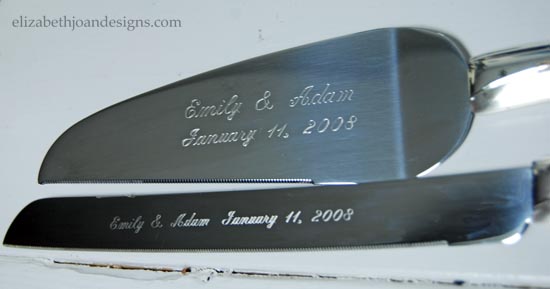
Our wedding took place in a restaurant overlooking the Long Beach, California skyline. Our amazing engagement and wedding photos were taken by Mimi Teller Photography. And in true Emily fashion, most of the decor was DIY. Here are a few of my favorites.
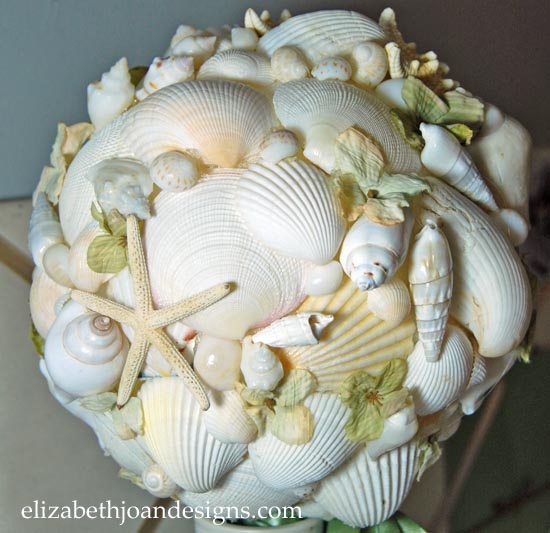
In lieu of traditional flowers for my bouquet, I opted for sea shells. This was a very budget friendly option. First, I took a medium Styrofoam ball and inserted a wooden dowel in it to create the handle. Next, shells were hot glued to the entire surface of the ball. Finally, I wrapped fabric around the handle and accented the bouquet with faux flowers.
I have a love/hate relationship with this bouquet. Adam and I learned one of our first true lessons on compromising with our wedding planning. He wanted a more traditional wedding and I wanted the complete opposite. After a lot of convincing, I won the battle of having a shell bouquet instead of flowers. Then, I made the bouquet and realized it was more like a weapon than a bouquet. At this point, I no longer wanted to lug this “club” down the aisle.
This change of mind led to another disagreement. This one turned out in Adam’s favor by him saying “You are carrying that shell bouquet down the aisle or your not walking down it.” Even though I was 100% sure he didn’t mean that, I humored him by using it. In the end, I was pretty happy carrying it.
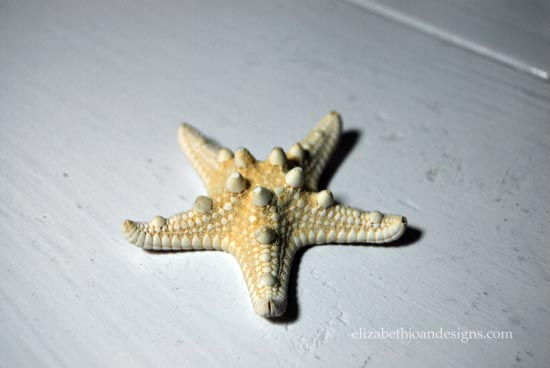
Adam wore this starfish as his boutonniere. A bar pin was attached to the back of it using hot glue. (If you couldn’t tell, we kind of had a whole sea shell theme happening with the decoration.)
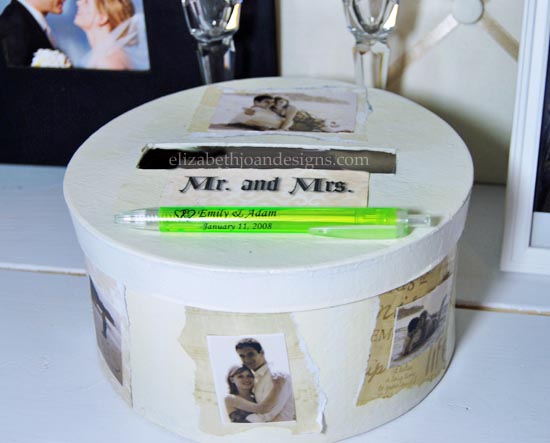
For our card holder, I spray painted this hat box off white and Mod Podged our engagement photos to it. Isn’t it cute? I love how it turned out. Now it has become the best place to store all of our wedding keepsakes.
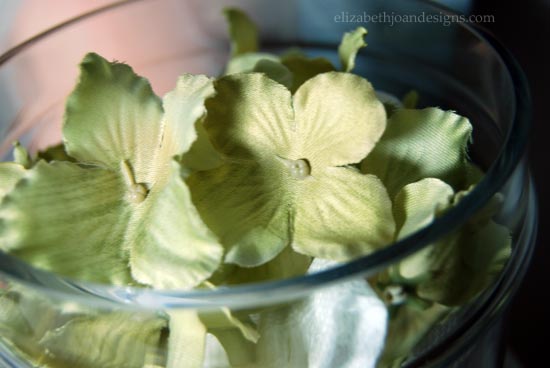
These little faux flowers were scattered down the aisle by our adorable little flower girl. (Erin’s daughter who is now 10! Wow, time really flies!)
Adam and I were season pass holders at Disneyland during our time in Southern California. So it just seemed perfect for us to end our wedding weekend at the “Happiest Place On Earth” with our family.

We really enjoyed spending our anniversary reminiscing about our wedding and time we spent living California. With having two little ones, making time for “us” is hard to come by these days, so this really was a great way to spend our anniversary together.
Next year, I may just have to make this adorable anniversary art that Erin shared.

________________________________________________________________ You may also like:

Hardware Change-A-Roo 
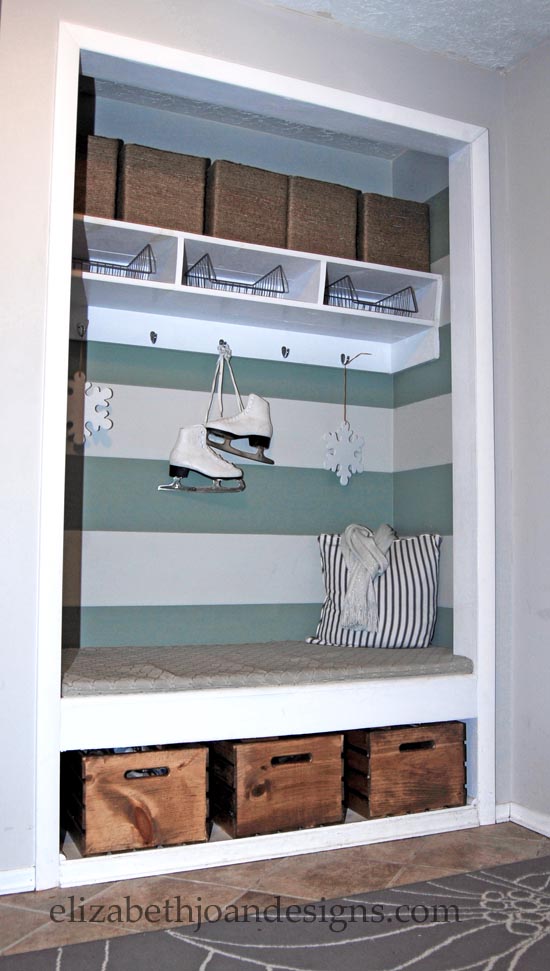
Closet To Office Part 3 
Wall Decal Coasters 
Lighting Swap -
Upcylced Dollar Store Placemats
Today, I am sharing upcylced dollar store placemats. This an easy customizable project that works for any meal you are needing a little extra table decorating.

During one of my many trips to the dollar store, I picked up a few of these placemats.
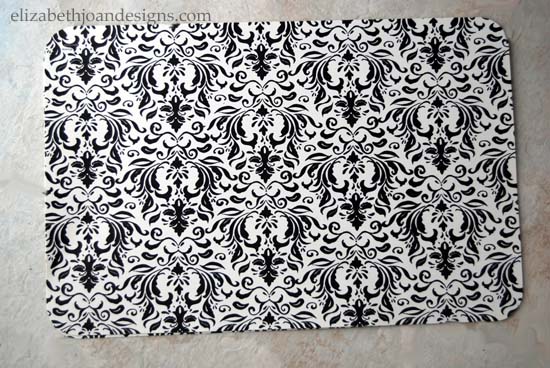
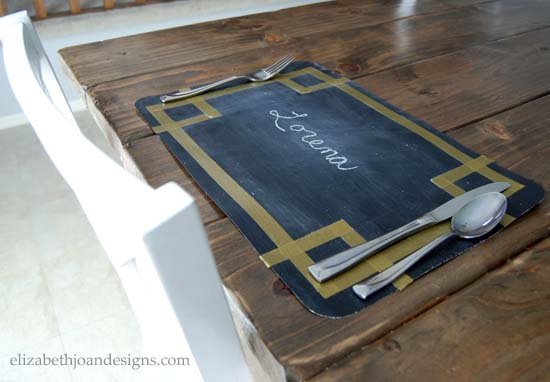
I was not in love with the style of them, so I decided to paint them with chalkboard paint. Obviously, spray paint would have been my first choice. Unfortunately, I did not have any chalkboard spray paint on hand, so I mixed up some of my own chalkboard paint using grout and latex paint.
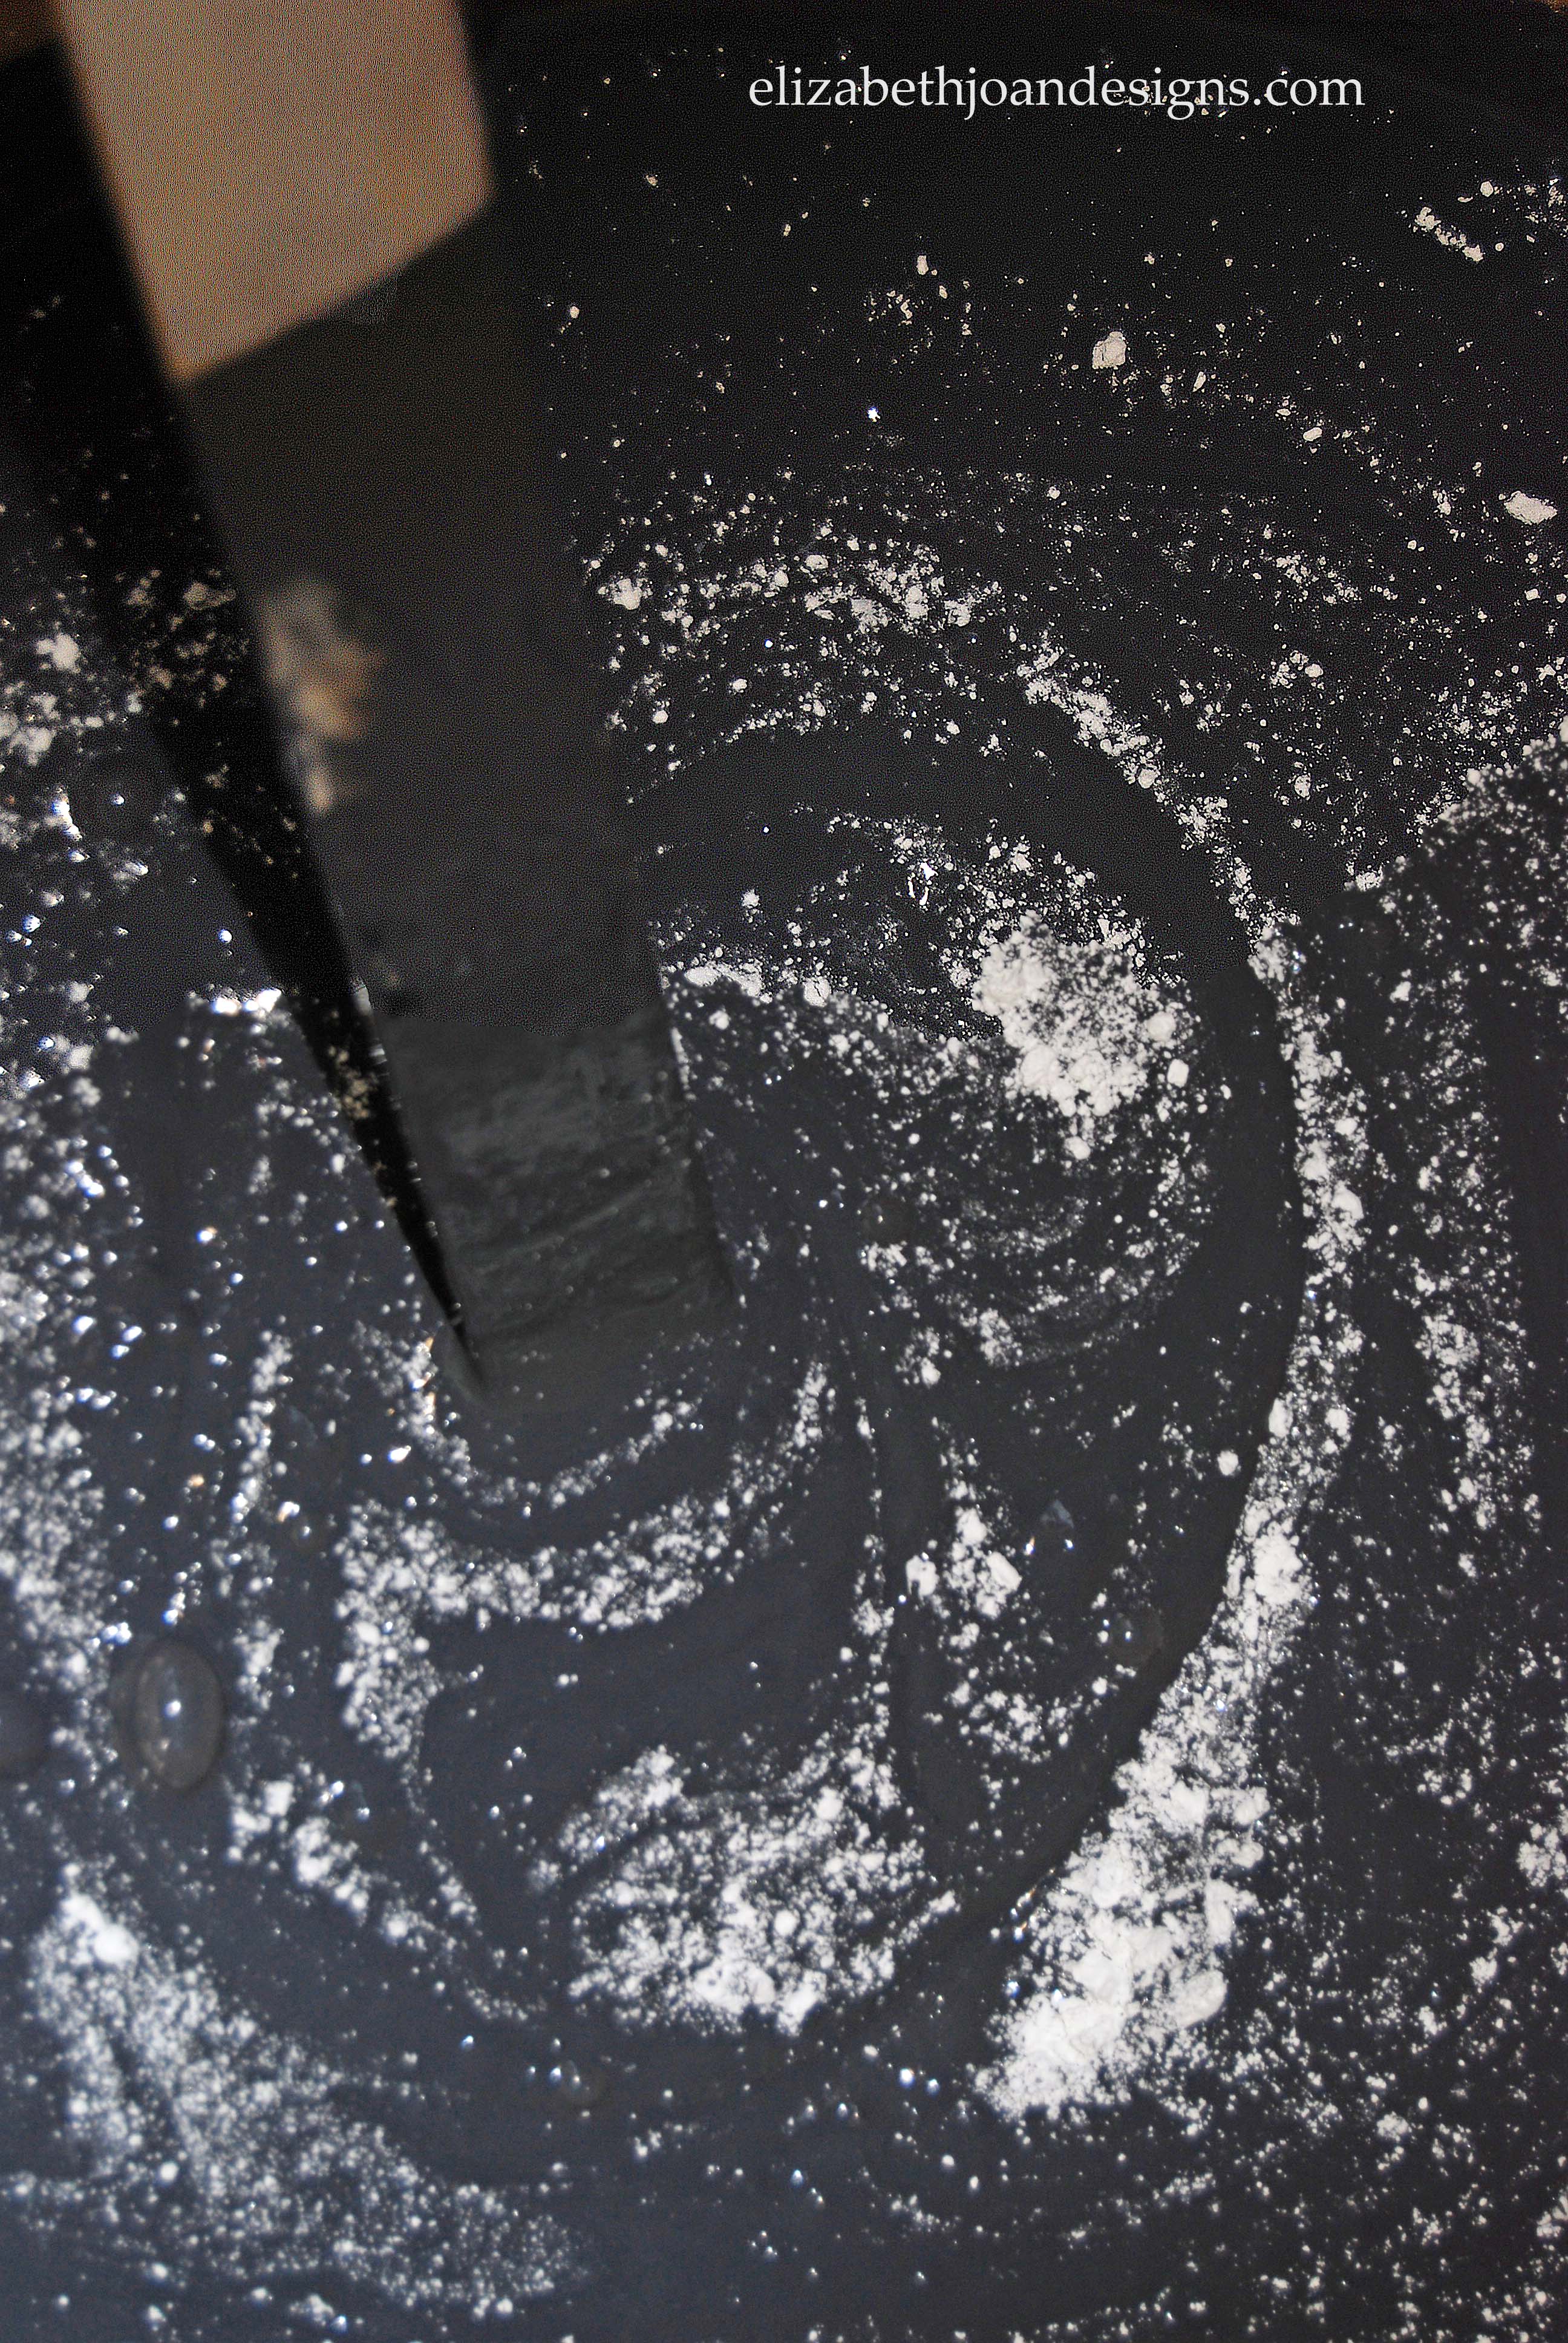
Next, each mat received several coats of my concoction.
Then, I rubbed a piece of chalk all over the mats to prime them. This step is extremely important. It prevents your first chalk marks from being permanent. I was really diggin’ the brush strokes that were present.

Finally, I wiped the placemat clean and started doodling.

But wait… there’s more!
I got the brilliant idea to add washi tape to the placemats to create colored patterns.

What do you think?
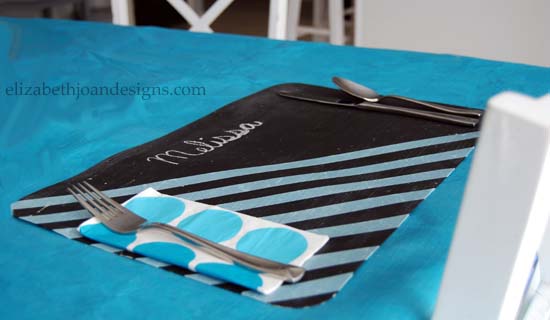
I am in love! My favorite part is that you can just remove the washi tape when you are finished, wipe the mat down, and you are left with a blank surface ready to be customized again for your next event.
With or without the decorative tape, these babies would be a great addition to any holiday get together, birthday celebration, or party you are hosting.
_____________________________________________________________________________________
You may also like:

Ten Minute Infinity Scarf 
Pocket Hand Warmers 
Clothes Iron Cleaning 
Office/Workspace Reveal -
Your Designs This Time

Hi everyone! We are taking a little holiday break this week and will return to our regular scheduled posting and features January 5. See you next week!
-
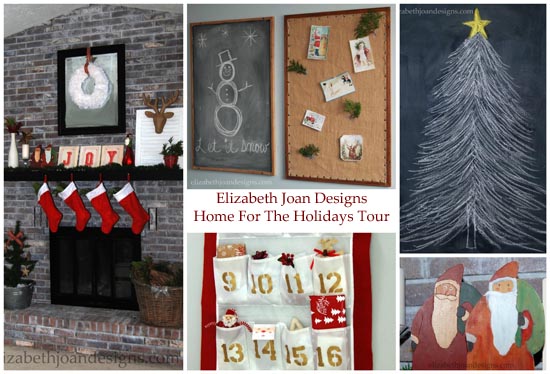
Home for the Holidays Tour
Hi and welcome to Emily’s home! Come on in!
This is the decor of our entryway. I’m a pretty simple gal, so my decorating tends to reflect that.
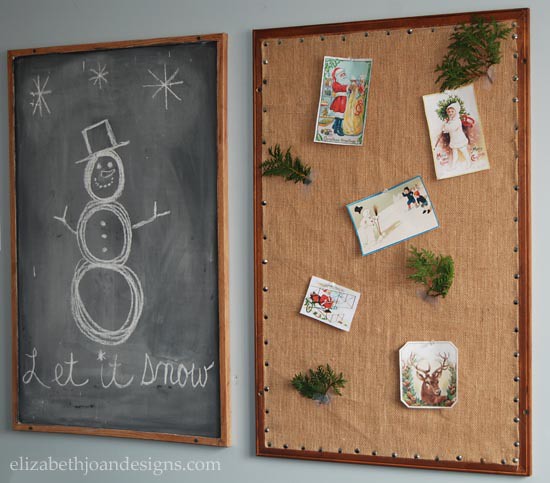
One night, I was having the hardest time going to sleep. I decided to do a little chalkboard doodling in our playroom and was extremely pleased with this tree I drew.

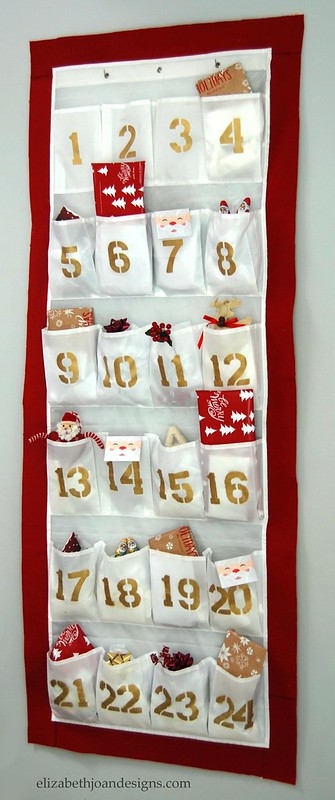
In our Kitchen/Dining Room area I have hung my DIY Advent calendar. This has been a huge hit in our house. Saying my boys love it, is probably an understatement.
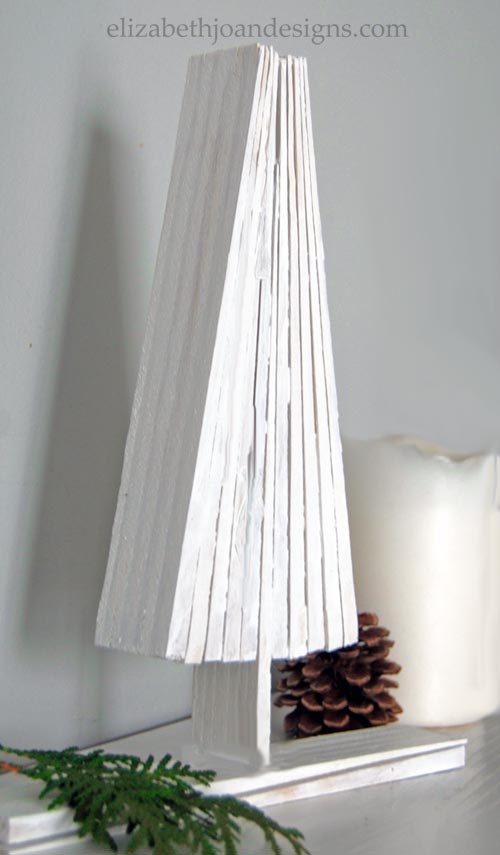
I am still keeping things simple here with my wood shim Christmas Tree.
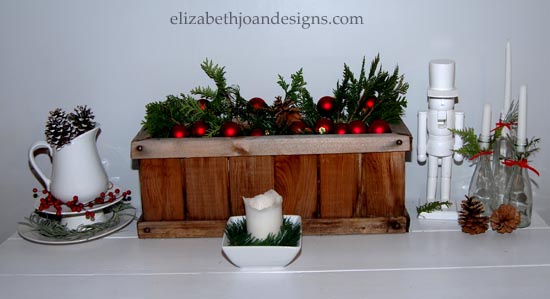
Some of my favorite ways to decorate is with touches of nature found right in my very own backyard.
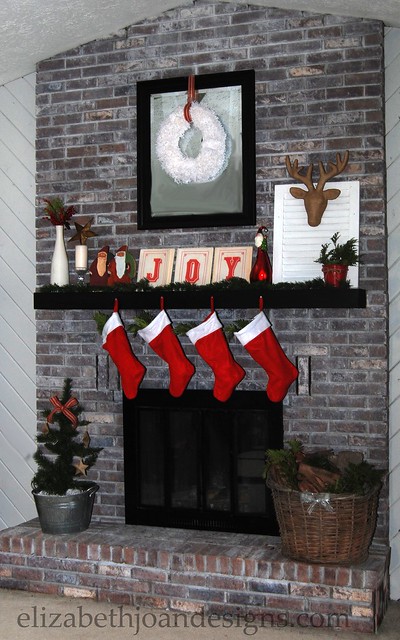
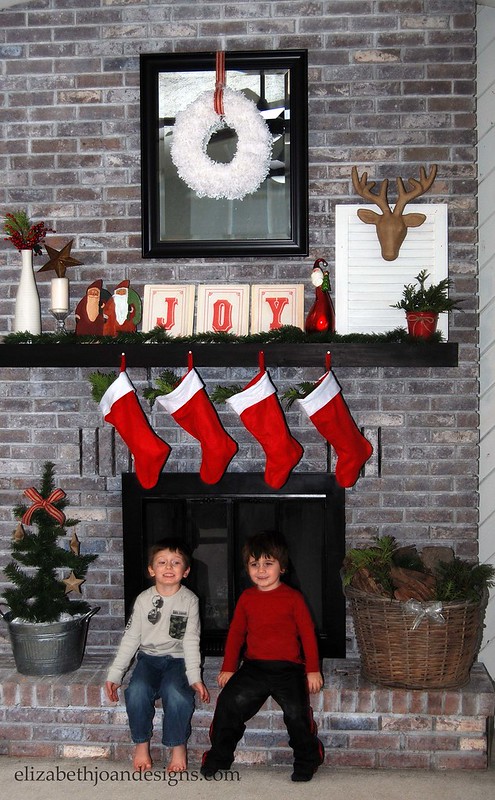
Styling this fireplace and mantle brought me so much joy, that I felt the need to spell it out for everyone to see. Do you like our dollar store stockings hung by the chimney with care? I think they add a nice pop of color to our very neutral Great-room.
Take a real good look at this pic. My two boys in the same photo! This almost never happens!
These two Santas are very special to me. Our grandpa had mad wood working skills and had cut these
badgood boys out. Our mom painted the one on the left and the 10-year-old version of me painted the one on the right. (I know what your thinking, that I was a real prodigy, huh?) Our mother passed away when I 12 and these little guys became mine. When I was in my 20’s and moving all around the country, so did these Santas. I make sure they make my holiday decor cut every year.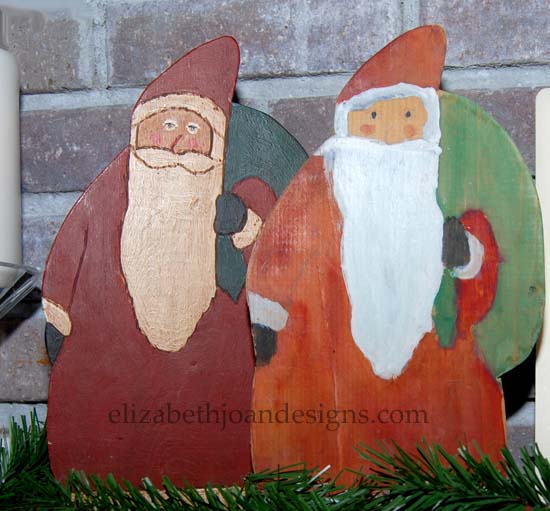
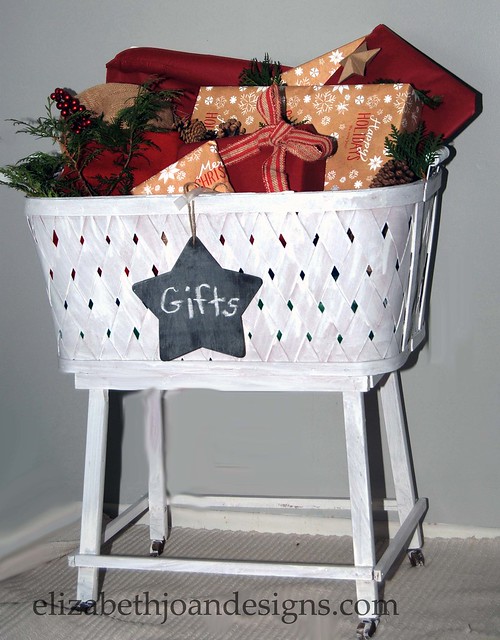
I found that this antique bassinet is a great way to keep our wrapped gifts safe from curious little fingers.

My oldest son keeps telling me we NEED more Christmas decoration. To keep his holiday spirit up, together we added little festive touches to his room. His favorite part is that he got his very own tree.
> 
Well, that’s it for the tour. Thanks for stopping by and Happy Holidays to you!