-
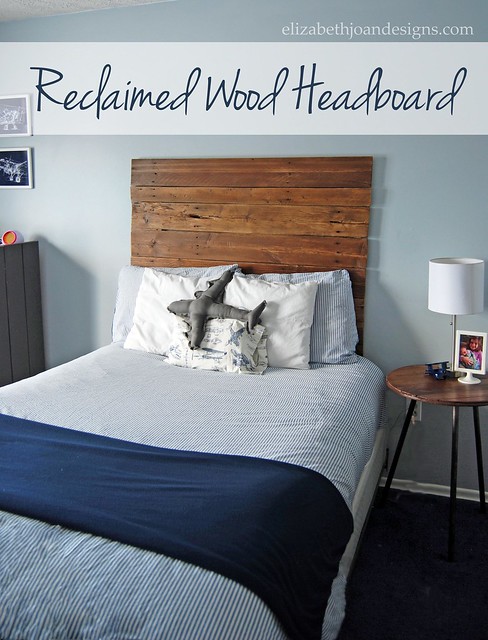
Reclaimed Wood Headboard
During a drive to the store one evening, I spotted an old 6′ stockade fence tossed to the curb. Well, of course I had to pick it up. Free lumber! To fit this wood in our Pontiac Vibe I had to push the passenger’s and the driver’s seats as far as they could possibly go forward. Good thing I’m short. My knees were a bit more jammed into the dashboard than I like, but for these extremely weathered planks, it was totally worth it. I decided this material would be perfect for creating a reclaimed wood headboard for my son’s vintage airplane room.
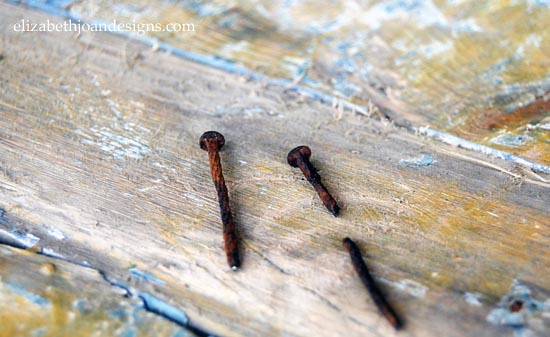
*This post contains Amazon Affiliate links.The first step I took to create the headboard was disassembling the fence and removing all nails.

Sure that may sound like an easy task, but I assure you it was not. The rusty nails kept breaking apart and getting stuck in the wood. It took a while, but I did eventually get all those little spikes removed.
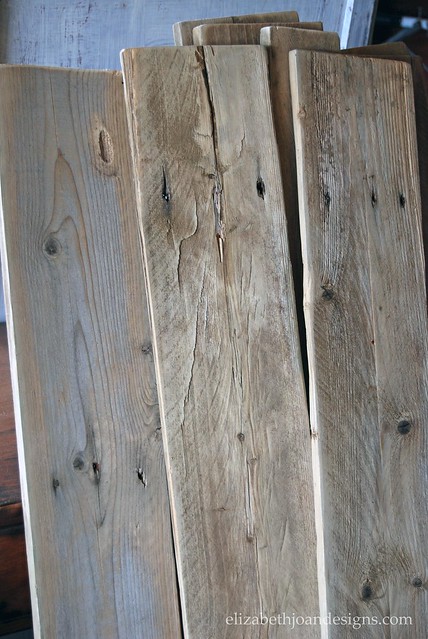
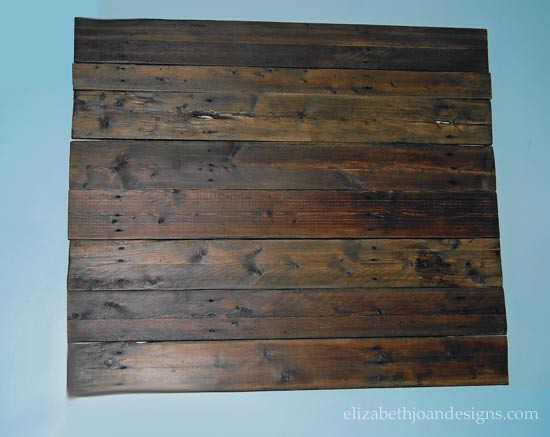
Next, I used my mouse sander to smooth out each board.
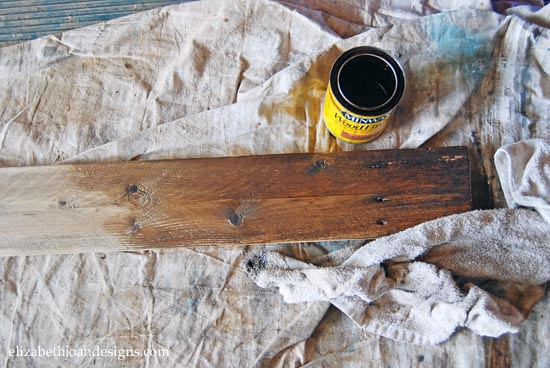
Then I stained each board using my favorite stain, Minwax Special Walnut and added a nice protective finish with three coats of Minwax Polycrylic
.
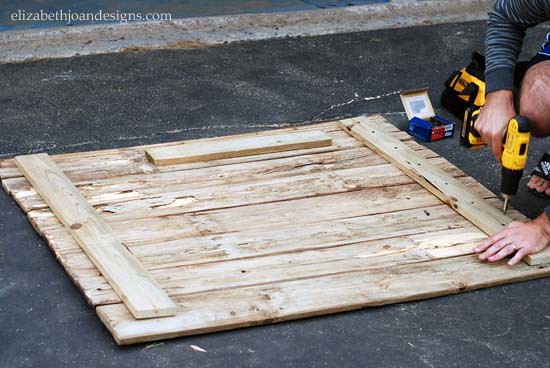
After that, my husband used the drill to screw two 1″ thick boards perpendicular to the planks. He made sure to secure each plank to these wood pieces for stability. We also added a third piece that was attached parallel to the top plank. This board is what we used to attach the entire headboard to the wall. (More on that in a minute.)
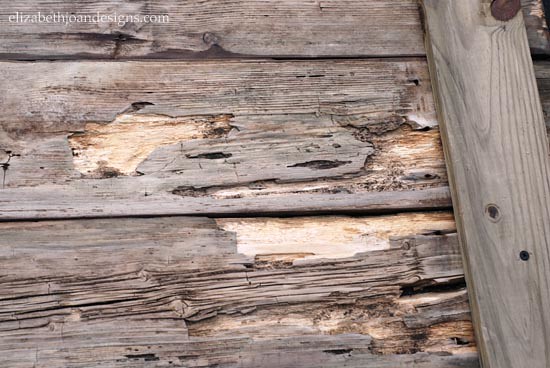
As you can see, the wood possessed LOTS of character right from the beginning. And if that wasn’t enough…
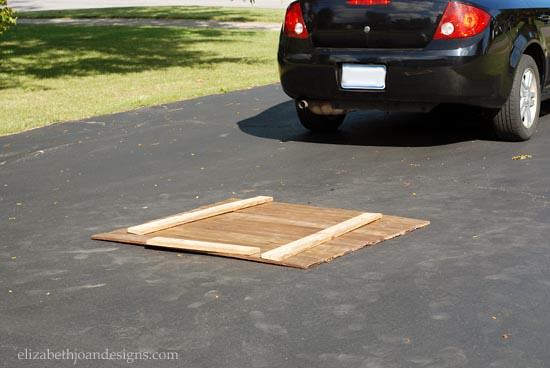
We accidentally drove right over the headboard when making one of those emergency trips to the hardware store mid-project. Oops! (If you work on a lot of projects, then you probably understand the type of emergency I am referring to.)
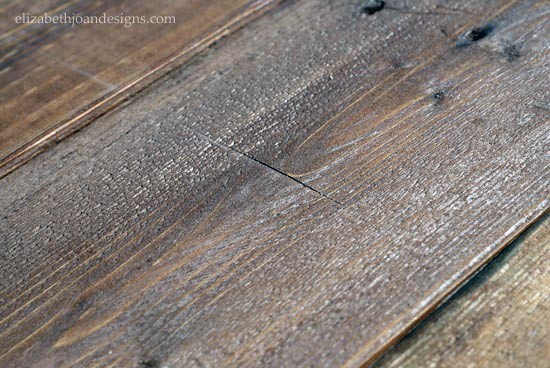
Look real close. You can see a big ol’ ding across the planks. Good thing we like that “weathered” furniture look or we would have had some extra work to do.
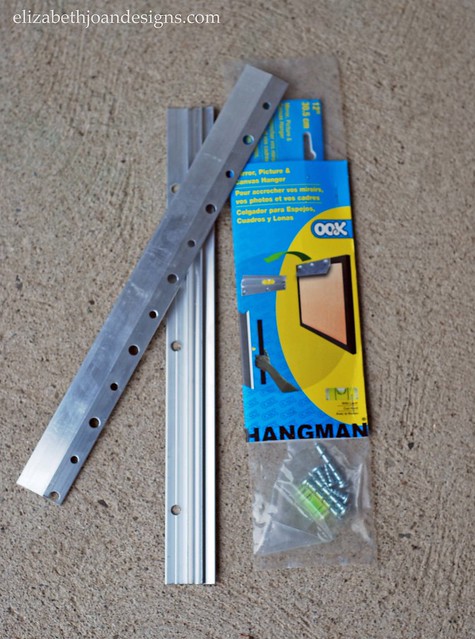
For the last step of this project, I had purchased a French Cleat Picture Hanger Kit
and closely followed the instructions on the packaging to attach the headboard to the wall of my son’s room. This little do-dad was the perfect find for hanging up something so heavy.
Of course this step took two people to accomplish, because I had no interest in breaking my back and I probably would have if I would have attempted this as a solo task.
This project turned out awesome! I could not be more proud of all of our hard work we put into this headboard.

The price to us was $10. Woo-hoo! We had to purchase the French cleat, but everything else we had on hand. The most important part though, is that our son loves it!
_____________________________________________________________________________ You may also like:

Desk Makeover 
Upcycled Tripod Table 
Upcycled Corkboard 
Open Shelving in the Kitchen -
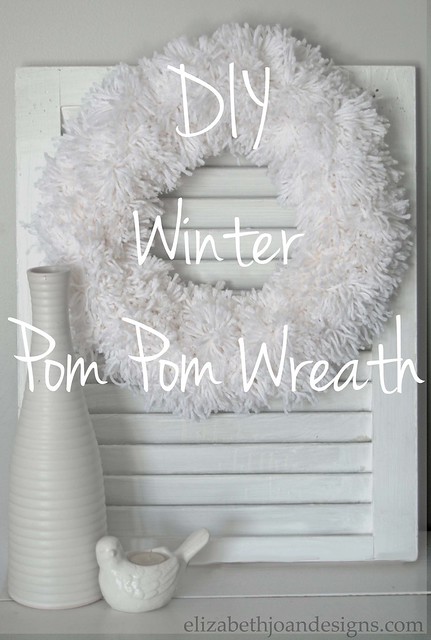
Easy Winter Pom Pom Wreath
My favorite wreath I have made so far is my Winter Pom Pom Wreath. You might have caught a peek of it during our Christmas home tour. Anyone can make one of these. Even if you feel like your genetic makeup does not contain the “crafty gene”, I am fairly confident you can make one too. It’s just that easy.
Supplies
– Pipe insulation tube wrapping (I used this as my wreath form.)
– Packing Tape
– White Yarn
– Hot glue gun and glue sticks
– ScissorsFirst, I removed the plastic seal and taped the ends and center of the pipe insulation together to create a wreath form just like I did for my Corn Husk Wreath. This has become one of my favorite things to use as a wreath form.

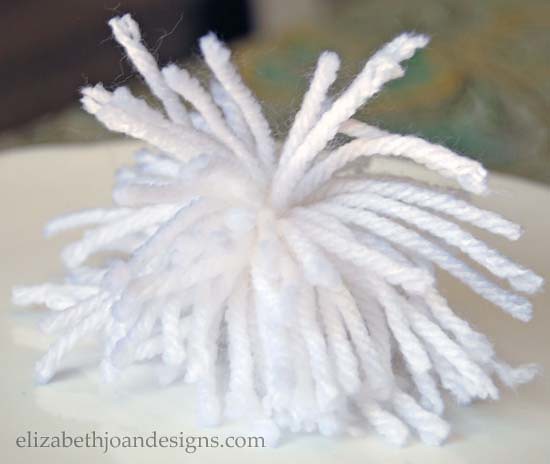
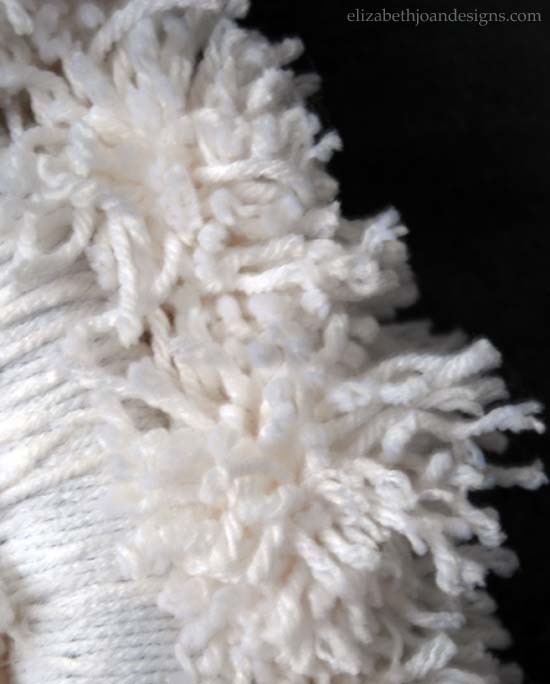
Next, I created millions of these little pom poms . Well maybe it wasn’t millions, but it sure felt that way. Adventures of a DIY Mom has a wonderful tutorial with pictures that I followed to make these fuzz balls.
Then, I wrapped the wreath form completely with white yarn. This took a while, but I wanted to make sure none of the black showed through.
After that, I hot glued the pom poms in concentric circles onto the form.
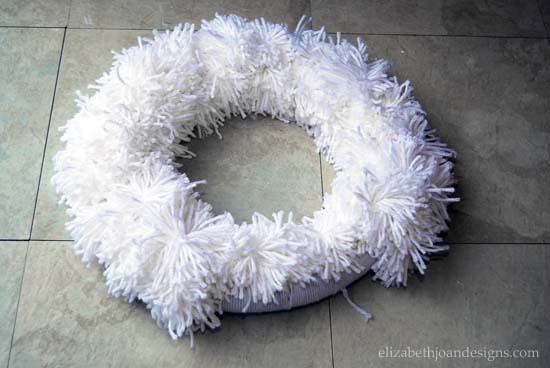
Finally, I trimmed a few of the random stray yarn pieces. (This process really appealed to the hairstylist in me.)
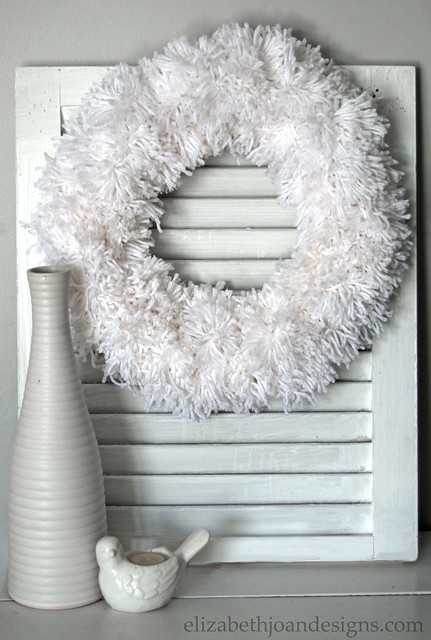
Love, love, love the final look of this wreath! It’s been a great way to add a touch of the snowy winter wonderland that is outside, inside, which is perfect for this time of year.
________________________________________________________________ You may also like:

Ten Minute Infinity Scarf 
Pinecone Fire Starters 
Book Page Wreath 
Whitewashed Brick Fireplace -
Painted Dishwasher
This project has been a long time coming and I couldn’t be happier to finally be able to scream it to the world, I PAINTED MY DISHWASHER!
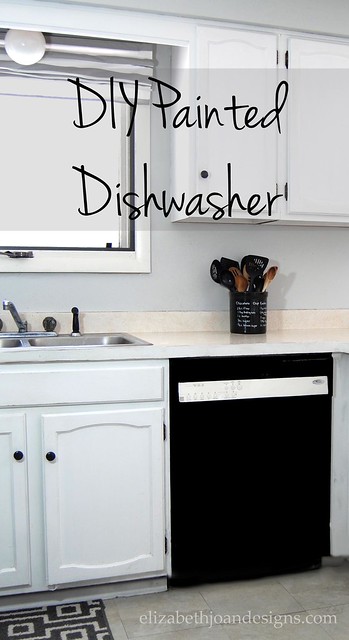
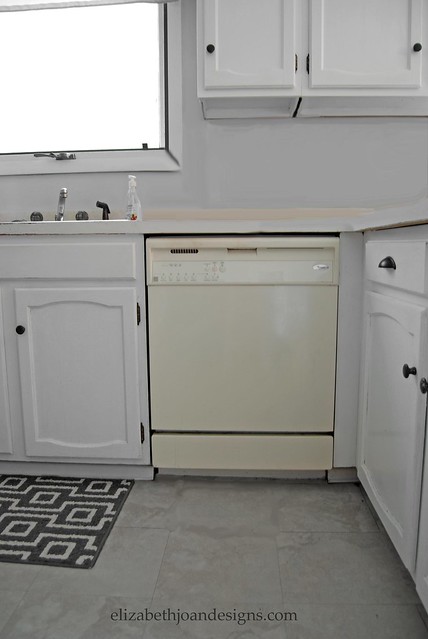
It may sound a little risky, but it was totally worth it. The ugly almond color had to go. It was the only appliance we had that was an off-white color and it stuck out like a sore thumb in our primarily black and white kitchen.
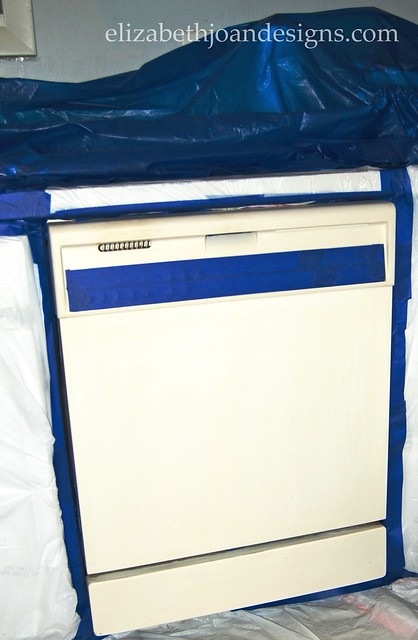
To begin this process, I covered the surrounding area with garbage bags and plastic table cloths and secured them with painters tape. I also thoroughly applied tape to the button control panel to help keep them readable after the new paint job.
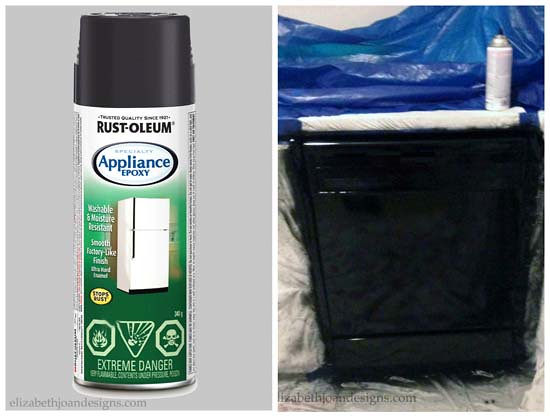
Next, I sprayed the dishwasher with a few coats of Rustoleum Black Appliance Epoxy. It was very important to follow all the instructions on the can to insure even coverage.
Finally, I removed all of the layers of plastic and tape to reveal my beautiful, new-looking dishwasher.
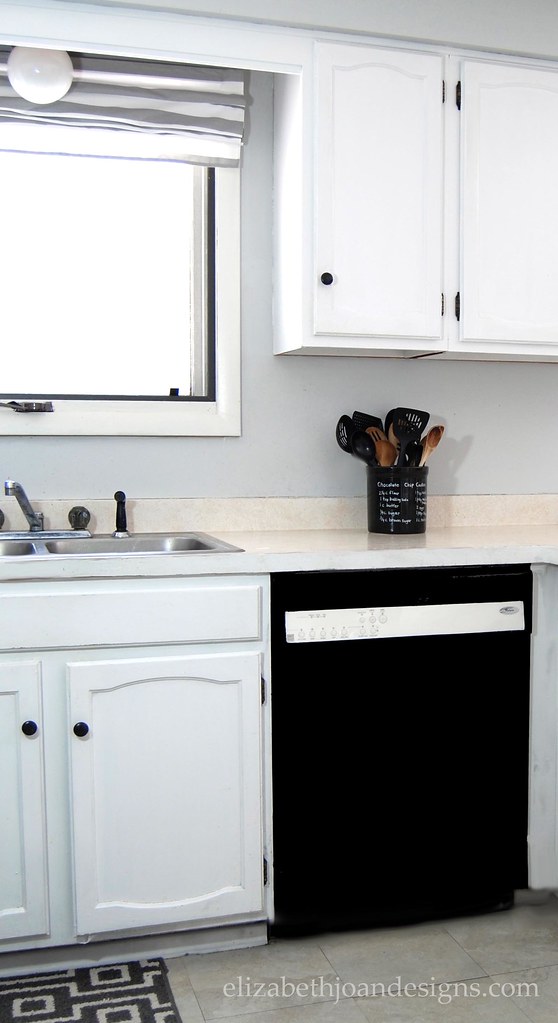
We are very pleased with how this turned out, but there is one tiny thing I am not entirely crazy about. The control panel is still that almond color. Eww. But, I am so much happier with having a black dishwasher with a small off-white stripe vs. an all almond appliance. What do you think?
This project was not the first of its kind in our kitchen. Over a year ago, I also transformed our range hood from almond to black. You can read all about that experience here.

________________________________________________________________ You may also like:

Painting Laminate Countertops 
French Lettered Milking Stool 
Personalized Utensil Crock 
Magnetic Oven Mitt -
Watercolor Valentine’s Day Art
This project came to me very spare of the moment. My kids and I were spending time together painting at the table when I decided to make some of my own Watercolor Valentine’s Day Art to bring a little festivity to our home for the up coming holiday. This project really shows that you don’t need great expensive materials to create fun art to display.
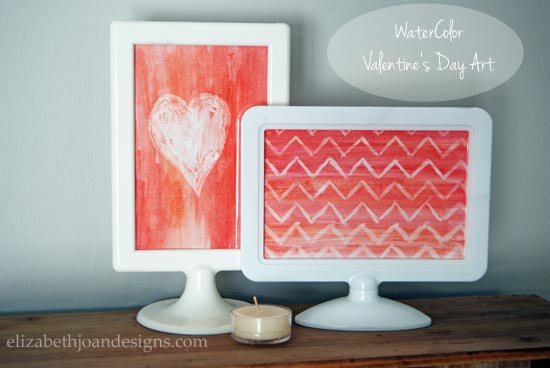
Here is what I had to work with…
I used plain old boring computer paper, my child’s watercolor set, a broken white crayon and dull scissors. Nothing fancy here.
First, I drew a design on the paper with the white crayon. I knew I wanted to display my finished art in a 4×6 frame, so I drew accordingly.

Next, I brushed the desired colors over the crayon markings to reveal the hidden image and left them to dry.


Finally, the pictures were cut out to fit the frames and displayed for all to enjoy.

For what I had to work with, including my poor artistic skills, I love the finished product! Do you decorate your home for Valentine’s Day?
________________________________________________________________ You may also like:

Heart Stamps 
Heart Candle Holder 
10 Minute Wood Cutting Board 
Monogrammed Stamped Clay