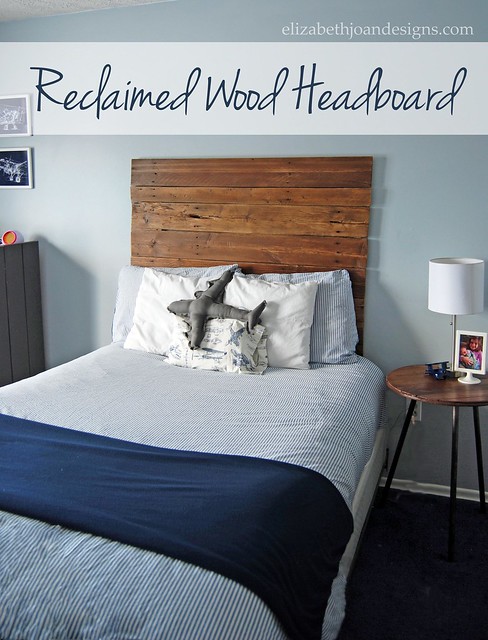
Reclaimed Wood Headboard
During a drive to the store one evening, I spotted an old 6′ stockade fence tossed to the curb. Well, of course I had to pick it up. Free lumber! To fit this wood in our Pontiac Vibe I had to push the passenger’s and the driver’s seats as far as they could possibly go forward. Good thing I’m short. My knees were a bit more jammed into the dashboard than I like, but for these extremely weathered planks, it was totally worth it. I decided this material would be perfect for creating a reclaimed wood headboard for my son’s vintage airplane room.
*This post contains Amazon Affiliate links.
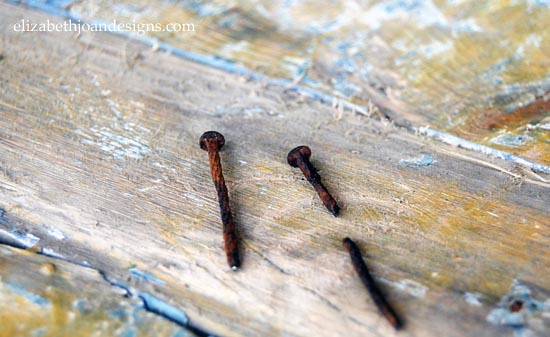
The first step I took to create the headboard was disassembling the fence and removing all nails.

Sure that may sound like an easy task, but I assure you it was not. The rusty nails kept breaking apart and getting stuck in the wood. It took a while, but I did eventually get all those little spikes removed.
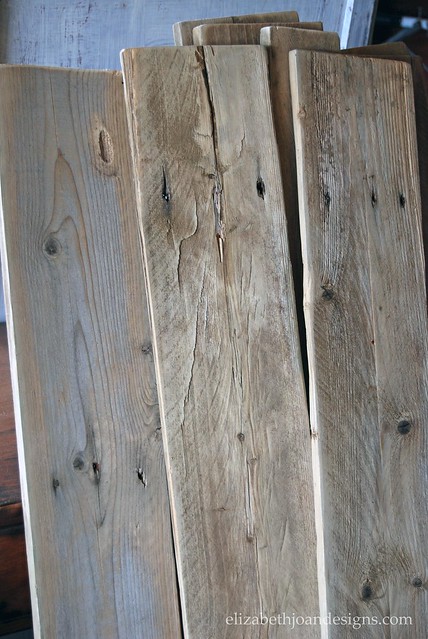
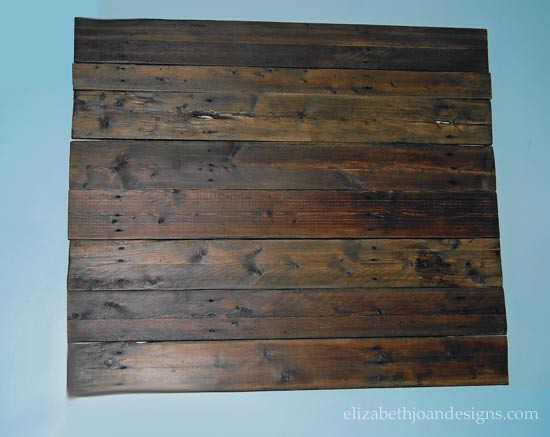
Next, I used my mouse sander to smooth out each board.
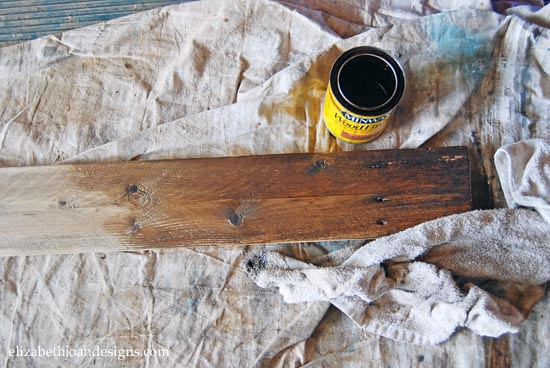
Then I stained each board using my favorite stain, Minwax Special Walnut and added a nice protective finish with three coats of Minwax Polycrylic.
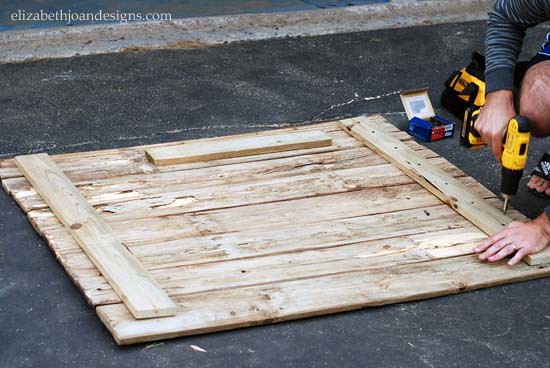
After that, my husband used the drill to screw two 1″ thick boards perpendicular to the planks. He made sure to secure each plank to these wood pieces for stability. We also added a third piece that was attached parallel to the top plank. This board is what we used to attach the entire headboard to the wall. (More on that in a minute.)
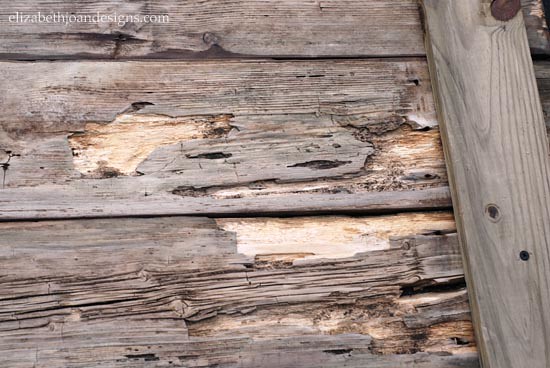
As you can see, the wood possessed LOTS of character right from the beginning. And if that wasn’t enough…
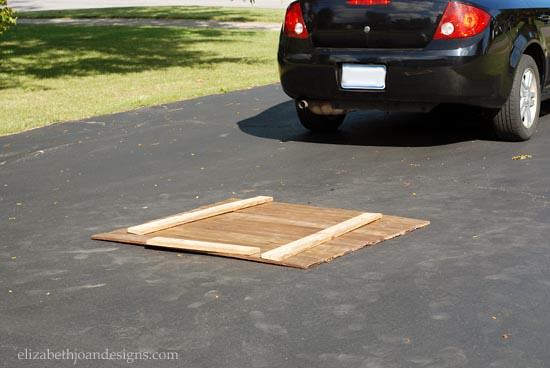
We accidentally drove right over the headboard when making one of those emergency trips to the hardware store mid-project. Oops! (If you work on a lot of projects, then you probably understand the type of emergency I am referring to.)
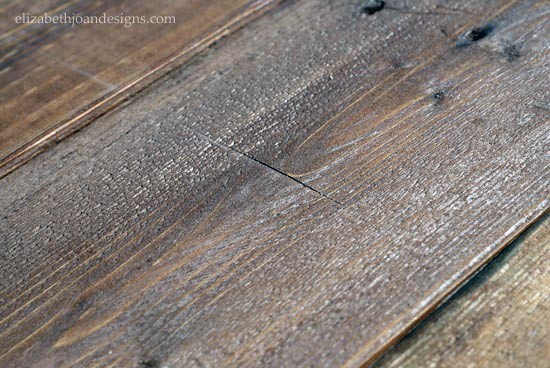
Look real close. You can see a big ol’ ding across the planks. Good thing we like that “weathered” furniture look or we would have had some extra work to do.
For the last step of this project, I had purchased a French Cleat Picture Hanger Kit and closely followed the instructions on the packaging to attach the headboard to the wall of my son’s room. This little do-dad was the perfect find for hanging up something so heavy.
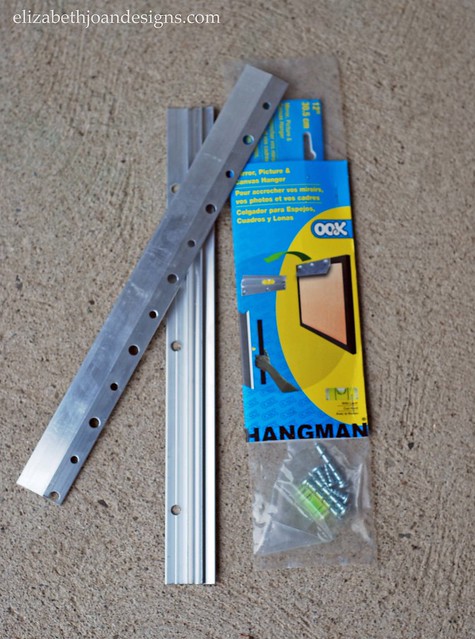
Of course this step took two people to accomplish, because I had no interest in breaking my back and I probably would have if I would have attempted this as a solo task.
This project turned out awesome! I could not be more proud of all of our hard work we put into this headboard.

The price to us was $10. Woo-hoo! We had to purchase the French cleat, but everything else we had on hand. The most important part though, is that our son loves it!
You may also like:


18 Comments
Kristi
I absolutely LOOOOOOOVE this (tire marks and all!)!!! This is EXACTLY what I’m picturing for Carson’s room! I’ll definitely be pinning if for later!
Emily
Thanks Kristi! The tire marks truly make a great story for this headboard’s new life. Can’t wait to see what you do for Carson’s room!
Makani
You can avoid the French cleat hanger by making your own cleat out of the piece of wood used for hanging. Miter cut the 2×4 that you put on the back down its length. Then hang one half on the wall cut side up, attach he other half to the headboard cut side down. Slip the headboard onto the piece secured to the wall. We did this with an old door. It’s very secure.
Kristin
I love this! There’s so much character and detail in that wood. It looks great!
Emily
I agree Kristin, that wood is just beautiful! Thanks for stopping by!
Erica
I absolutely LOVE this! Running it over just gives it extra character ;)
Emily
Thanks Erica! When we ran over it, all I could think was “bring on the character, but please don’t let anything be broken.” Haha.
Amanda @ Dwelling in Happiness
Love love LOVE this!! It turned out SO pretty! And I totally love that you drove over it. Haha! That’s totally something I would do! :) Looks great in the bedroom!
Emily
Thanks Amanda! You’re so sweet!
Corey @ Tinysidekick
This looks so good! I’ve always wanted to attempt a reclaimed wood project and this one is so inspiring. Thanks for sharing at The Makers! It is always awesome to have you!
Emily
Thanks Corey! It was such a fun project to do.
Suzy Myers
Love this idea! And the fact you actually drove over your project makes it that much more fun to talk about! Thank you for sharing!
suzy
Emily
Thanks Suzy!
Kristina @ My Own Home Blog
Love this look!
I think the ding from running it over added just enough extra character to it ;)
I’d love for you to come by and share this at Talented Tuesday Link Party!
Cynthia - Clockwork Interiors
LOVE how this turned out! The fact that you ran over it mid-project, just adds to it’s story! (Good thing you worked so hard to get all the nails out!) haha Again, great job!
Emily
Cynthia, good point about the nails. That could have done some real damage to my tires. Thanks for stopping by!
Carrie @ Curly Crafty Mom
I would love to make one of these for my sons room, I just love the rustic look and feel of this headboard!!
Emily
Thanks Carrie! So glad you stopped by!