-
Master Bedroom/Bedroom Progress: Room by Room Summer Series Week Five
I’m so glad you are here to take a look into our Master Bedroom Progress! It’s the 5th week of the Room by Room Summer Challenge and we are wanting to you get cozy with us in the in the “Owner’s Suite”. Ha! Who am I kidding? This is barely even a master bedroom since it is only a couple of feet bigger than the rest of the bedrooms.
We are currently working on giving this room a little bit of an update on a budget, but I wanted to share how our bedroom has changed since we’ve moved in.
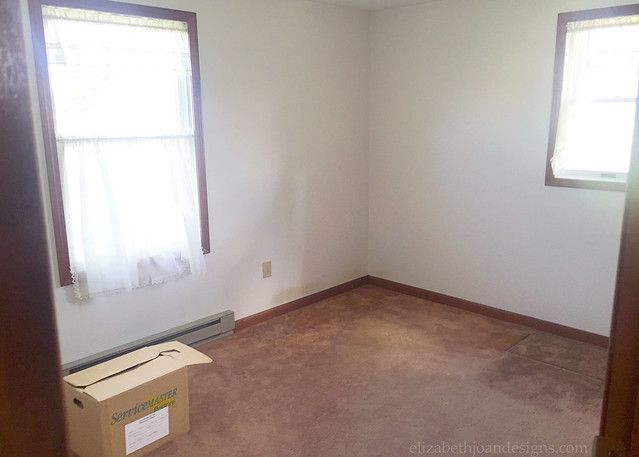
BEFORE
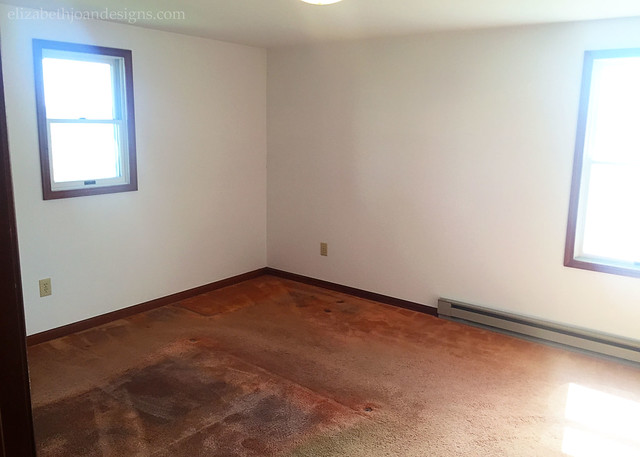
Yikes! That carpet was pretty rough! Like the rest of our house, our bedroom floors were all updated by my handy hubby. After a little bit of trim paint and new curtains, our bedroom was looking better, but it still needed some help.
DURING
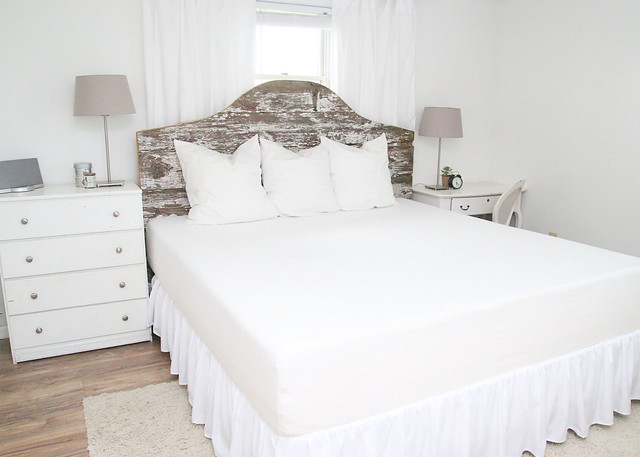
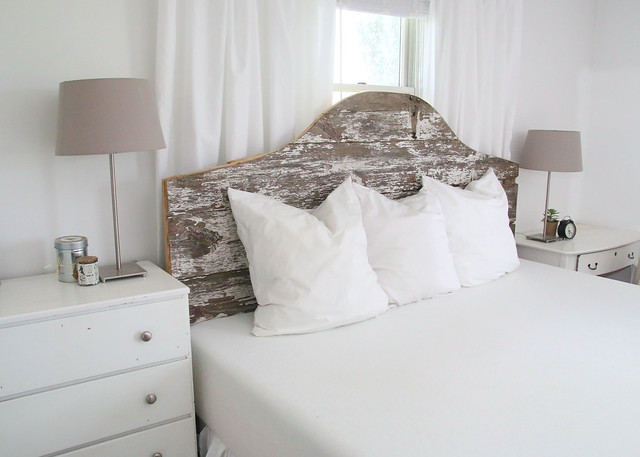
We just added this new DIY barn wood headboard (below) and we love it! Since we are currently working on this room, I’m not going to go into detail about what we are planning to do in this post, but it is looking pretty good so far. (You can read all about the mini makeover here.)
So, I missed last week’s Bedrooms post for the Room by Room Summer Series. Since I’m not getting too deep into our master bedroom details, I thought I would share a little bit about our other bedrooms.
Tween Daughter’s Room
Our daughter’s room was the first room with fixed up when we moved in. Redoing this room was also our first experience with the One Room Challenge and it definitely went from drab to fab!
BEFORE
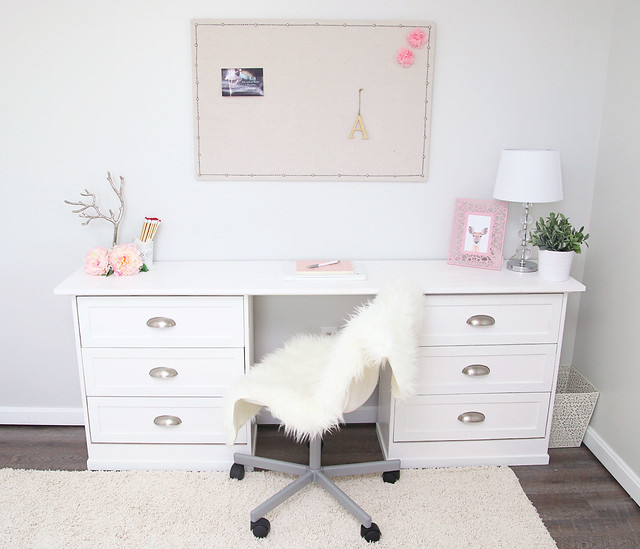
AFTER
Our daughter loves her room now! However, there may be a few small tweaks in this room’s future.
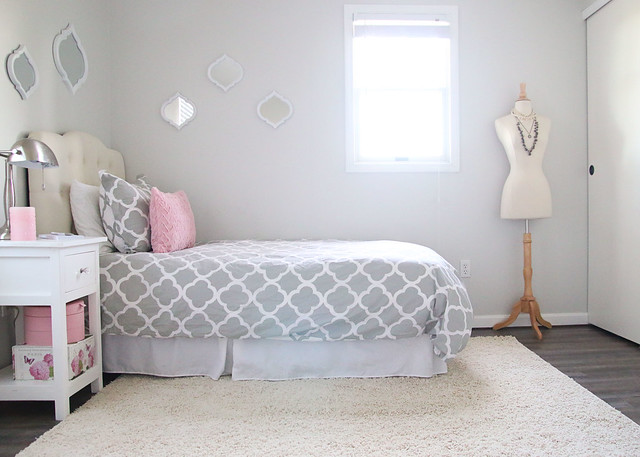
We want to add some shelving to the wall for a bit more storage. And maybe some sort of book page art for our avid reader!
Son’s Room
Once our Master Bedroom mini makeover is over, the next room on our to-do list is our son’s bedroom.
BEFORE
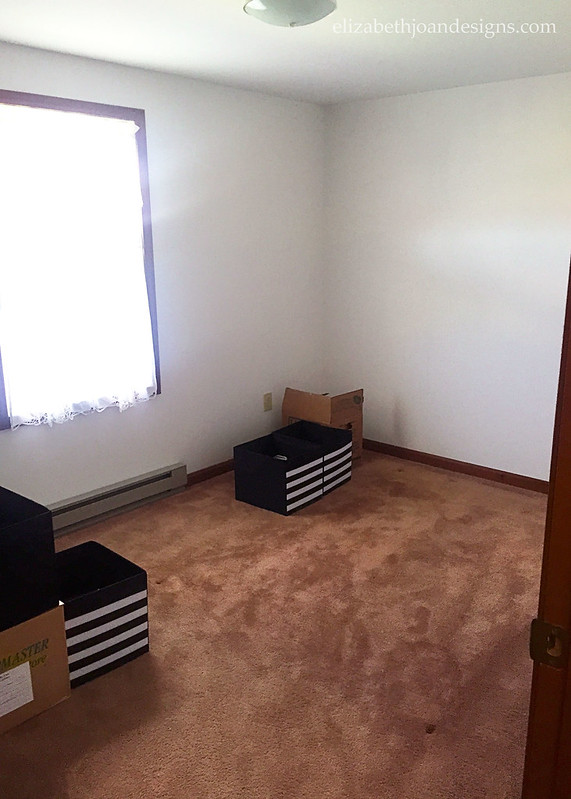
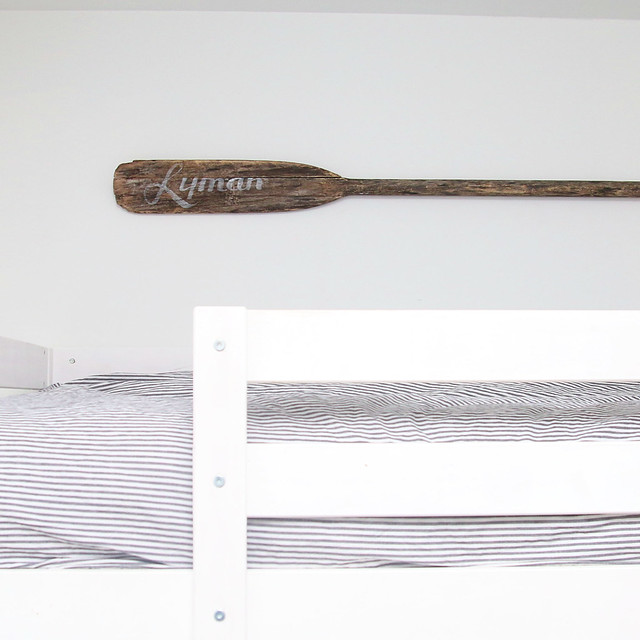
Thankfully, there won’t be a ton to do in here to get it finished. The little guy wants a shark themed room, so we will incorporate a few fun decor items and give it a bit of nautical feel. Hopefully, we can make that jive with the farmhouse look of the rest of the house. All of the furniture, except for a bookcase we purchase last year, is from his room in our previous house, as well as the bedding.
DURING
So that wraps up this week’s post about our bedrooms!
Did you miss a room in the series? Click below to check out each room.
Entry | Kitchen | Living Room | Bedrooms
I hope you will click on over to see what is going on with the master bedrooms below!
-
$100 Room Challenge Week 3 – DIY Barn Wood Headboard
About 1.5 months ago, we finally purchased the king sized bed that we had been wanting. Woohoo! Do you know how awesome it is to have so much space for sleeping? If you don’t, I will tell you that it is absolutely amazing!!! Anyway, since we already have the bed and we are working on our bedroom for the $100 Room Challenge, we decided to make a DIY Barn Wood Headboard for week 3.
See the before pics and our plan for the master bedroom.
This post contains affiliate links. Click here to read my full disclosure.
This piece of barn wood is actually a door from an old building that was at my grandparents’ house. After my grandparents passed away, my parents moved in and were nice enough to give it to us when they redid the building. It has just been sitting around waiting for the right time/use to come along.
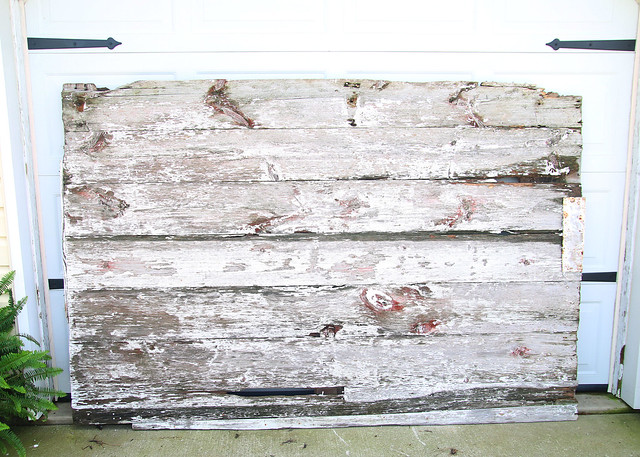
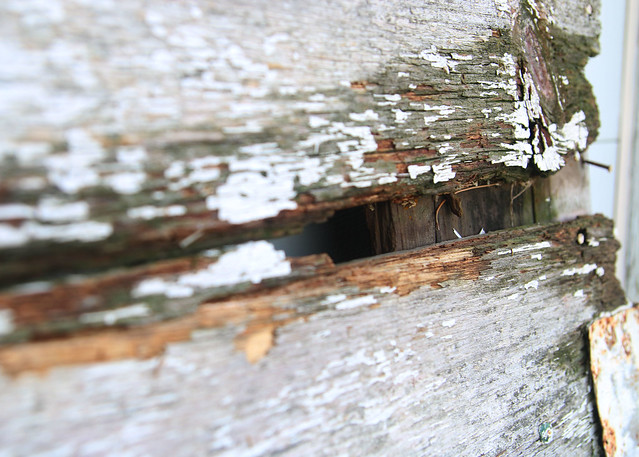
See how distressed it is, with the chippy paint and cracked wood? But that just gives it that much more character!
This project was a two person job. While my hubby, Chris, cleaned up the barn wood, I free handed a template for the top of the headboard. Then, I just taped it on and traced it with a sharpie. After that, Chris cut it out using a jigsaw and sanded while I made lunch. He also added a few coats of Polycrylic to seal everything in, just in case the existing paint had lead in it.

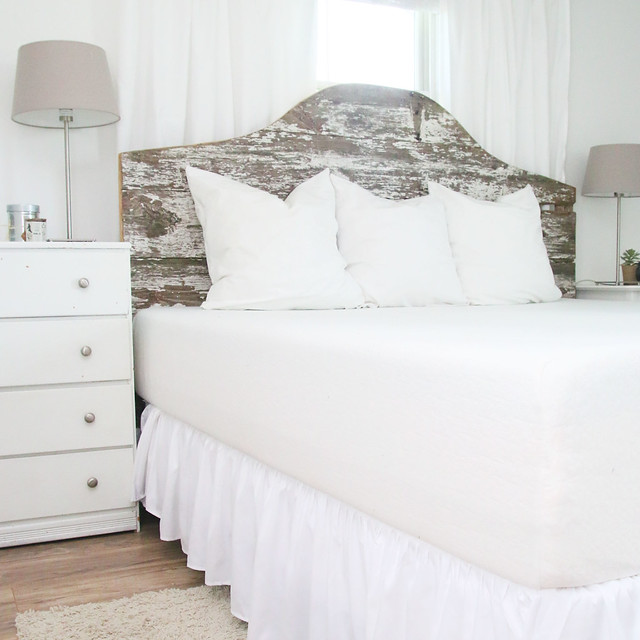
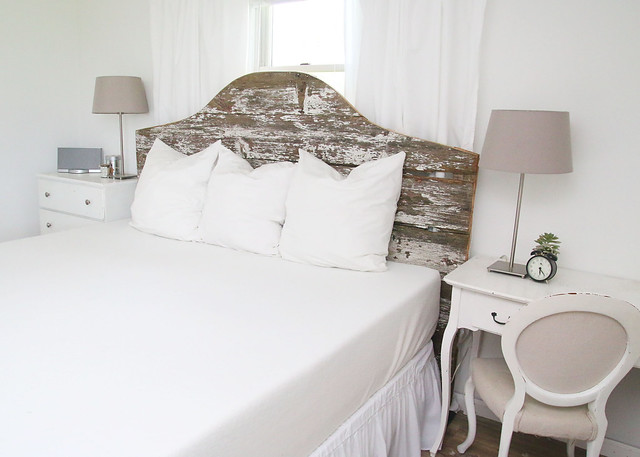
Finally, we lugged it inside and put it in place. Doesn’t it look good?

We noticed that after adding the Polycrylic, the wood actually darkened. I’m not sure if I will eventually add some white wash to the headboard to lighten it just a bit, but for now, we are sticking with it as is.
With just this one project, our master bedroom looks so much better! Not only are we sleeping better because of our new mattress and foundation, but this headboard really adds some farmhouse feels to the space. And that is just the look we are going for!
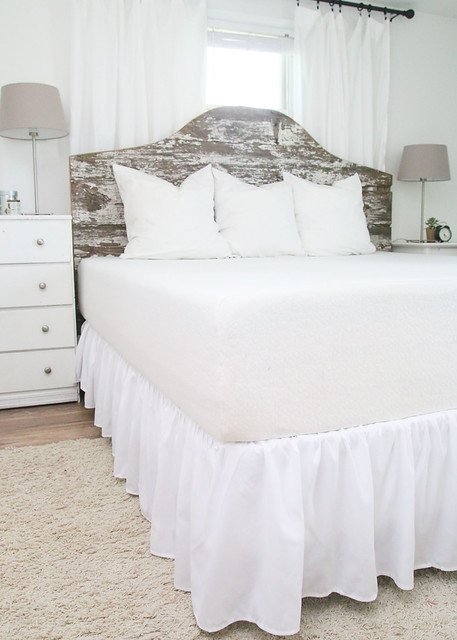
Oh, and I almost forgot! I finally put on the dust ruffle we purchased when we got the bed. #slacker
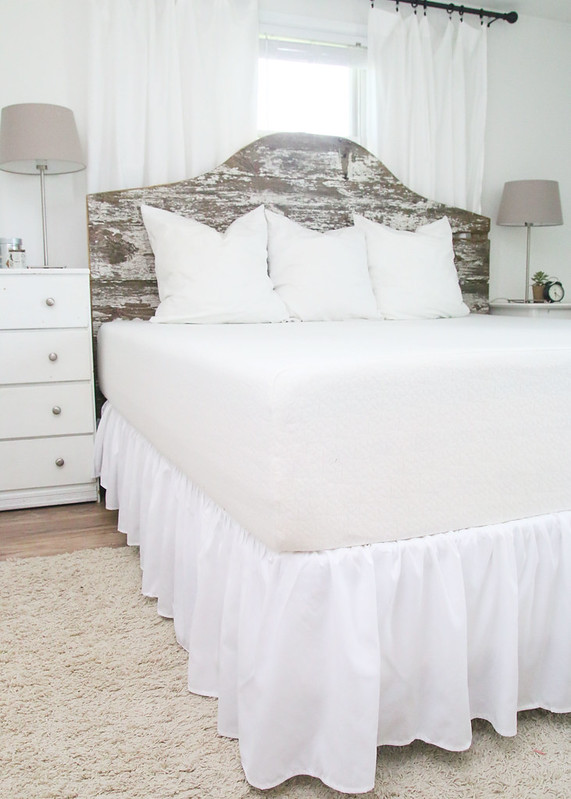
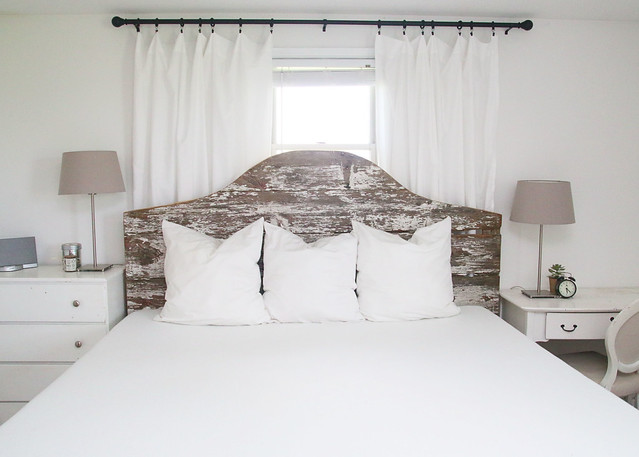
Don’t you think our DIY barn wood headboard turned out great?
This headboard adds the perfect amount of romance to the room with the soft curve but also keeps things from getting too girly with the rustic, chippy paint.
Did you miss a week of the $100 Room Challenge? Catch up now!
Week 1| Week 2 | Week 3 | Week 4 |See how the other participants are progressing by clicking the links below!
-
$100 Room Challenge Week 2 -Modern Farmhouse Master Bedroom
So, I have decided to again join my friend, Erin, from Lemons, Lavender, and Laundry for her $100 Room Challenge. I’ve tackled this challenge once before when we gave our bathroom an overhaul on a budget. This time, we are attempting to revamp our bedroom using the same small budget, but hopefully making a big impact. We’re also working against time since I’m joining up at the end of week 2. EEK!
Here is my long term plan for our Modern Farmhouse Master Bedroom.
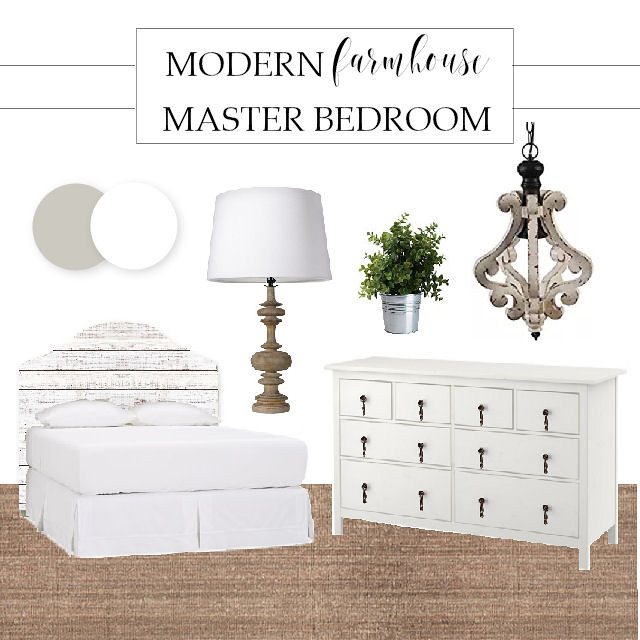
Now, of course, a full room makeover could end up costing us quite a bit of money. (Way over the $100 limit!) Especially if we purchased all of the items in the mood board above. So we are going to have to pick and choose which items to purchase, which projects can be DIYed, and what will have to wait until a later date.
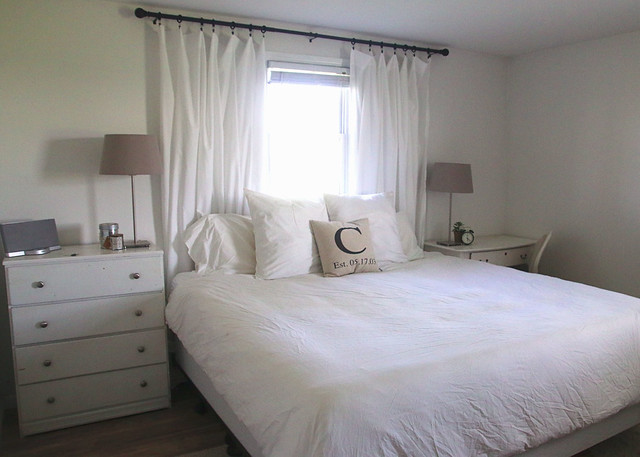
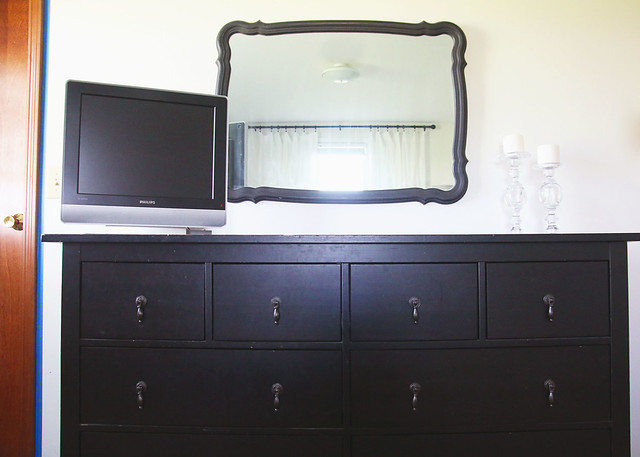
Doesn’t our bedroom look kind of meh?
Yes, of course, everything consists of neutral colors, but each side of the room is the polar opposite of the other with bright whites/creams at one end and a black hole on the other.
I don’t know about you, but it seems like our bedroom is always put to the bottom of the list when we are working on projects, storage, and cleaning. Seriously, it is the place where stuff comes to die, especially when we are trying to speed clean before company! So we thought this would be the perfect opportunity to spruce things up just for the Mr. and Mrs.!
So what exactly are we going to focus on to dress up this space and make it a bit more cohesive? Well, here is the checklist:
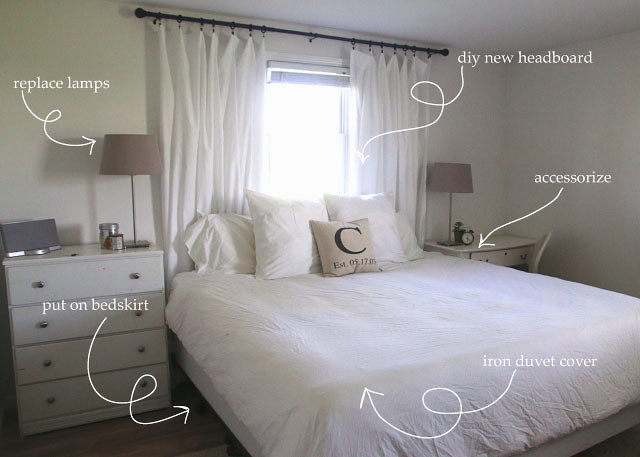
- Buy/Replace the lamps
- DIY a headboard for the bed
- Add a few accessories to each side table
- Put on the bed skirt that we’ve been too lazy/busy to add
- Iron the duvet cover (also laziness)
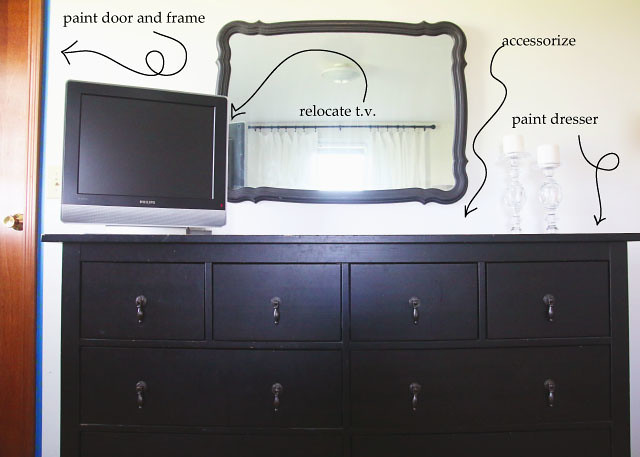
- Paint the doors/frames (window frames are already painted
- Relocate the TV
- Accessorize the dresser
- Paint the dresser
Wowza! That is quite the list and we only have a little over 2 weeks to complete it! I bet you are wondering how we are going to pull this off with only $100. Well, to be honest, our budget will probably be eaten up by the purchase of lamps. Then we will have to shop our home for accessories, DIY a headboard, and use paint we already own to makeover the doors/dresser. Wish us luck!!!
Stop by and read more about the $100 Room Challenge by visiting Lemons, Lavender, and Laundry.
You won’t want to miss these other awesome participants’ projects! Click the photos below to check them out!
-
Farmhouse Living Room Decor: Room by Room Summer Series Week Three
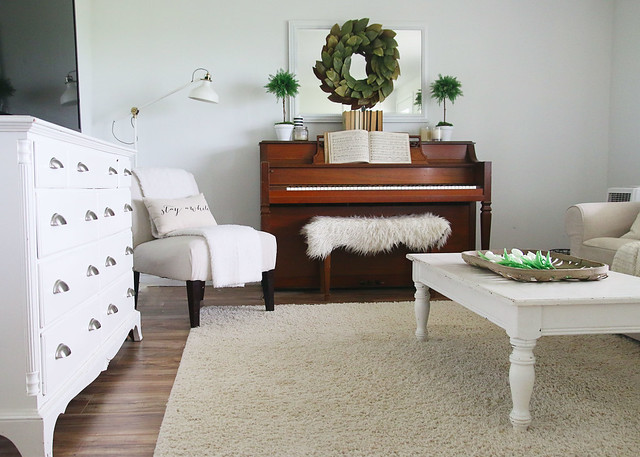
It’s already week 3 of the Room by Room Summer Series and we are sharing our living spaces. (Last week was kitchens!) Come take a peek at our Farmhouse Living Room Decor. It’s certainly nothing fancy, but we do enjoy this space for entertaining guests or snuggling up with a comfy blanket to watch a movie or two.
This post contains affiliate links for convenience. (Click here to read my full disclosure.)
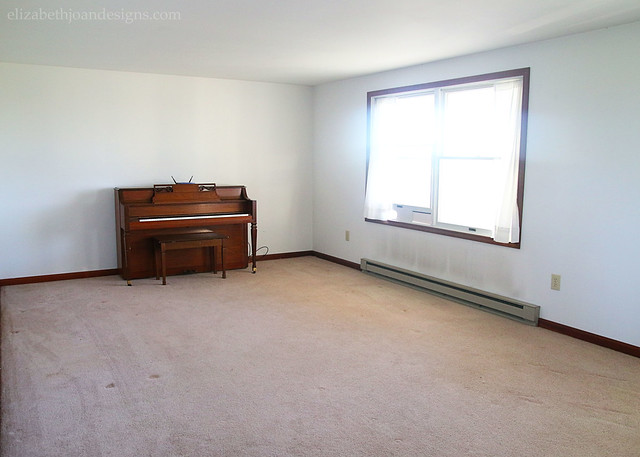
This is one of those rooms that only required minimal tweaking when we moved in. (Below is the room on move in day.) We really only removed the carpet to lay wood laminate floors and painted the trim. Then it was just a matter of putting in place our normal furniture, curtains, and decor!
Let’s start here at the TV. and work our way around the room, mmmkay? I’m in love with ladders and like to use them in our decor around the house. (Check out this ladder we made for our bathroom.) We found this old beauty at a garage sale.

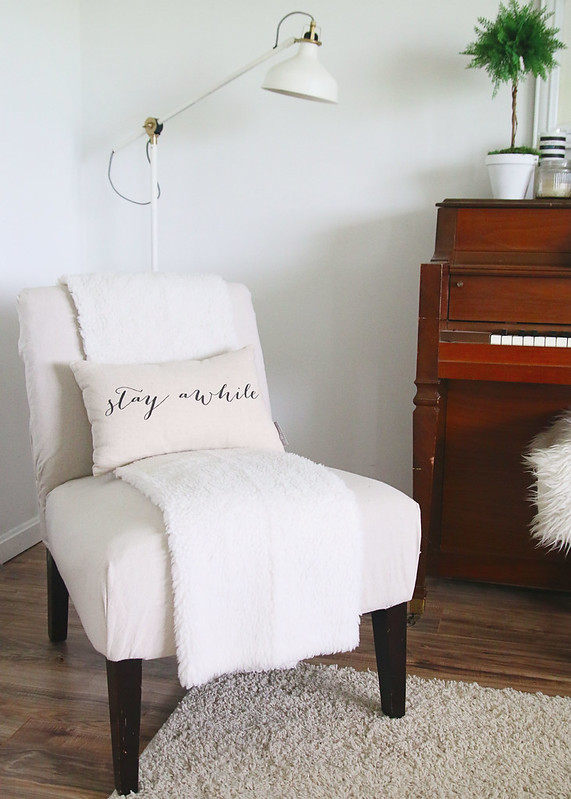
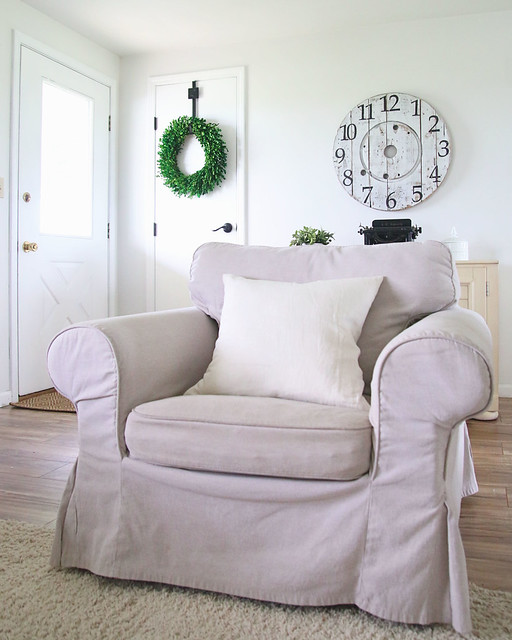
In the corner, we placed our old slipper chair. A few months ago, I gave it a makeover and I must say it is still looking pretty good!
The piano was my Mom’s. I was lucky enough to inherit this instrument and now our daughter is learning to play some beautiful music on it. It is such a sentimental piece, but to be honest, I hate the color of the wood stain. However, I’m not brave enough to paint or re-stain for fear of ruining it, so like this, it will stay.
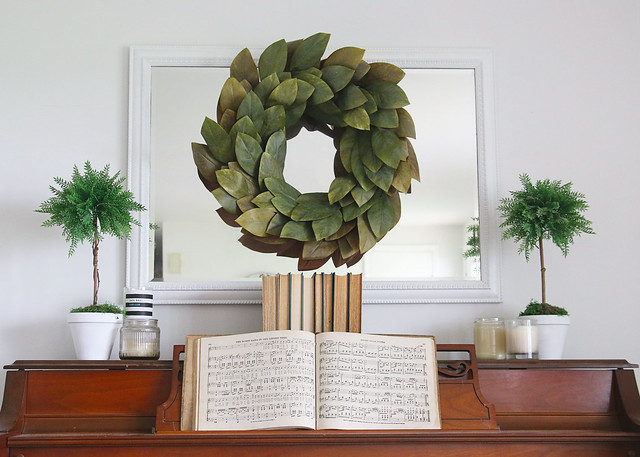
To try and tone down the color of the piano and brighten the area, I like to add shades of white and cream, such as the faux sheepskin, books, and candles. For balance I added two DIY topiaries and my favorite magnolia wreath adorns the mirror above.
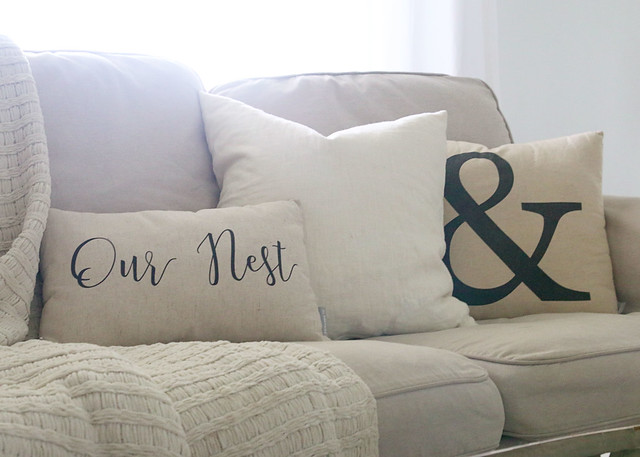
Our couch has definitely taken a beating over the years and you can tell. However, it is still super comfy and perfect for movie night. And when it gets dirty, we can just pull the cover off and wash it. Since we have kids, pets, and light colored furniture, slipcovers are a must!

My favorite pillows right now are still the fun ones from my friend Kendra at Linen & Ivory. She has so many amazing options to choose from and pretty much all of them can be mixed and matched.
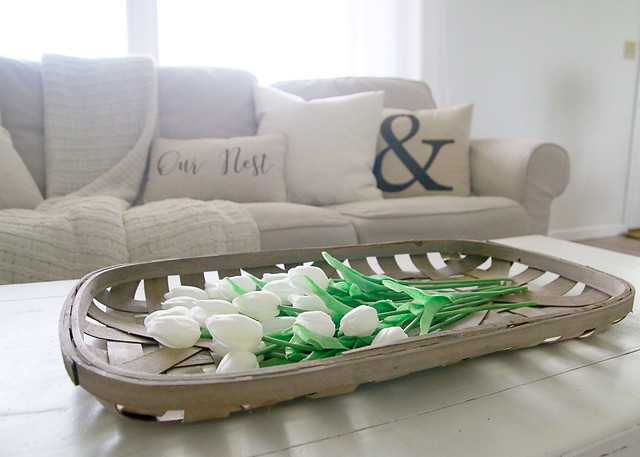
Don’t you just love tulips? I think they are some of the prettiest, yet simple, flowers. These actually aren’t real, even though they look fairly convincing. I found them online for super cheap. (Purchase your own here!)
Finishing up this room decor tour is a photo of the view from our living space into our entry, which are basically the same room, just sectioned off by a big ol’ armchair.
So what do you think of our living room? As of right now, we really don’t have a lot of plans for this space, besides maybe some paint at some point. But we aren’t in any hurry with that. *wink*
Did you miss a room in the series? Click below to check out each room.
Entry | Kitchen | Living Room | Bedrooms
Stay tuned next week for BEDROOMS! If you liked our living room, then you should definitely click over and stop by to see these other living spaces.