-
$100 Room Challenge: Week 3 – Bathroom Progress
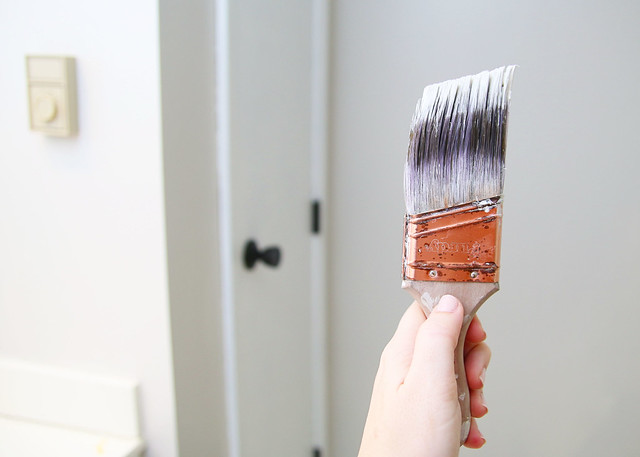
We are in the midst of week 3 of the $100 Room Challenge and we still have so much to do! Earlier this week, I shared our plans for the room, as well as the paint colors we chose. Getting the painting done made a huge impact on the brightness in the room. We’ve made a little more bathroom progress since then, but our list still has quite a few projects on it and we are running out of time! Eek!
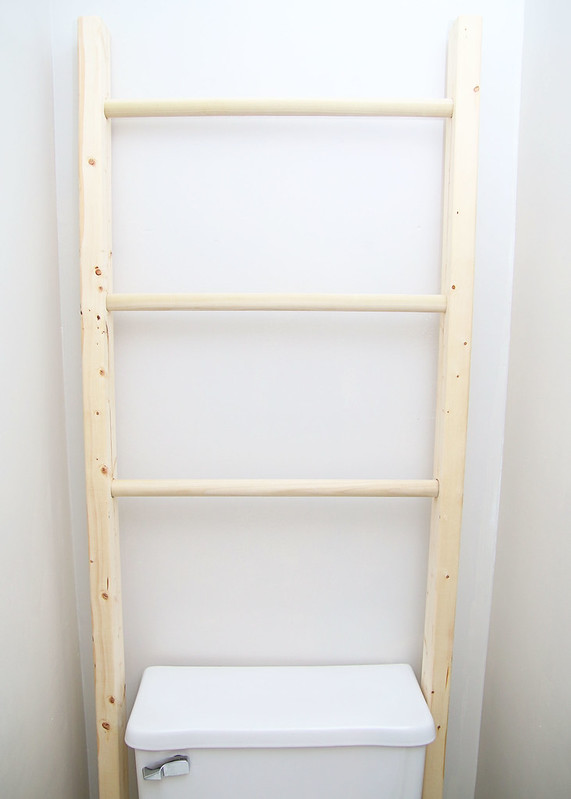
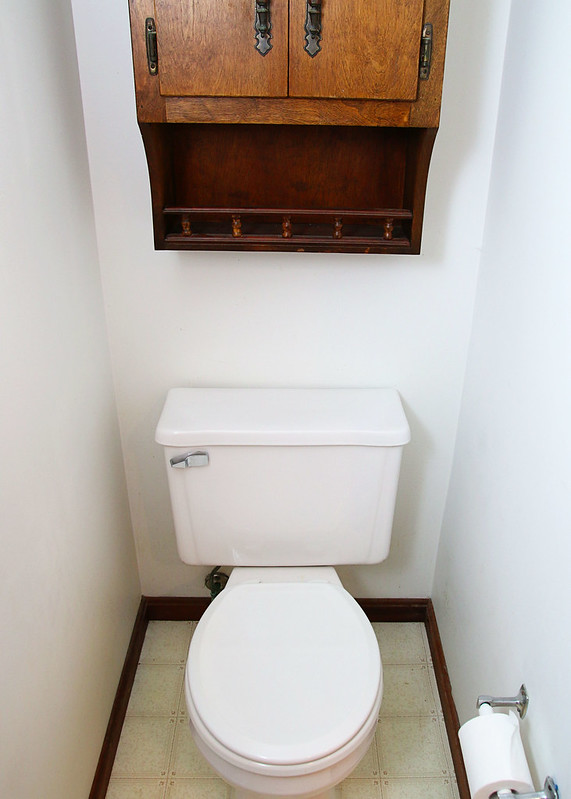
This week, we were able to build a ladder that goes around/above our toilet. It was so easy to put together and cost us less than $5 for the wood! You may be wondering why I wanted to add a ladder to the bathroom. I’m hoping that it will bring in some color once it is stained and be a place for added storage by hanging baskets on it.
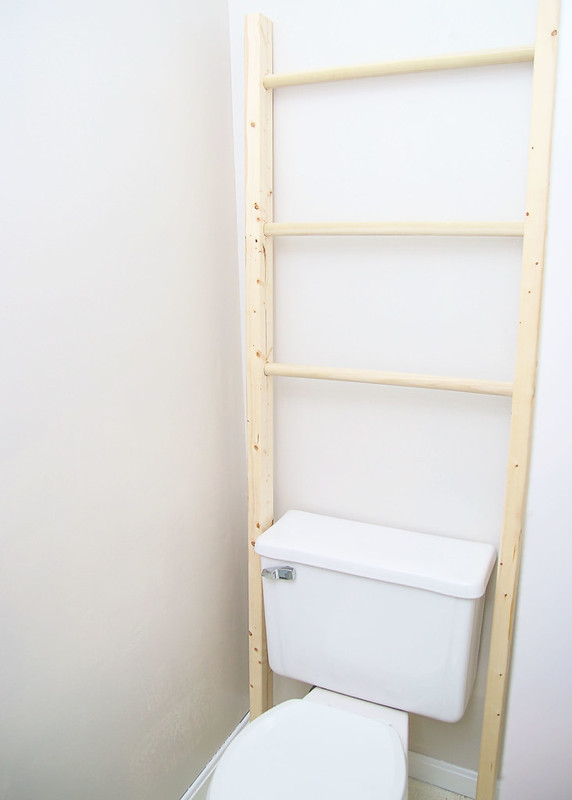
To build this puppy, we started out with 2 – 2″x3″ pine boards cut to 6′ in length and 3 – 1 1/8″ dowels cut to 24″. This dowel width allowed for the ladder to easily fit around the sides of our toilet tank. Then, my hubs used a 1 1/8″ paddle drill bit to create holes in the long boards and we just pushed the dowels in through the holes until they came out to the edge. So simple!

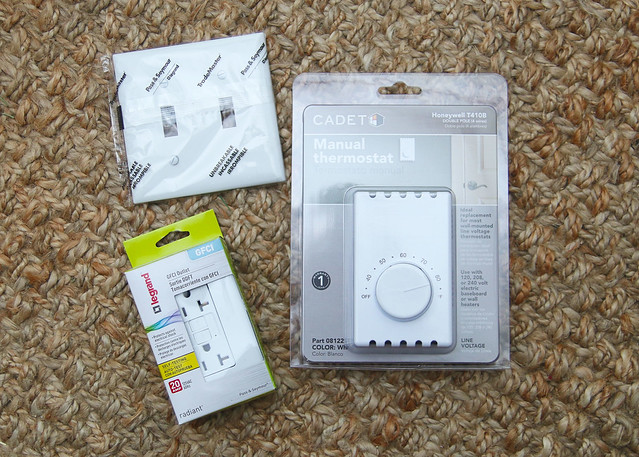
I know that is not a lot of progress for this week and this coming weekend I’m heading to The Bahamas! Woohoo! Meanwhile, my loving husband will be sticking it out at home with the kids and doing the electrical work for the bathroom. (Outlets, lighting, etc.) Then, when I get back, it will be a race to finish up the rest of the room!
Let’s check on the to-do list and see how much we have left!
Paint the wallsPaint the doors/trim/vanity cabinetSpray paint door hardwareBuild a ladder to put around/above the toilet.- Get wire baskets for storage
- Add a can light above the toilet area
- Make a frame for the existing mirror
- Replace light switches/plates/GFCI outlet/thermostat
- Add hooks for towels
- Decorate with items already owned
Yikes! The list is still pretty hefty. Pray for a miracle that we will be able to pull this off in time! Oh, and check out the other participants to see how their room makeovers are coming along.
Did you miss last week’s post? Follow along with our progress by clicking the links to each week below!
Week 1 | Week 2 | Week 3 | Week 4
-
$100 Room Challenge: Week 2 – Plans and Paint
So, I’m a little bit late to the game for week 2 of the $100 Room Challenge. Which means that there will be two updates this week for you! To start off, check out our plans and paint for our bathroom makeover!
THE PLAN
During week 1, I shared all of the eerie before photos and this lovely mood board. We are only working with $100 to get our bathroom looking pretty, so we are going to need to get creative with how we achieve this look.

Here’s our to-do list and we have a few of the items already finished:
Paint the wallsPaint the doors/trim/vanity cabinetSpray paint door hardware- Build a ladder to put around/above the toilet.
- Get wire baskets for storage
- Add a can light above the toilet area
- Make a frame for the existing mirror
- Replace light switches/plates/GFCI outlet/thermostat
- Add hooks for towels
- Decorate with items already owned
THE PAINT
Last week our house was struck with a stomach bug that had our little guy out of commission for almost 7 days. With only one bathroom in the house, it was hard to try and get all of the painting done in the midst gastrointestinal explosions. (Too much? Sorry.) Anyway, we finally finished after 7 million coats.
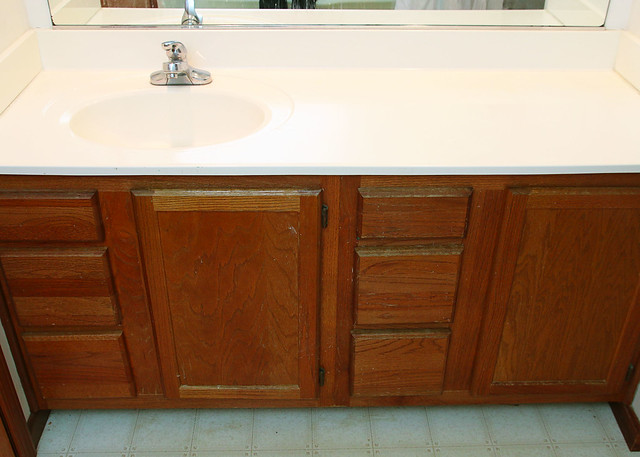
OK. That may be a bit of an exaggeration. We did have to go over the cabinets, doors, and trim quite a few times (4-6 depending on the surface) to cover the existing stain. We started by sanding everything to rough up the surfaces. Next, we applied 1-2 coats of Zinsser primer. Then, we painted on top of that with Behr Pure White semi-gloss paint, which was left over from our daughter’s bedroom makeover.
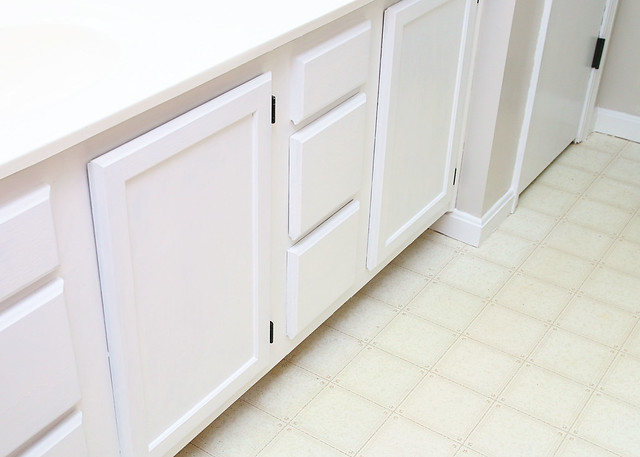
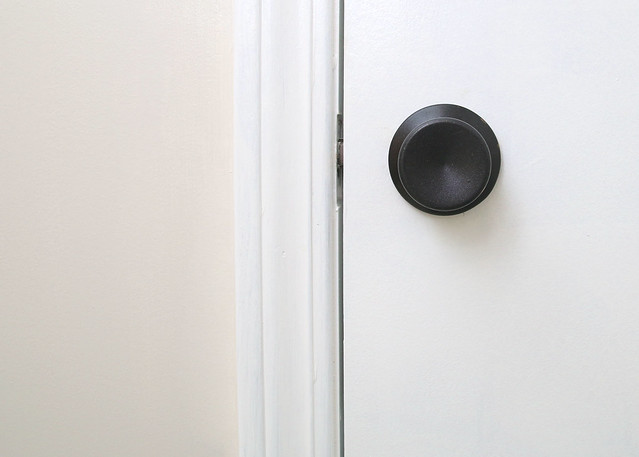
Because we are working with a pretty tight budget for this makeover, we decided to get our Benjamin Moore Pale Oak paint color matched to Glidden Semi Gloss. This ended up saving us some dough! To save even more money, we spray painted the existing hardware with Rustoleum Oil Rubbed Bronze, which was also left over from previous projects.
We are really liking the Pale Oak paint color on the walls. It is a lovely neutral greige and seems to add a little warmth the cool white paint in the room.
Did you miss last week’s post? Follow along with our progress by clicking the links to each week below!
Week 1 | Week 2 | Week 3 | Week 4
Don’t forget to check out the other participants in this challenge and see all the amazing/budget friendly designs and ideas these bloggers are coming up with!
-
$100 Room Challenge: Week 1 – Bathroom on a Budget
We’ve been slowly moving along on our progress at The Country House since fall. With all of the holidays, birthdays, etc., it has been hard to get a lot done, but we’ve made a little dent in the dining room, which I will be sharing soon. However, today I wanted to share our newest plans with you for our bathroom! I’m all about saving money, so this will be a bathroom on a budget!

This post contains affiliate links for your convenience. Click here to read my full disclosure.
And as you may have guessed from the title and graphic above, this bathroom makeover with also be part of the $100 Room Challenge. I’m so excited to be joining my friend Erin from Lemons, Lavender, and Laundry who is the brains behind this challenge. (Thanks, Erin for the invitation!) The gist of the challenge is pretty simple: makeover a room for only $100 in only 4 weeks. Click over to Erin’s blog for more detailed info.
Behold, THE bathroom!
That’s right. There is currently only ONE in our home.
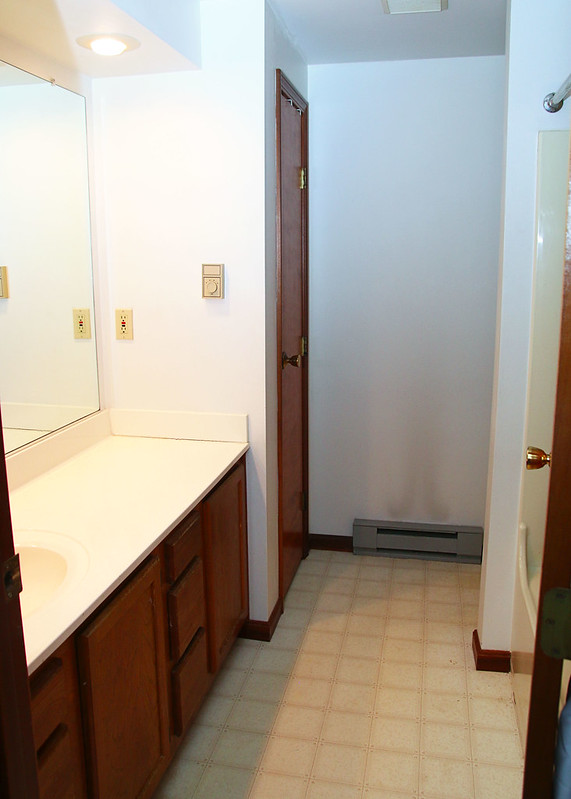
In its current state, our bathroom is blah and boring.
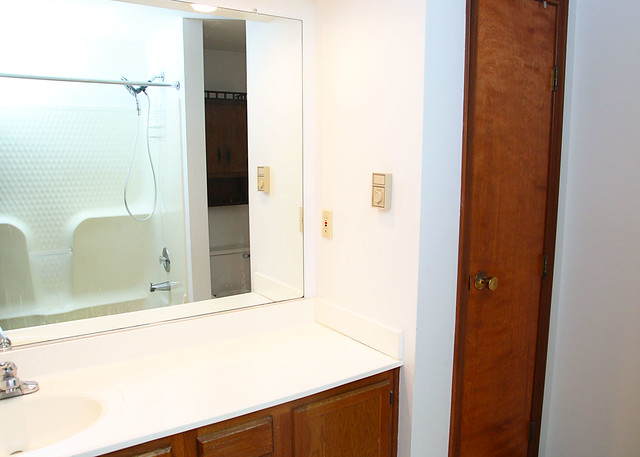
We are not huge fans of the cherry colored stain on the doors and vanity.
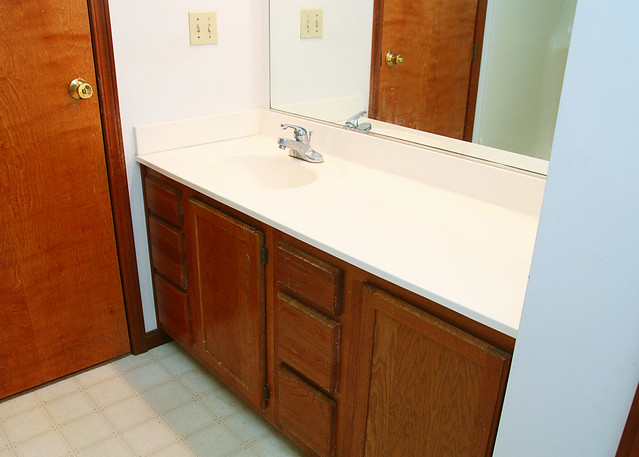
The flooring is pretty UGH too.
The thrown itself is tucked back behind the tub/shower and even though you can not tell from this photo, it is kind of a black hole back there. (The only lights in the room are above the sink.)
So, as you can see, we have a ton that we need to do in here to bring things up to date and to mesh with our personal style.
Below is the mood board that I whipped up for this challenge. If we were to buy all of these items, we would go way over our $100 budget! The paint alone will probably knock out 1/3 of that amount! However, we are a crafty/thrifty family and are going to get pretty creative with this makeover. Wish us luck!
Sources: Mirror | Robe Hook | Ladder | Hand Towel | Faux Plant
Over the next 4 weeks, I will be sharing our plans and progress with you. Think we can pull this off?
Week 1 | Week 2 | Week 3 | Week 4
Don’t forget to check out the other participants in this challenge and see all the amazing/budget friendly designs and ideas these bloggers are coming up with!
-
Holiday Entryway Decor
This year, our holiday decor is pretty minimal. Since we moved into the Country House just about a half of a year ago, our garage has been a disaster of boxes and furniture and trash and recycling. So, most of our holiday decor has stayed in the mess in the garage. We’ve put up our tree (see our Neutral Modern Farmhouse Tree) and a few wreaths outside, but today I wanted to share our holiday entryway decor.

Our entryway is really just the 4th wall of our living room with a small coat closet. (Click here to see the before tour of our Country House.)
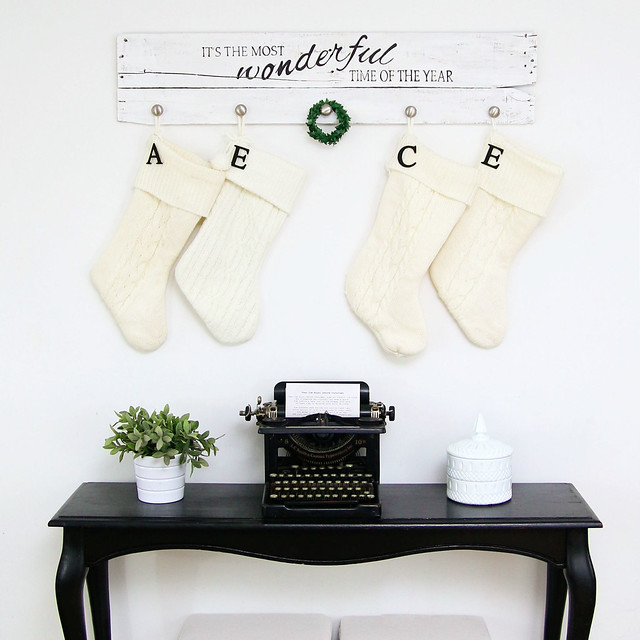
You may remember the stocking holder that I made a couple of years ago. Unfortunately, our past couple of homes have not had a fireplace with a mantel. So, we were in need of a place to hang our Christmas stockings. This DIY hanger has been awesome and perfectly holds all of our stockings, even when they are filled with goodies on Christmas morning.

I also add some painted chipboard letters to each stocking so Santa knows where to put his loot. Yes, I know that there are two E’s, but if you look closely, you will be able to see that one of those stockings is a little different from the others. We had actually purchased the 3 matching stockings before our son was born and needed another creamy cable knit one to go with the rest when he joined the fam. I could not find that same pattern, so I settled for similar.

Underneath the stockings is a console table with a couple of storage ottomans below that. The ottomans are great for storing our kid’s shoes and work as extra seating in a pinch.
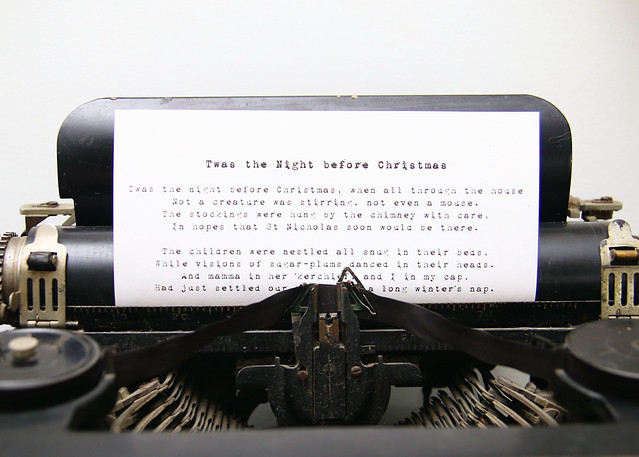
On top of the console table is a couple of vintage items that each belonged to one of my grandmas. The white, milk glass double bowl with a lid belonged to my paternal grandmother and the old typewriter was my maternal grandmothers. I love having keepsakes like these!

I also added an appropriately typed Christmas poem/story to the typewriter for the season.
This little space is lovely to walk into when we get home. Even though we don’t have a ton of decor up this year, there is just enough to make it feel merry and bright!
What do you think of our holiday entryway decor? Leave a comment to let us know!