-
Dining Chairs Update
When you have chairs that look like this…
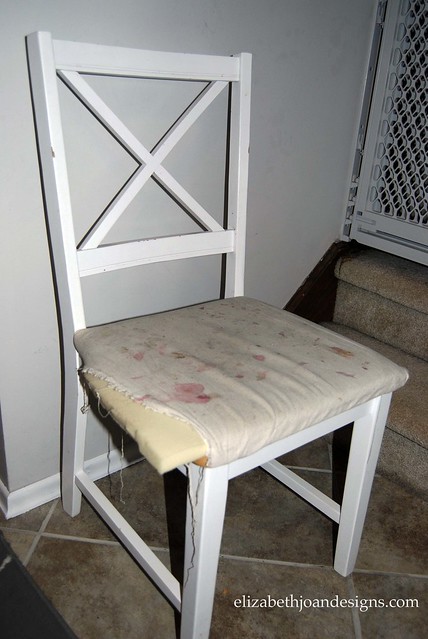
You know they are in desperate need of a make over. I was so embarrassed to even have anyone at my house. I was tempted a of couple times to move these chairs out of my kitchen and bring in others while entertaining, but thought my friends have kids too, so they would understand. Right?
Recovering the seats was my initial plan, but I thought painting them may be a better solution to my messy kid problem. (Sure, I blame it on the kids, but I have been known to spill a drink or two myself.) This way I could just wipe them down when dribbles happen. Here’s the process I went though to make this change.
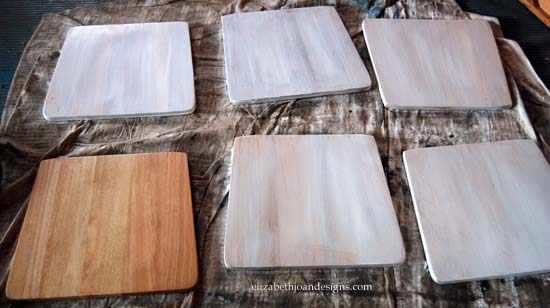
First, I removed the seats, cushions, and covers from each chair.

Next, I applied primer and a couple coats of white semi gloss paint, and waited for all of that to dry. For this process, I just used a good ol’ brush. No fancy spray paint here.

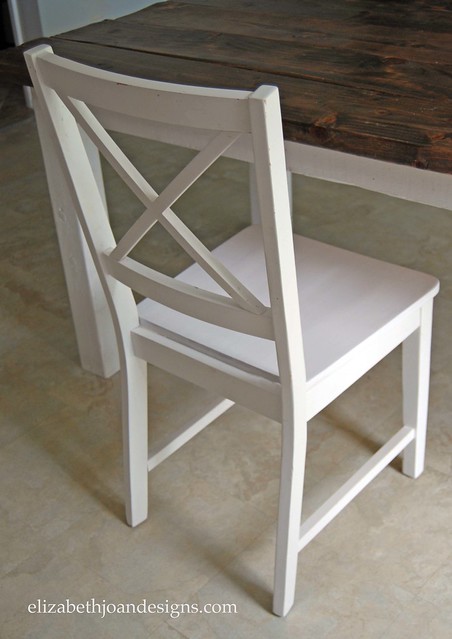
Finally, I reassembled the chairs. They may not be quite as comfy as before, but they will look prettier longer.

What do you think? This was just a quick and easy update to my disgusting seat cushion problem. I am really excited about this new change.
Do you have messy kid problems too? If so, how do you solve them?
___________________________________________________
You may also like:
DIY Dining Table 
Adventures In Upholstery 
Numbered Counter Stools 
Scoop Chair Redo -
Organize Your Organized Toys
Alright, I may sound kind of crazy here, but this is a post about organizing toys that are already organized. I know, it sounds nuts, but hear me out.
We have several IKEA Drona fabric bins for toy storage in the playroom. These bins are awesomely huge and hold tons of stuff. When it comes to small toys, it does gets hard to sift though everything just to find what you are looking for. To make our lives easier, I came up with a solution to organize the bins and keep sets of toys together.
Here’s what I did:
First, I sorted the toys and piled like toys and sets together.

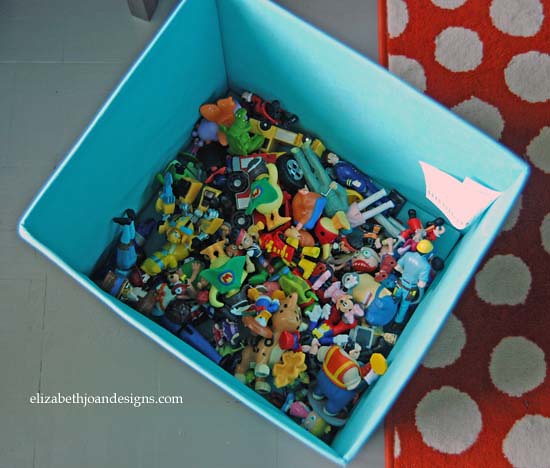
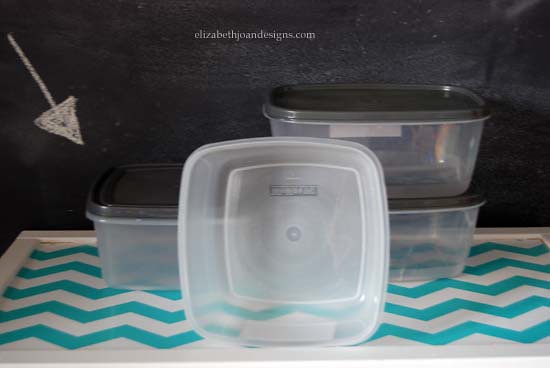
Next, I put each grouping into a smaller plastic container.

I stocked up on mine at the dollar store. I bought clear ones, so my boys could see what was inside of them. My two year old loves to pick off stickers, so labeling them was out of the question for us. the bonus is these are pretty easy for the kids to open on their own.
The odd-ball toys that just don’t fit in a specific grouping were placed together in a shoe box sized container.

Then, I organized the tubs inside the fabric bins.
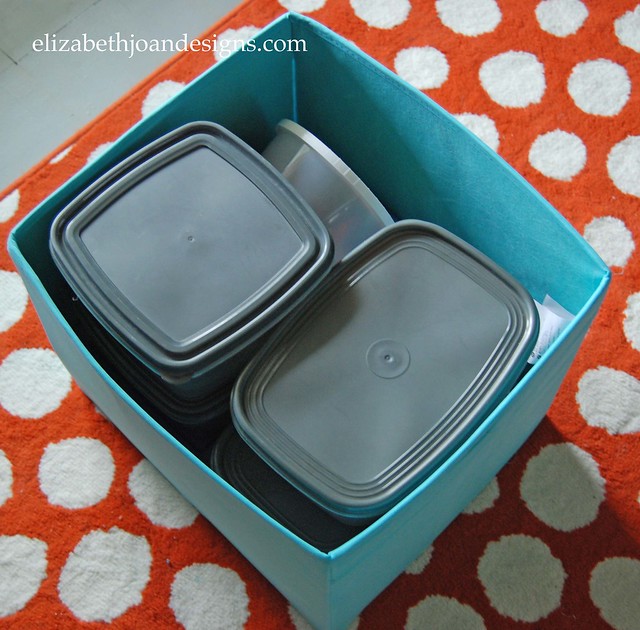
Tada! Now when my little men are wanting to play with Jake and The Neverland Pirates, we don’t have to spend time searching around for the entire crew.
The boys are loving these smaller containers to carry around and are doing a pretty good job of cleaning up after themselves too. I call it a win for everyone!

___________________________________________________
You may also like:

Ikea Apa Storage Makeover 
Toy Rotation 
Ikea Trofast Makeover 
Industrial Numbered Storage -
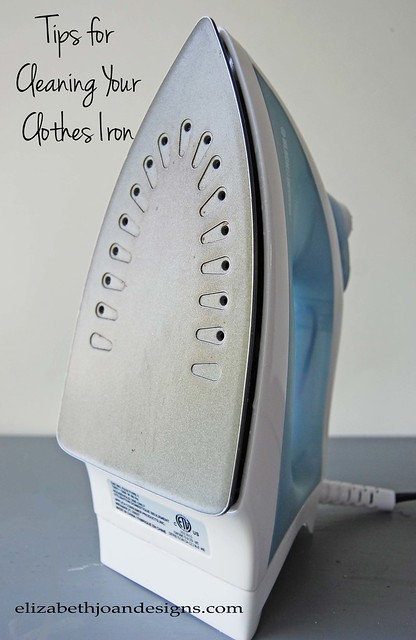
Tips for Cleaning Your Clothes Iron

*Repost*
For those of you out there who make mistakes, I am here to tell you, that you are not alone. I myself, have made one or two.
Enter the dirty clothes iron.
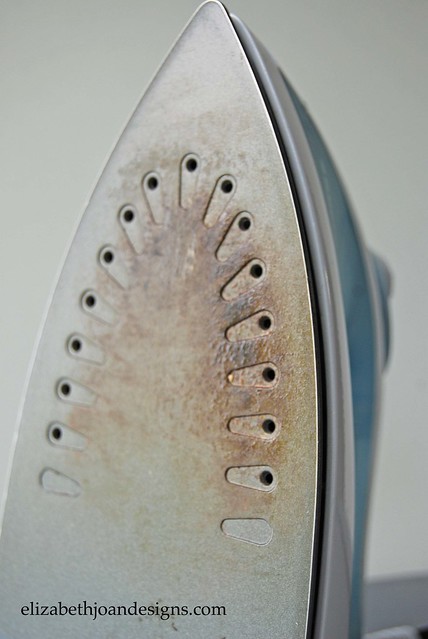
About a year ago, I was making an Easy no-sew receiving blanket for a friend’s baby. I quickly realized my clothing iron was in desperate need of a good scrub down when it left a sticky brownish splotch on the clean new fabric.
There was so much gunk stuck to the metal plate on the iron, that it reminded me of gooey tar on an old country road during the heat of the summer. Yuck!
So, here’s how I cleaned off that hogwash.
Fist, I mixed up a paste consisting of vinegar and baking soda. No exact measurements here. I just mix until it was a paste consistency.
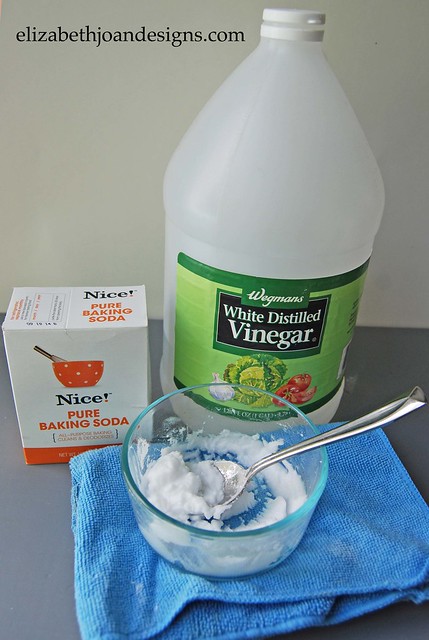
Next, using a soft cloth, I rubbed the mixture onto the dirty iron. I scrubbed a little bit and the gunk came right off. Yay! To clean the water tank, I just rinsed it out with a solution of 2 parts water and 1 part vinegar.
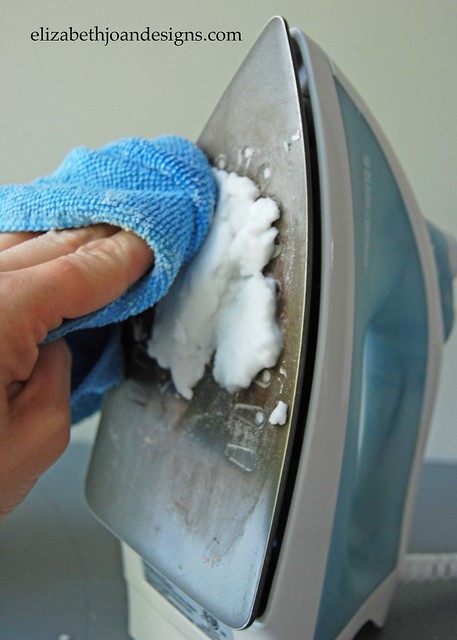
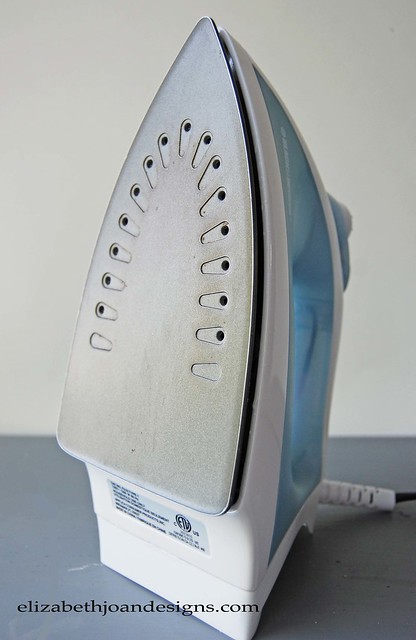
Worked like a charm!
Have you made this mistake before? If yes, let us know the best method you found for cleaning your clothing iron, or did you just toss it in the garbage, buy a new one, and call it day? Leave us a comment. We’d love to hear from you!
___________________________________________________ Giveaway
Don’t forget to enter for a chance to win a $50 Pottery Barn Gift Card here. Good luck!___________________________________________________
You may also like:
How To Clean Makeup Brushes 
Weekly Cleaning Checklist 
Spring Cleaning 
File Cabinet To Garage Storage -
We All Scream, For Ice Cream!
“This shop is part of a social shopper marketing insight campaign with Pollinate Media Group™ and Wet-Nap, but all my opinions are my own. #pmedia #showusyourmess http://my-disclosur.es/OBsstV”
Here in upstate New York, everyone is eagerly awaiting the warm weather to arrive and stick around a bit. But, as usual, mother nature is taking her sweet old time. To show her that she can’t bring us down with her frigid windy weather and casual snow storms, I decided to have an ice cream party for
myselfmy boys.
I headed off to Walmart, you know, because of their every day low prices, to pick up some of the essentials for the party. While I was there, I decided to forgo the traditional napkins and picked up a canister of Wet-Nap. After all, this was a party for a 2 year old and 4 year old. Things were bound to get messy. (I used a $0.55 off coupon. You can get it here, while supplies last.)

As party time was approaching, my four year old kept reminding me “Mommy, it’s not just any party. It’s an ice cream party!” To say that he was excited would probably be an understatement.
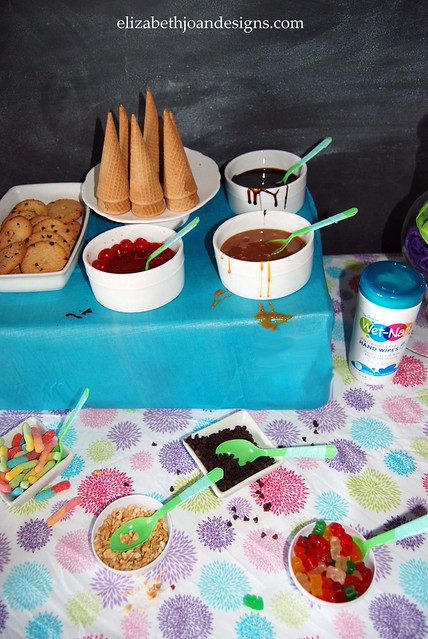
I set up the ice cream bar, using a fun colorful bed sheet I had purchased at the thrift store for only $2 as my table cloth. It was the perfect thing to bring some bright cheeriness to our gathering.
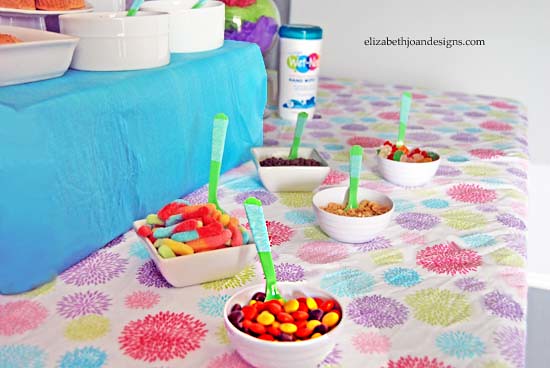
I also made a few tissue paper flowers for more color. The back drop of my display was a chalkboard wall we have in our playroom. This made for inexpensive decorating.

Aqua washi tape was added to my neon green plastic spoons to jazz them up a bit. Super simple!

My little men had a blast with this party.

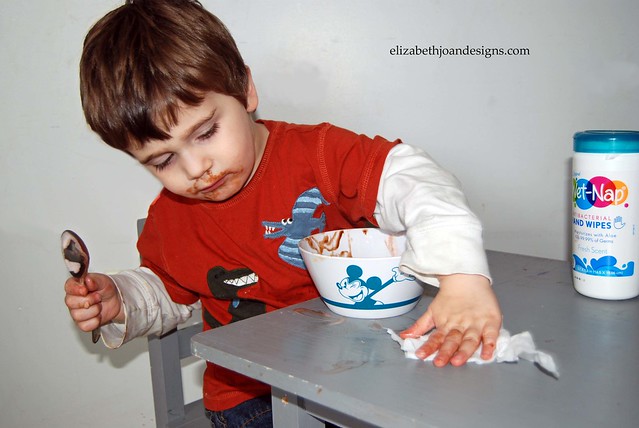
As predicted, things got pretty messy.
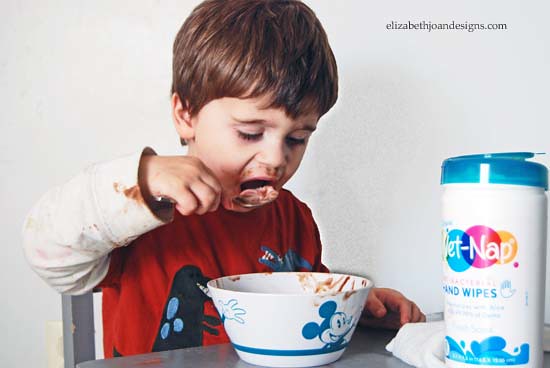
But nothing my two year old couldn’t clean up. The Wet-Nap made it a breeze!
So, take that mother nature! Finally, a win for us!