-
I’ve Got Worms
Ok, that title is admittedly creepy, but definitely something that I’ve wanted to share. And, as a warning, this post is less than glamorous (if you are looking for pretty, check out this post or this post.) Today we are talking about vermicomposting. That’s right. WORMS!
There are many differing opinions on the ways to set of up a worm composting bin. The following information is what has worked best for us.
About 5 years ago, we started to read about and research vermicomposting and it was something we were definitely interested in trying. But we didn’t take the plunge and purchase our red wiggler worms until last year.
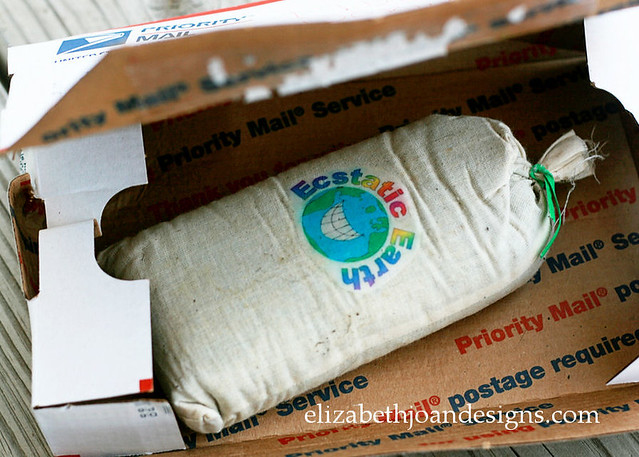
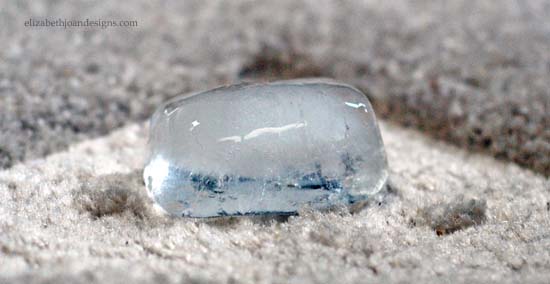
We ordered our worms online and received this cute little package from a seller on Ebay.
Our initial worm bin was homemade (2 cheap plastic containers with lids) and has worked out wonderfully. The bins sat one inside the other, with ventilation and drainage holes drilled into the bin. More on that in a bit. Those worms have been eating machines.
However, over the past year, we realized that we were producing a lot more food scraps than we anticipated and were running out of room in our small bin. So, we decided to do a bit of an upgrade.
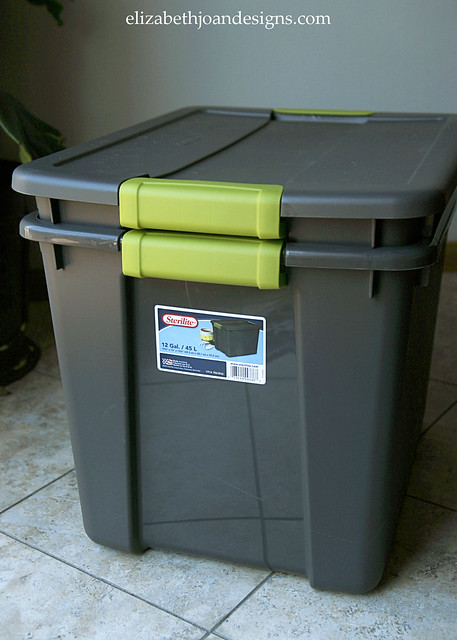
When we trekked off to the store to get our new supplies, a couple of things influenced our decisions. First, our previous wormy home was small and we definitely knew we wanted something bigger, so the worms would have more room to, um, reproduce. Also, we knew we wanted something that was dark and opaque, since worms like cool dark places. (Our previous containers were clear, but stored under our sink in the cabinet.) We found these two, 12 gallon, gray storage bins for around $6 each, including the lids.
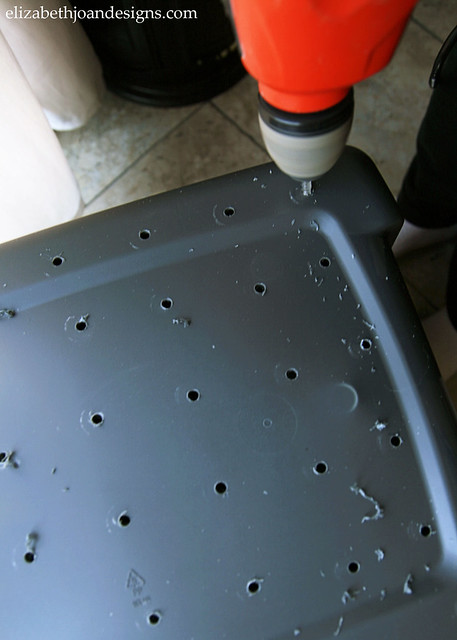
To construct the compost bin, I first started by marking spots on the bottom of one bin about 2 inches apart.
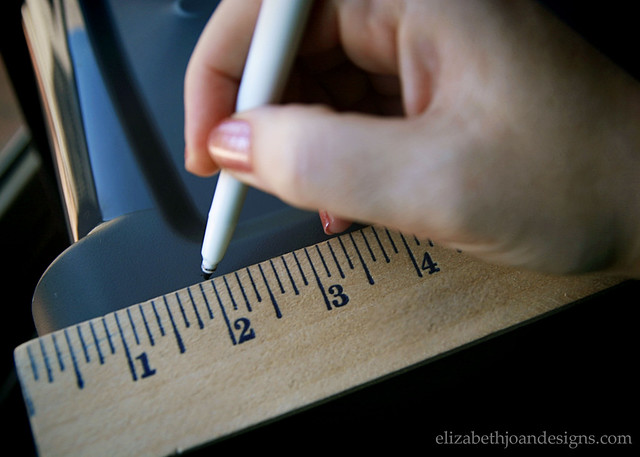
Next, using a drill, I created holes to allow leachate from the composting matter to drain out of the bottom and keep the worms from drowning.
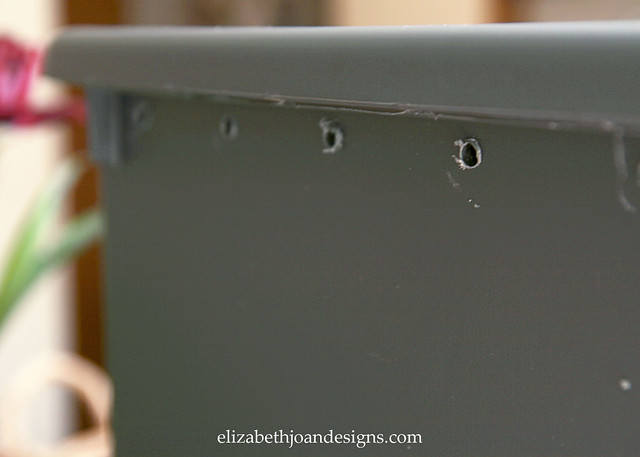
I also drilled some ventilation holes around the top of this same bin. (Also 2 inches apart.) A worm’s got to breathe, you know.
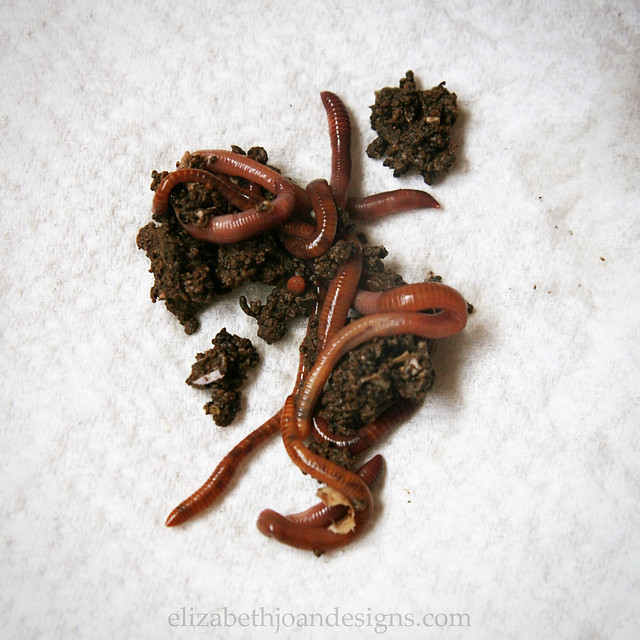
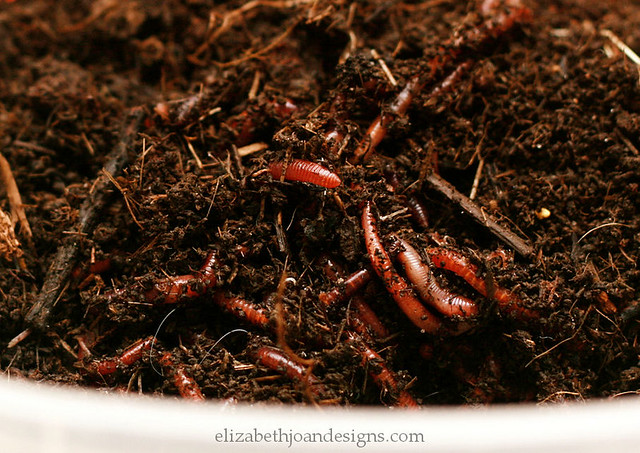
Then, I placed the bin with holes inside the other bin and proceeded to add the worms. Originally, our worms came in a mixture of coconut coir, so if you are starting your worm bin for the first time, I would recommend buying some of that and using it as the first layer you put in your bin.
Aren’t they cute?!
Since our worms were already established, I just added all of the contents of our old bin to the new one.
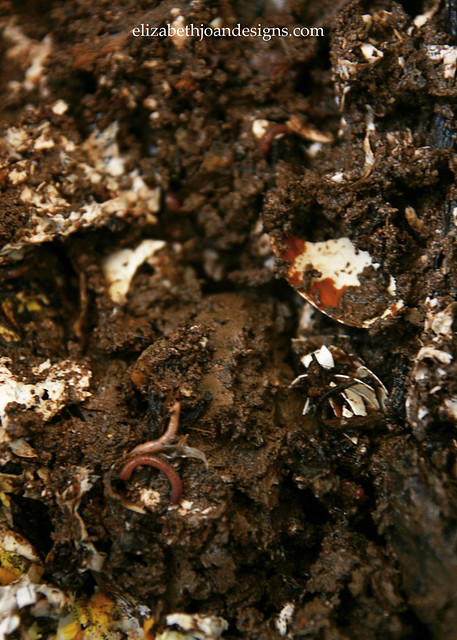
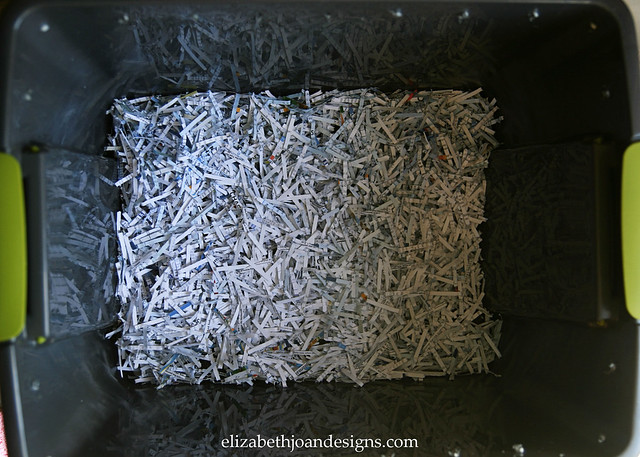
Lastly, I added a few inches of shredded paper to the top, put a lid on it, and placed in on the floor of our pantry. I think we will give them a few days to acclimate before we try to give them any food.
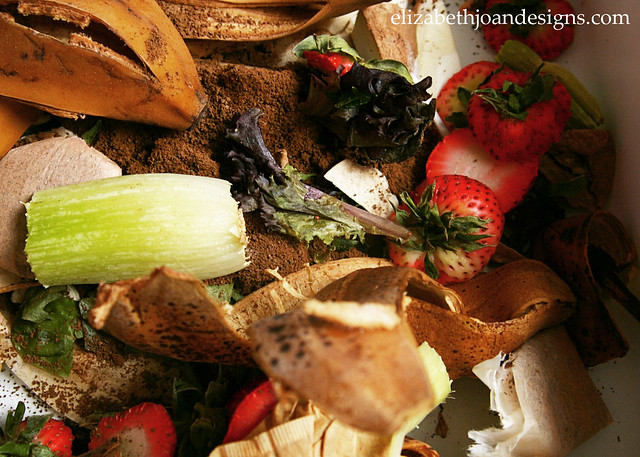
Oh, and this is what we feed them. Basically, just our food scraps. Worms love to eat and they are particularly fond of most produce, except onions and citrus items. They can also handle starchy foods in limited amounts, but we don’t put in any meat or dairy items. So far they seem happy with this diet. And all of that decaying, rotting food in there doesn’t smell funky at all. I swear!
We keep our food scraps in a container in our freezer so they don’t get yucky while waiting to go in the bin and typically feed the worms about every week or so. For us, this seems like just the right amount of time for our worms, but I’m sure it depends on the amount of worms and amount of food a person would have.
Hopefully, this transition doesn’t kill all of our worms!
So tell us, do you compost? Do you have worms to help with the process? Or, do worms just gross you out? Let us know!
-
Spring Cleaning Tips and Checklist
You may or may not know that planning out all of your spring cleaning tasks can take just about as long as actually cleaning your house. Well, this is at least true for me this year. My husband joked that I should spend more time doing each of these jobs instead of writing a blog post about them. But hey, we live in upstate New York. Spring won’t be here for at least a few more months. Right?

To help you save some time, I have a free printable checklist for you. This is a pretty thorough list, so don’t feel overwhelmed. Just take things one, tiny assignment at a time and your home will be gleaming before you know it.Download this printable from THE GALLERY.

Here is a list of some helpful hints I have discovered along the way. Basically, tips, tricks and things I think might just work.
1. Abolish Dust
When dusting, move around the room clockwise, or if you are a daredevil counterclockwise, starting with the highest points and working your way down to the floor. This will enable you to get your room thoroughly dust free.
2. Eliminate Stains and Odors
Combine 1 tsp. of original Dawn dish soap, 1 Tbs. of distilled white vinegar, and 2 Cups of water. Apply to spots on the carpet and scrub. This solution is amazing on getting out those old, smelly, carpet stains.

3. Cleaning Painted Walls and TrimTo clean your painted walls, start with a clean rag and water. If that doesn’t work, dip the cloth into water mixed with a little dishwashing soap. (I personally like the original blue Dawn for cleaning.) Be sure to rinse the wall well with plain water when you have removed the stain or you’ll have soap scum leftover. Nobody wants that!
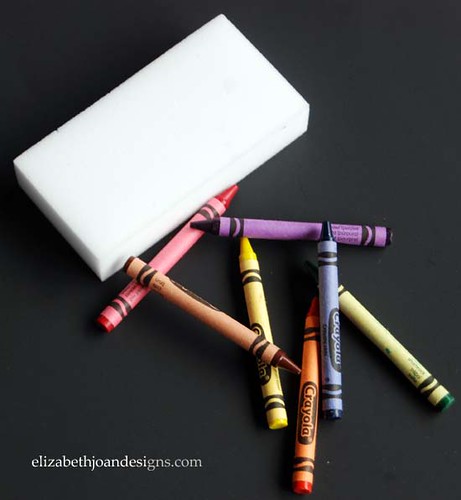
*Helpful mom tip: I have found that a damp eraser sponge can work miracles on getting crayon marks off of walls, tile flooring, and painted furniture.
4. Wash Your WindowsClean the residue off of the window using vertical strokes on one side of the glass and horizontal on the other. The sun can dry your glass pretty quickly, which can leave your window looking streaky, so this is a job better left for a cloudy day.
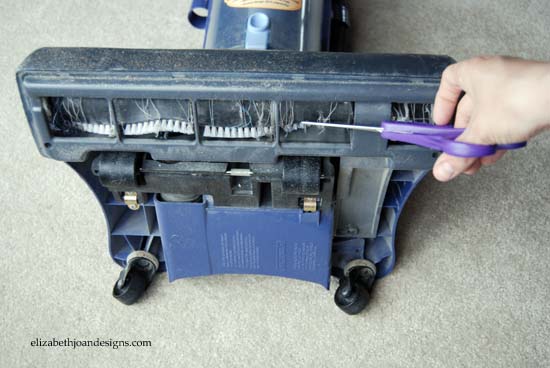
5. Minor Maintenance on Your Vacuum Cleaner
Cut away threads and hair from the rotating bristles and insert a new filter. Also clean the canister, attachments and hoses with water. You’ll step-up its performance and make cleaning a cinch.
*Warning: Let everything dry completely before using the vacuum. Running it with wet parts could be very dangerous. So, play it safe!
6. Reorganize and De-clutter BookshelvesWe have a few large bookshelves in our great room and I know they can get pretty cluttered, almost to the point of embarrassment. To start, sort books by size and subject. Line books, some vertically, some horizontally, in a well-balanced pattern. This will be eye pleasing and keep things organized all at once.
7. Start Growing Herbs and Vegetables Inside
Start kitchen herbs and vegetables inside and transplant them outside later in May when there is no longer a danger of frost. Click here to see how you can use toilet paper rolls to start your plants.

Put on a pair of cotton gloves and wipe the slats of your blinds with your dampened fingers, or blow the dust off with a hairdryer set on cool.
9. Clean Tiles and Grout
Clean bathroom and kitchen tiles with a homemade cleaning solution of water and baking soda. Mix 1/4 cup baking soda into a gallon of water. Mop the liquid across the tiles. Let it dry. Then stand back and admire your squeaky-clean floors.
10. Get Dents Out of Carpet
Have you recently move furniture? Set an ice cube on the indentation, let it melt, then gently rub carpet fibers with your fingers or someone else’s. Dent be gone! (Spritzing the spot with a little water would probably work the same, but this just looks cooler.Literally.)
Well, hopefully someday soon, spring will make its way to this frozen tundra, we call New York, and I can get to my cleaning.
We are sending you warm weather wishes and we hope you have a happy, successful spring cleaning!____________________________________________________________________________________________
You may also be interested in…
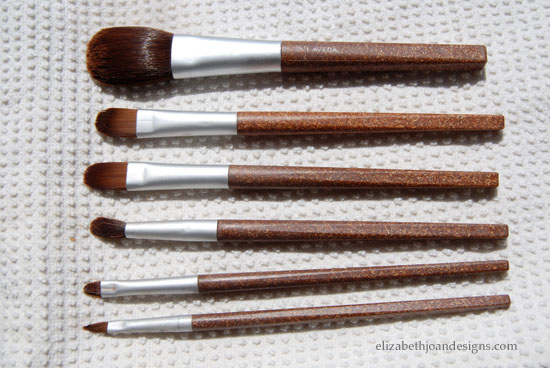
How to clean your make-up brushes.
-
Nine Awesome Moving Tips
As you may remember, we recently moved to a new home and we are so happy to finally be done with all of the boxes and extra clutter that comes along with that. Moving can be such a time consuming (and sometimes frustrating) process. When we found out the date for our upcoming move, we started the process of decluttering and packing. Everyone does that, right? But, I wanted to share with you some not so obvious moving tips to help make the transition a little smoother. Some of these we used and some we will be keeping in mind for next time.

1. Make a floor plan.
This may sound silly, but by creating a floor plan of your new place, it will be much easier to direct movers or friends/family who are helping you. Not everyone will know what rooms you are using for what purposes. You don’t want the family room boxes and furniture in the living room and little Billy’s bedroom mixed up with Susie’s because that would be a huge pain in the booty. Draw it by hand, whip one up in your favorite graphics program or use floorplanner.com.
2. Label and color code boxes.
Most likely, when you are getting ready to move, you are writing something on the outsides of the boxes to help you out. If you aren’t, you are doing yourself a disservice. Each box should be labeled with the room that it will be going to, as well as what items are inside. Each room can also be assigned a color (kitchen = yellow, master bedroom = blue) and all of the boxes for that room would be marked with the coordinating color tape or paint.3. Bag clothes.
This one saved us a lot of time. Instead of boxing up our clothes, we grabbed some clean trash bags and placed them over the tops of the clothes right over top the hangers.
4. It’s what’s inside that counts.
Really think about what is going to go in each box and try to keep like items together. A large box wouldn’t really be a great choice for heavy items such as books, because it would be harder to move around. And you definitely don’t want to stuff your toothbrushes in with the toilet brush.5. Pack a necessities bag.
Chances are that when you get to your new place, you won’t get everything unpacked in one day. It is important to have the things you will need, like a change of clothes, toiletries and a towel for showering. Don’t kid yourself. You know you are going to be pretty ripe smelling after working so hard.
6. Use available space.
I refuse to pack the contents of our dresser drawers into boxes, just to put them right back in once we get to our destination. Let your drawers be the boxes and save yourself time and money. Also, don’t forget to fill up other empty spaces, such as a slow cooker (load your spices into it) and trash can (cleaned and sanitized so it is ready to go at the new place.)
8. Stop utilities and change address with USPS, banks, insurance, credit cards, etc.
This one is probably pretty obvious, but at the last minute when you are running around trying to get everything finished up, it is something that is easy to over look.9. Send moving announcements.
After everything is said and done, don’t forget to let your family and friends know your new address too. We have yet to do this. Oops. I’m horrible at mailing things, like my Christmas thank you cards. Don’t judge me. The first step is admitting you have a problem, right?I hope that these tips help you when you get ready to make your next move. We would love to hear any ideas you may have for making the house to house change easier too!
-
Clip It. Clip It Good.
Papers! So many papers! Where do they come from? I can never keep them all organized! If you are anything like me, then you have mail, coupons and school papers consuming your kitchen counter, table and desk space.
I would go through them, sort them into neat little piles, but the minute my kids woke up or we were expecting guests I would chuck those puppies into a enormous basket to sift through at a later date. This method has been a giant waste of time!
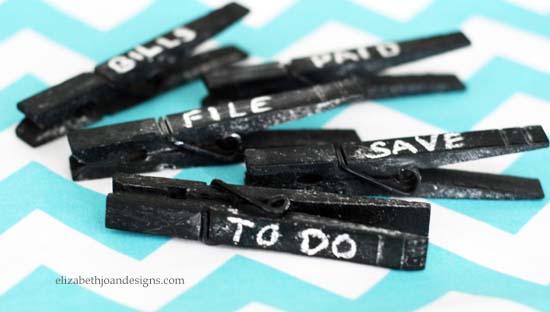
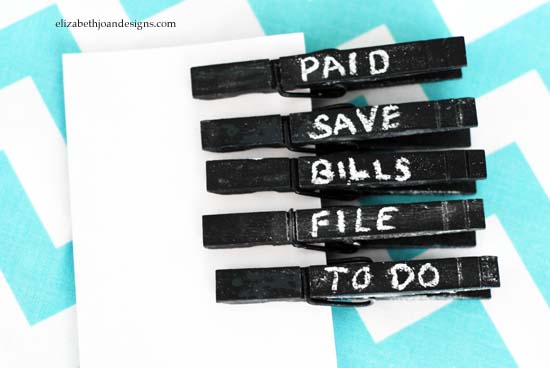
In the past, I attempted various systems of organization. These techniques seemed to work for a short period of time, but in the end we are creatures of habit and the basket chucking would commence. This time, I had to come up with a plan that worked with my nature. So, I created chalkboard clothes pins to clip to my tidy stacks and keep them together before being tossed in a bin.
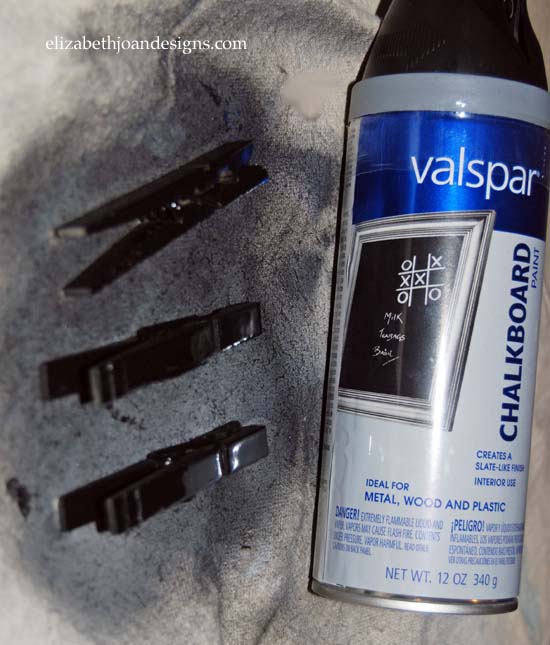
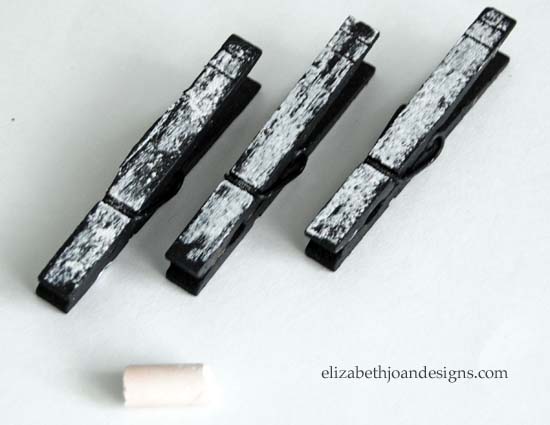
Such a simple solution only required a few wooden clothes pins, chalkboard spray paint, a drop cloths, chalk and a teensy bit of time.
I arranged the clothes pins on my drop cloth and began to spray paint. Each pin was given two coats of paint and the drying time seem to take forever!
Once dry, I primed each clothes pin with chalk to prepare it for labeling.
Whoohoo! I was finished. Ready to organize all or our junk!
How do you keep all of your papers from devouring your kitchen, office, or entryway?