-
Closet To Office: Part 2
We have been turning our closet into an office. You can catch up here.
Finding room for everything has been a challenge. This closet is so teeny and with all of our office supplies in it, it was an insane mess. I really needed to find a way to utilize my space better.
My brilliant idea: an over the door shoe organizer. There are so many pockets to stash an array of office necessities. I picked up one of these bad boys at Target.
There was one itty bitty problem with it, though. The pocket organizer was too wide to fit against our miniature door.

In fact, when I would close the door, I couldn’t actually close the closet door. This was completely unacceptable!

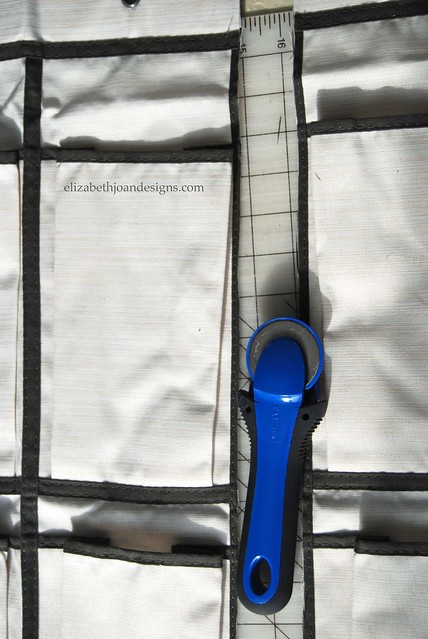
First thing I did was round up my cutting mat, rotary cutter, and straight edge ruler.
Next, I turned that twenty four pocket organizer into an eighteen pocket organizer by cutting off one column of pockets.
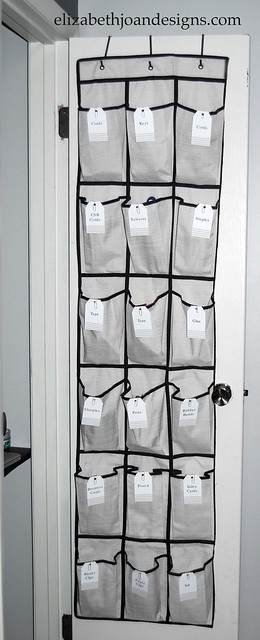
Ah, that was a much better fit! But there was still one little problem. When I would close the door, the organizer would bounce around. To remedy this situation, I needed to secure it to the door.


After that, I printed out label tags and secured them with paper clips to help locate my supplies with minimal effort.

I love the cute chevron pattern on these tags!

Doesn’t it look great?

This has been such a simple way to maximize our space!
Check back soon for more of our closet to office makeover!
-
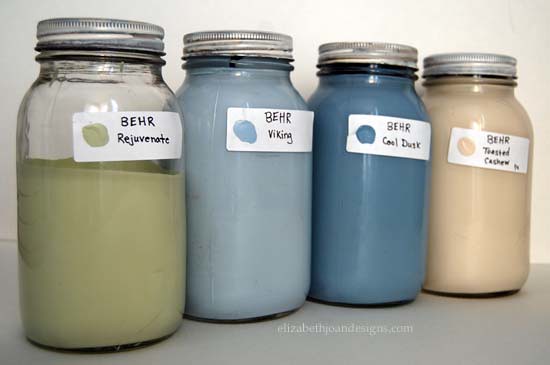
Mason Jar Paint Storage
We had been stockpiling an assortment of partially-full paint cans and our supply was out of control! Do you know how much room all of those containers take up? I don’t have an exact unit of measurement, but let’s just say a great deal of our precious storage area housed those buckets. In an effort to gain more space, I decided to condense these latex paints into mason jars I already own. This storage method is also much more attractive. Bonus!
This is the process I went though:
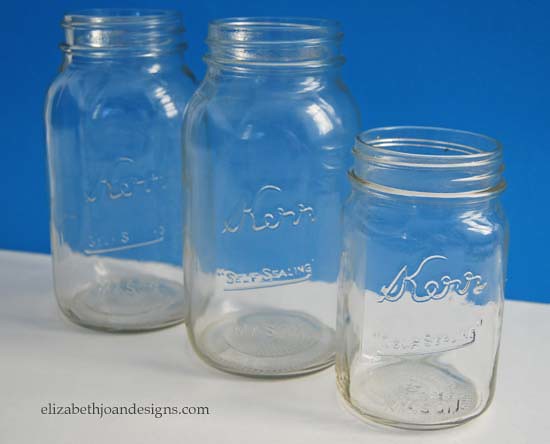
First, I gathered up all of those half-full buckets. There were actually a few more than this photo shows, but I went ahead a got rid of them. The paint was either dried up or I couldn’t even get the cans open.
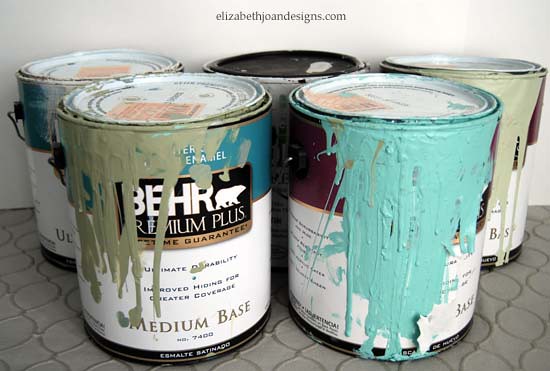
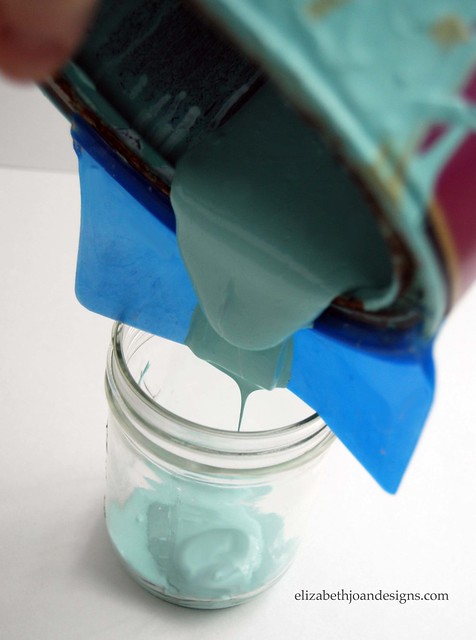
Next, I located some of our empty mason jars and started the transfer.
The pouring went fairly smoothly, but I did keep a few paper towels at arms reach for those moments when things got a little messy.
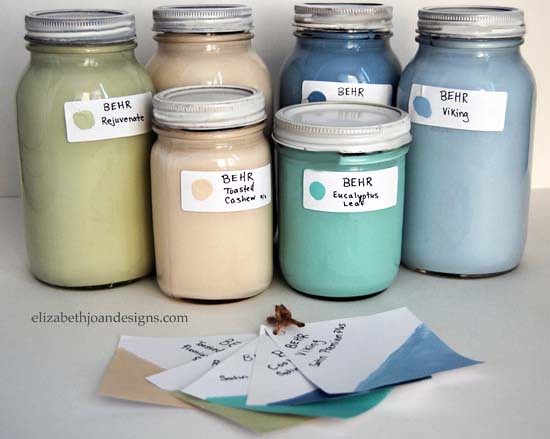
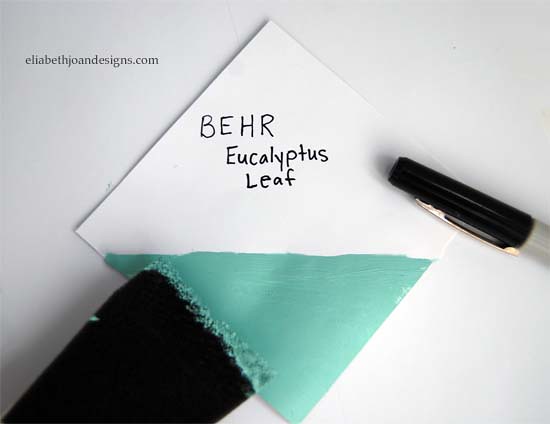
Then, I used address labels to mark each jar. This way I will know the exact name and brand of each paint color.

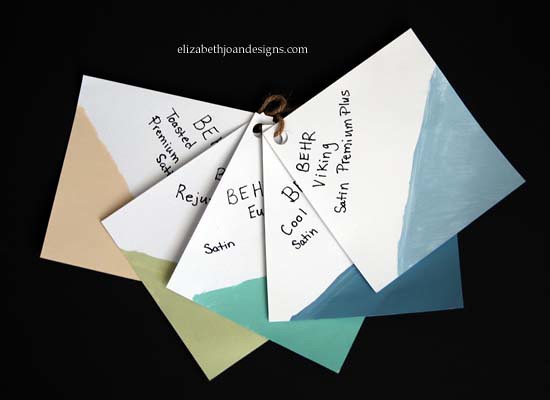
After that, I created my own paint samples that are a smidgen more detailed. (See photos below.)
I punched a hole through them and tied them all together with twine.
Finally, I screwed the lids on each jar. Yay! Aren’t they cute?
Oh, the room I will save with this adorable paint storage alternative. Do you have any special tricks you use to save space in your own home?
-
Out With The Old
Do you feel like your home is so cluttered, that your stuff might just eat you and your family alive? No? Okay, maybe it’s just me then. Well, if you find yourself in this situation, you can use this as a guide to help you simplify your life.
With hobbies like garbage picking and extreme couponing, my garage and basement are full of potential DIY projects and a year’s supply of toiletries. While I do think it is important to have things on hand, I think that this time my hobbies may have gotten out of hand. Trust me; there are no arguments from my husband on this one.

It is time to get rid of things!
To help my cause and to indulge in my passion of going through other people’s trash, I decided to host a swap party. This is a fun, free way to get rid of things you no longer want or need and take home a few new treasures.

Here’s how it worked:
Everyone brought useful junk to get rid of. Next, we spread out the loot. Each guest was given a stack of colored post-its; one color per person. Then, they chose a new item for each one they brought and claim it with their colored post-it. If more than one colored post-it was on an item, we put them in a hat and drew one out and that person kept the item.

Rules:
1. Each guest brings up to 10 items (new or used) to get rid of.
2. Make sure everything the guest brings, is something they are willing to part with.
3. All items should be clean and in good condition.
I set up a donation box for any items that went unclaimed.
The swap party was a huge hit! So much so, that I will be hosting another one later this month.
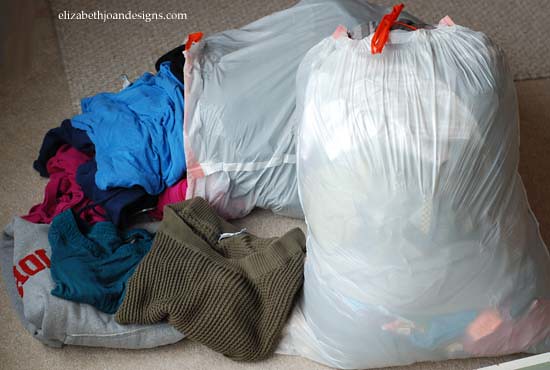
As I was packing up the unclaimed items in our car from the swap party, I decided to use this opportunity to sift through more crap in our house to also take along to donate.
First, I decided to tackle my closet. Wow! There were a lot of outfits in there I didn’t even know I had anymore! You know, a lot of those “someday I can fit into that again” type items. I decided if it was a surprise to see that shirt from 10 years ago, that it probably needed to go. I came up with 2 large garbage bags full of stuff to donate.
Next, it was time for the garage and basement. This was a gigantic undertaking. For each piece I asked myself these questions:
1. When was the last time I actually used it? If the answer was more than six months, it needed to leave the house.
2. Do I love it? This seems obvious, but there really is no need to hold on to something we only sort of like.
3. How much is it really worth to me now? I took a few pictures of a couple things to persevere the memory of the items, but save some space in our home.
4. Does it serve more than one purpose? We decided to get rid of our tea kettle, because it is just as easy to heat water in a pan. We just don’t need the extra clutter lying around here.
5. When will I get around to finishing this? This is a big one for me. I have so many potential projects just taking up space, waiting to have a second life.
In the end there were a total of ten boxes and three bags of stuff we were able to eliminate from our house. Yay!
And remember, if you are donating items, you can get a receipt to use for a tax write off.
-
So The Thing Is
If you are one of the two people who stop by our blog regularly, you may have noticed a slight decrease in our posting. Emily’s family has been battling round after round of sickness, like the flu and colds and Mad Cow Disease. Just kidding on that last one. But they have been totes under the weather.
And, well, I’ve been keeping a huge secret. WE’VE MOVED. That is right. After some major packing, purging, and transporting of our stuff, we are finally getting things unpacked and organized. Yay! I’m so excited to get started decorating our new place. My husband likes to say that I’m “setting up the Barbie Dream House.” And he may or may not be referring to tendencies from my childhood where I would to set up toys, but not really play with them. Emily can vouch for this. Just ask her!
Anyway, I wanted to share a sneak peek of our new place. It does need some updating and tweaking to fit our style, but we are excited to tackle it and get our DIY on.

There are a lot of things we want to do, but we know that it is going to take some time and elbow grease to get everything the way we want it. One of the first things we are really planning to tackle is the paint. (Oh fun. Who wants to come help?) But flooring, kitchen cabinets, door hardware, trim, appliances, and lighting (bye, bye boob lights) are all on the list. Plus, I’m sure I probably forgot to name like 200 other things.
Stay tuned to see what the kids think about the new place, the paint colors we are planning to use, and of course more pics of this new DIY adventure!