I’ve Got Worms
Ok, that title is admittedly creepy, but definitely something that I’ve wanted to share. And, as a warning, this post is less than glamorous (if you are looking for pretty, check out this post or this post.) Today we are talking about vermicomposting. That’s right. WORMS!
There are many differing opinions on the ways to set of up a worm composting bin. The following information is what has worked best for us.
About 5 years ago, we started to read about and research vermicomposting and it was something we were definitely interested in trying. But we didn’t take the plunge and purchase our red wiggler worms until last year.
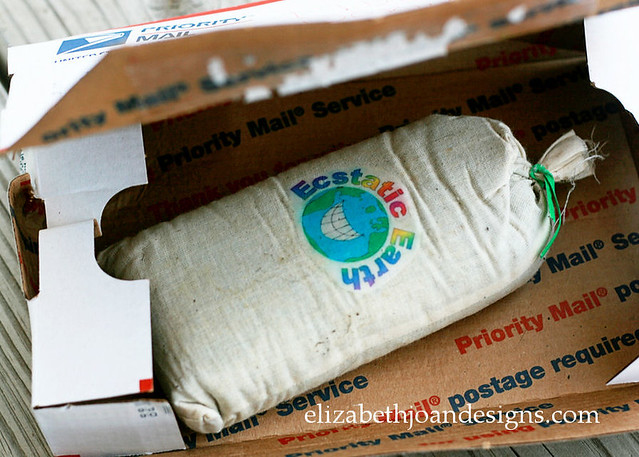
We ordered our worms online and received this cute little package from a seller on Ebay.
Our initial worm bin was homemade (2 cheap plastic containers with lids) and has worked out wonderfully. The bins sat one inside the other, with ventilation and drainage holes drilled into the bin. More on that in a bit. Those worms have been eating machines.
However, over the past year, we realized that we were producing a lot more food scraps than we anticipated and were running out of room in our small bin. So, we decided to do a bit of an upgrade.
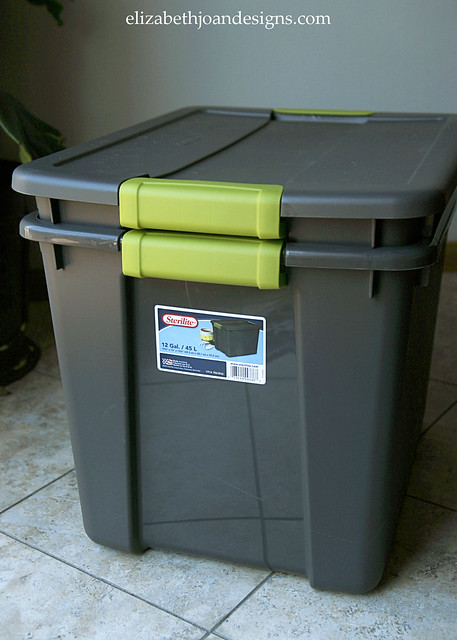
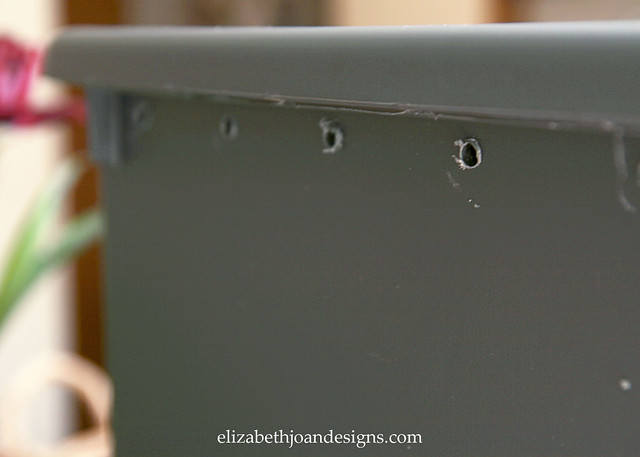
When we trekked off to the store to get our new supplies, a couple of things influenced our decisions. First, our previous wormy home was small and we definitely knew we wanted something bigger, so the worms would have more room to, um, reproduce. Also, we knew we wanted something that was dark and opaque, since worms like cool dark places. (Our previous containers were clear, but stored under our sink in the cabinet.) We found these two, 12 gallon, gray storage bins for around $6 each, including the lids.
To construct the compost bin, I first started by marking spots on the bottom of one bin about 2 inches apart.

Next, using a drill, I created holes to allow leachate from the composting matter to drain out of the bottom and keep the worms from drowning.
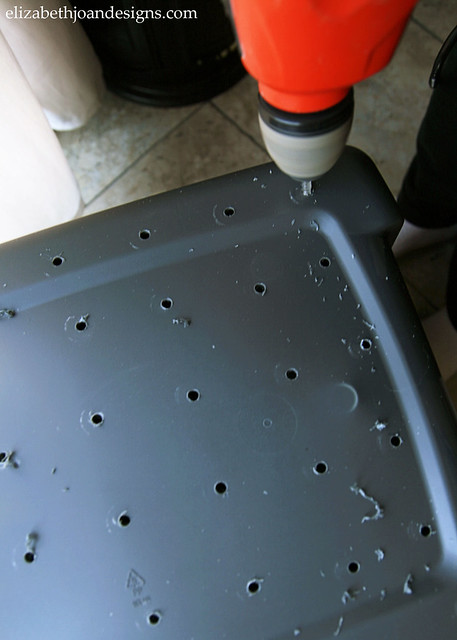
I also drilled some ventilation holes around the top of this same bin. (Also 2 inches apart.) A worm’s got to breathe, you know.
Then, I placed the bin with holes inside the other bin and proceeded to add the worms. Originally, our worms came in a mixture of coconut coir, so if you are starting your worm bin for the first time, I would recommend buying some of that and using it as the first layer you put in your bin.
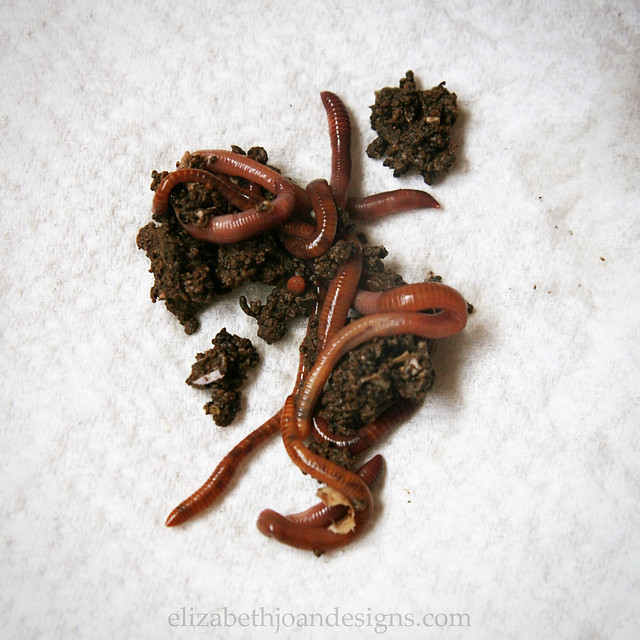
Aren’t they cute?!
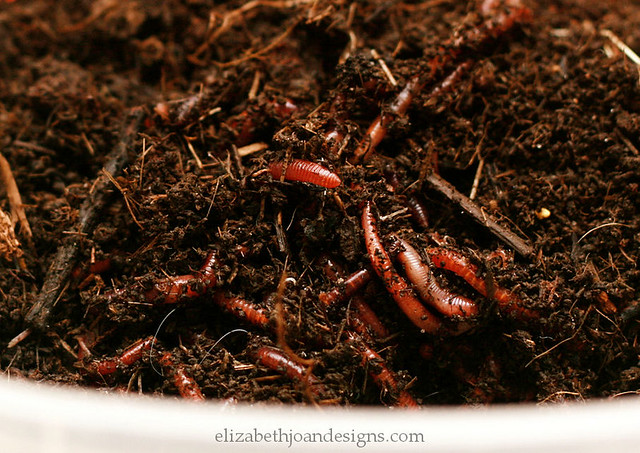
Since our worms were already established, I just added all of the contents of our old bin to the new one.
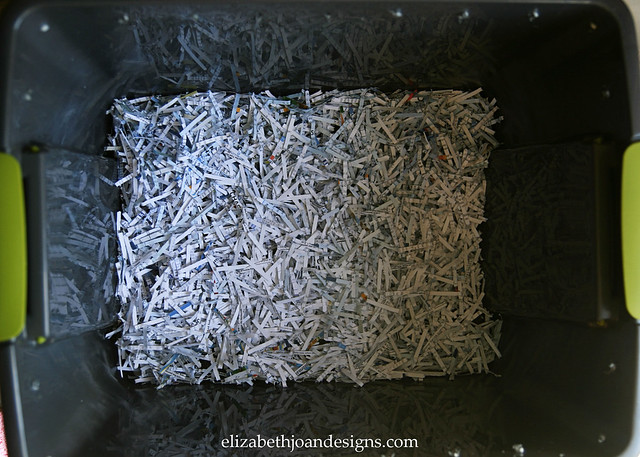
Lastly, I added a few inches of shredded paper to the top, put a lid on it, and placed in on the floor of our pantry. I think we will give them a few days to acclimate before we try to give them any food.
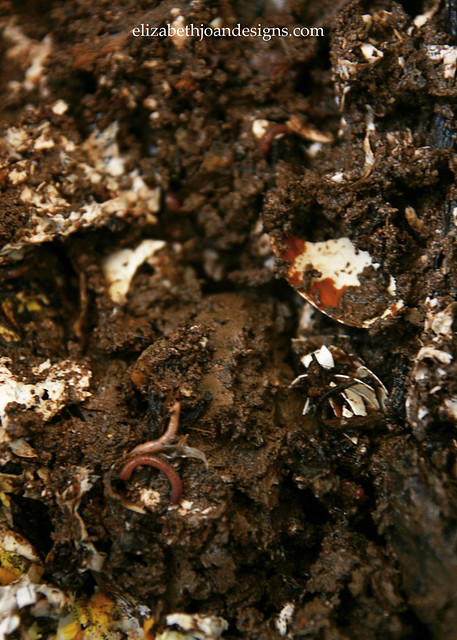
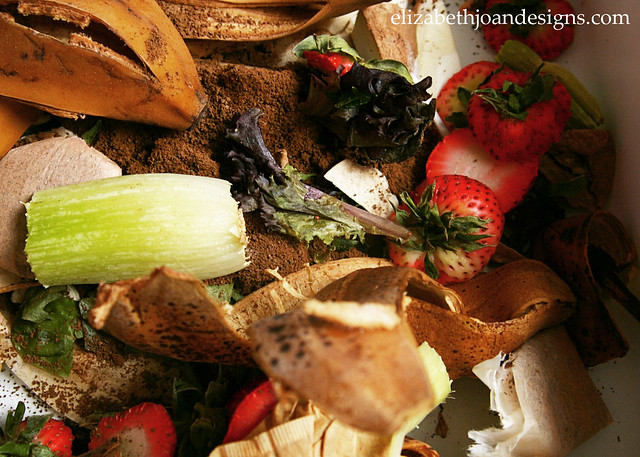
Oh, and this is what we feed them. Basically, just our food scraps. Worms love to eat and they are particularly fond of most produce, except onions and citrus items. They can also handle starchy foods in limited amounts, but we don’t put in any meat or dairy items. So far they seem happy with this diet. And all of that decaying, rotting food in there doesn’t smell funky at all. I swear!
We keep our food scraps in a container in our freezer so they don’t get yucky while waiting to go in the bin and typically feed the worms about every week or so. For us, this seems like just the right amount of time for our worms, but I’m sure it depends on the amount of worms and amount of food a person would have.
Hopefully, this transition doesn’t kill all of our worms!
So tell us, do you compost? Do you have worms to help with the process? Or, do worms just gross you out? Let us know!
4 Comments
Katie
I have been wanting to compost for years, but never really knew how to get started. This idea looks simple enough for someone just starting out. Questions, you said you keep the bin on the floor of your pantry? Do you really keep the bin inside?
Erin
Katie,
Yes! We do keep the bin inside. Since it is a pretty small bin, it helps keep the worms protected a bit from the heat and cold of our crazy Midwestern weather. The bin doesn’t smell at all and we haven’t had any problems with worms trying to escape. Plus, it keeps us from forgetting about them, since we see the bin a lot more than we would if it were shoved in the corner of the garage or put somewhere outside. Let me know if you have and more questions!
Audrey
I have a rotating compost bin, which I am supposed to turn every day or so. Which of course I forget to do so my compost takes a little longer than it should. I would love to try vermicomposting, but my husband is one of those that would be freaked out by worms in the house.
Erin
Audrey, you guys should definitely try it out! How about the garage? I swear the worms aren’t too creepy and there is no smell. Plus, they typically stay below the paper, as long as the conditions are right, so your husband would never even have to see them. :)