-
Weekly Calendar Printables
Younger siblings can be so annoying sometimes. You know how they like to nag and bother you, right? My sister has been asking me to make a weekly calendar for her for weeks like I have nothing else to do. Well, being the good big sister that I am, I finally conceded, just like the time I actually played Barbies with her for a few minutes, instead of just decorating the Barbie dream house. The things we do for our family…


These printables are free of charge and for personal use only. Download this printable from THE GALLERY.
______________________________________________________________________ You may also like:

Nautical Theme Invitation 
Printable Paper 
Fill In Grocery List & Menu 
Lunch Notes -
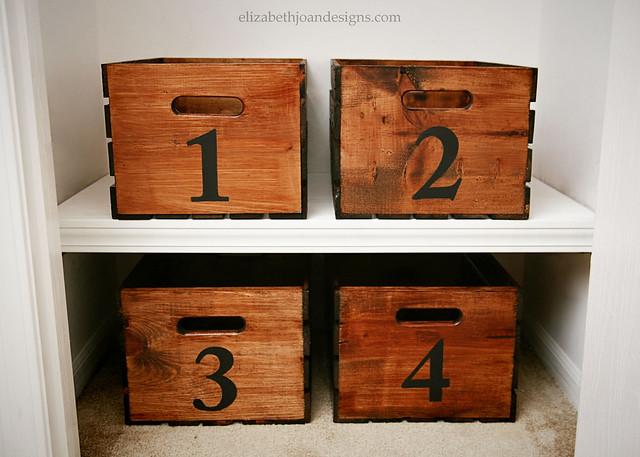
Numbered Wooden Crates
Do you ever have a storage situation that involves just shoving things behind a closed door and calling it day? No? Me either.
Just kidding! This post is technically re-post. I had actually shared it last year, but the content was lost during the Great Blog Deletion of 2013. Oops! It was one of my favorite organizational updates we did in our last home, so I figured it was a good one to share again.
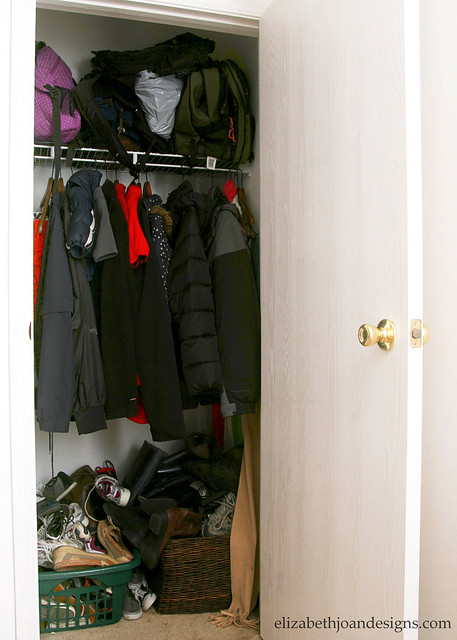
Previously, our “storage solution” for shoes had been an old laundry basket and a broken down woven basket well beyond their years in use. It always looked like a disheveled mess and obviously needed some help. (The whole closet needed help, but that is another post.)
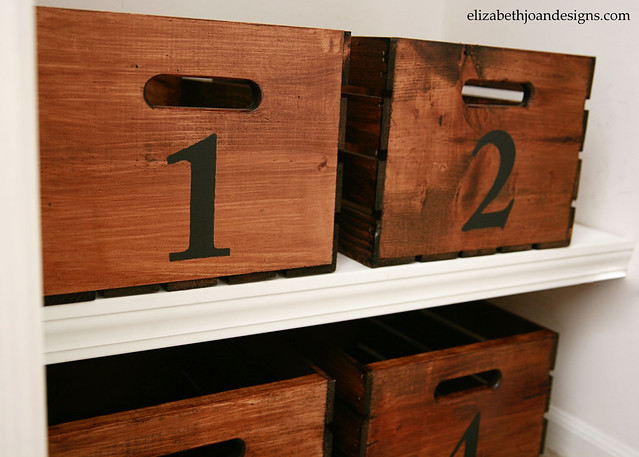
I found these great wooden crates at Michael’s and ended up paying less than $8 per crate thanks to some lovely 50% off coupons. Yay for good deals!

We used Minwax Polyshades (in Antique Walnut I think) to stain each of the crates. My hubby was recruited to do the dirty work, while I took a photo.

Once everything was dry, I printed out the number 1 through 4 onto cardstock, cut them out, and traced each one onto the front of the crates. Using a small paint brush, I filled in each number with chalk paint.

Then came the fun part of sorting and purging our shoes. You can see I had a little helper.
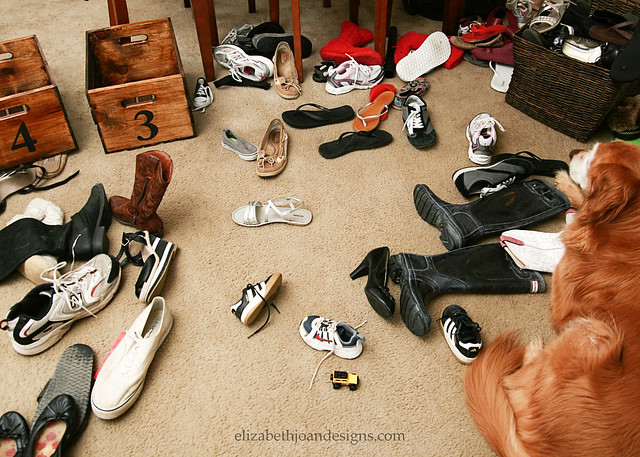
That is Maverick, one of our two golden retrievers that we lost to cancer this past year. I never realized how hard it would be once they were both gone. So many times, I still catch myself watching how I stand up from the couch, because they always loved to lay next to our feet. Or calling them to go up to bed every evening. It’s something I still do or think about most nights. Crazy how these furry guys and girls have such an impact on our lives, even with the simple everyday things.
Ok, back to the project. After I had everyone’s shoes sorted, we put them back into the closet arranged on a custom made shelf for the space.

It is amazing how much easier it find your own shoes when you don’t have to sort through 3 other people’s loafers.
So, that’s our shoe storage story. We can’t be the only ones who crave a little organization in the shoe department. How do you store your kicks? Boxes, baskets, bins or something else?
_____________________________________________________________________ You may also like: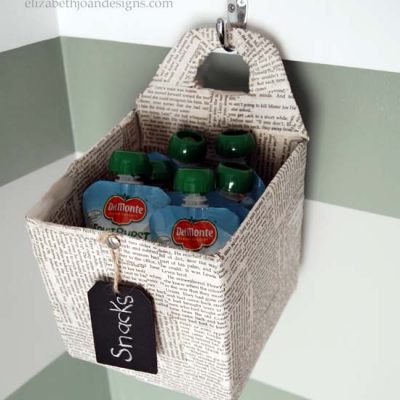
Hanging Snack Basket 
Boxes Into Baskets 
File Cabinet To Garage Storage 
Paint Dipped Box Baskets -
Fighting Oil With Oil
We’ve recently been working hard to transform our dated 1980’s kitchen into something from this century. A major part of this transformation has involved primer/paint and few lessons learned.

We have been using oil based primer on our cabinets and it is the first time we’ve really had any experience with it. We’ve learned that the stuff sticks to everything (yay!) and that this stuff literally sticks to everything (boo.) Like the time my husband, Chris, got it all over his hands and tried to wash it off with soap and water. Not good. It just made it even messier and smeared it around more because, obviously, oil and water do not mix. So while he stood in the bathroom covered in stickiness, I did what any good wife would do and
went to bedheaded to the computer to search for ways to remove the primer.We found that a mixture of olive oil and salt worked great to get the primer off and also gave his hands a good exfoliation in the process. (Who doesn’t want a man with soft hands?) So, when we dropped a paint brush filled with primer on the floor a few days later, I decided to try the olive oil technique on that as well.
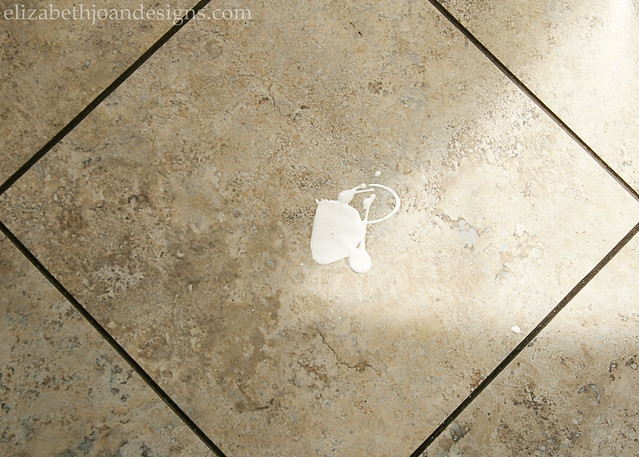
That is after we found that a dry paper towel just smeared that primer around on the floor.
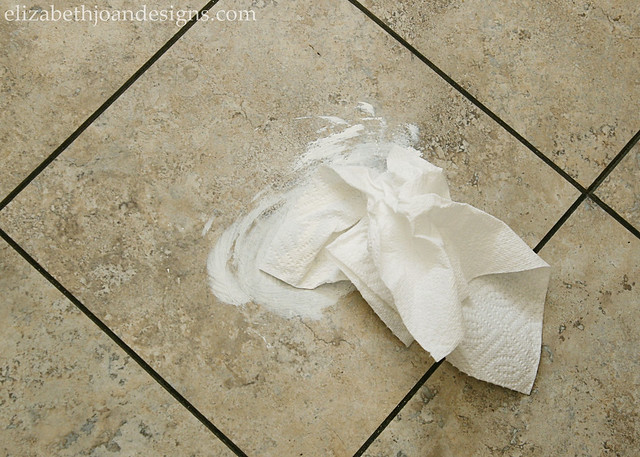
To remove the smear, I initially tried a mixture of olive oil and salt, but found that on our floor we only needed to use the olive oil. You can see how easily it removes all of the primer in this handy dandy video. Enjoy!
A few more details to take into consideration:
– Our flooring is vinyl stick tiles. I’m not sure if or how this technique would work on other types of flooring, i.e. wood, ceramic tile, laminate.
– This technique works on fresh spills and dried primer too, provided you add a little more elbow grease.
– Use olive oil to remove oil based primer and paint from brushes too!
___________________________________________________
You may also like:
Mason Jar Paint Storage 
Tips For Mixing Paint 
Dry Erase To Chalkboard 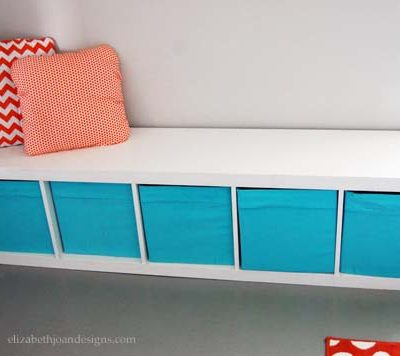
The Key to Painting Laminate Furniture -
The Key To Painting Laminate Furniture
One of my very first DIY furniture projects was when I was 18. I helped my best friend paint a set of identical laminate bookcases with latex paint. She needed them to display her My Little Pony collection. (She’s a little crazy, but I still love her.) We slapped a coat of white paint on the entire set and within a few minutes the paint bubbled up and peeled right off. Clearly this was not the way to paint laminate furniture. So, what is the right way?
Through this experience and many others of painting laminate furniture, I can now present you with the abundance of knowledge I have accumulated on this topic. Is it the right way? I don’t know about that, but it is what works for me.

The particular piece I worked on for this post, is an IKEA Expedite Shelf like this one…

1. Light Sanding
This step is optional, but recommended. Laminate is smooth and glossy. Lightly sanding it dulls the surface enough to assist the primer and paint to affix for a long lasting look.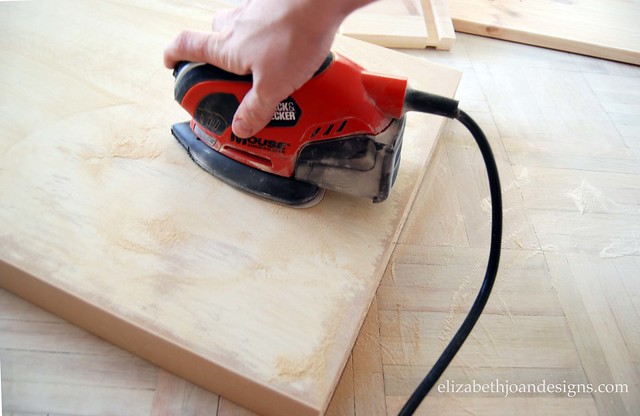
2. Primer
Primer is awesome, and the key to the success of this entire project. It sticks to the laminate and creates the perfect surface for your paint to adhere to. It will help prevent the paint from peeling or being scratched. Zinsser Bulls Eye 1-2-3 primer is generally my pick, but Kilz works well too. I usually let it dry overnight, but some primers can ready in just an hour. Be sure to check the label for accurate timing.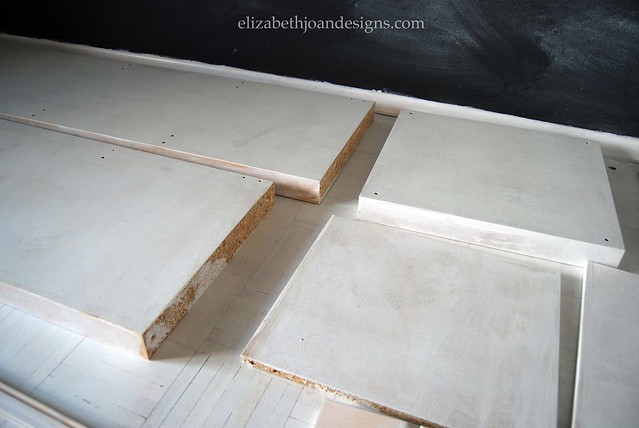
3. Curing Time
This is also a very important step. Because latex paint can be a little tacky and sticky for a while even after it’s dry to touch, it is important to let the furniture sit without being used for at least one to three weeks after being painted. I know this sounds like a crazy amount of time, but it really pays off in the end. You know when you touch two items recently painted, the paint from one will peel off on the other. This curing time will allow the paint to harden and you will avoid this little problem.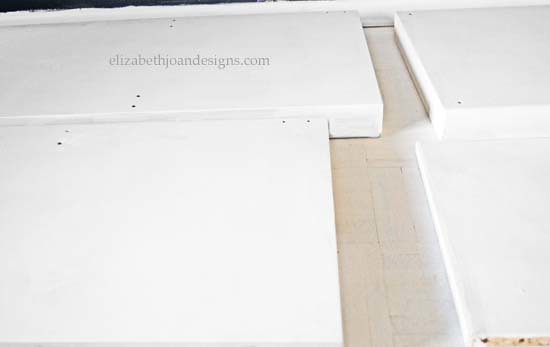
Have you ever attempted painting laminate furniture? If so, was it a success or a fail? Tell us all about your experience in the comments! We would love to hear from you!
_____________________________________________________________________ You may also like:
Tips For Mixing Paint 
Painting Upholstery
Mason Jar Paint Storage 
Ikea Trofast Makeover