-
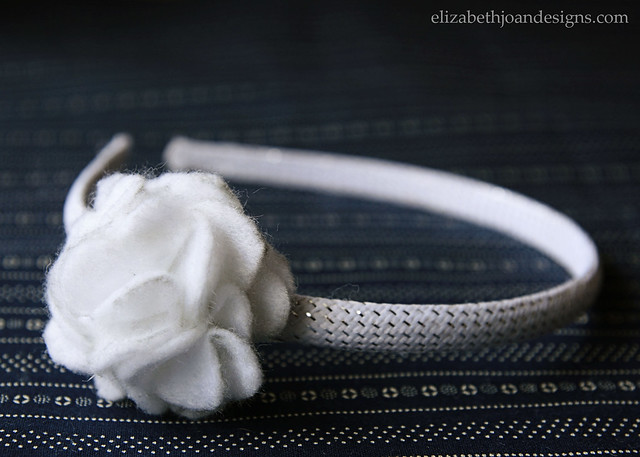
Felt Flower Headband
Every once in awhile, my daughter likes to be a little girly. And what better way to girl it up a bit, than with a pretty little flower on top of her head. This cute felt flower headband can be made in tons of colors and are great as gifts too. The best part is that they are super cheap. Like less than $.25 each.
To make these pretty headbands, you will need:
– Felt
– Headband
– Flower Template (I just free handed a five petal flower on some paper and cut it out.)
– Fabric Pen or Washable Marker
– Scissors (Preferably not chewed by the dog.)
– Hot Glue Gun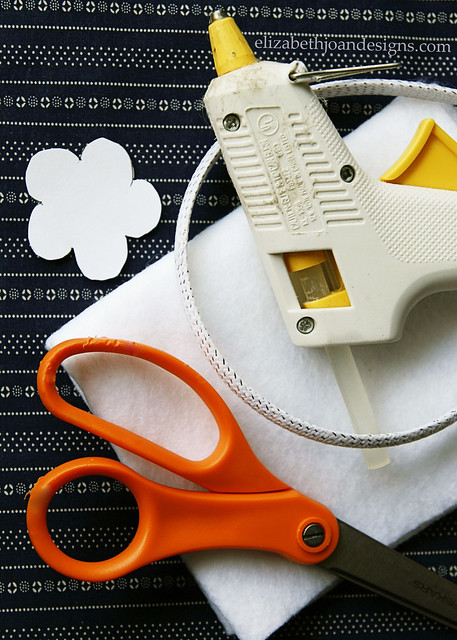
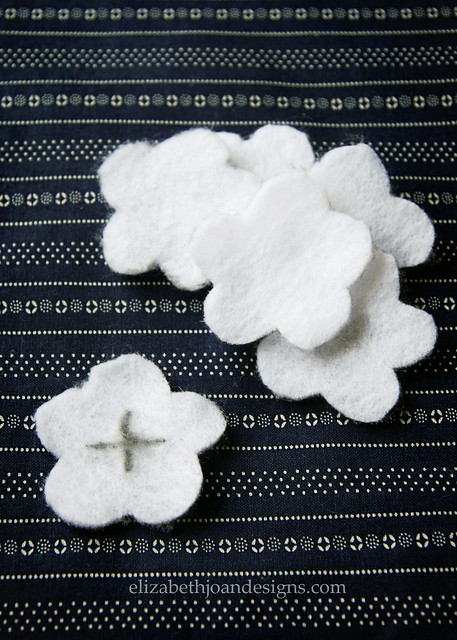
Trace your flower template onto the felt to make 6 flowers and cut each one out. Mark a “+” in the middle of one flower. (This will be the base and all of the other pieces will be attached to it.)
This next part is kind of hard to explain, so I whipped up a diagram in Photoshop to help. Hopefully, it doesn’t confuse you more. Starting with one flower (not the base,) fold it in half from right to left. Next, fold it again from bottom to top. It should have a right angle point.
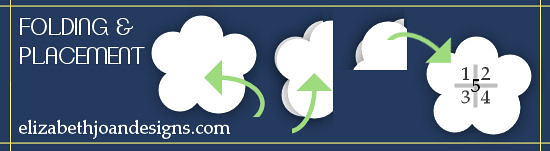
Then, glue it into the spot labeled 1 on the diagram, lining it up with the “+” on the base piece.
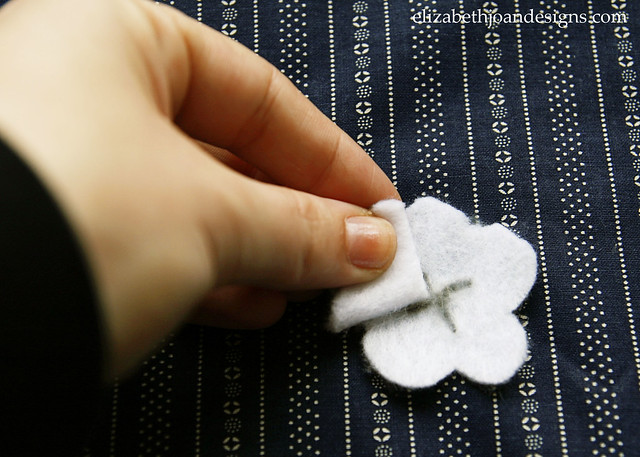
Continue to fold the other flower pieces in the same fashion and use hot glue to attach them to the base in positions 2, 3, and 4.
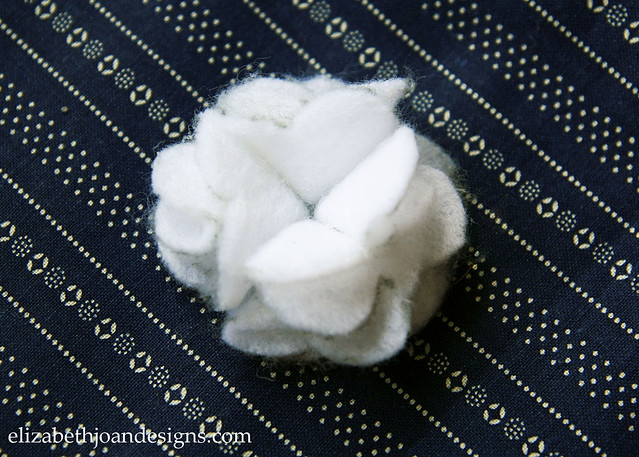
The last flower piece will be folded the same as the previous ones, but it will be glued right into the middle of the flower with the point down.
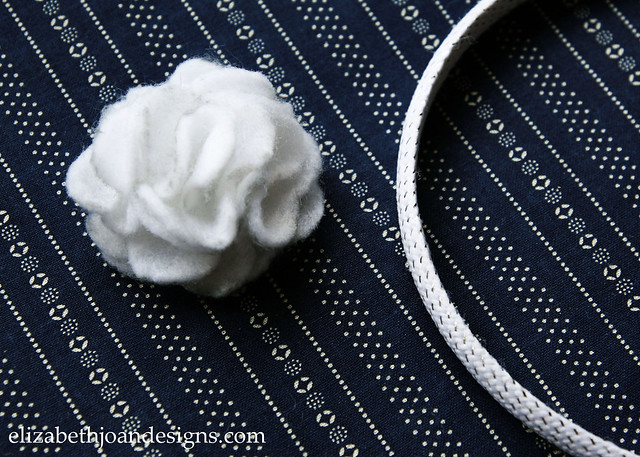
After it is dry, pull of any stray pieces of glue and the headband is ready to wear. Doesn’t it look cute?!

-
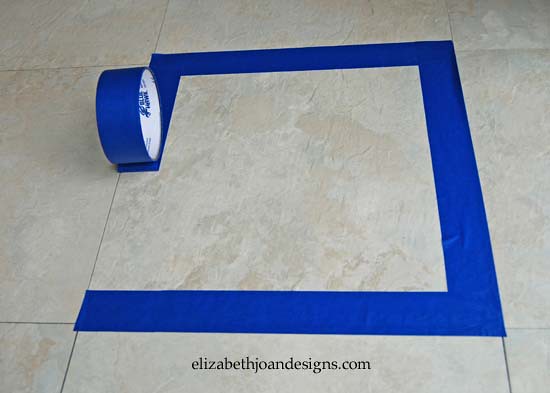
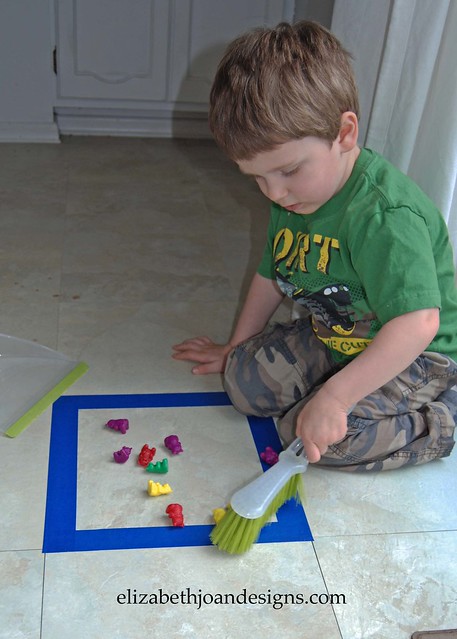
Teach Your Child To Sweep
We are experiencing some technical difficulties. Please bear with us as we recover the text from this post.


-
Easy No-Sew Receiving Blanket
One of my really good friends is due with her first baby in October. I really wanted to make her an Easy No-Sew Receiving Blanket that was bigger than the ones you purchase in the store.
The standard size for a receiving blanket in 30″ x 30″, which is prefect for the first couple weeks, unless you have a tiny peanut, then it may last you a little longer. The size I found that worked really well for my boys is 36″x 36″. Once the baby has outgrown swaddling, these little blankets are wonderful for snuggling up in a stroller or car-seat.

Begin with a piece of flannel 37″ x 37″. Then, starting at one corner, fold one edge over 1/4″ two times to hide the raw edges. Tuck your Stitch Witchery under the entire folded edge, make sure it is completely hidden.

Use a hot clothes iron and press along the folded edge to completely bond the stitch witchery. I usually hold it there about 8 seconds but time may vary for you.

Continue the same for all sides. The corners can get a little tricky, so I pin the corner down until I am ready to press it.

Once you have completed all four sides, flip over, and press the entire blanket.

Now you have a wonderful receiving blanket to give as a gift or keep for your own bundle of joy.
-
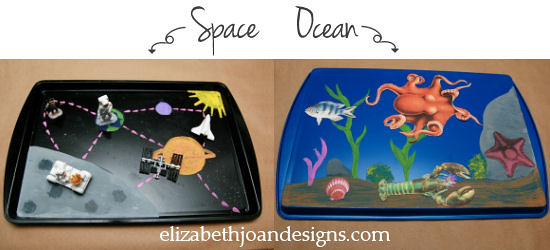
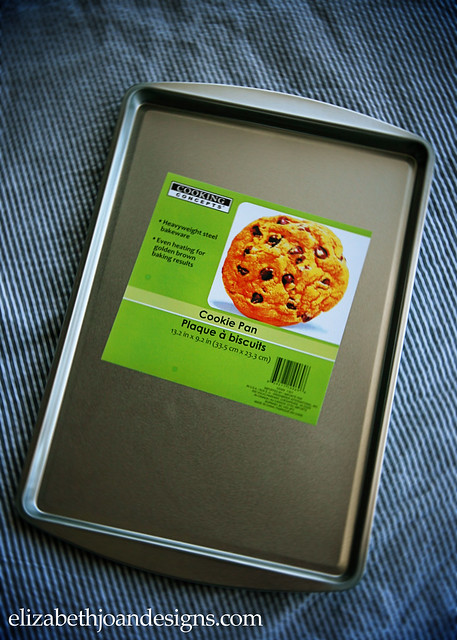
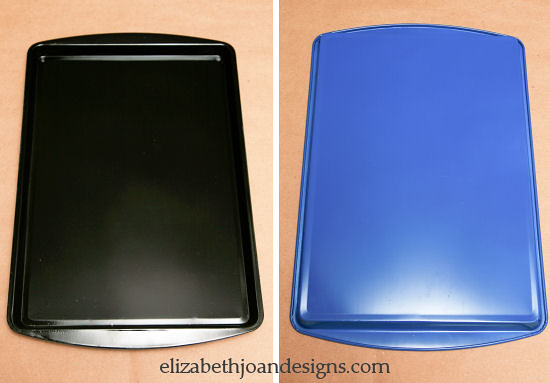
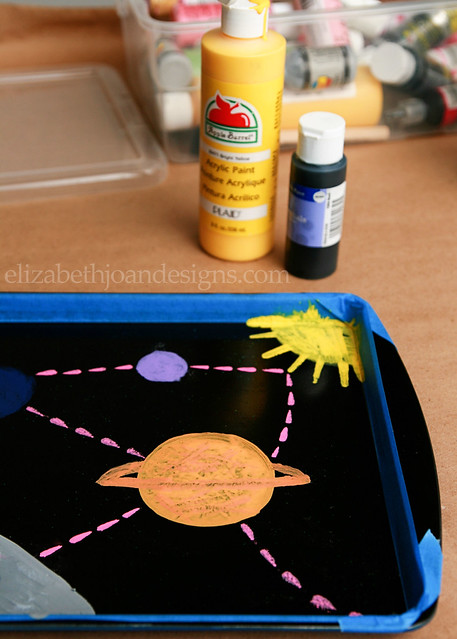
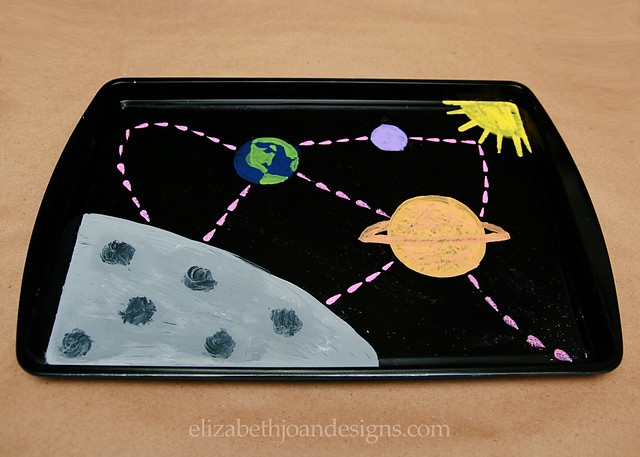
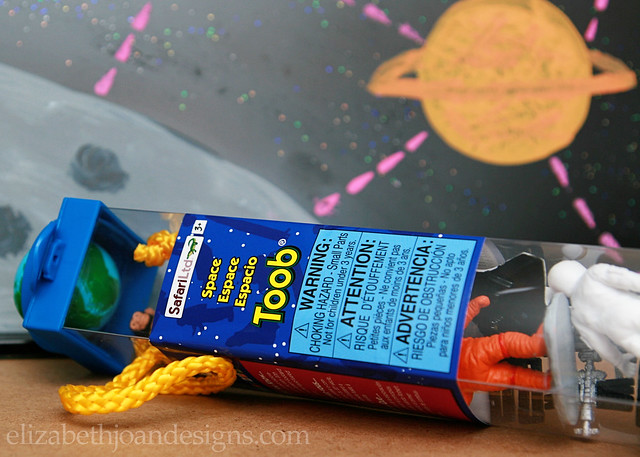
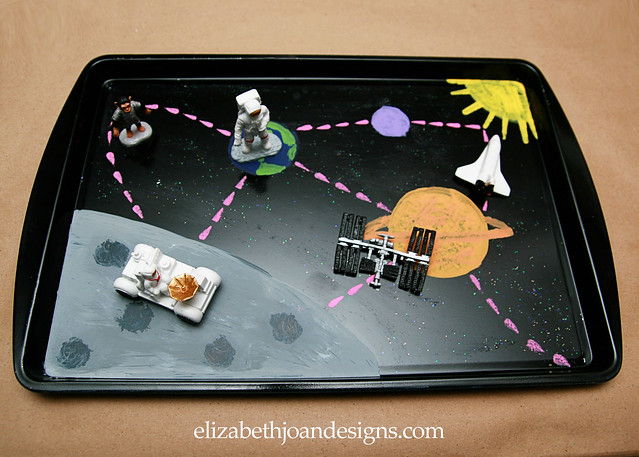
Travel Activity Tray
We are experiencing some technical difficulties. Please bear with us as we recover the text from this post.