-
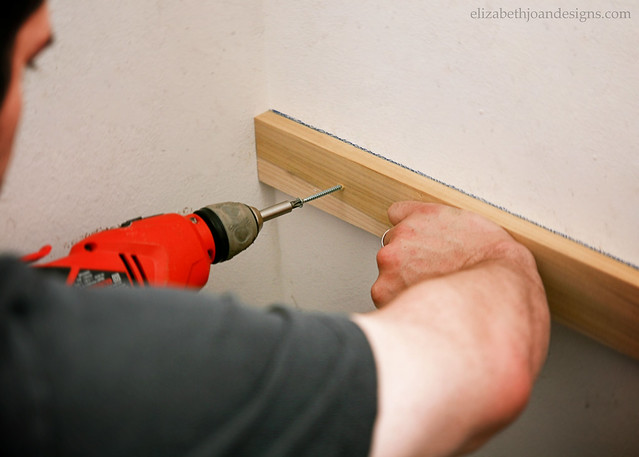
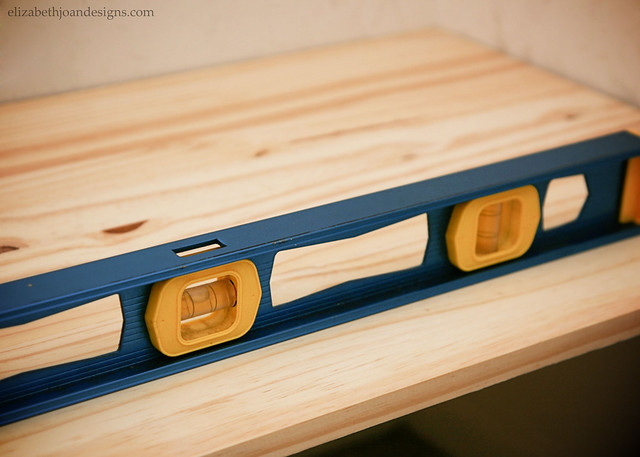
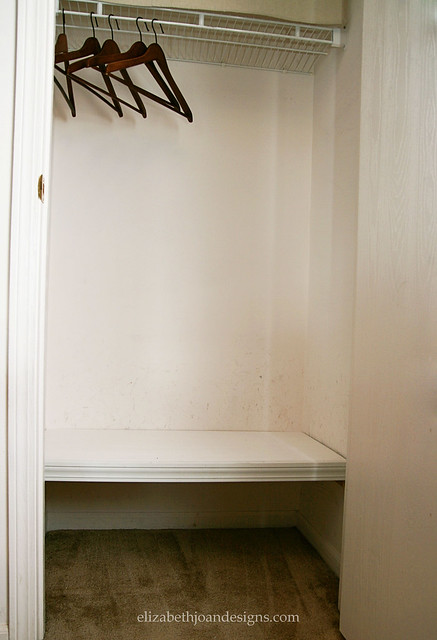
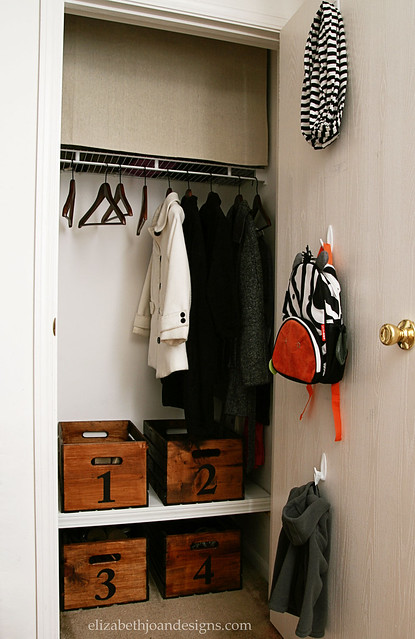
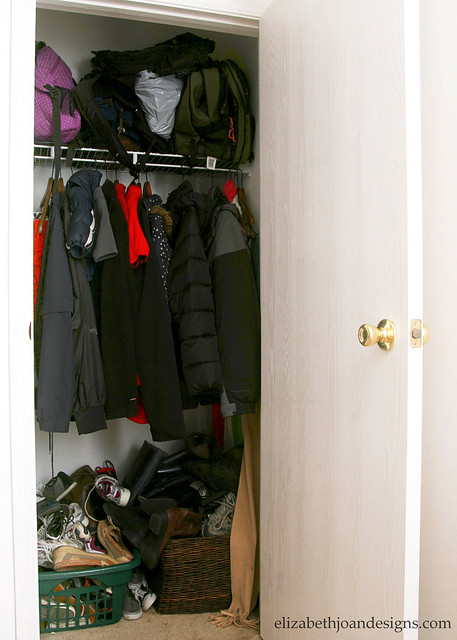
Closet Makeover Part 2
Closet Makeover Part 2
We are experiencing some technical difficulties. Please bear with us as we recover the text from this post.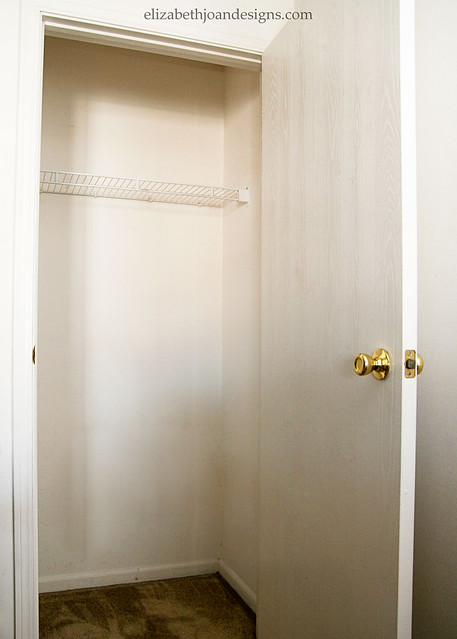

-
Dining Table
About a year ago, I searched the internet for the perfect dining table. At the time, we had a four person table that was starting to get a little crowded, especially when we had guest. To purchase one of the tables I really liked, would have cost us an arm and leg. That’s when the idea hit me, why don’t we built our own. I then turned to Pinterest for inspiration and and found this amazing DIY table from Our Vintage Home Love.
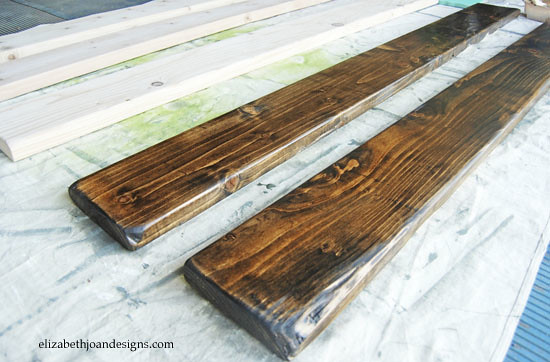
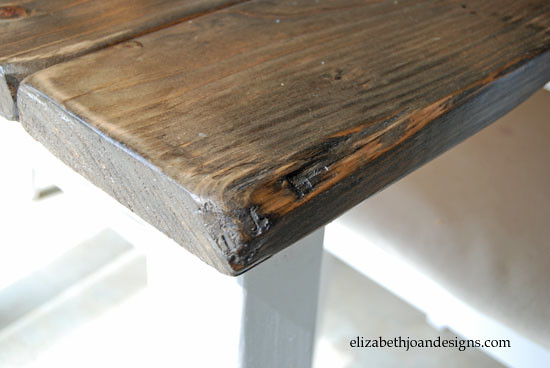
After showing my husband this beautiful piece of furniture, we were off to The Home Depot to buy some lumber. We purchased five 2″ x6′ of douglass fir for the top, 1″ x 5″ of pine for the apron and 4″ x4″s for the legs. Using a palm sander, we sanded down the boards for the top and rounded the corners. Then I used a chisel on the corners and edges to give it a worn look.
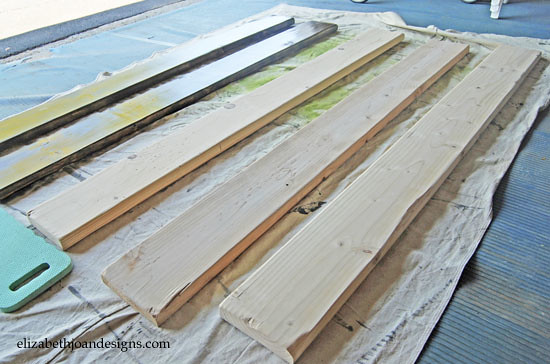
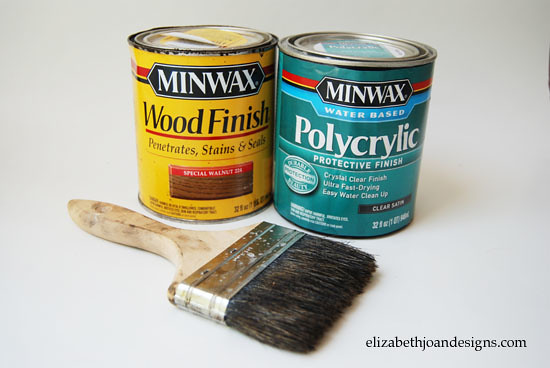
For the table top we used Minwax Special Walnut stain. We finished with four coats of Minwax Water Based Polycrylic. An oil based poly would have given us much more shine and would have warmed the look of wood, which were two things I was trying not to do. I was hesitant to use a water based polycrylic vs. an oil based, thinking it may not hold up as well with the kids. This table has had a lot of abuse, and I am more that happy with the finish we chose.

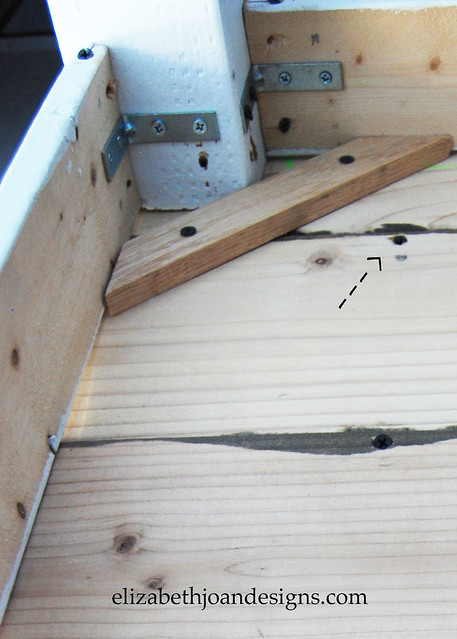
We painted the legs and apron white to match our kitchen cabinets. To assemble the table, we followed this tutorial here pretty closely. We did insert a few screws on 45 degree angle from plank to plank to add more stability to the top.


-
Industrial Numbered Storage
Update: We have now had this Industrial Numbered Storage hamper for over 5 years and it is still working out great for our needs!

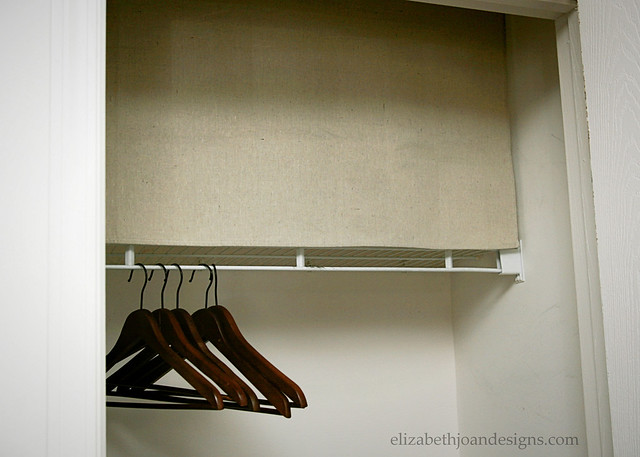
As our style has evolved over the years, we have found that we end up with items in our home that we no longer want to use. Take, for example, this laundry hamper deal-i-o. It had been great for laundry, but we have acquired other hampers for dirty clothes. So, this piece was banished to storage. I even thought of donating it, but decided to work some DIY magic. A little time and creativity turned it into amazing Industrial Numbered Storage.

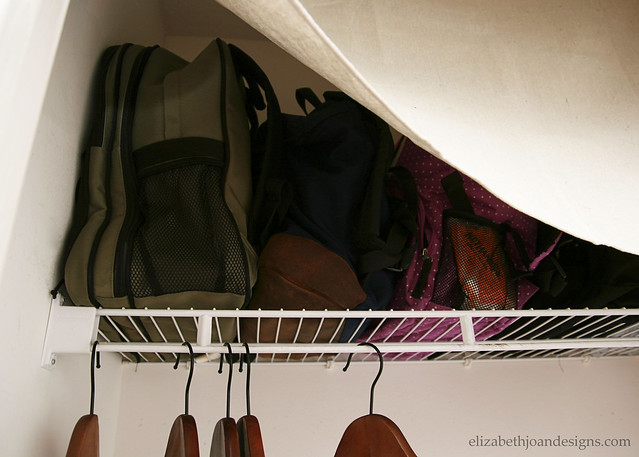
You see, our little guy is growing quickly and we needed something to contain his never ending supply of balls. Basketballs, footballs, soccer balls, you name it. I really liked the look of these industrial baskets with liners from Restoration Hardware. After a little brainstorming, I decided to grab a canvas drop cloth and get to work.
Tutorial
First, I consulted the sewing guru (AKA my step-mom). Just for the record, I’m not great with a sewing machine. She thought it was best to disassemble the original liner and use that as a pattern for the new one. Genius, right?
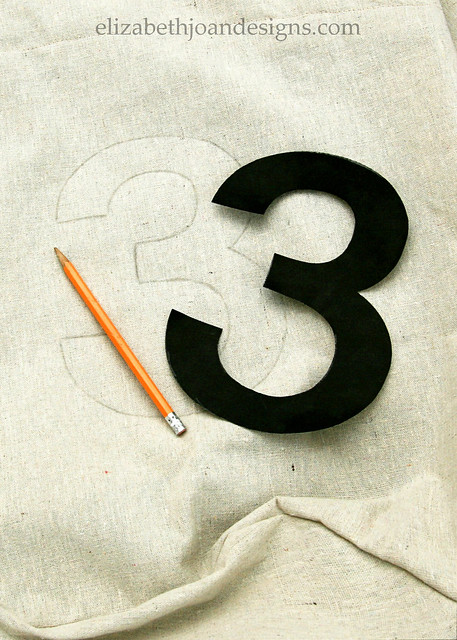
If you want to get the look without all of the sewing, here is a similar canvas rolling laundry hamper. Then just add the painted number!
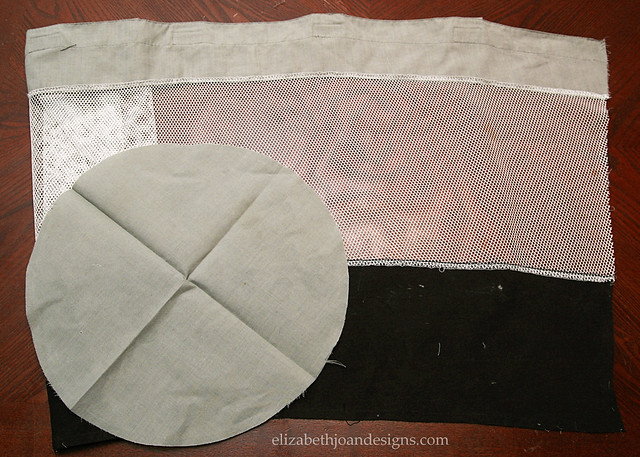
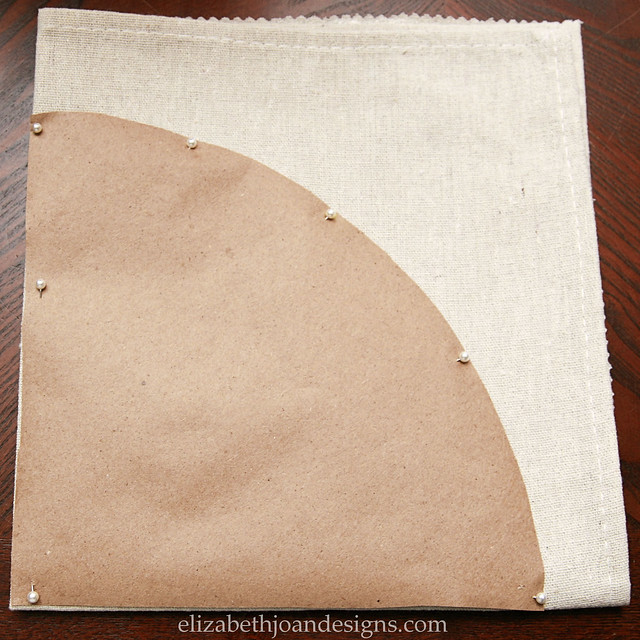
I decided it would be quicker if I folded the bottom piece into quarters. I placed it onto a piece of craft paper and traced around the edge to create a template. Then I made sure to leave a little room around the curved edge for seam allowance.

Next, I attached the template to the drop cloth (also folded into quarters) with pins and cut around the curved portion with pinking shears.
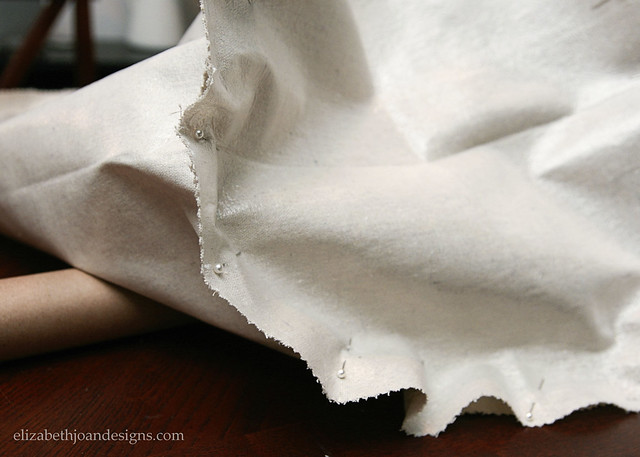
|Canvas Drop Cloth Fabric| I also made a template for the main body of the liner, attached it to the drop cloth, and cut it out.


-
Dry Erase Board Turned Chalkboard
Do you ever find yourself hoarding items that you think you will be able use again, but they just end up gathering dust? No? Me neither.
Just kidding. Check out this cool chalkboard…

It used to be a dry erase board that I used a lot back in my real estate agent days, but that was a long time ago. Recently, it has been hanging out in our daughter’s room with this hand drawn octopus on it, just taking up space.

However, I have been really wanting a large chalkboard and it just seemed right to try and get a little more use out of the dry erase board. For my supplies, I used some blue painter’s tape, a foam paint roller, chalkboard paint and some chalk.

To start, I taped off the edge to make sure my sloppy painting didn’t get everywhere.

Next, using the paint roller, I applied several coats of paint, letting them dry in between.

Finally, I primed the chalkboard with the side of a piece of chalk, which kind of seals all of the nooks and crannies. This keeps the chalk from leaving a permanent mark when you first write on the chalkboard.

Didn’t it turn out nice? I haven’t had any problems with the paint peeling or coming off of the slippery surface of the dry erase board.

So, tell me, have you ever used chalkboard paint? If so, what did you paint with it?
Linked up with East Coast Creative #cwts2014