-
Revamping The Breakfast Nook
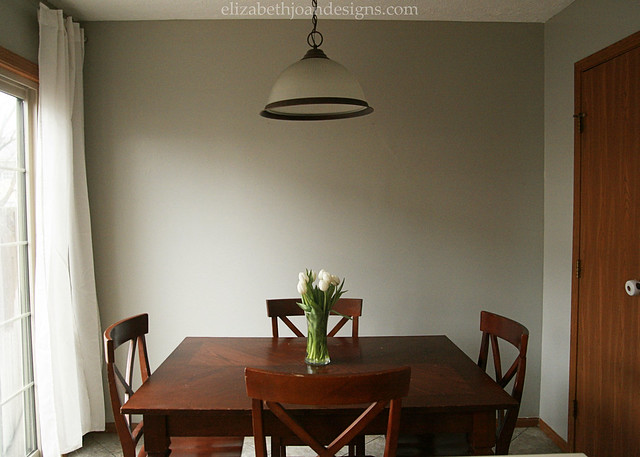
You’ve probably heard that one of the least expensive ways to make a big impact on a room is to change up the paint. And it is totally true! It is amazing how a gallon of latex paint and a little time can make a not-so-great wall color fabulous. Take our breakfast nook for example. Here she is showing off her new coat. (Color is Benjamin Moore Revere Pewter.)
And here is what she looked like before the makeover.
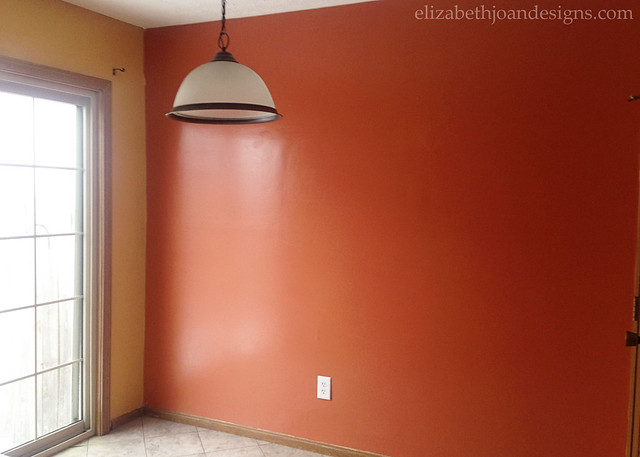
Not that I have any problem with the yellow and burnt orange walls (no judging here,) but the colors did not really match our style or taste. To each their own, right?
I love how the new paint color brightens the room, yet now has a more soothing effect than the previous ones. It could be considered the perfect greige!
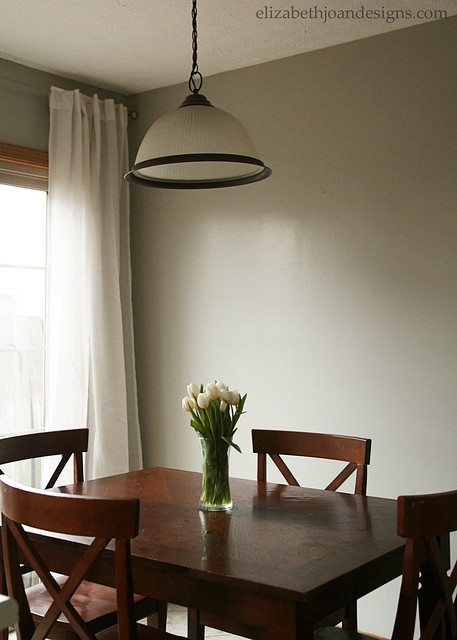
Here are a few other views from the room. Don’t be scared though. Quite a few things are still on the to do list.
Eek!
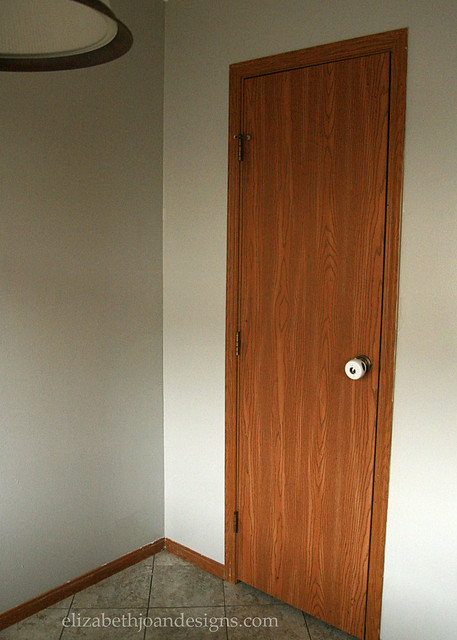
Yikes!

Ahhh… That’s better.

Here’s some of stuff that we still would like to change…

So, have you had any experience with the awesome paint color, Revere Pewter? Any thoughts on some cool budget-friendly, industrial lighting? We would love to hear from you!
-
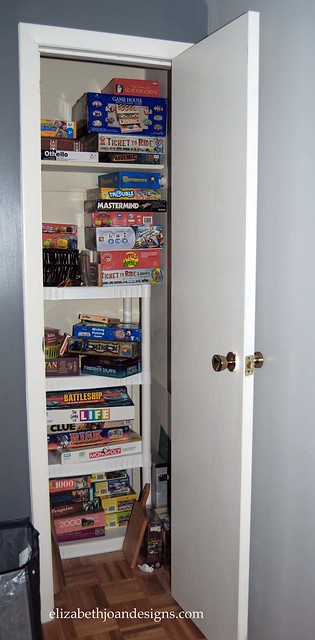
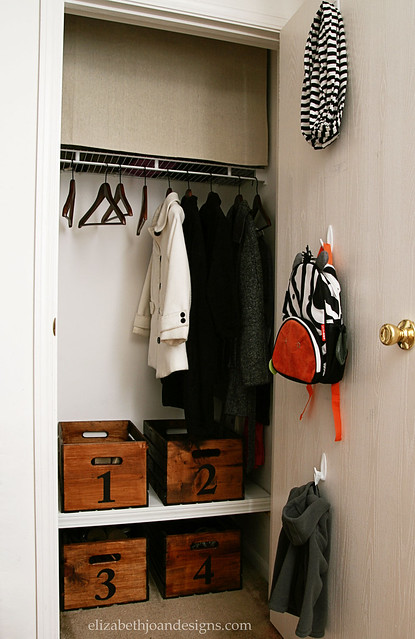
Closet to Office: Part 3 The Reveal
The time has come to show off the final look of my Closet/ Office! Our once boring, old, game closet has been transformed into a beautiful functioning office space. If you would like to catch up on what has happened up to this point, take a peek here and here.
This post contains affiliate links for your convenience. The final process has involved some bruises, sweat, and tears, but it was all worth it.
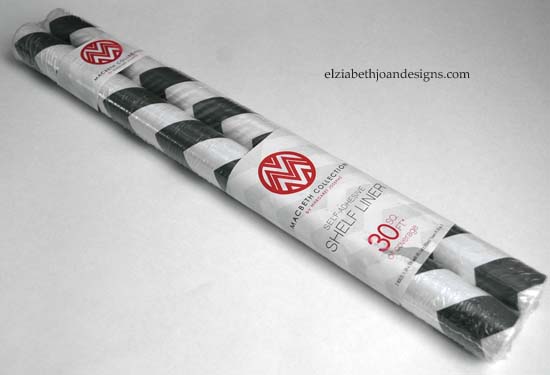
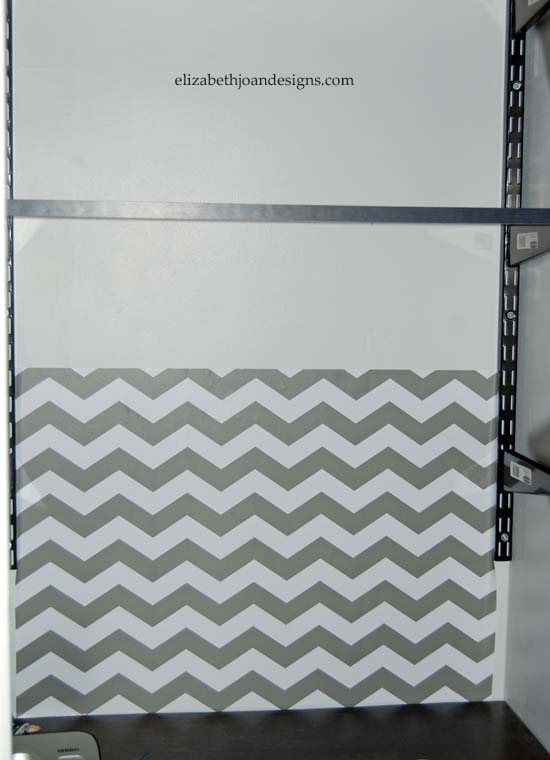
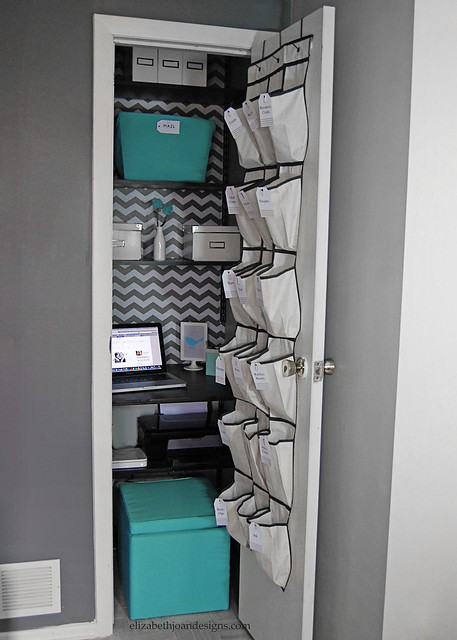
To make this tiny space a little more interesting, I decided to apply some fun chevron contact paper
to the wall behind the shelves.
This sounded easy enough, but proved to be the hardest part. Because the space I was working in was so small, I couldn’t fit my step stool all the way though the doorway. So to reach the highest points with the paper, I had to really lean against the step stool safety bar. This is where the bruising came in. Right across my shins. Ouch!
At that point, I decided to ask for help from my super tall husband.(He is not freakishly tall, just 6’2″. He helped for quite awhile and was a trooper about it. In the end, he just showed me I wasn’t crazy for thinking this was difficult.
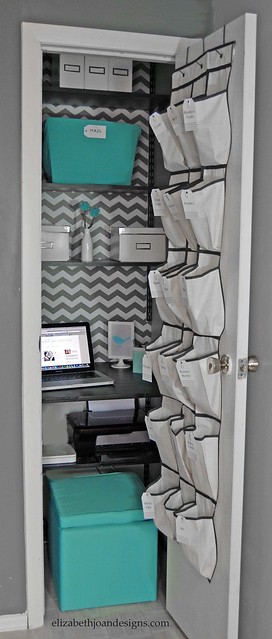
After he surrendered, I was feeling a bit refreshed from the brake I just had. I persevered and finally finished it up, and replaced the shelves back in the closet. The happy tears started to flow uncontrollably from my oh-so-tired eyes. Yay! Mission completed!
In this closet/office there are a couple details I am excited to share with you.
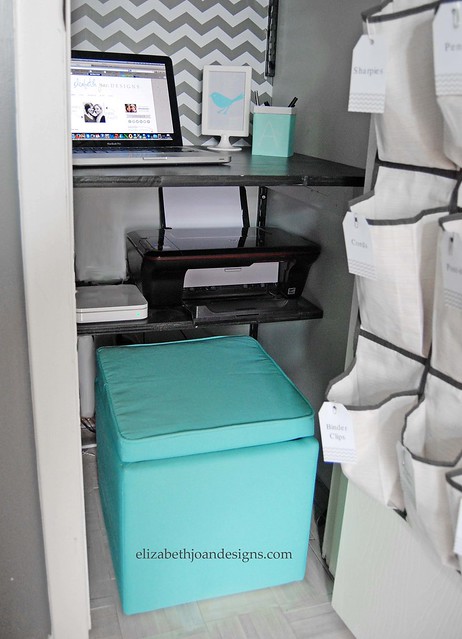
I chose this storage ottoman for the desk because it was modest, functional, and could squeeze into the itty bitty spot under the shelves. This gem was found on clearance at Target for $8.00.

My husband pulled out our handy dandy drill to create a perfect hole to put cords through.
This has made the desk area a very nice charging station.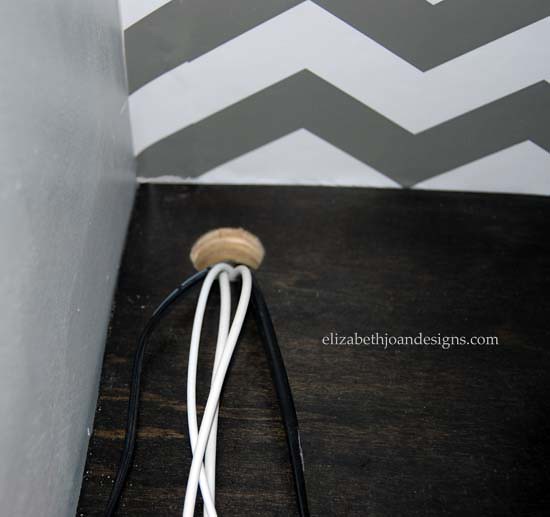
Underneath the desk, I placed a smaller shelf that houses our printer. It has been so convenient to have everything together in a closet, out of the boys’ reach.
The cost of this project was pretty minimal. I reused so may things we already had.The contact paper, the over the door organizer and cube seat, were pretty much the only things I purchased, bringing the grand total to around $35. Woohoo!

So, what do you think? I love it, other than the contact paper issues, it was pretty easy to do.
Has anyone else updated a closet recently?
____________________________________________________________________________ If you like this post, you may also like: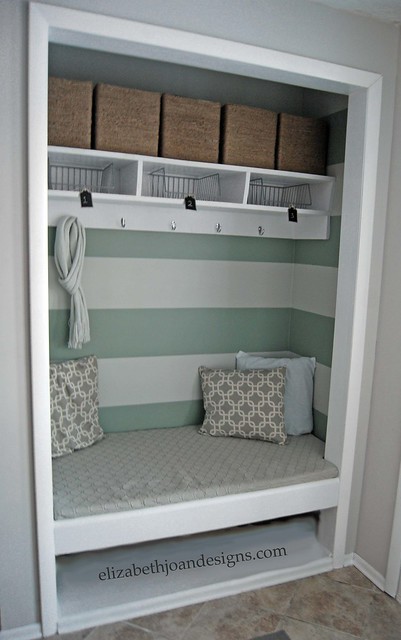
Half Bathroom Remodel
-
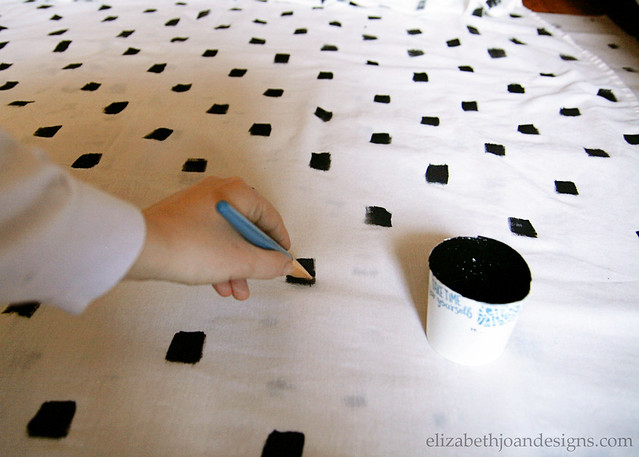
Sloppy Dot Curtains
Ninety nine point nine percent of the time, I am an extremely decisive person. I know what I want, when I want it. However, this was not one of those times.

The curtains in our home have pretty much always been plain white. We like white. It’s bright and airy and lovely and awesome. But, for several years now, I’ve contemplated something more. Maybe a pattern or a graphic. So, I made a decision and decided to make my own and they did not turn out too shabby.

I started with a pair of Ikea’s VIVAN curtains (they run for about 10 bucks a pop, so I wouldn’t have been out much if I royally messed them up) which were laid flat on a canvas drop cloth.Then, I used a craft brush and black acrylic paint mixed with fabric medium to make the dots.

There wasn’t really a plan or pattern going on with all of this. I just sort of staggered the dots on the fabric, but they are by no means perfect. And I just “smooshed” the paint brush back and forth, which we will pretend gives the dots a sort of organic type look. Totally professional, right?
I really like the graphic look that they have.

Oh yeah. I also used some of the previously mentioned Oil Rubbed Bronze (used on my desk/nightstand) to spray paint the curtain rod (IRJA, also from Ikea for $1.49.) Unfortunately, the length of the rod is a bit shorter than I would like it, so now I’m on a mission to find something that will better suit the width of the window.

I think everyone in the Fam was pleasantly surprised with how these curtains turned out. They’ve even become a favorite lounging spot for our Golden Retrievers.

-
The Tale Of A Vanity
A few months ago, I inherited an old vanity from our grandma’s house. It had such beautiful details, although it was pretty beat up, and we were looking forward to restoring it and putting it in our daughter’s bedroom. Well, that plan changed when we moved and realized that there were already way too many furniture pieces for her room. (In addition to the stuff she already had, she also received my mom’s old dresser and a chair.)


So, the poor vanity was stuffed away in a corner. That is, until we started painting around here. Which meant that it was temporarily moved up to our bedroom with the hopes that I would actually be able to use it, myself, for makeup and hair and what not. (Nobody puts Vanity in the corner.) But after a few moments in front of it, admiring my awesomeness, I realized that I wouldn’t really be able to see very well through the aged parts (the stripes in the photo above) to do much makeup.
After pondering for a few days, I decided that it would be great to use it as a desk/nightstand and replace my current, tiny Ikea nightstand. Unfortunately, we don’t have a spare closet to create an office in, so this was the next best bet to give me a place to work.
Since we planned on refinishing it anyway, I started working my magic on this awesome piece. I decided to use it without the top part attached, for the time being, until we can replace the mirror. After some sanding and a few coats of Behr’s Paint/Primer in the color Polar Bear, it was looking pretty spiffy. I removed each of the handles and the escutcheon (that’s the little key hole thingy) and glazed them with Rustoleum Universal Oil Rubbed Bronze. Then I assembled the pieces back on and voila!

Lookin’ good!

I love the way it turned out and I’m especially in love with both of the paints I used. Don’t be surprised if you see Oil Rubbed Bronze on everything in this house.

Oh, yeah. I also added some wrapping paper to the inside of the drawer as a lining.

So, what do you think? I still need to figure out some sort of seating that’s a little more comfortable for long periods of time (thinking of the Henriksdal from Ikea with this cover.) Also, there will be some organizational items brought in to help keep supplies corralled, but that will be another post. Check back soon!
