-
Wood Box Caddy
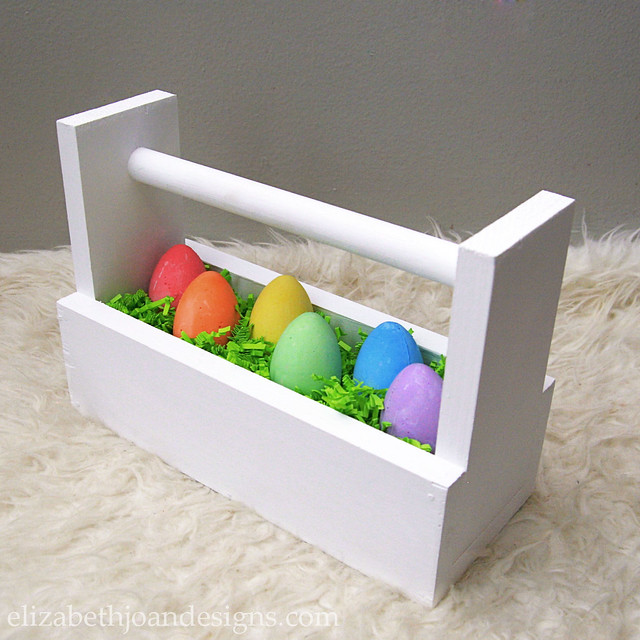
It’s March 15th, which means that it is time to share our Monthly Home Depot Gift Challenge post. Last month, Emily showed you how she used copper fittings, combined with other supplies, to make an Industrial Book Rack. This month’s challenge item was a wooden dowel and the project was supposed to be a gift for a child. After a little brainstorming and chatting with my sis and hubby, I decided to make a Wood Box Caddy that could be used as an Easter basket for my kids.

This challenge is in no way associated with The Home Depot. We just love their stuff!
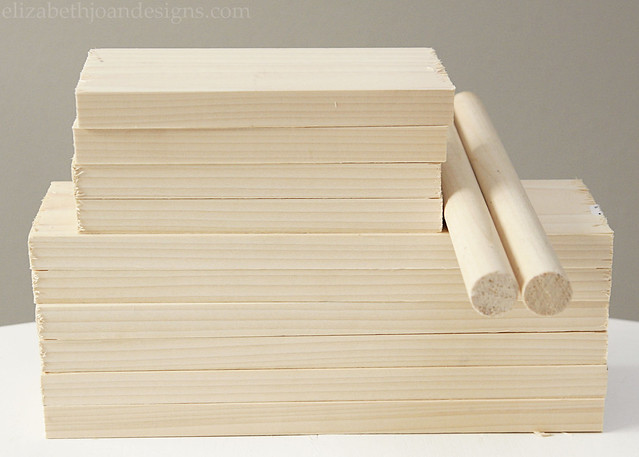
Since we have two kids, I obviously had to make two caddies. I bought our boards and wooden dowels from The Home Depot and they cut everything for me while I was there. Behold the wood!
These caddies are pretty easy to whip up, so if you have minimal wood working skills, do not fret. You can do this!
To make one wood box caddy you will need:
- 1 – 1″ X 4″ furring strip (cut into 3 – 12″ pieces and 2 – 7.5″ pieces)
- 1 – 1″ Wooden Dowel (cut to 12″)
- Pencil
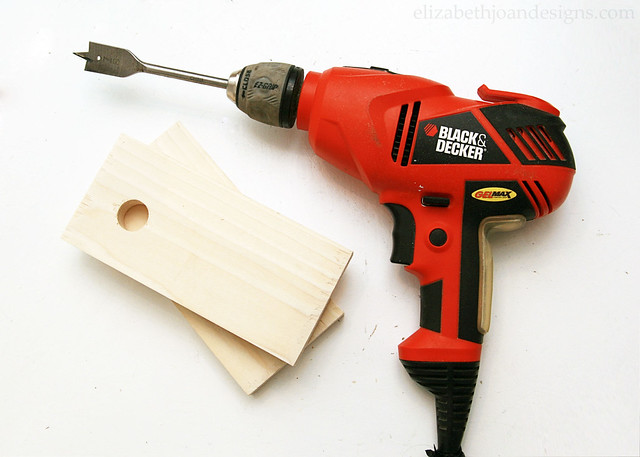
- Drill with 7/8″ Spade Bit
- Electric Sander or Sandpaper
- Wood Glue
- C-clamp
- Hammer
- Finishing nails
To start, figure out where the hole for the the dowel will go in the two 7.5″ end pieces and mark it with a pencil. Use the drill with a 7/8″ spade bit to make a hole in each end by lining up the tip of it with the mark on each board and drilling through. Lightly sand any rough areas.
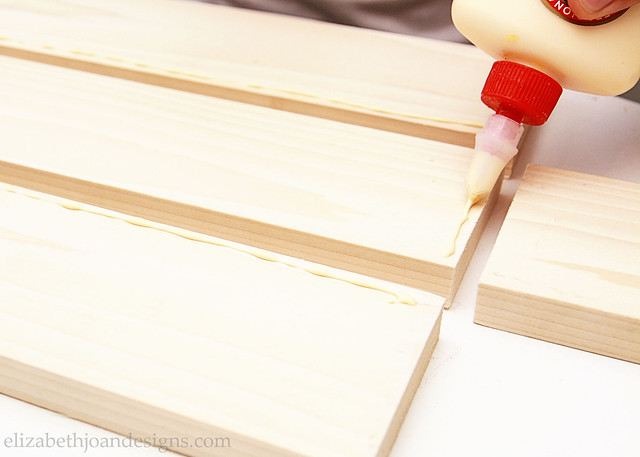
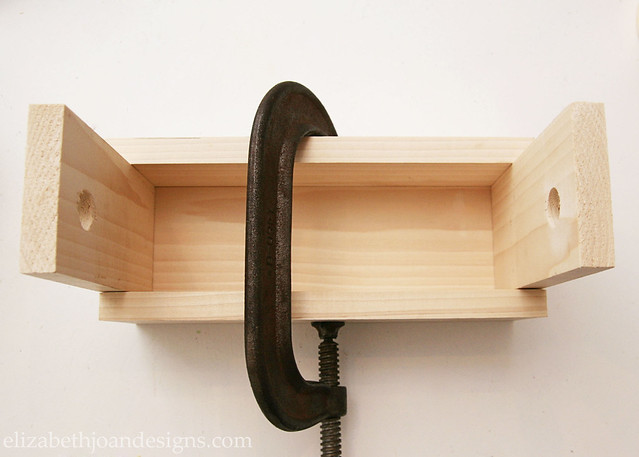
Lay out the 5 boards of the box. Apply wood glue to the edges that will be meeting up by following the guide below.

This caddy is basically one 12″ bottom piece that is sandwiched between the other two 12″ boards on the sides. The 7.5″ end pieces are placed on top of the bottom piece and also in-between the side boards with all of the ends lined up.
Assemble the pieces together and use a c-clamp to hold them in place while the glue dries.
Is this thing reading like stereo instructions? Stick with me. We are almost there.
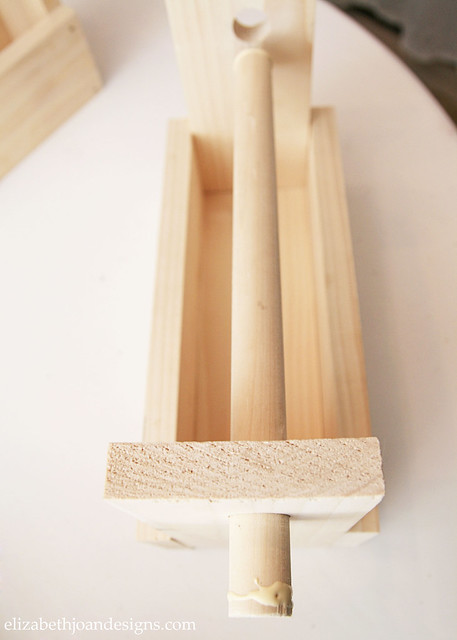
Insert the dowel through one side of the caddy and add some glue to both ends. Then push the dowel into the second hole and make sure the ends are flush. Wipe away any excess glue.
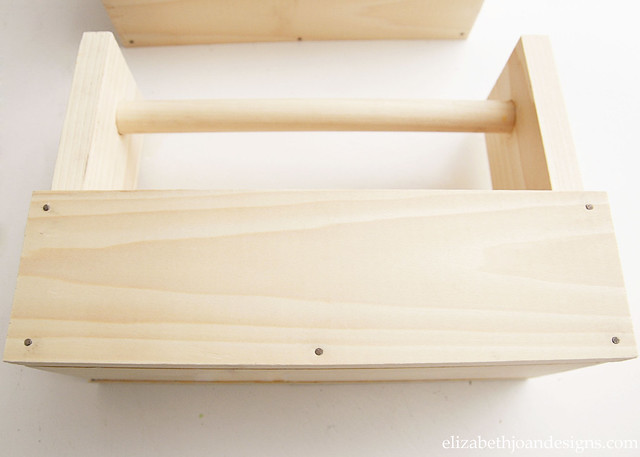
Finally, secure the sides of the caddy with some finishing nails.
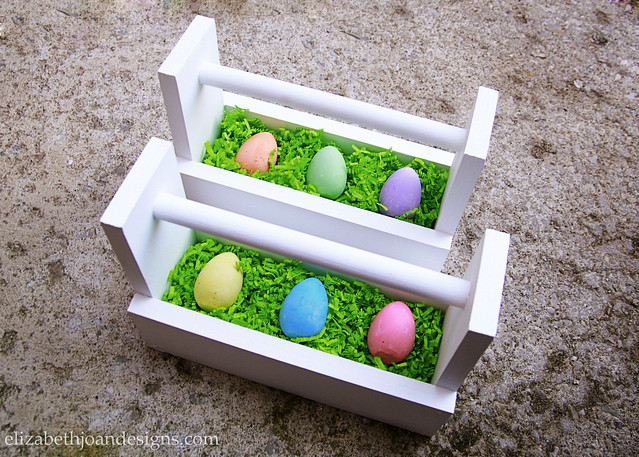
I decided to get crazy and paint both of these caddies white with some chalk paint. Just kidding. I tend to paint everything white. *wink*

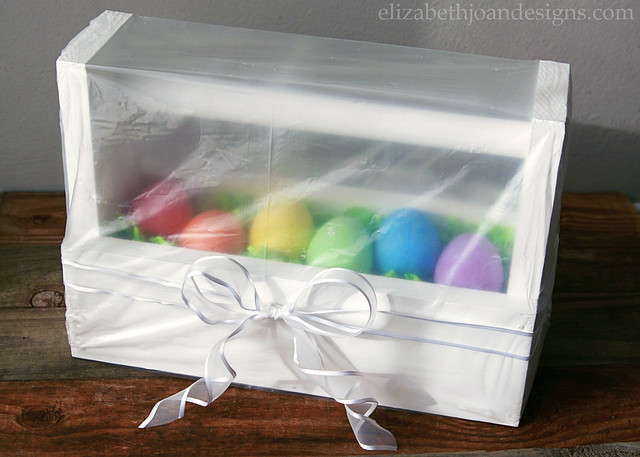
Aren’t they purdy? I’m so excited for the Easter Bunny to deliver some goodies for the kids in these. The best part is that once the holiday is over, the kiddos can use these for a multitude of purposes. Matchbox car holder? Check. Nail polish storage? Check. These will be perfect for toting things around the house.
Oh, and I can’t forget the wrapping! As part of the challenge, this gift was to be wrapped in an item also from The Home Depot. Since these will be used as baskets and set out on Easter morning, I didn’t want to hide everything inside, so I decided to go with a clear plastic drop cloth and a lovely white bow. Cute, right?
Like how we tackled this challenge? Head on over to check out all of the other awesome projects involved by clicking on the images below!
-
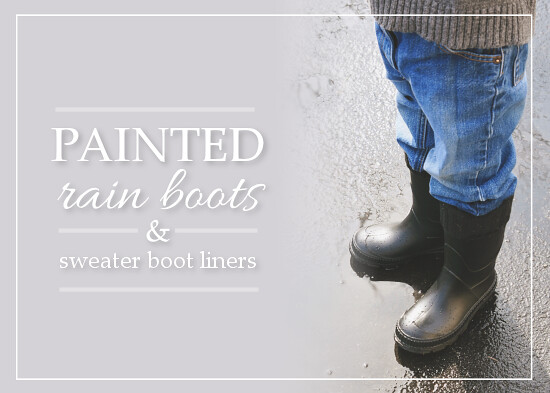
Painted Rain Boots
Have you ever painted rain boots? I have. I’m sure you are wondering what would bring a person to do something so silly, especially since you can buy rain boots in pretty much every color and pattern under the sun. Lucky for you, I’m going to explain.
A week or so ago, my kids were getting their snow gear on to go play outside when we realized that our growing 3 year old no longer fit in his snow boots. That’s not cool. Especially because the weather in the Midwest this time of year is a crap shoot and you never know what kind of shoes/boots you will need from day to day.
So I set out to find some new boots for him. Since the weather will hopefully be warming up soon (fingers crossed), I decided to go the rain boots route. Kid’s grow quickly and snow boots in his current size wouldn’t get much use before his feet grew out of those too. I found a cheap pair at Walmart and brought them home. Unfortunately, there was a problem.

My son did not like the colors. He said he “needed” black rain boots like Mama’s and these were not all black. You know how three year olds can be. Normally, I would have just told him to pipe down, but I decided to indulge him and my need to DIY. After a little research, I found that people have painted rain boots before. I grabbed a few supplies and got to work taping up his boots.
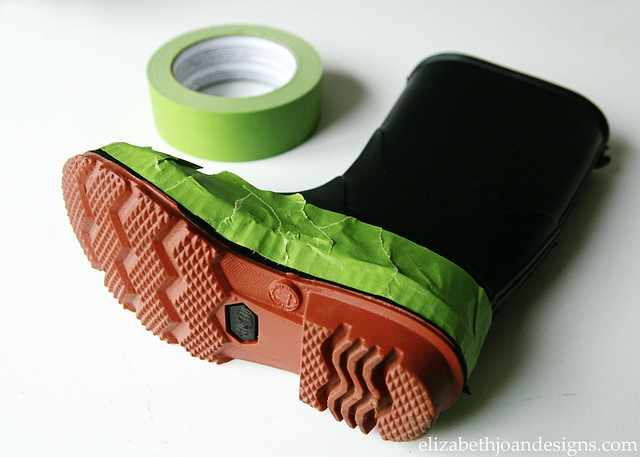
Even though I was going to use black paint, I didn’t want to paint the main part of the boot and risk ruining the whole thing if the paint peeled or scratched. I knew I could live with a botched up sole, so I used frog tape and a garbage bag to cover all of the areas that I did not want to get paint on.

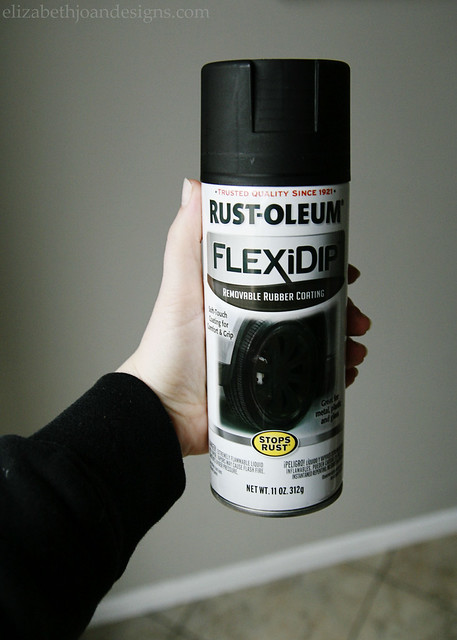
The paint I chose was Rustoleum Flexidip Removable Rubber Coating in Black, which I hoped would work well with the movement of the boots, since it was also rubber. I sprayed on 2 light coats.
While those were drying, I also decided to make some boot liners to keep my little guy’s feet warm if he needed something to wear in the snow.
I used an old black sweater, cut off the sleeves, sewed along one end of each, and that the sweater boot liners were ready to go.

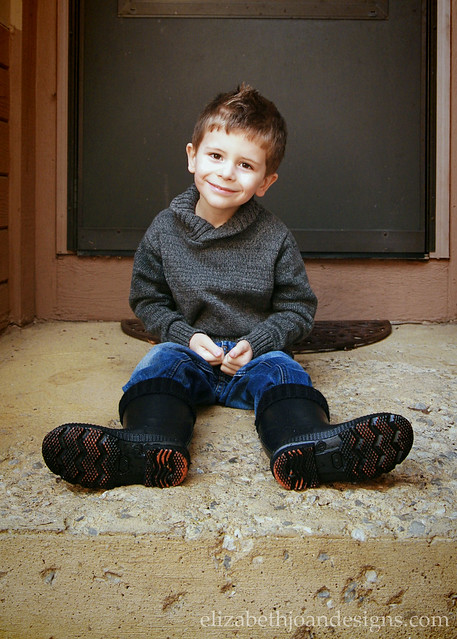
Here are the finished boots with liners next to mine. Adorable! I think it is so cute that my son wants to be a mini me. Or maybe he just likes black boots, but let’s pretend it is the former.

Of course, we had to get outside and take the boots for a test drive. My little guy scuffed and stomped and jumped. He showed those muddy puddles who was boss.

And after all of that work, some of that paint wore off the bottoms of the boots. But from the top they still looked pretty good and not red, so this dude was happy.
Even though I’m a little disappointed that some of the paint came off, I’m not surprised. It is removable paint and says so right there on the can. Plus, the soles of everyone’s shoes taking a beating. If at some point more of the paint wears off, I guess there is still plenty left in the spray paint can to give them a few more coats.
-
7 Fun Spring Ideas
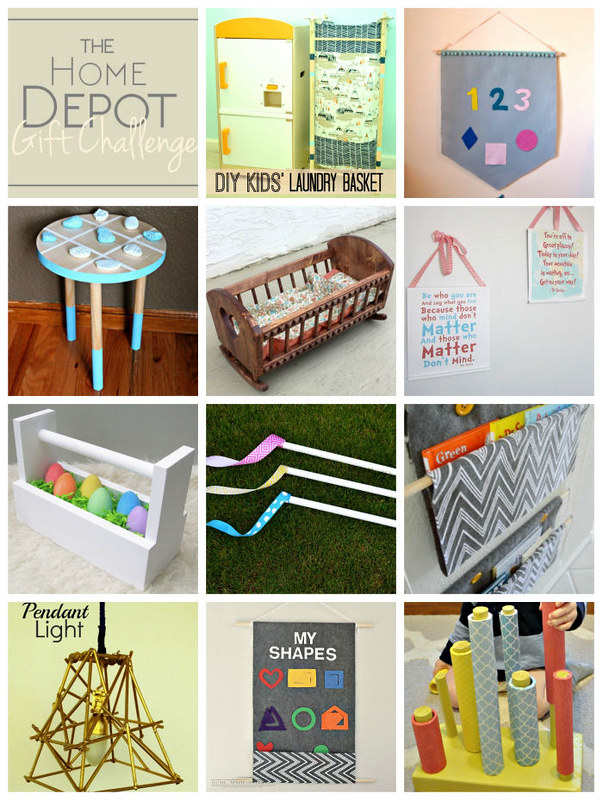
I can’t tell you how excited I am to have Spring right on our heels and honestly, it can’t get here fast enough for me. The temperatures here in the Midwest are warming up. And by that, I mean that it was in the 30’s today. Real warm, huh? Anyway, we thought we would share 7 Fun Spring Ideas that will help you kiss the cold of winter goodbye. Plus, you can whip these up in a flash, which is always a good thing.

Click on the images below to learn more!
1. A stylish gardening basket is the perfect gift for kids or adults. The gold accents are gender neutral and almost anyone will enjoy watching their little seedlings grow.

Gardening Gift Basket 2. Recycle an old broken laundry basket to make a neutral planter for your deck or patio. The breathable burlap material keeps soil in and even allows water to drain, so plant won’t drown.

Laundry Basket Planter 3. Try a new take on egg coloring/decorating with this neat idea. Who knew that eyeshadow could be so versatile?

Eye Shadow Easter Eggs 4. Learn how to start your own vermicomposting bin with this simple tutorial.

Vermicomposting 5. Customize a popcorn bucket to make an inexpensive basket for all of your Easter treats. Kids will love these with their favorite character or colors on them.

Easy Easter Basket 6. Create a creative new Spring wreath for your front door with a little moss, a cute butterfly and few minutes.

Spring Moss Wreath 7. Get your seedlings growing in no time. This tutorial uses recycled materials which are great for starting plants.

Toilet Paper Roll Plant Starters So what do you think of our 7 Fun Spring Ideas? Are you as ready as I am for longer days and warmer weather?
__________________________________________________________ You may also like:

Summer Hosta Wreath 
Strawberry Avocado Salsa 
Lavender Wreath 
Concrete-Esque Planter -
Fish Bowl Cover
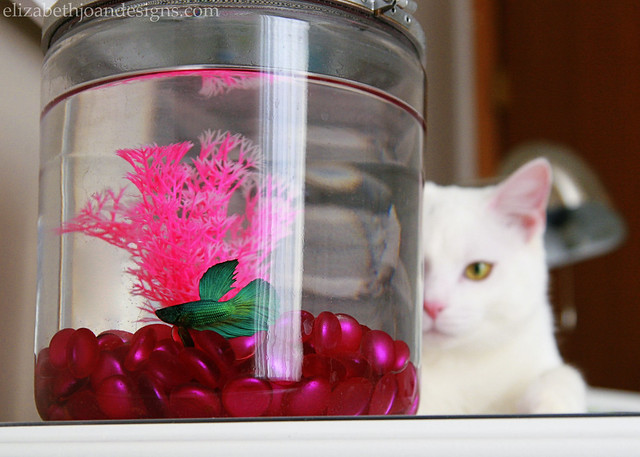
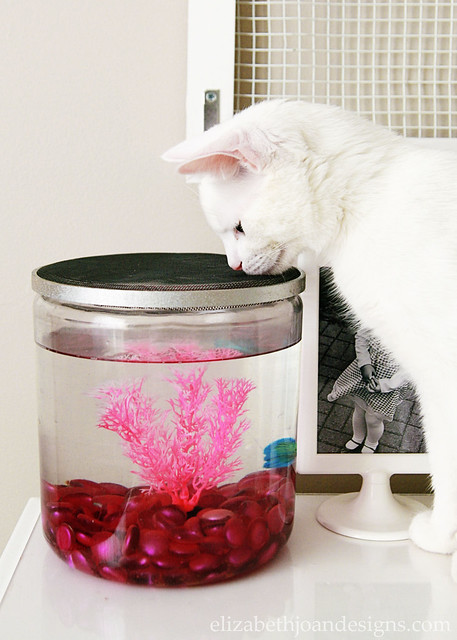
As you may already know, we are the proud parents of one sweet white kitty named Rowan. We also currently house a few Black Mollies, a small Panda Corydoras Catfish, and a nice little Betta Fish named Alpha. Because of the history between cats and fish, we’ve had to take precautions to make sure that our finned friends stay safe and don’t become a feline dinner. Every one of the fish lives in a covered aquarium, except Alpha, who resides in a large glass jar. Since we no longer have the lid that came with the jar (Oops,) we had to come up with some other sort of Fish Bowl Cover to keep curious kitty paws out.
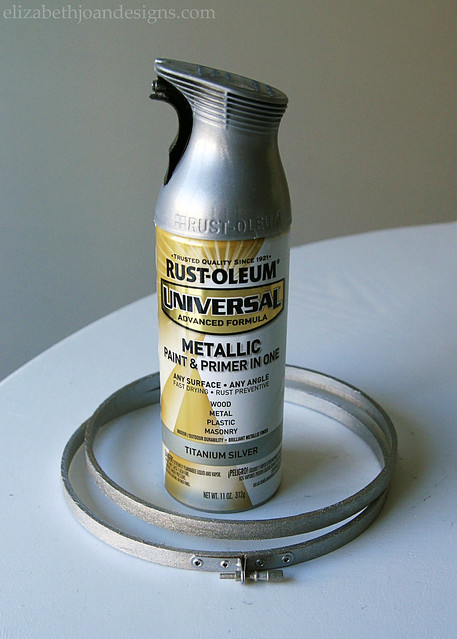
After a little brainstorming, I decided to try and use an embroidery hoop, which was the perfect fit for around the top of the jar, and some extra window screening we had.

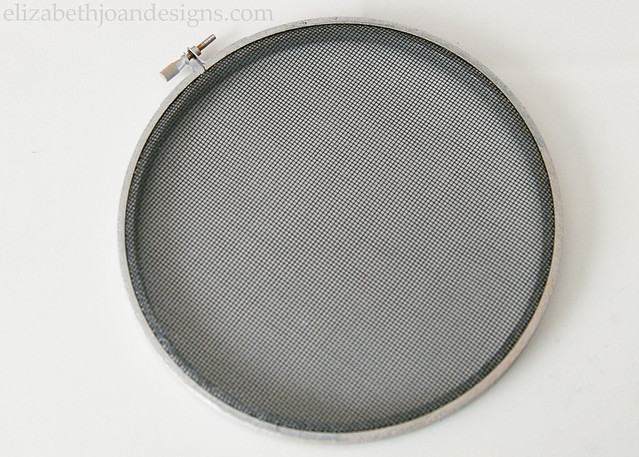
I also glammed up the hoop with some silver spray paint, since Aplha’s jar is our daughter’s room and she wanted it to look fancy. *wink*
Once the paint was dry, I placed the screen between the two pieces of the hoop and tightened the screw to hold it in place. Then, I cut around the edge to remove the excess screening.
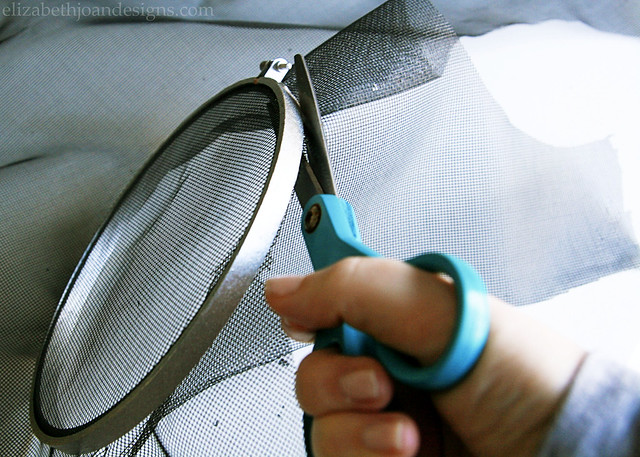
Not too bad!
As you can see, the fish bowl cover keeps the fish protected and the cat out. Now if only I could figure out how to keep toddlers away…
So, what kinds of ideas have you had to come up with to protect your pets/kids from the dangers lurking around?
________________________________________________________________ You may also like:
Concrete-Esque Planter 
Kid’s Tool Belt 
Pet Food Canister 
Kid’s Table Makeover