-
Patio Update on a Tiny Budget
Our little patio is nothing special. Until recently, we only had a couple of cheap, second hand patio chairs, a sand box for the kids, and our grill, which totally met our needs. However, with the warmer weather we’ve been having, I’ve been feeling the need to spruce things up. The only problem is that we don’t have a huge amount of money to throw into a patio makeover. We are currently saving for a few other big projects inside of the house, so I had to do a patio update on a tiny budget.
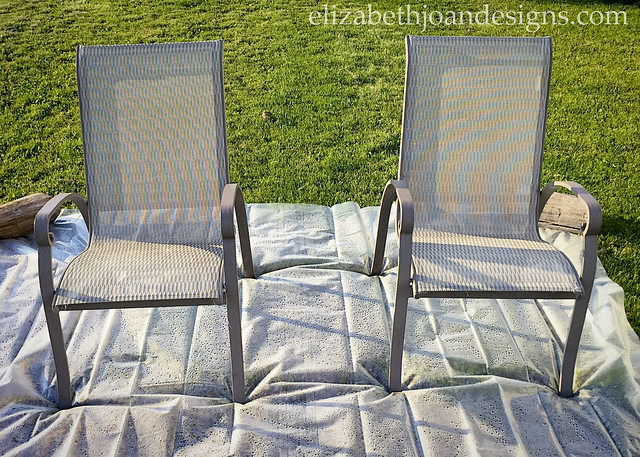
Unfortunately, I didn’t get a before photo, but you really aren’t missing out on much. These chairs were super cheap to buy and after a couple of years of use, the seats had started to fade and look weird.
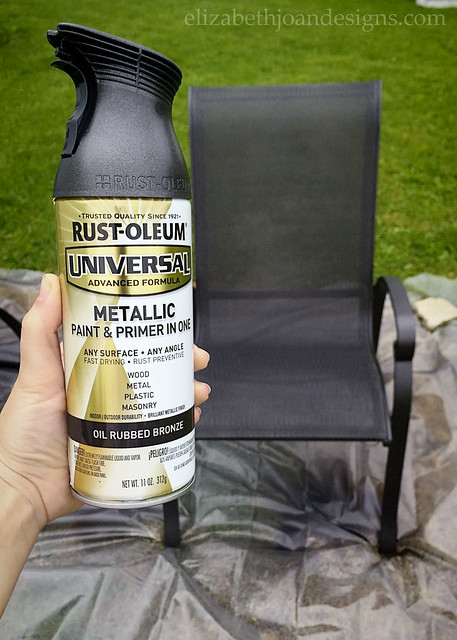
So, I grabbed a few cans of Rust-oleum Oil Rubbed Bronze spray paint and went over all parts of each chair. I was a tiny bit worried that the paint would effect the feel of the seats, but they are exactly the same to the touch as they were before painting. Plus, changing up the color really makes the outdoor space feel so much different and saved us from having to buy new chairs. Woohoo!
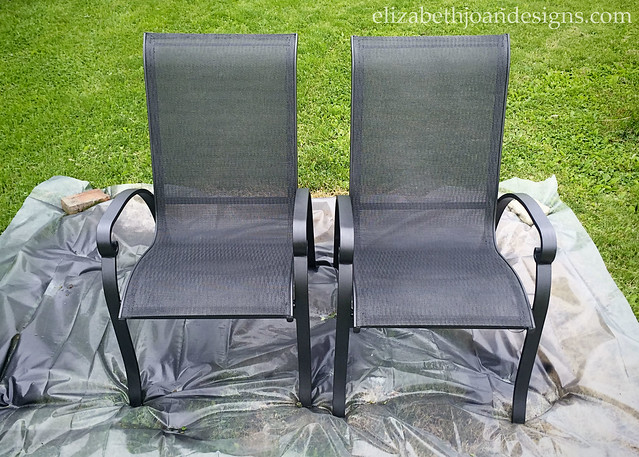
Here they are still drying, but I think they turned out pretty nice.
I also found some cool indoor/outdoor globe string lights at Target that I thought could be fun for the patio. (Dollar Spot for the win!) I wasn’t crazy about the blue color, so I grabbed some ping pong balls from the dollar store and changed them out for a more neutral look.
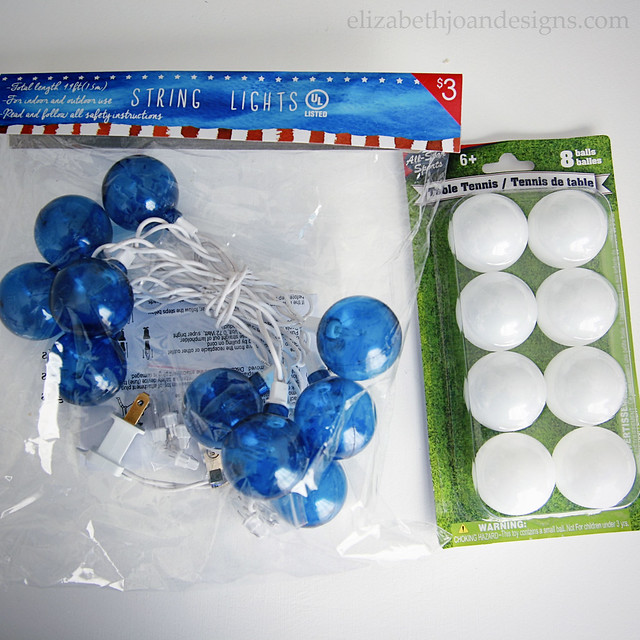
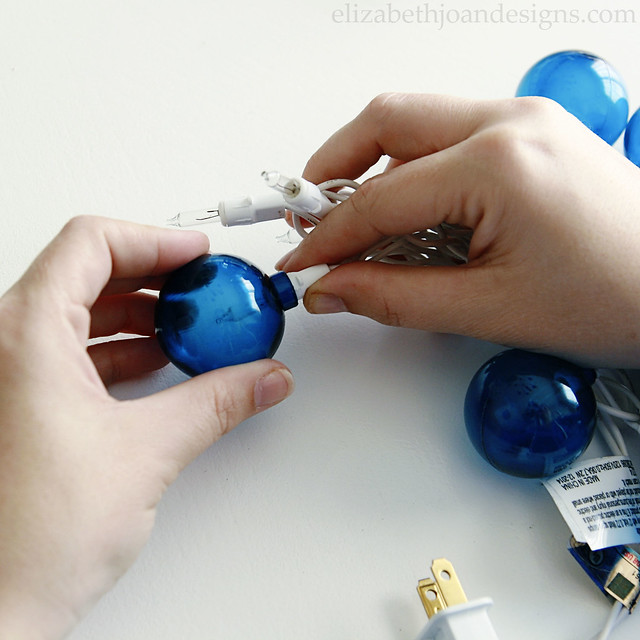
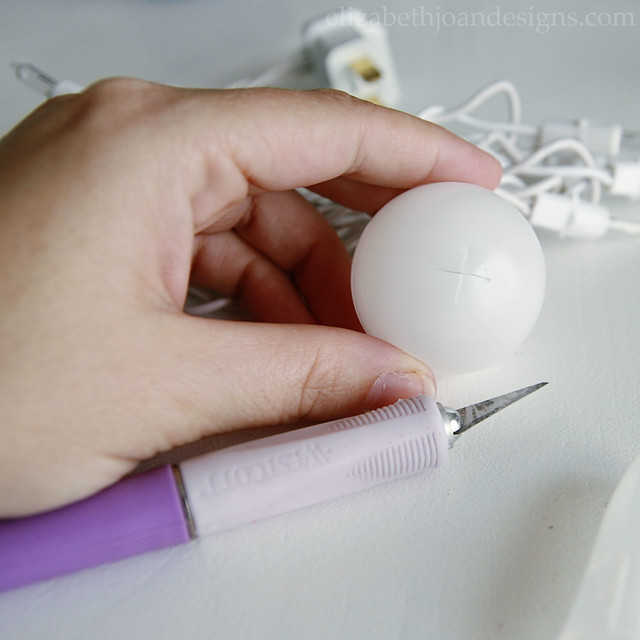
To add the ping pong balls, I used a craft knife to cut an X into each ball and then inserted a bulb into each. Easy peasy.

The striped lumbar pillows were a last minute idea. The fabric is from Ikea and I was hoping to cover some existing placemat pillows. Sadly, I measured everything incorrectly, so I had to wing it and sacrifice a couple of old throw pillows to stuff these. They turned out cute though, right?

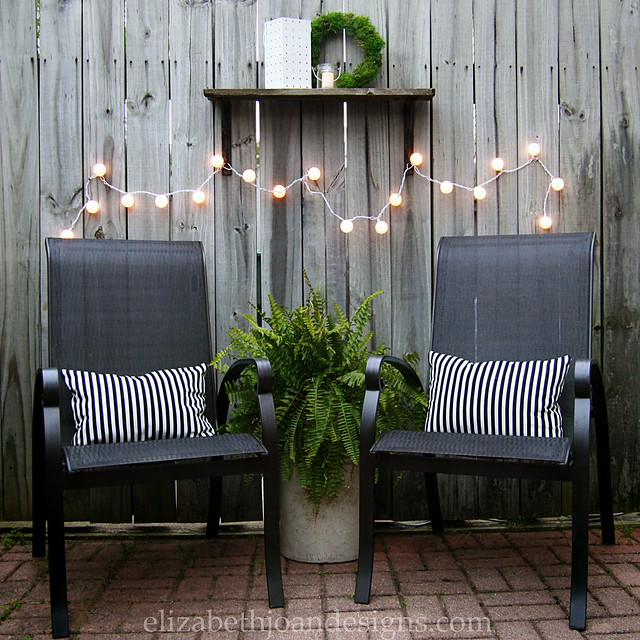
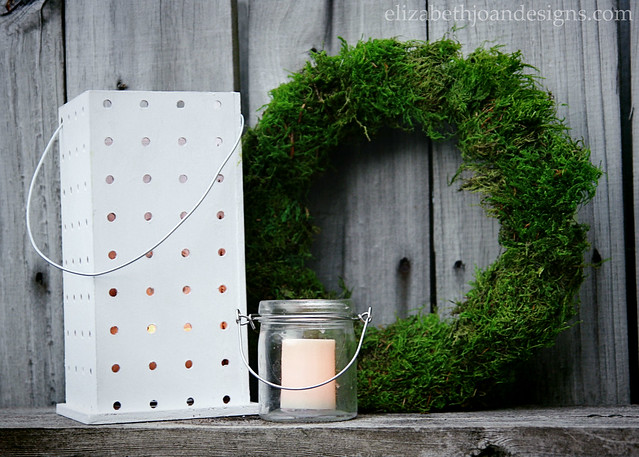
As for accessories, I grabbed our pegboard luminary and added a few other items from around the house. I love this pretty, yet simple, vignette.
In all, I think we spent about $30 total on this update, with the cost of paint and the little bulb lights. Not bad, huh? Although this is not the patio makeover of our dreams, I think it will totally make our time outdoors a bit more enjoyable. What do you think?
_______________________________________________________________ You may also like:

Painting Upholstery 
Bassinet Makeover 
Concrete-Esque Planter 
Patio Makeover -
Grilled California Club Pizza
Last night we had pizza on the grill. Yes, you heard that right. Grilled California Club Pizza, with chicken, bacon, cheese, tomato, lettuce, and avocado on it. Yum. But before you start to think we’ve lost our minds, hear me out.
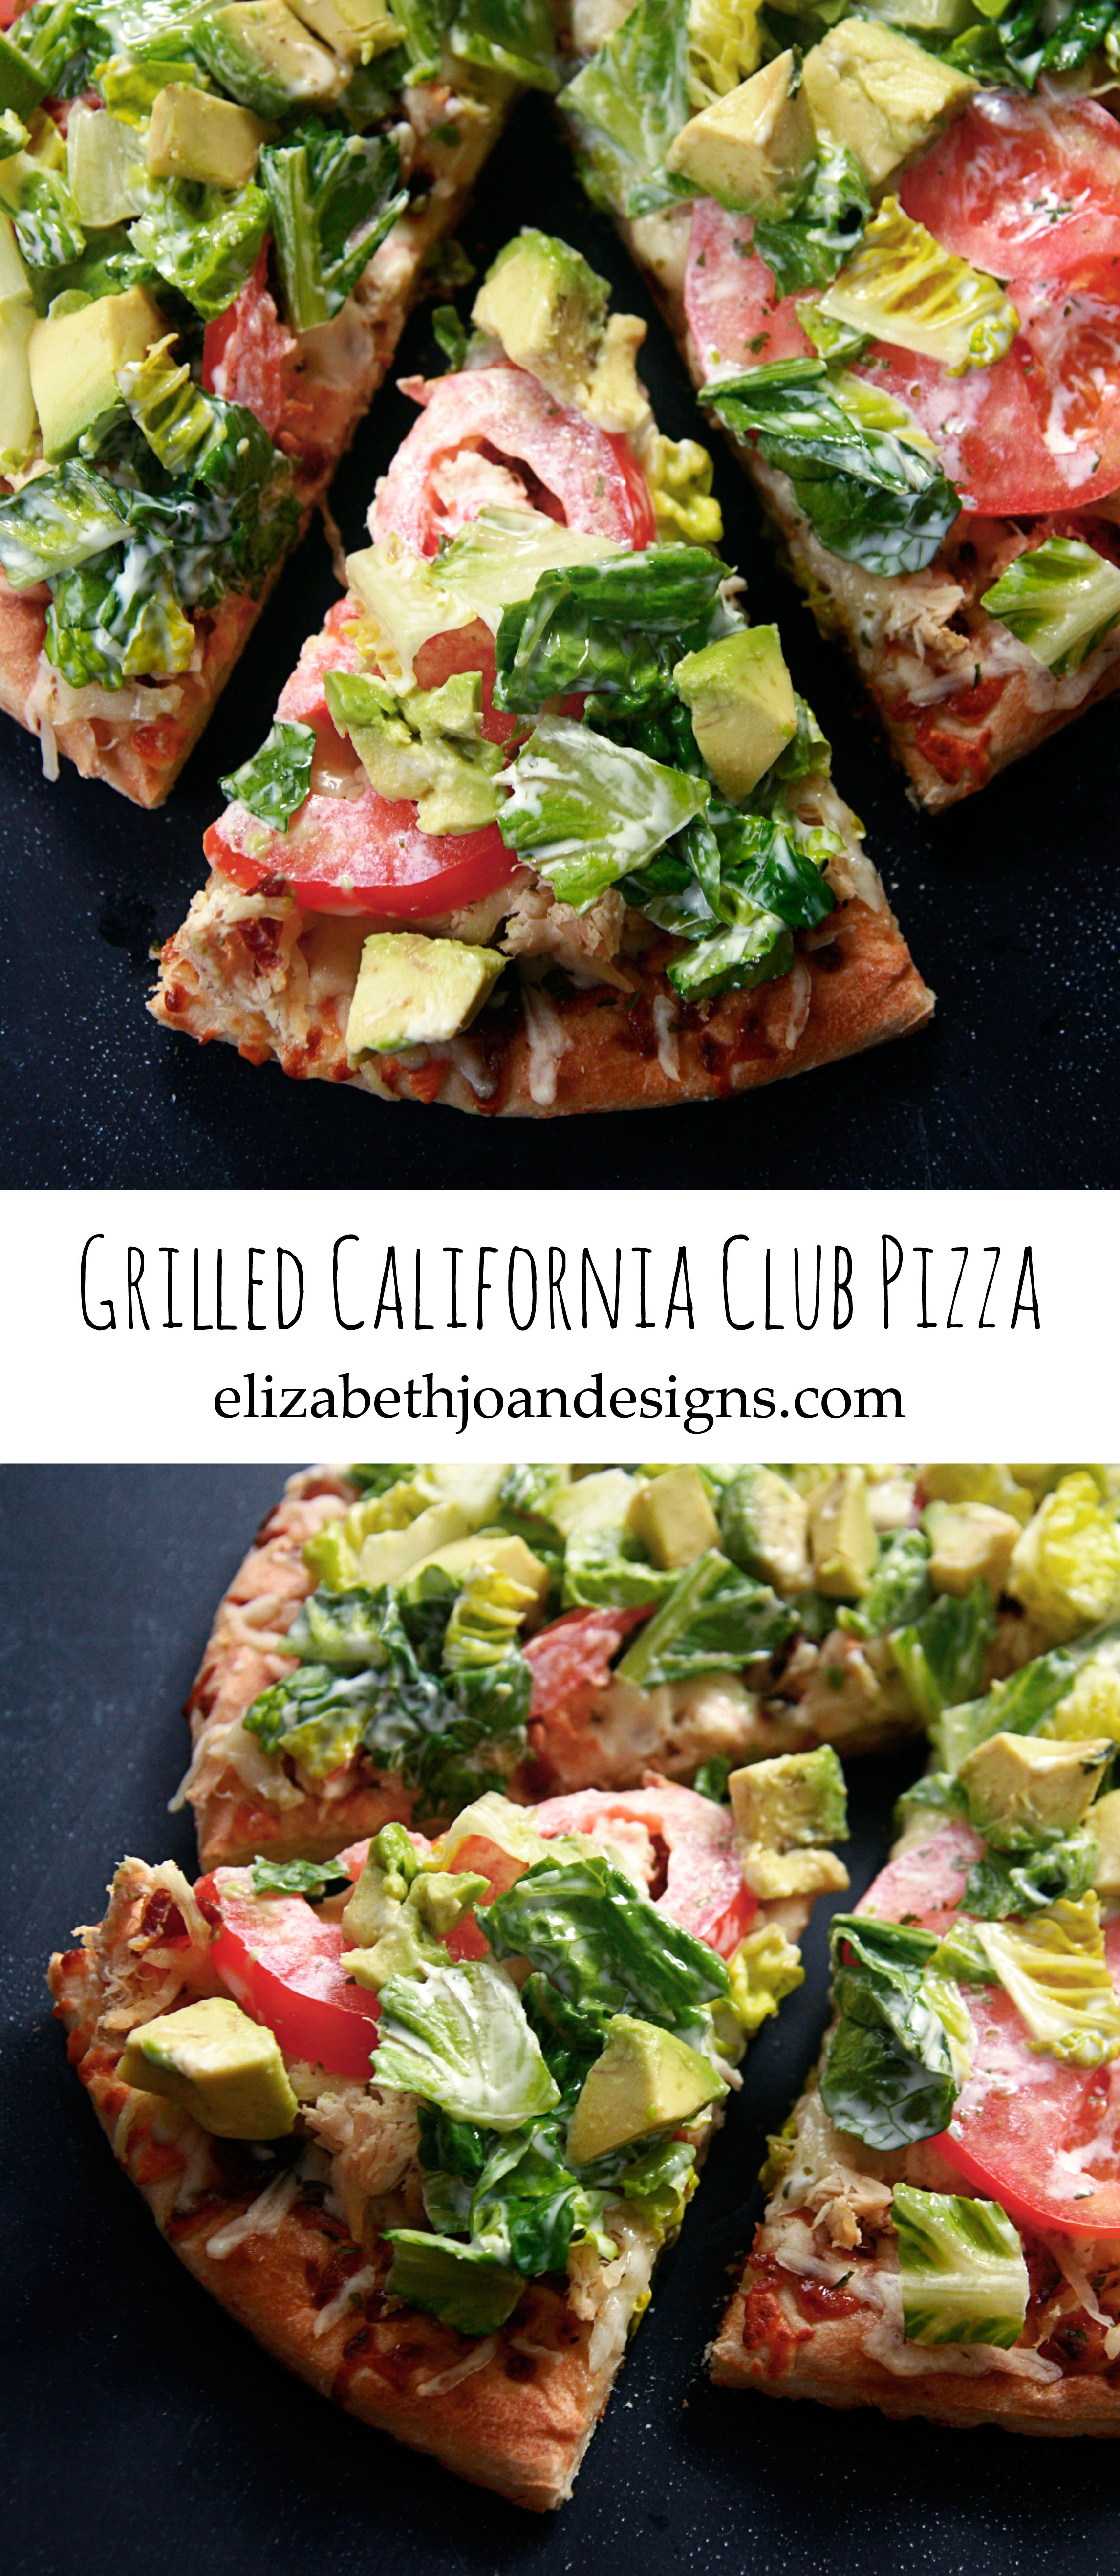
If you’ve never had pizza with lettuce and avocado on it, then you may be missing out. Seriously, this pizza is the bomb dot com. My mouth is watering just thinking about all of the yummy ingredients.
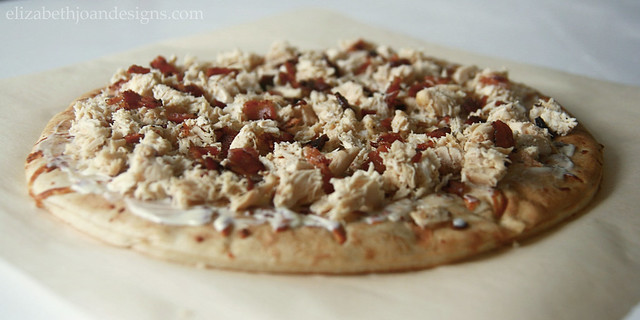
To make your own, start out by firing up the grill. Grab a pre-made pizza crust and spread some mayonnaise on top of it. That’s right. I said mayonnaise.

Next, sprinkle on some diced chicken and bacon pieces (both pre-cooked.)
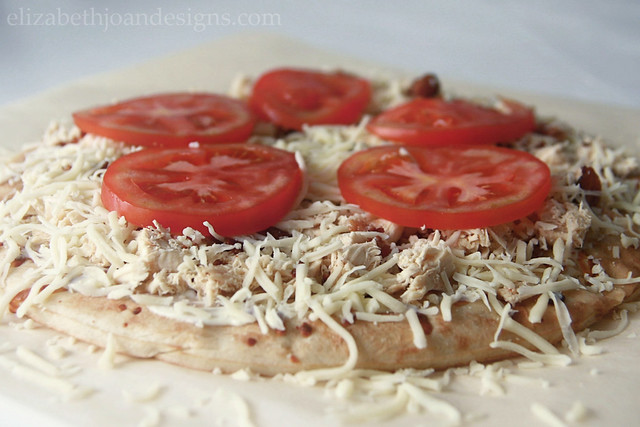
Then, add some mozzarella cheese and a few tomato slices.
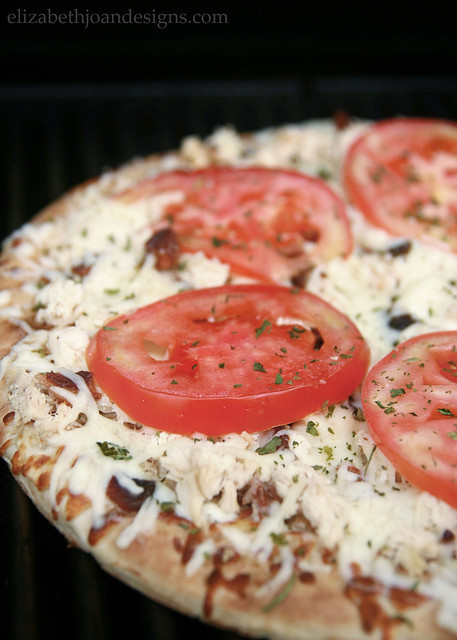
Place the pizza on the grill and let it cook until the crust is crispy and the cheese is ooey-gooey.
While the pizza is still on the grill, mix a couple of tablespoons of mayonnaise with some chopped lettuce. Try to resist dumping the whole bottle of mayo in the bowl. Add the lettuce/mayo combo, along with diced avocado, to the top of the pizza when it is finished.

Now, just to keep things real, I
don’t really likeloathe tomatoes, so I always pass them off to my hubby. However, our whole family absolutely loves this pizza. And it is totally tweak-able if you don’t like/can’t have some of the ingredients. (I.e. gluten, pork, etc.) Let us know if you try this one out!
California Club Pizza from Elizabeth Joan Designs
Ingredients
Premade Pizza Crust
1 Boneless Skinless Chicken Breast, cooked and diced
3 Slices of Bacon, cooked
1/3 C. Mozarella Cheese
1 Tomato, Sliced
4 Tbsp. Mayonnaise
1 ½ C. Lettuce, Chopped
½ Avocado, Sliced or ChoppedPreparation
Preheat Grill. Spread 2 tbsp. of mayonnaise evenly on the pizza crust, then layer with chicken, bacon, cheese and tomato. Grill until crust is crisp and cheese is melted and bubbly. In a bowl, toss the remaining 2 tbsp. of mayo with the lettuce. Layer lettuce and avocado on top of the hot pizza and serve.______________________________________________________________ You may also like:

Grilled Bread Salad 
Crock Pot Pizza Soup 
Ooey Gooey S’mores Bars 
Yum Yum Shrimp Boil -
How To Create A Clickable Image With Multiple Links
We have been asked quite a few of times how to create a clickable image with multiple links. OK. Maybe not in those exact words. But it is something that many people are interested in knowing how to do.
A clickable image with multiple links can have a ton of uses on a blog or website. It’s a great way to group like items together, such as social media icons and images from popular posts, which could also boost traffic. BONUS! It is also wonderful for blog hops (Hello fellow bloggers!), where you want to include images and links to other blogs in a post, and it is perfect for a round up of affiliate products or project/product gallery. Let’s get to the details of how to do it.

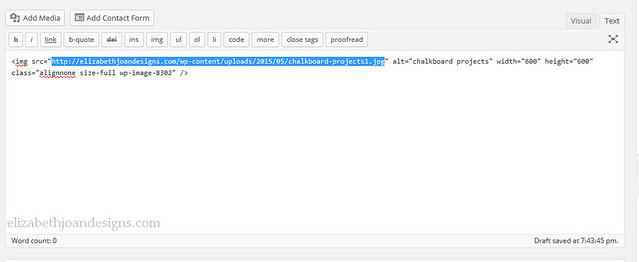
To start, you will need an image with various parts that you would like to link to. I made a collage (check out this post on how to make your own photo collage) of some of our favorite chalkboard projects and then uploaded the image to our blog and inserted it into a post. In addition to your website, you can also use an image hosting website (i.e. Flickr, Photobucket, etc.) You will want to view the HTML code for the image. Copy the URL from the image source (that’s the part just to the right of img src and inside of the quotation marks that starts with http.)
Next, go to the Image-Maps website, paste the URL in the white box, and click “Start Mapping”. When the new page is loaded, press “click to continue.”

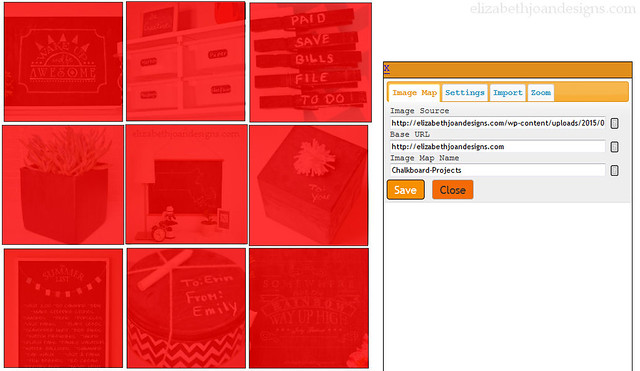
Then, it is time to start mapping. Right click on the image to bring up the menu. (For Mac users “Control + Click.”) Choose “Create a Rectangle/Poly/Circle” depending on what shape the is you are trying to map. I chose rectangle and resized it around my first square in the upper left corner. A little box will pop up and this is where you will enter the URL that you would like to direct the part of the image to. For example, I added the link to our Dry Erase Board Turned Chalkboard, since that is the part that my square is around. This is where you can also add in a title and alt tags if you so desire. Continue this process for each of the areas you would like to link to.
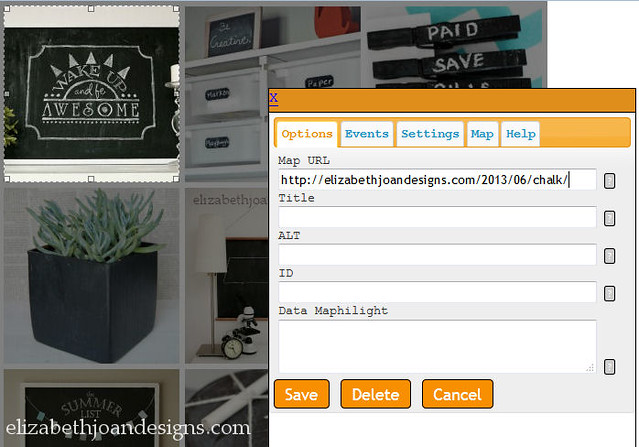
Once everything is mapped, right click again and select Options. Change the Base URL (to your website) and Image Map Name. We also change the options in the settings tab by un-marking all of the boxes. Once you are done changing everything, close the box and right click again. By this point, you may have an aversion to right clicking, but lucky for you, this is almost the end!
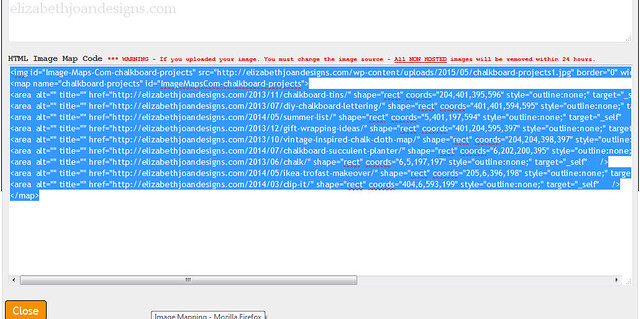
Select “Get Code” and choose the HTML code tab at the top of the pop-up. Scroll down and copy the entire HTML Image Map Code. Then, all that is left is to paste this code into your blog post, sidebar, etc.
Phew! That was a lot, but totally worth it. See, I was able to create this fun collage with links to each project!

And here are our social media icons, in which we used the same process.


There are really so many uses for clickable images with multiple links! In addition to just creating the linked image, you may also want to consider adding code to make the links open in a new window (adding target=”_blank” to the end of the anchor tag) and including rel=”nofollow” for affiliate links. So, what are you going to use your clickable image with multiple links for?
__________________________________________________________________ You may also like:

15 Furniture Transformations 
Laundry Basket Planter 
20 DIY Gift Ideas 
Chalk Cloth Map -
How To Create A Photo Collage
One thing that has been very beneficial when blogging is to know how to create a photo collage graphic. We’ve used photo collages for all kinds of posts to share a collection of like items or to save a little space when there are a lot of pictures in a post. If you haven’t already figured out how to make a photo collage, we are sharing a very simple (and free!) way to make one that will hopefully help you out.

I’ve been working with several different photo editing software programs for years, so I’ve learned a lot of the ins and outs on my own. Graphic design is sort of a hobby of mine. (Have you checked out our FREE printables?) Emily, on the other hand, is a bit more inexperienced and since she is still working on some blog skills in the midst of her already very busy life, buying and learning how to use a new software program has been low on the list. Luckily, we’ve found Pic Monkey and it has made putting together a photo collage a lot easier.
Here’s how to make your own and it’s super easy:

1. Go to Pic Monkey’s website and click on the collage icon.
2. Select the images you want to use in your collage from the appropriate folder on your computer. (For PC use the CTRL key/MAC use the CMD key to select multiple photos at the same time.)
3. Click the “OPEN” button.

4. Select the “LAYOUT” icon on the left of the screen and choose the ideal option for the collage you want to make. I love to use “square deal”, but you can pick between so many different choices.

5. Select the “PHOTO” icon on the left of the screen to view the photos you have uploaded.
6. Drag each photo over to the collage area and place it in the preferred space. You can move the image around, resize, and/or edit it a bit once it is in place.
7. Once all the collage is filled to your liking, choose the “SAVE” button at the top of the screen.

8. Before saving your collage, you can tweak the name of the file and change the quality/dimensions. For a blog graphic, we typically choose the middle quality and smaller dimensions (this also saves us some space on our computers), but if you eventually wanted to print out the collage, opting for higher quality and larger dimensions would make the end product look more clear.
9. Save the photo collage to your computer, making sure to note the folder you save it in so you can access it easily later on.

Now, that wasn’t too hard, was it? If you liked this tutorial and are interested in learning how to add multiple links to your collage for use on your blog or website, check out our post How To Create a Clickable Image With Multiple Links.
_____________________________________________________________________
You may also like:
Weekly Calendars 
Favorite Photography and EditingTools 
Split Pea Wreath 
10 Amazing Chalkboard Projects