-
Favorite Photography and Editing Tools
Since part of our blogging adventure includes showing fun photos of our projects and homes, we wanted to share some of our favorite photography and editing tools. The following list includes our favorite camera and software, as well as some extra supplies that we love.

This post contains affiliate links.
No. 1 – If you are going to be taking pictures, you definitely need a good camera and we don’t discriminate between brands. Emily uses Nikon and I’m a Canon girl. We love the Canon EOS Rebel T5i
as an entry level DSLR camera.
No. 2 – You can buy a new DSLR camera that comes with a kit lens, which is all fine and dandy. But if you want to up the game a little, adding a 50mm lens to your camera bag, will definitely have you seeing things more clearly. We love these lenses!
Canon EF 50mm f/1.8 II Camera LensNikon 50mm f/1.8 Camera Lens
No. 3 – We realize that getting supplies for all of your photography needs (and wants) can be pretty expensive, which is why we love the Neewer TT560 Flash Speedlite
. The price is right and this little gadget is great for brightening a dimly lit indoor space.
No. 4 – Got a shaky hand? Then the Joby GP3 GorillaPod
is the perfect way stabilize your camera. Plus, it is small and lightweight which makes it easily portable!
No. 5 – Shoot Fly Shoot is a great website that helps teach photography and Photoshop tips and techniques through online training videos. The format is very laid-back, letting you learn at your own pace. (Emily is already taking two of the classes!)
No. 6 – For Christmas, I received the Datacolor Spyder4Pro Display Calibration
as a gift and it has made such an amazing difference in the color of my photos. It corrects the colors of your computer screen so that when you are editing photos, you are seeing the things the way they should be. (I’m kicking myself for not getting this sooner!)
No. 7 – There are a lot of software programs for photo editing, but we absolutely love Photoshop! You can splurge on the full version or grab Adobe Photoshop Elements 13
if you are trying to keep to a budget.
No. 8 – If spending money on photo editing programs isn’t in the cards for you right now, we think PicMonkey is a great online alternative. They do offer a Royale version with a few more bells and whistles, but you can still do quite a bit with the basic one.
(In case you missed it, couple of weeks ago, we shared some of our Favorite Painting Tools & Supplies that we both love to use for DIY projects.)_____________________________________________________________________________ You may also like:

Vintage School Desk Makeover 
Concrete-Esque Planter 
Nightstand Makeover 
Office/Workspace Reveal -
Mouse Trap Photo Holder
I know the title “Mouse Trap Photo Holder” probably has you wondering what exactly has happened to my brain, but let me take a moment to explain. I love decor and DIY, but I’m horrible at adding art work or photos to our home. I’m just so fickle! Anyway, I was trying to come up with some sort of “art” to put above our piano and I decided to make some photo holders, that way we can switch things up as we please.
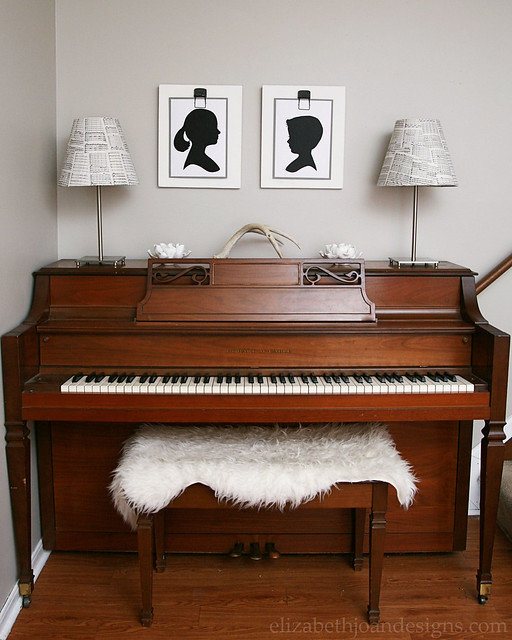
After looking at several options for making my own, I came across this DIY Gallery Wall Art from Ella Claire using mouse traps as the photo holders. Genius! However, I wanted to have individual boards to hang my artwork on, so I decided to deviate from that specific plan.
I started with 2 mouse traps purchased from the dollar store (in a pack of 4) and a 1″ x 12″ x 96″ board we bought at the local hardware store. We had a store employee cut our board for us so that we didn’t have to worry about it later. (The left overs will be used on another project!)

Using a sander, I smoothed the edges of the two boards. I also employed my hubby to trim and sand a little off of each end of the mouse traps to make them a bit smaller and better fit the boards.

Next, with a small foam roller I painted each of the boards white.

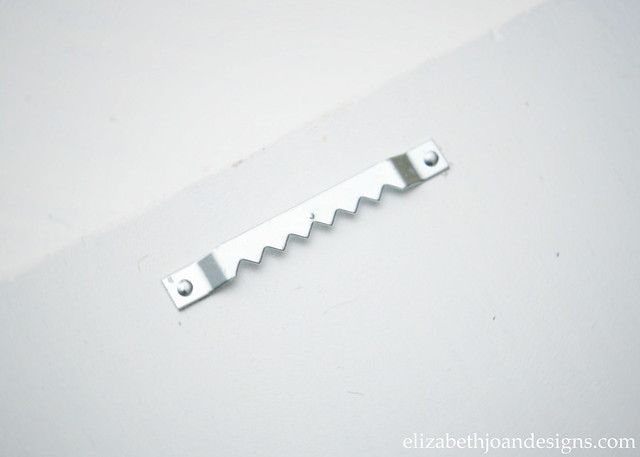
Once those were dry, I attached a saw tooth hanger to the back of each one.
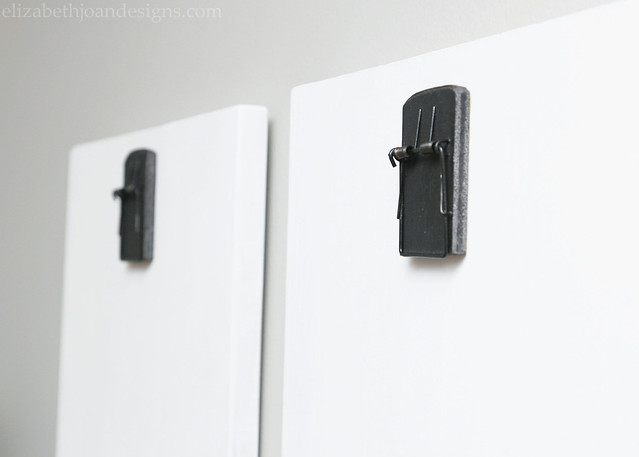
I painted both of the mouse traps with Rustoleum Universal Oil Rubbed Bronze spray paint and glued them to the fronts of the boards.
Then it was time to figure out some art work. I decided to go with the easy route and made a couple of silhouettes of our lovely children. (Follow our Simple Silhouette tutorial to make your own.)

Aren’t these fun? Our piano-scaping (yes, I just made that up) still has a little tweaking to be done, like adding some new lamps and maybe a plant and different tchotchkes to liven things up. But I’m really enjoying how this space is starting to look!
________________________________________________________________ You may also like:

Horseshoe Plate Holder 
Gardening Gift Basket 
Ikea Apa Storage Makeover 
Cable Spool Clock -
Frayed Heart Pillow
We don’t typically decorate for Valentine’s Day, besides the occasional window decal or heart garland for the kids. However, this year I decided to turn things up a notch and make an easy, neutral frayed heart pillow. Ok, I guess that is only 0.01 notches, but you get the picture.

To make this pillow, you will need:
– pillow form
– fabric in two different colors (I used canvas drop cloth and white cotton fabric)
– scissors
– sewing machine
– heart template
– fabric pen
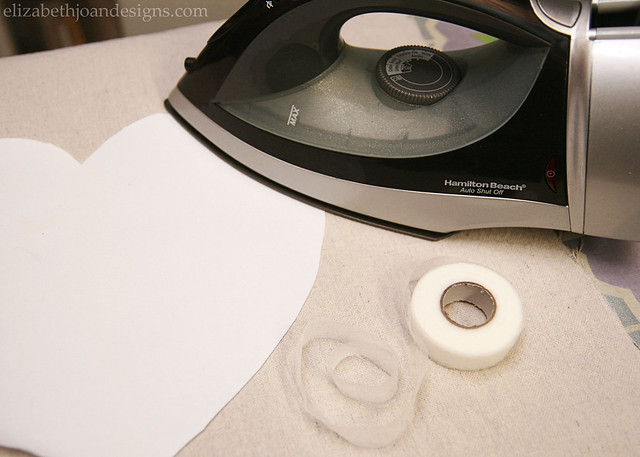
– stitch witchery
– ironTo start, I cut out my main pillow fabric pieces from drop cloth (left over from the re-upholstry of an old chair.) I made the pillow cover envelope style. You can find tons of tutorials for this online.
Next, I guesstimated how large I wanted my heart to be, free-handed a heart on a couple of pieces of cardstock, and cut it out to make a template.
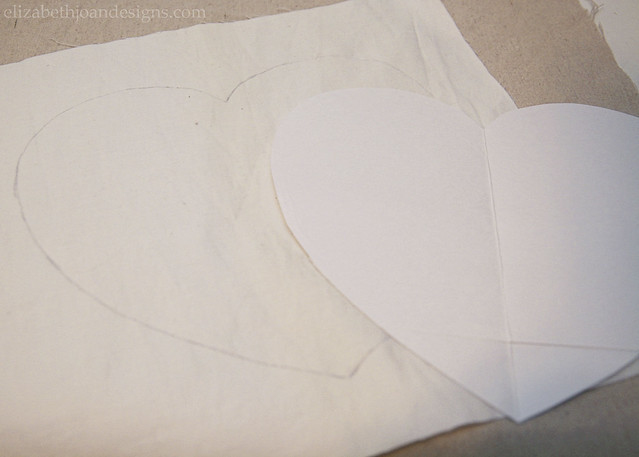
Placing the template on my white fabric, which was also extra from a project, I traced around the edges and snipped around it with some scissors.
Then, I centered the white heart on the front piece of my pillow case and attached it with some stitch witchery and my iron.
After that, it was time to get sewing. I sewed around the outside of the heart, leaving a little edge to be frayed.

To finish up, I sewed the rest of the pillow case together, ran it through the washing machine, and inserted my pillow form once it was dry.

What do you think? This was such a fun and simple way to add a little Valentine’s love to our home. The best part is that the pillow doesn’t have to go away once the holiday is over, since it is neutral and will work with our decor!
________________________________________________________________ You may also like:

Placemat Pillow 
French Lettered Milking Stool 
Valentines Watercolor Art
Cable Spool Clock -
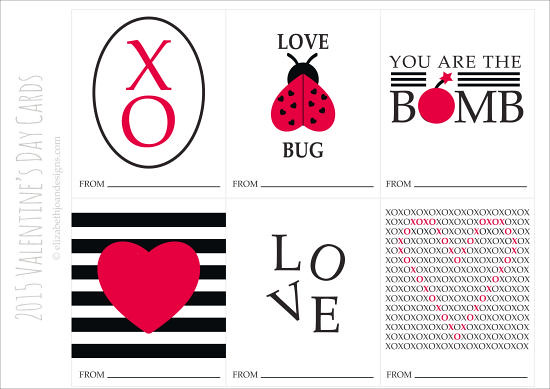
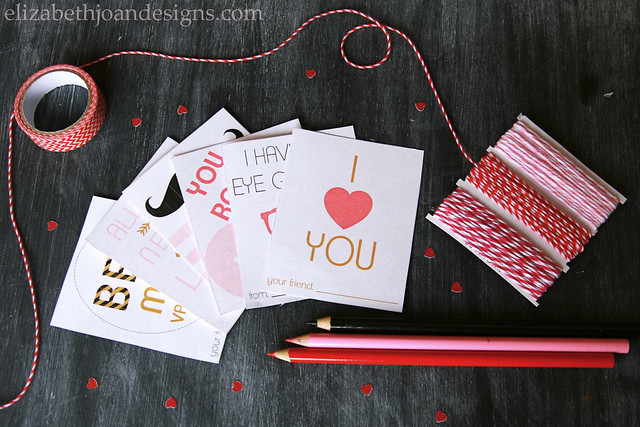
2015 Valentine’s Day Cards
Valentine’s Day will be here before you know it and we wanted to share some fun printable Valentine’s Day Cards for 2015. These cute cards will be perfect to send with the kiddos to school (“not too gushy” as my 10 year old would say) and can be easily shared with friends, family or your love.
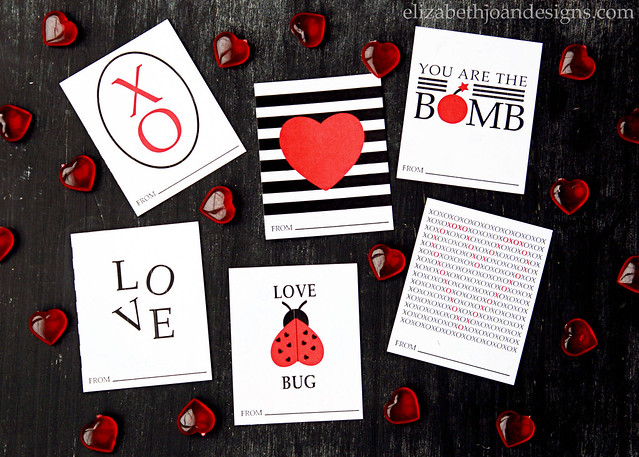
Download yours for FREE in The Gallery!
________________________________________________________________ You may also like:
Valentines Watercolor Art 
Heart Candle Holder 
Heart Stamps 
Anniversary Art