-
Organize Your Organized Toys
Alright, I may sound kind of crazy here, but this is a post about organizing toys that are already organized. I know, it sounds nuts, but hear me out.
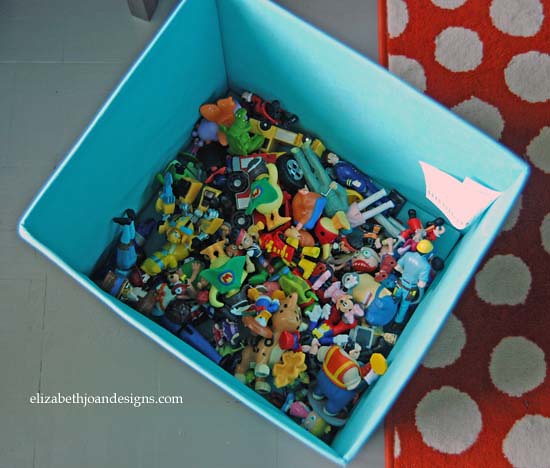
We have several IKEA Drona fabric bins for toy storage in the playroom. These bins are awesomely huge and hold tons of stuff. When it comes to small toys, it does gets hard to sift though everything just to find what you are looking for. To make our lives easier, I came up with a solution to organize the bins and keep sets of toys together.
Here’s what I did:
First, I sorted the toys and piled like toys and sets together.

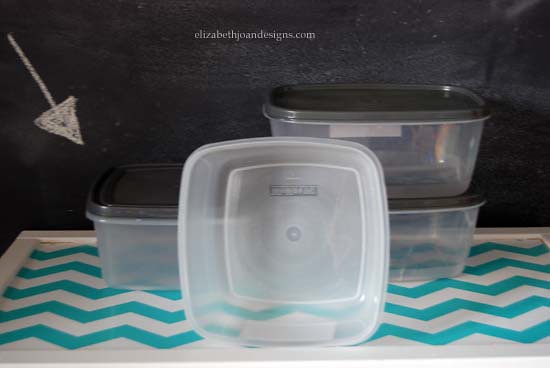
Next, I put each grouping into a smaller plastic container.

I stocked up on mine at the dollar store. I bought clear ones, so my boys could see what was inside of them. My two year old loves to pick off stickers, so labeling them was out of the question for us. the bonus is these are pretty easy for the kids to open on their own.
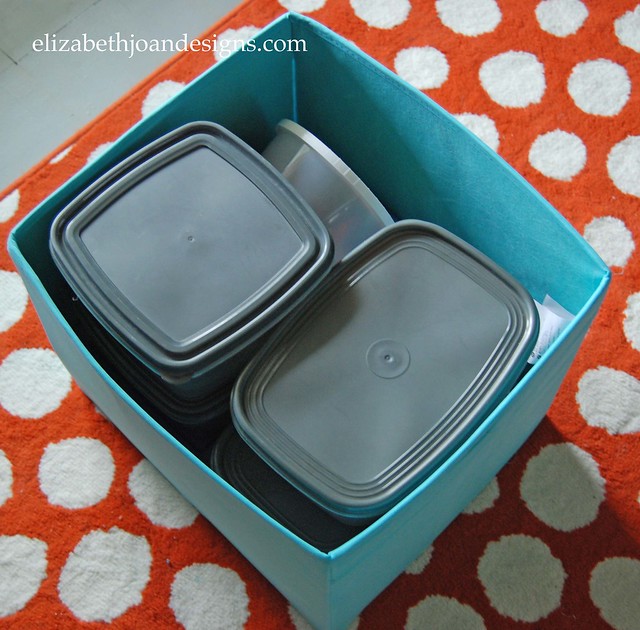
The odd-ball toys that just don’t fit in a specific grouping were placed together in a shoe box sized container.

Then, I organized the tubs inside the fabric bins.
Tada! Now when my little men are wanting to play with Jake and The Neverland Pirates, we don’t have to spend time searching around for the entire crew.
The boys are loving these smaller containers to carry around and are doing a pretty good job of cleaning up after themselves too. I call it a win for everyone!

___________________________________________________
You may also like:

Ikea Apa Storage Makeover 
Toy Rotation 
Ikea Trofast Makeover 
Industrial Numbered Storage -
Your Designs This Time No. 16
Welcome to Your Designs This Time No. 16. Thank you to everyone who has linked up and made this a success. Your projects are so inspiring and we love seeing all of them. We will be sharing more of your awesome ideas on Facebook, Twitter, and Google Plus throughout the week. Also, be sure to check out/follow our Pinterest boards too. We are pinning all of our favorites.
What we’ve been up to:

Printable Paper Collection and BBQ Blog Hop 
Protecting Plants from Voles
FeaturesWhat a great guest room transformation from Our Secondhand House. Beautiful!

We can’t tell you how much we each want one of these awesome DIY trays from Our House Now a Home.

We are totally in love with this stunning sewing room update from Sara at Stripes and Polka Dots.

Katie from Little House of Four is so creative! Can you believe these adorable frames are made from a pallet?

This beautiful Entry makeover was shared by Shonee from Hawthorne and Main. Love the Stripes!

The Details– Each week we will be featuring our favorites, as well as choosing a lucky few for our monthly “We Dig It” posts. By submitting a link, you authorize Elizabeth Joan Designs to feature your project on our blog and social media. (This includes a photo from your project’s post and a link back to your blog.)
– Link up only YOUR OWN new designs, projects, or ideas.
– No Etsy stores, giveaways, or link parties please.
– We love seeing your latest projects, and by linking up, you authorize Elizabeth Joan Designs to send you a weekly invitation to Your Designs This Time.
– We would love for you to follow us.


– Please feel free to add our button to your blog or a visible link back to the this post, so others can join in.


-
Yeah…I’m going to need you to leave!
This may not be my prettiest project to date, but here is how I have been spending my time lately.
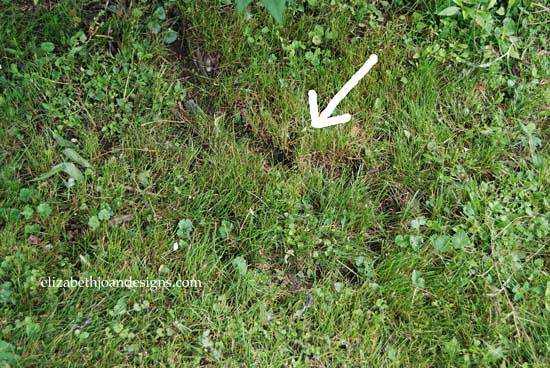
Do you know what voles are? It’s okay if you don’t. I didn’t know what they were until a whole slew of them moved in under the base of our air-conditioning unit. They are field mice that love, love, love to eat vegetable plants. Lucky for them, their new home was located directly next to our vegetable garden. Not so lucky for us. They would scurry out from their nest and pluck my plants one by one for a delicious meal. It’s one thing to scurry about my yard and a whole other thing to eat my plants! Plus they leave these little ruts wherever they go.
I tried using my manners and asking politely and they just ignored me. Can you believe that? This was war! We chased our little furry friends all over trying to scare them away. (I also tried to get a picture of them and was unsuccessful.) We even tried live traps, but they are no fools. They were definitely on to us. I called my family members getting advice and nothing was working. Erin even suggested that I call 1-888-MICKEY-MOUSE. But when I did, there was no answer. So, to the internet I went.
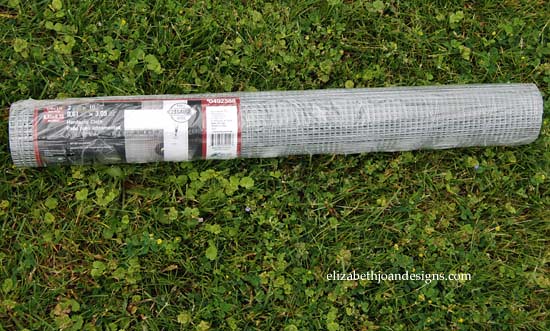
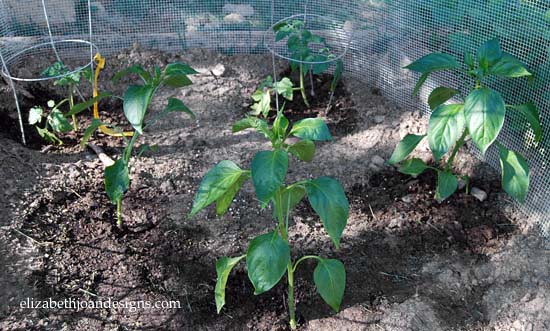
After hours and hours on the computer looking around, I found that installing hardware cloth around the plants was the most effective way to keep my veggies safe. Immediately after reading this, I was on my way to the store to pick up a roll of 1/4″ steel hardware cloth.
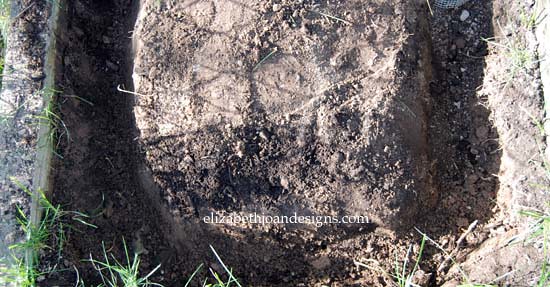
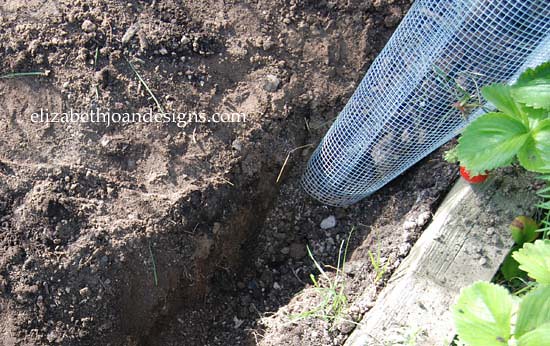
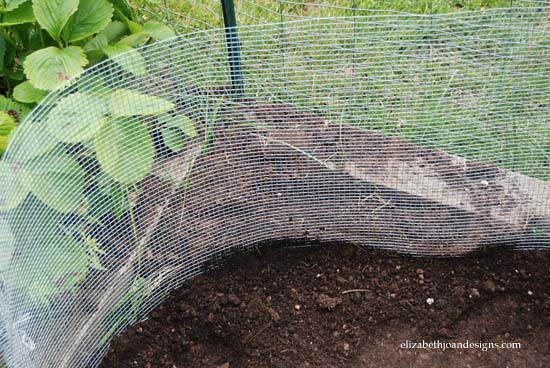
To install the fence, I first dug a 12 inch deep trench around in my garden area and placed the hardware cloth in it.
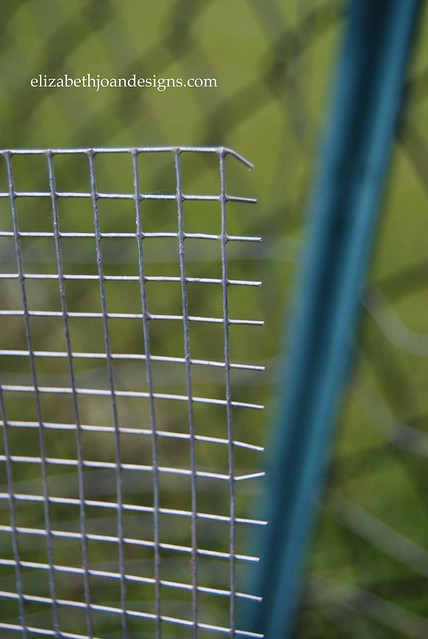
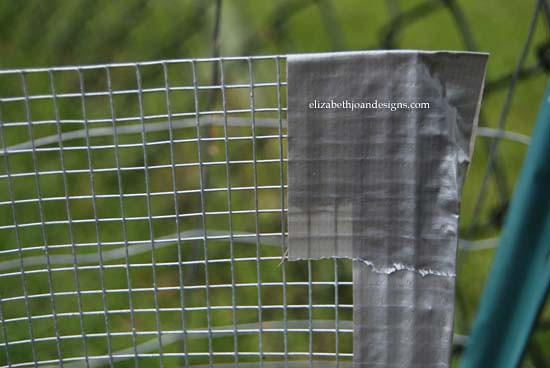
Next, I cut the fencing to fit the space and on the ends where the mesh met back up, I used a few zip ties to keep it together.
After that, I placed some duct tape on the sharp edges of the fence. I am not sure how long this will stay on there, but I wanted to try to protect my little ones from getting cuts when they are helping in the garden.
Finally, I filled the trench in with dirt and this held the fence in place.
Although it took a little while to do, I think the installation of this fence went pretty smoothly. Will it keep the voles away? I don’t know about that, but stay tuned for an update soon!
Have you ever encountered these furry, little trouble makers? If so, what did you do to make them leave?
___________________________________________________
You may also like:
Laundry Basket Planter 
Gardening Gift Basket 
Patio Makeover 
Glazed Herb Planter -
Your Designs This Time – No. 15
Welcome to Your Designs This Time No. 15. What have you been up to this summer? If you are in need of some ideas, check out our Summer List. Thank you to everyone who has linked up and made this a success. Your projects are so inspiring and we love seeing all of them. We will be sharing more of your awesome ideas on Facebook, Twitter, and Google Plus throughout the week. Also, be sure to check out/follow our Pinterest boards too. We are pinning all of our favorites.
We want to congratulate entry #228 Amanda W., the winner of the $50 Pottery Barn Gift Card Giveaway, and thank everyone who celebrated our Blogiversary week with us!
Now on to this weeks linkup:
The Features
Melissa at A Prudent Life shared her creative idea of a woven top remote box. Too cute!

This Pottery Barn knockoff table, from Kristi at Making In The Mountains is absolutely beautiful.

Are you looking for simple ideas for making a room your own? Look no further than these 5 easy ways to personalize your space from Megan at Latte Everyday.

Amanda at Burlap and Babies transformed an old broken mirror into this awesome framed chalkboard. Love it!

Using supplies already on hand, Christina, from Operation Home, made this stunning art piece for her home. This tutorial is a must see!

The Details
– Each week we will be featuring our favorites, as well as choosing a lucky few for our monthly “We Dig It” posts. By submitting a link, you authorize Elizabeth Joan Designs to feature your project on our blog and social media. (This includes a photo from your project’s post and a link back to your blog.)
– Link up only YOUR OWN new designs, projects, or ideas.
– No Etsy stores, giveaways, or link parties please.
– We love seeing your latest projects, and by linking up, you authorize Elizabeth Joan Designs to send you a weekly invitation to Your Designs This Time.
– We would love for you to follow us! Find Elizabeth Joan Designs on Facebook, Pinterest, Bloglovin’, Erin’s Instagram and Emily’s Instagram.
– Please feel free to add our button to your blog or a visible link back to the this post, so others can join in.