-
Tips for Cleaning Your Clothes Iron

*Repost*
For those of you out there who make mistakes, I am here to tell you, that you are not alone. I myself, have made one or two.
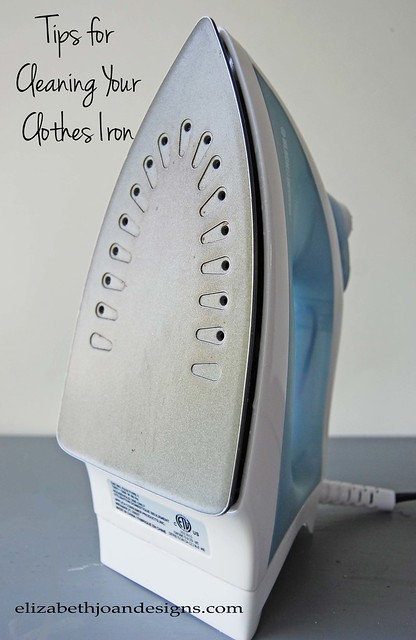
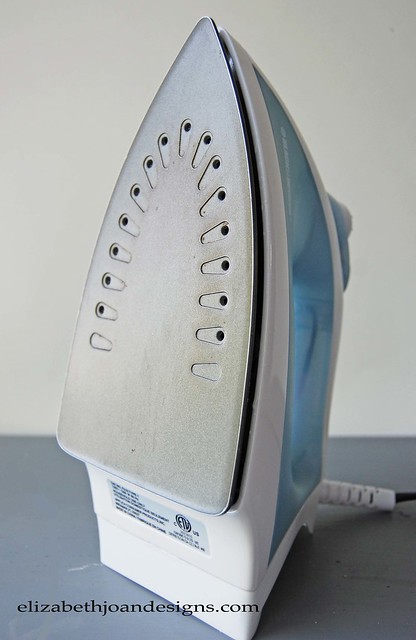
Enter the dirty clothes iron.
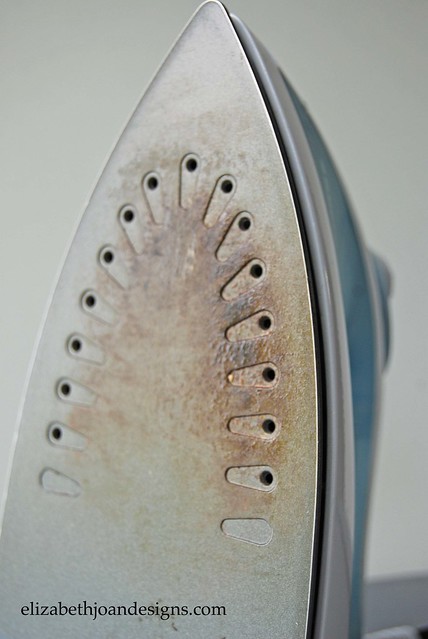
About a year ago, I was making an Easy no-sew receiving blanket for a friend’s baby. I quickly realized my clothing iron was in desperate need of a good scrub down when it left a sticky brownish splotch on the clean new fabric.
There was so much gunk stuck to the metal plate on the iron, that it reminded me of gooey tar on an old country road during the heat of the summer. Yuck!
So, here’s how I cleaned off that hogwash.
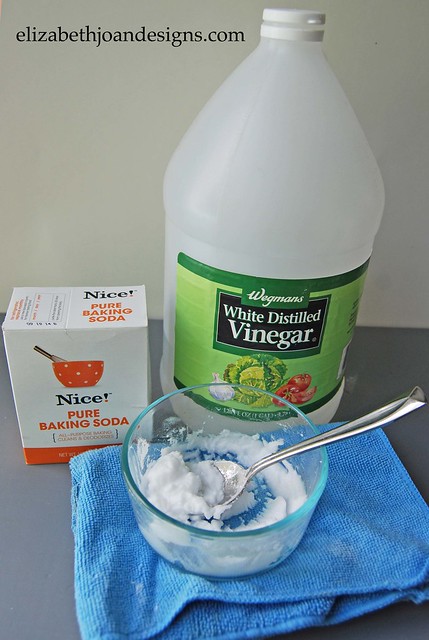
Fist, I mixed up a paste consisting of vinegar and baking soda. No exact measurements here. I just mix until it was a paste consistency.
Next, using a soft cloth, I rubbed the mixture onto the dirty iron. I scrubbed a little bit and the gunk came right off. Yay! To clean the water tank, I just rinsed it out with a solution of 2 parts water and 1 part vinegar.
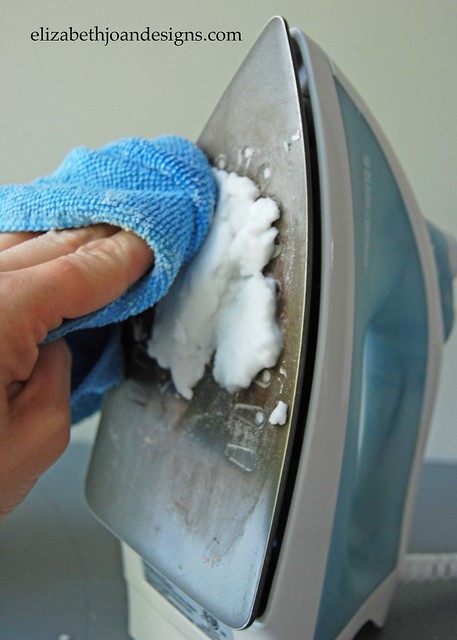
Worked like a charm!
Have you made this mistake before? If yes, let us know the best method you found for cleaning your clothing iron, or did you just toss it in the garbage, buy a new one, and call it day? Leave us a comment. We’d love to hear from you!
___________________________________________________ Giveaway
Don’t forget to enter for a chance to win a $50 Pottery Barn Gift Card here. Good luck!___________________________________________________
You may also like:
How To Clean Makeup Brushes 
Weekly Cleaning Checklist 
Spring Cleaning 
File Cabinet To Garage Storage -
Dollar Store Owl Makeover
*Repost*
In celebration of our one year blogiversary, we are re-sharing a few of our first projects with you this week. This was the first blog post I published a year ago.
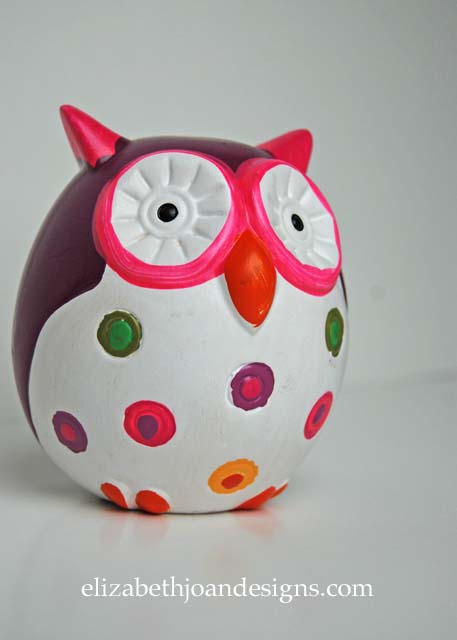
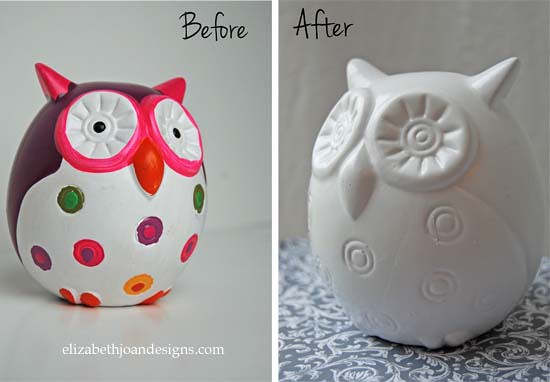
I purchased this little ceramic owl friend at one of my favorite stores, The Dollar Tree. I found him to be quite cute, but a tad brighter than my typical gray, black, and white décor. To help him blend into my neutral colored home, I decided a makeover was just what he needed and turn him owl-white.
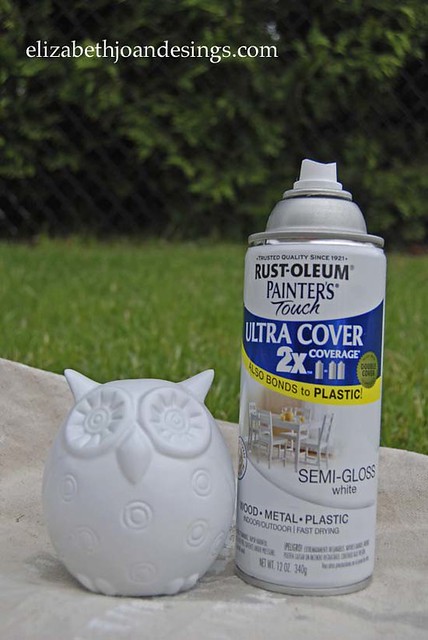
I applied two coats of Rust-oleum Painter’s Touch Ultra cover semi-gloss white spray paint to the owlet and let him dry. Look he’s owl-done!
Isn’t he a hoot? Whoo wouldn’t want one of these? I think he turned out owl-dorable! (Sorry, I could resisted all of the over the top owl puns. Hehe!)
What are your favorite purchases from the dollar store?
___________________________________________________ Giveaway
Don’t forget to enter for a chance to win a $50 Pottery Barn Gift Card here. Good luck!___________________________________________________
You may also like:
Wall Decal Coasters 
Budget Friendly Glass Hurricanes 
Mason Jar Ring Pumpkin 
Faux Metal Letter -
Land of Nod Inspired Memo Boards
Our playroom is still coming along slow and steady. It is the “Little Engine That Could” of the rooms in our house. I constantly have to keep telling myself, “I think I can. I think I can. I think I can.”
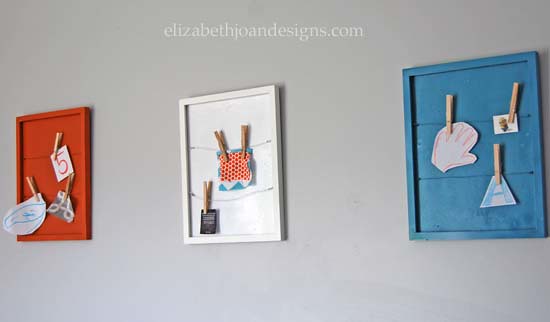
Recently, I have been working on completing the final touches. For some of the wall decor, I wanted to make something that brought in color, but still served a purpose. That is when I stumbled upon these cute Memo Boards from Land Of Nod. They are perfect for our needs and an easy DIY project.
They are really easy to make with a picture frame with a backing, eye-hooks and wire. Here is how I made them:
First, I went through our unused picture frames we have in our basement and came across a few of these awesome IKEA Ribba frames to use.
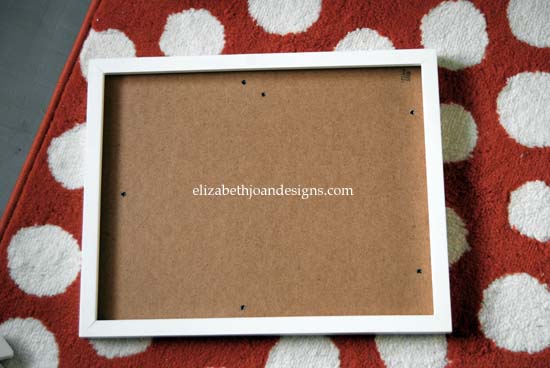
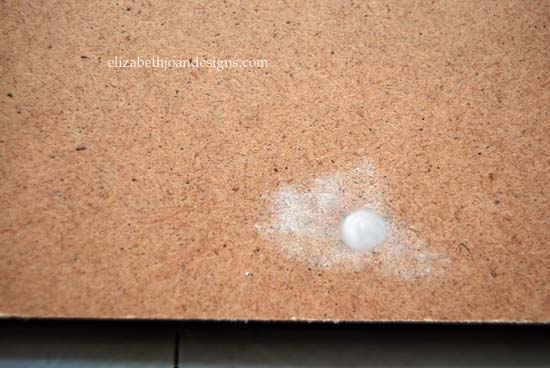
To cover up the tiny holes in the backing, I smeared a bit of nail hole filler across the spots.
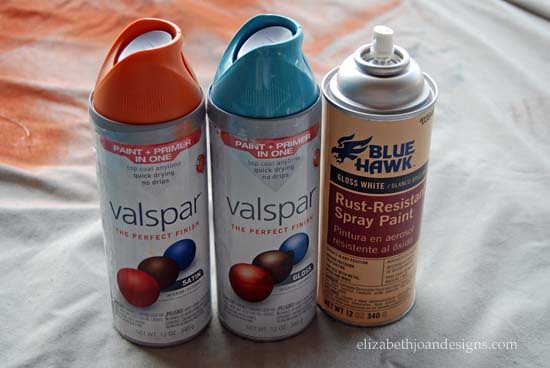
Next, I spray painted all of the components. I wanted three of these memo boards to hang up. One in orange, one in aqua and one in white. (For the white one, I did not paint the frame, as it was already white.)
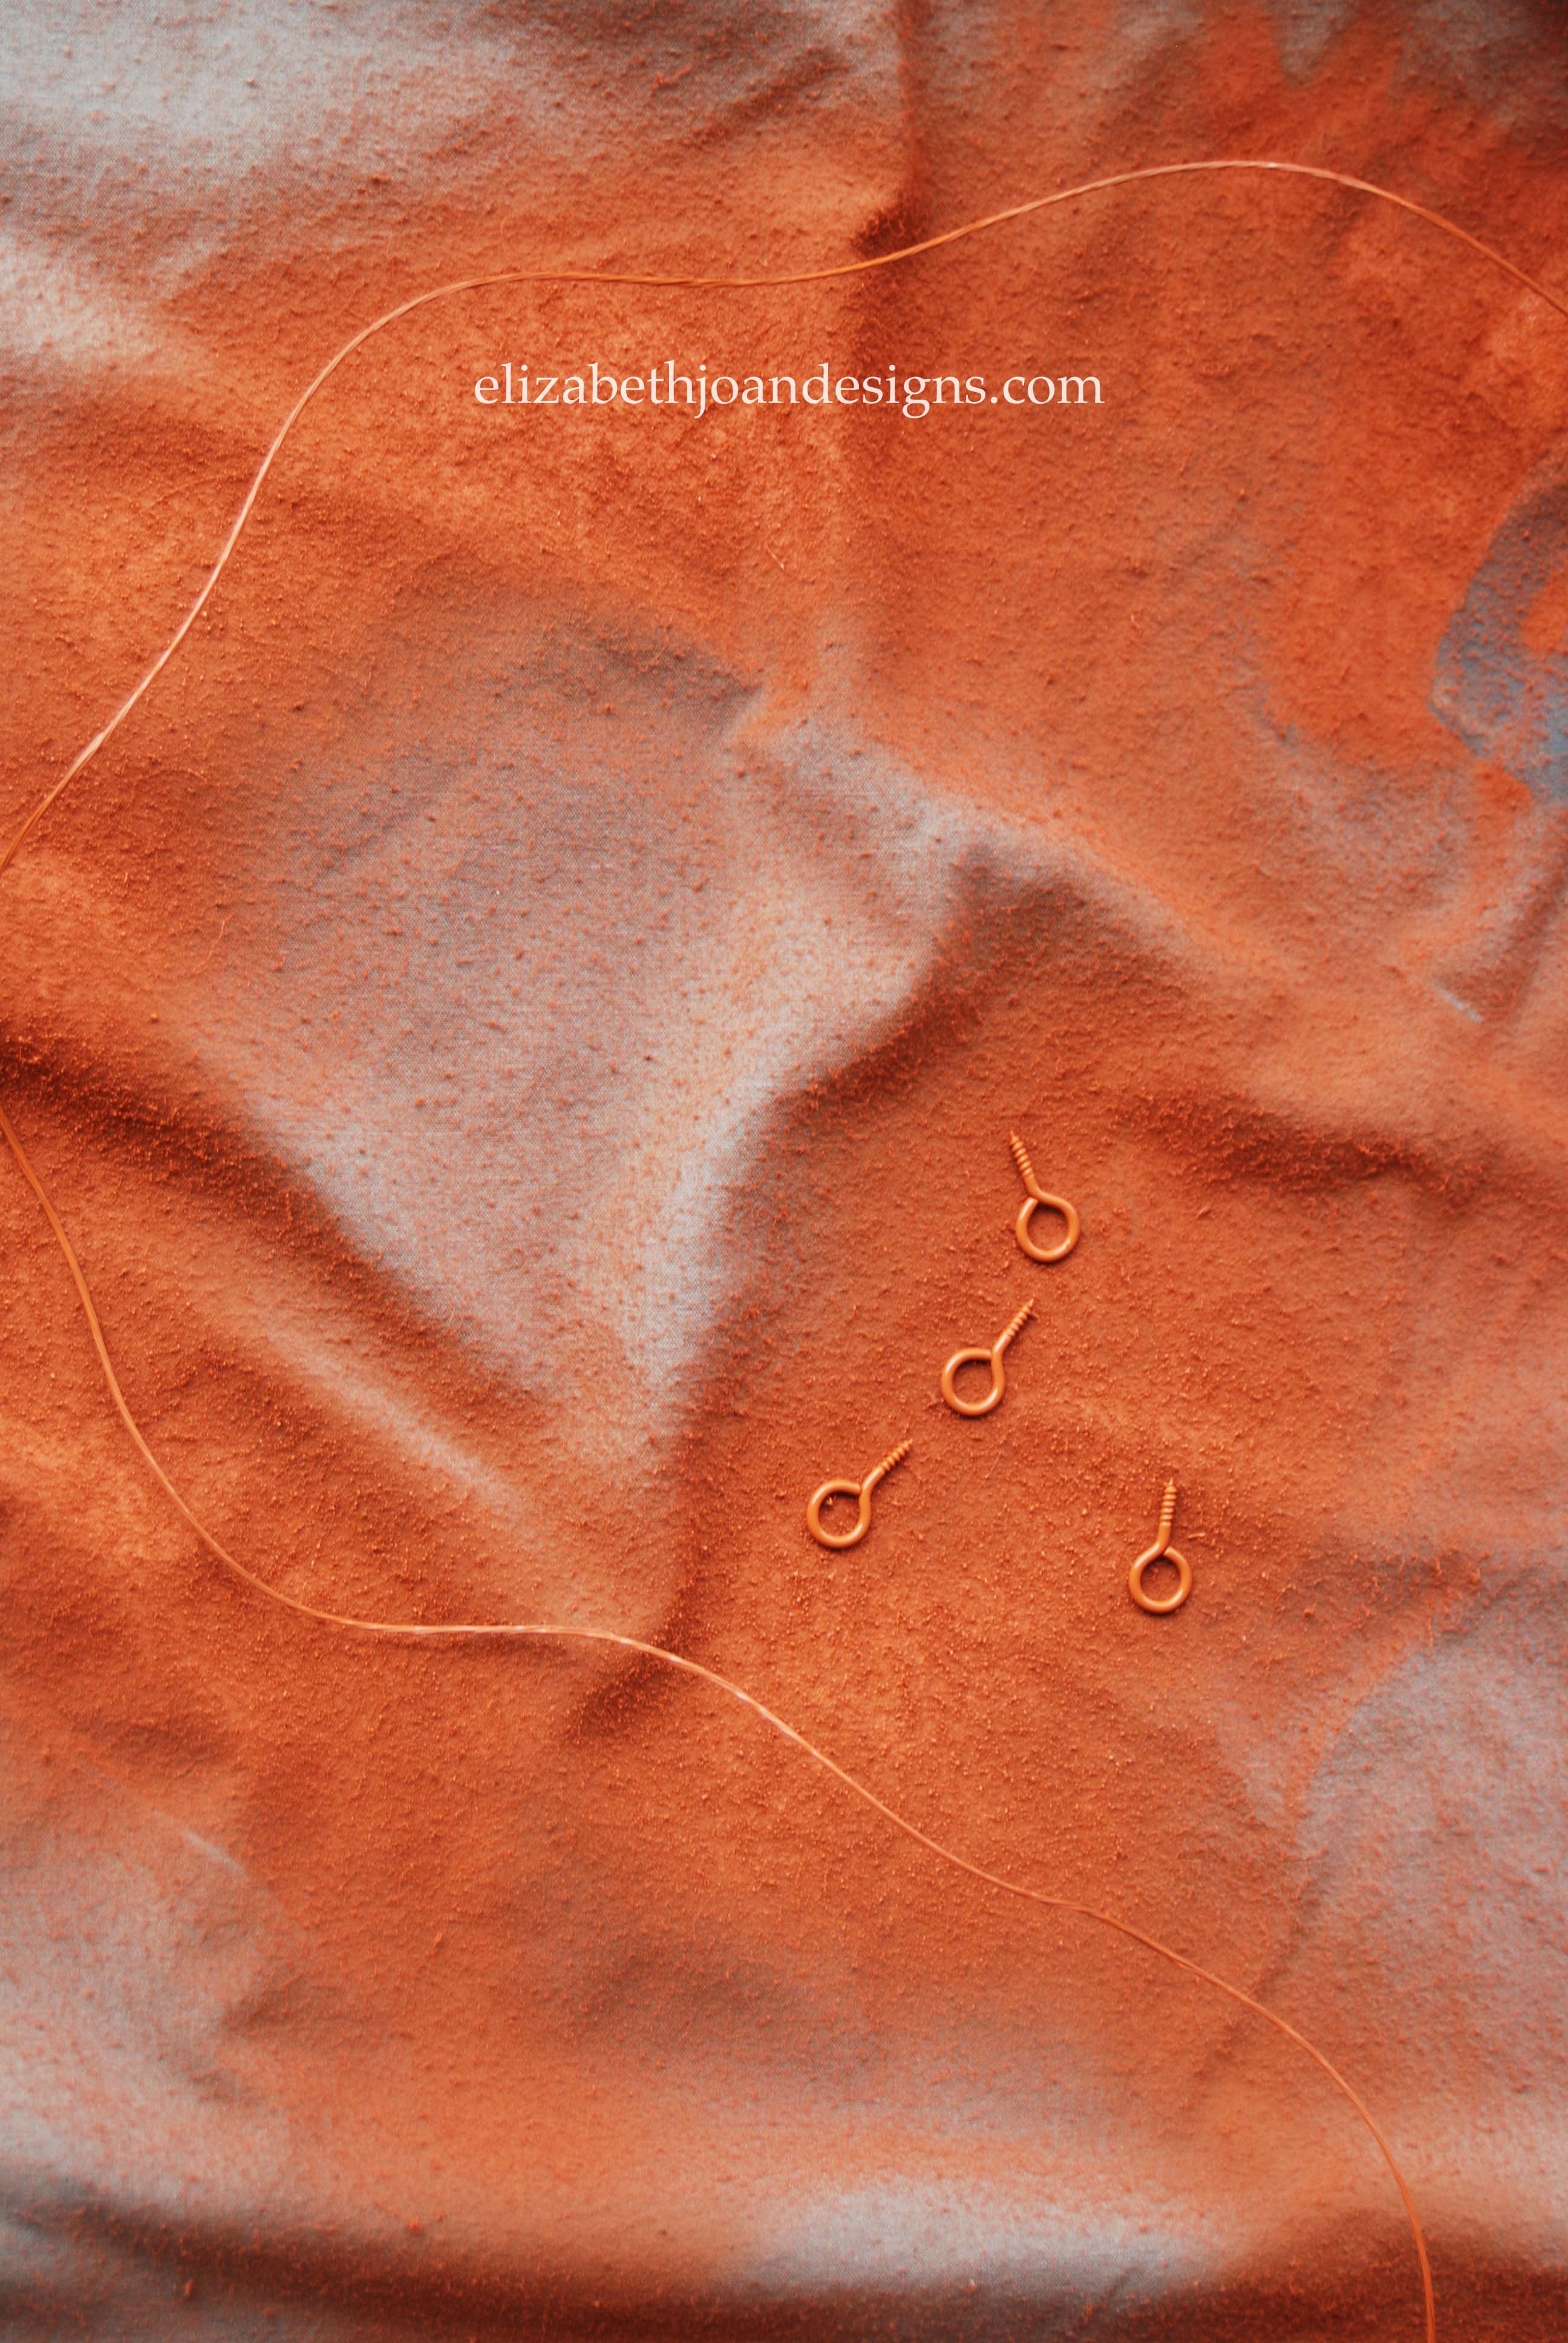
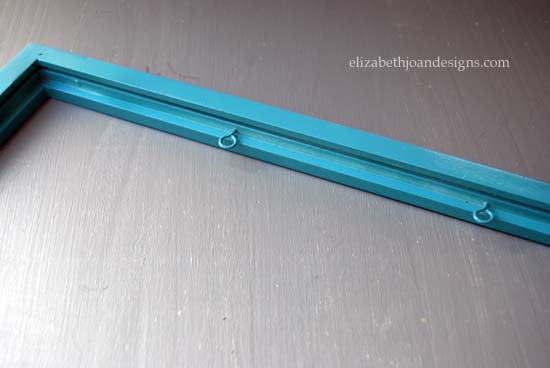
Then, I measured along the edge of the frame. Once I had decided where I wanted the wire to go across, I drilled holes for the eye-hooks and screwed them in.

I continued until all four hooks were inserted into each frame.
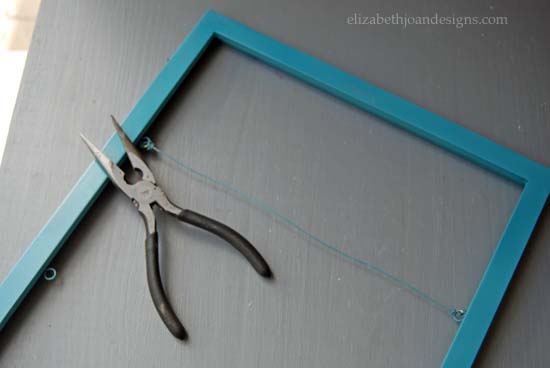
After that, I used pliers to tightly string the wire across the frame, through the eye-hooks and twisted at the ends.
Finally, I placed the backing on the frame and starting hanging artwork using clothes pins. (The large clothes pins are working fine for now, but I think the next time I am out shopping I may consider picking up some of the smaller ones.)

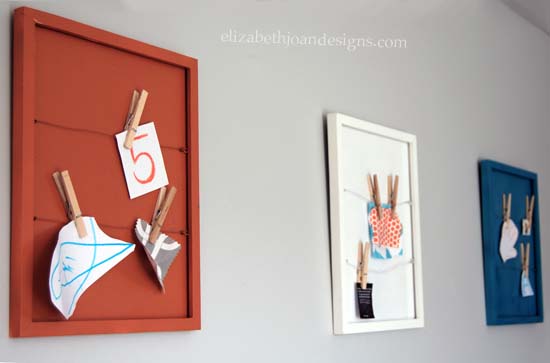
Aren’t they cute? I am in love with them! Perfect for displaying the kids’ art! How do you display your child’s artwork?
_______________________________________________________________________ You may also like:
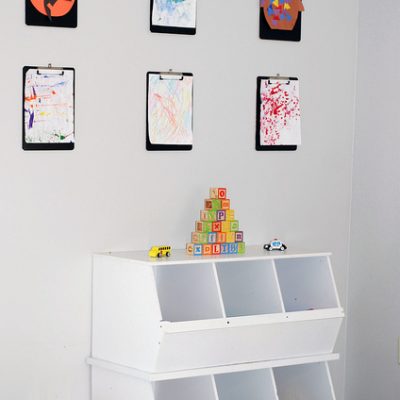
Clipboard Art Display 
Paint Dipped Box Baskets 
Ikea Trofast Makeover 
Toy Rotation -
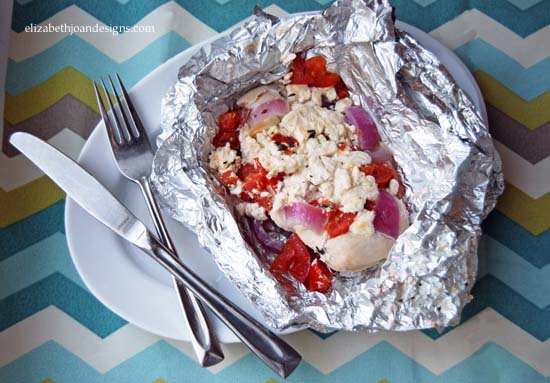
Mediterranean Chicken Foil Packets
Now that grilling season is on it’s way, I wanted to share one our family’s favorite recipes with you: Mediterranean Chicken Foil Packets. They are super easy to whip up and Mmm Mmm good!
Note: This recipe is for one packet. Please multiply the ingredients by the number of people you will be serving.
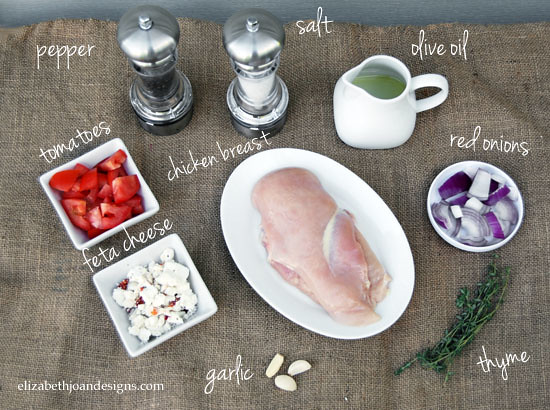
To start, you will need a boneless skinless chicken breast, a Roma tomato, a red onion, feta cheese (I like the tomato-basil favored kind,) extra virgin olive oil, a couple of garlic cloves, thyme, salt, pepper and foil.
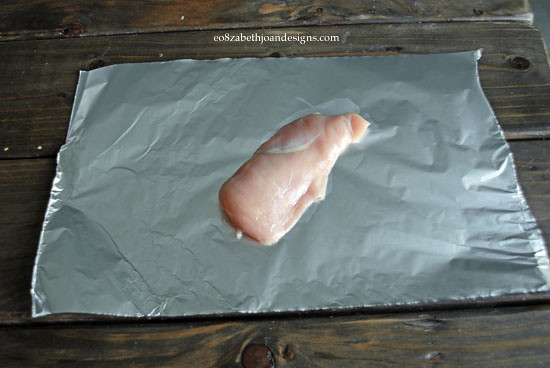
Next, place the chicken breast on a cutting board between two pieces of plastic wrap, and use a meat tenderizer to thin it out. (I appologize, as I forgot to take a photo of this process.)
Then, put your breast on the center of a large piece of aluminum foil. And by breast, I am referring to the chicken’s, not your own. Hehe.
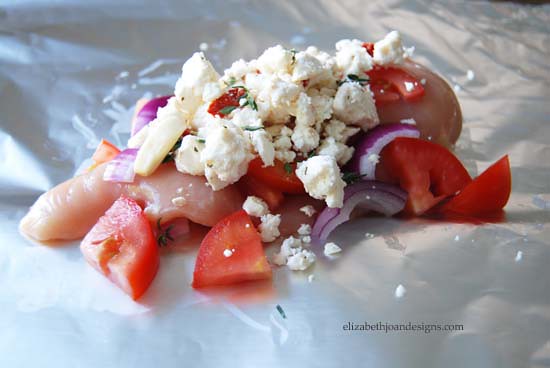
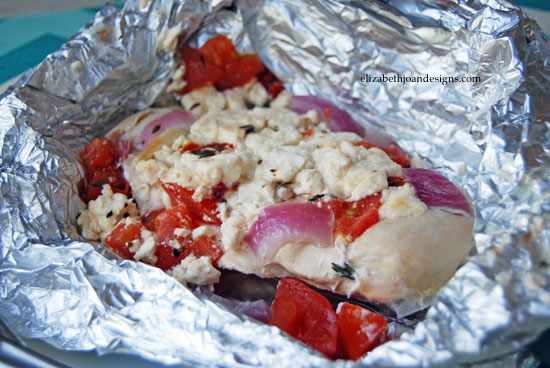
After that, layer the onions, tomatoes, and feta on top of the chicken and season with salt, pepper, and thyme leaves.
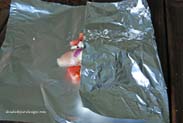
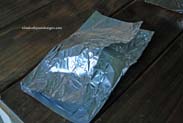
Now that all the yummy goodness is on the foil, it is time to fold it up. There is no real science to this, just fold it up and roll in the sides. I usually will fold a second piece of foil around my first, just to make sure none of the deliciousness seeps out.
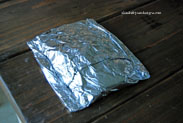
Finally, toss your packet on the grill or in an oven for 25-30 minutes until the meat is cooked through. Carefully unfold the hot packet and enjoy your meal.
Mediterranean Chicken Foil Packets from Elizabeth Joan Designs
Yield
1 packet/servingIngredients
– 1 Boneless Skinless Chicken Breast
– 1 Roma Tomato, chopped
– 1/2 Red Onion, chopped
– 3 Tbs. Crumbled Tomato-Basil flavored Feta Cheese
– 1 Sprig of Thyme
– 2-3 Cloves of Garlic
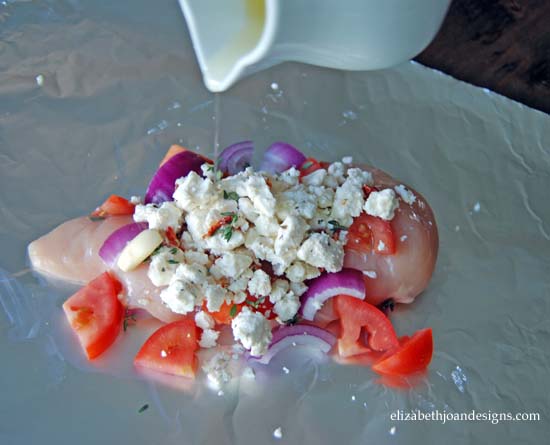
– 1 Tbs. Extra Virgin Olive Oil
– Salt, to taste
– Pepper, to taste
– Aluminum foilPreparation
Pound out the chicken breast with a meat tenderizer. Place the chicken on the center of a large piece of foil. Layer tomatoes, feta, onions, salt, pepper and thyme leaves on top. Drizzle with olive oil and fold up packet. Bake in a 350 degree preheated oven or grill for 25-30 minutes or until chicken reaches 170 degrees. Carefully unfold packet and serve.___________________________________________________
You may also like:
Yum Yum Shrimp Boil 
Loaded Red Potato Soup 
Buffalo Chicken Meatballs 
Grilled Bread Salad