-
Tour Through Blogland
We are so excited to be participating in the Tour Through Blogland today. First and foremost, we want to thank Kristi from Making It In The Mountains for inviting us to join. If you have not checked out her blog yet, let us tell you, you don’t want to miss it. Her blog is full of so many fantastic DIY projects. One of our favorite projects of her is her DIY Painted Chargers. These are so cute and creative.

We are so honored to be a part of this series. It is such fun way to get a peek into what happens behind the scenes here at Elizabeth Joan Designs.
So, are you ready? Things are about to get real.
This is us. Emily (on the left) and Erin (on the right.) Two sisters who had a crazy idea to start blog and share our DIY adventures. To find out more about both of us, check out our ABOUT page.

Our Houses Erin – We’ve owned our home for 8 years, but we’ve only lived here for 4 1/2, thanks to several interstate company transfers for my awesome husband. We’re back now, with an extra kid this time, ready to dive in and fix this place up. Check out what we’ve accomplished already:

Emily – My amazing husband and I bought our home 5 years ago, when I was pregnant with our oldest son. The whole house is pretty much a work in progress. Here is a peek inside of what we’ve completed so far:

Now, on to the interview questions.
1) What am I working on?
Emily – I have been working on changing up my boys’ bedrooms. From baby to big boy! When everything is all said and done, their dressers will each have a new look. Both kids will have a desk and some sort of fun shelving in their rooms. My inspiration? Vintage cars for my youngest and vintage airplanes for my oldest. I am so excited about showing all of the fun projects I have been working on with you. I am hoping that in September I will be able to start sharing them.

Erin – We are currently up to our eyeballs in projects. The big one is our kitchen, which we are completely updating to our tastes. Bu-bye faux wood and almond colored cabinets! We are whipping up something cool for our son with some fun paint colors (check back later this week.) Also in the works is our patio, which will be getting some beautification, thanks to some extra wood from our Cable Spool Clock project. In addition to that, our daughter’s room, the bathrooms, and the pantry are all on the list of things to start.
2) How does my work differ from others of its genre?
Divide and conquer. There are two of us and we have the ability to bounce ideas off of each other, offer support, and split up blog work. Because we spend way too much time on the phone with each other, this may take a little more time in the long run. But by having the support of one another, we are both usually a lot happier with the results of our work.


3) Why do I write/create what I do?
Our Mom was so super duper creative, our Dad has an amazing talent to able fix anything, and our Grandfather was quite the woodworker. Creativity was just passed down in our genes. We both thoroughly enjoy taking something ugly or old and transforming it into something beautiful. Saving money is always a motivator and just makes cents. Haha.
With us being several states apart, we originally started this blog to share our
ideas with each other, our family members, and friends. We never imagined there would be others out there that would want to see our projects. Having this blog together has just been amazing and has really brought the two of us closer together.4) How does your writing/creating process work?
Emily – My writing/crating process is always all over the place. Whenever I have a minute free, I am usually trying to squeeze in work on a project or post. To get inspired, I also take frequent trips around neighborhoods during garbage day to see what inspiration may be laying on the curb ready for rescue.
Erin – My head is always spinning out ideas and it really is just a matter of getting those ideas down on paper or on to the computer. Plus, I’m a total list maker, so you can imagine that I tend to have random notes/scraps here and there with an assortment of ideas on them. Typically, we will take a couple of ideas from my lists and plan out how to do them with all of the supplies, measurements, etc. Then, it is just trying to find time to work everything in, you know, because of life. I always love how projects can start with one vision and end up something completely different, yet loved.

Enough about us. Now, we get to turn the spotlight onto the three talented bloggers we’ve selected to join this series. Check out their amazing blogs and look for their tours on August 18th!
Aimee from It’s Overflowing 
“Aimee, a mom of three, living in Dallas, Texas is the founder of It’s Overflowing, a blog about Simply Inspired DIY & Decor, House Tours, Organization Tips, Favorite Recipes, and SLR Camera Tutorials. Aimee considers her 10,000+ It’s Overflowing Readers her sweet friends!”
Cat from The Rustic Willow 
“Hi friends! Thanks for stopping by my little hangout spot on the Internet. Here you’ll find easy (and affordable) DIY crafting and cooking projects along with some weekly tidbits and fun ramblings. I hope you stay a while :-)”
Katie from Little House of Four

“For years I’ve read blogs and tossed around the idea of starting one myself. About a year ago, I finally took the plunge and ‘Little House of Four’ was born. My day job allows for zero creativity, so this is my space to share decorating ideas, DIY projects, my favorite recipes, and organizing ideas in hopes of inspiring others.”
-
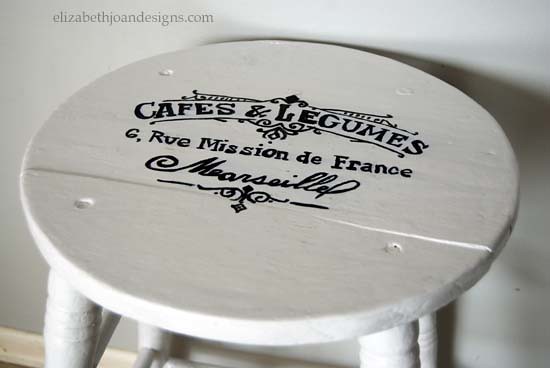
French Lettered Milking Stool
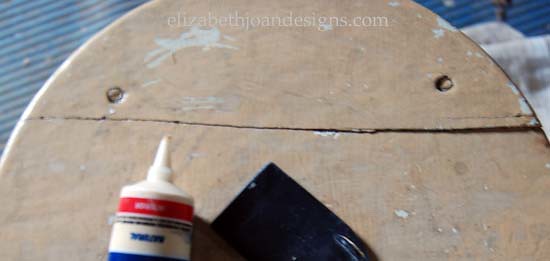
During a casual family walk through our neighborhood last summer, I stumbled upon this abandoned milking stool laying curbside.

I picked up this solitary discarded gem and brought it home. I knew exactly what I wanted to do with it the moment I first laid my eyes on it. Paint it white and add french lettering to the top. Finding time in my busy schedule to give it a makeover, didn’t come as easily.
One year later, this lonely little guy still sat in my basement. He was just craving modification. On Wednesday, of this week, I decided I should address his needs.
Frist, I used wood filler to adhere the seat back together and allowed for it to dry.
Next, it was priming time.

Then, once it had dried, I slapped on two coats of semi-gloss white paint with a brush and allowed plenty of time to cure.

After that, came the hard part. The french lettering. I printed a wonderful typography image from Graphics Fairy and exercised the same technique used by Erin for her chalkboard lettering post.
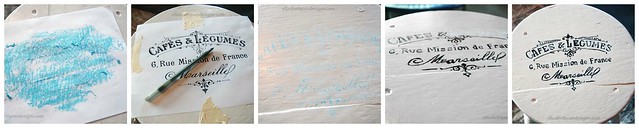
1. I rubbed chalk on back of image.
2. Using a ball point pen, I traced the letters.
3. Then, I removed the paper and I was left with a chalk copy of the image on the seat.
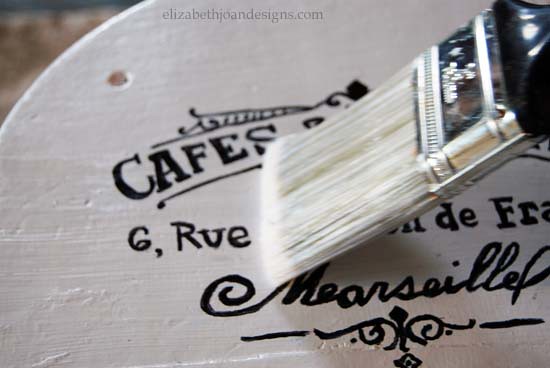
4. I used black acryillic paint and a flat tipped brush to go over each letter and design.
5. After I finished painting, I went back and evened the edges. (This picture is before I straightened the lines out.)What can I say, Erin hit the nail on the head with this method. Love the results!
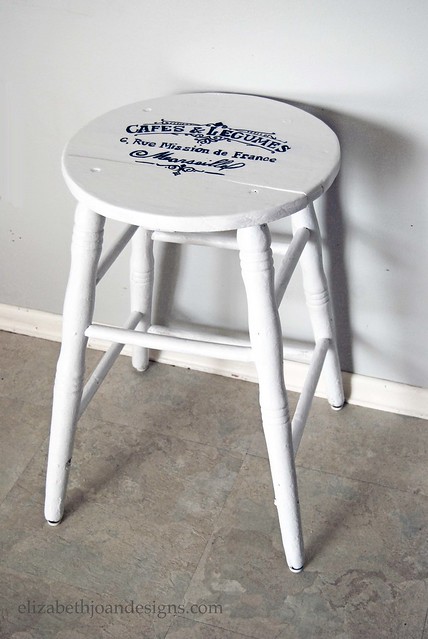
To finish off this project, I applied a couple coats of polycyclic to the stool to add some durability.
It’s exactly how I had pictured it and all I needed was one old stool, one year, one perfect french image from Graphics Fairy, and one sister with a genius approach.
Have you ever tried this technique for transferring an image? How did it work for you?
_____________________________________________________________________ You may also like:
Chalkboard Lettering 
Numbered Counter Stools 
Range Hood Makeover 
Dry Erase To Chalkboard -
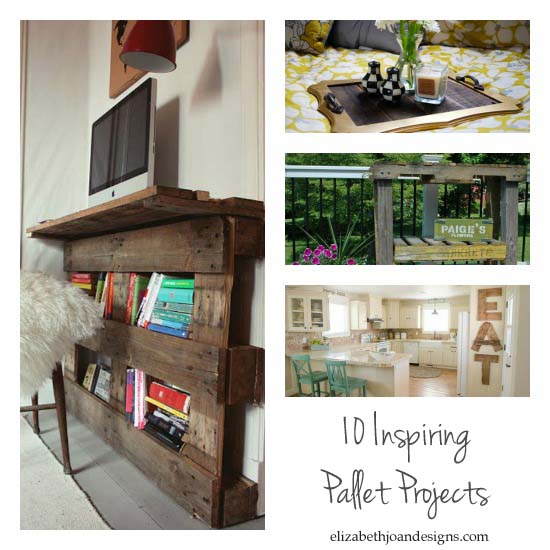
10 Inspiring Pallet Projects
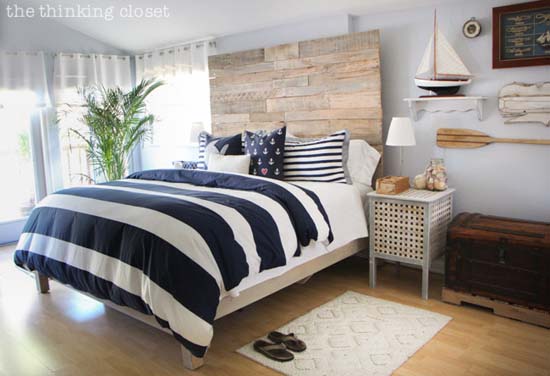
From Thinking Closet 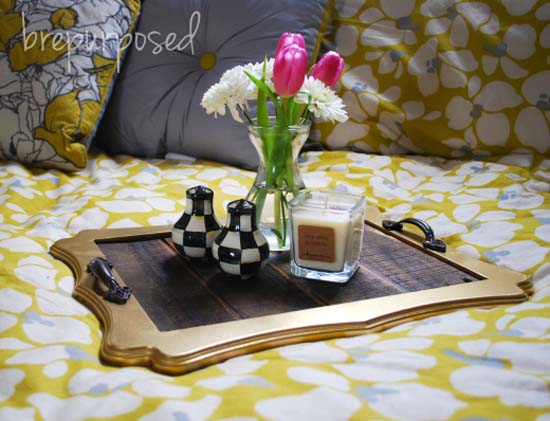
From Bre Purposed 
From Lolly Jane 
From Peculiarmee 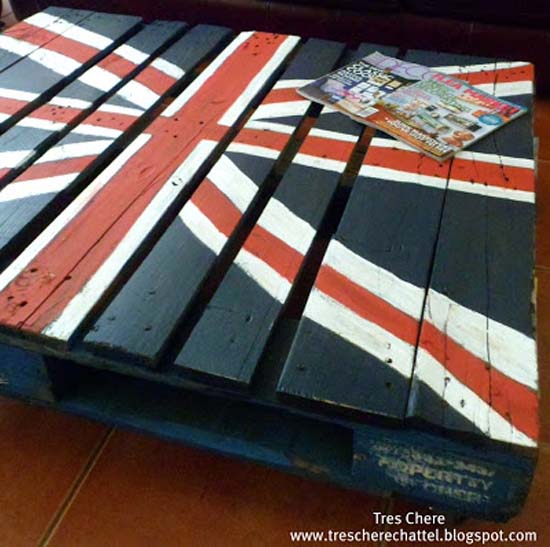
From Tres Chere 
From Upcycled Treasures 
From Little House Of Four 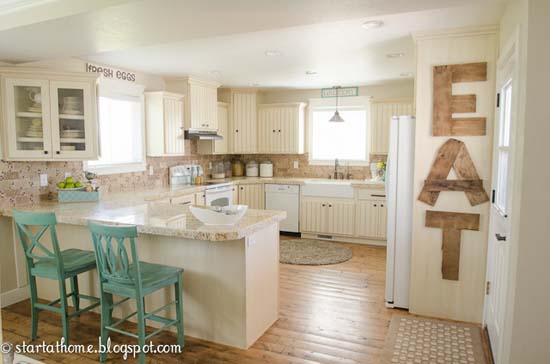
From Start At Home 
From My Love 2 Create 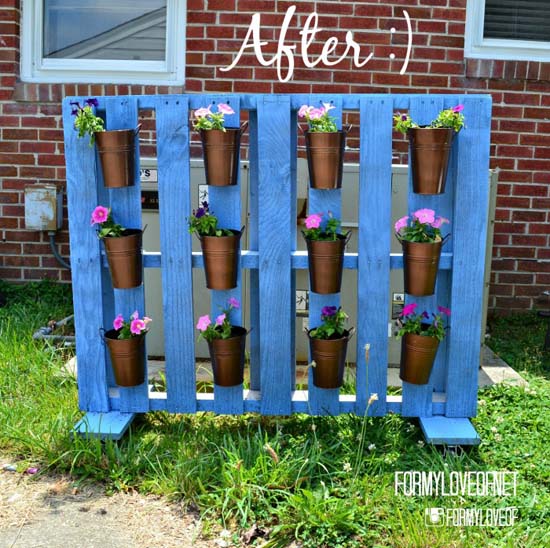
From For My Love Of _____________________________________________________________________ You may also like:

10 Amazing Chalkboard Projects 
Boxes Into Baskets 
Patio Makeover 
Ruler Drum Shade -
The Key To Painting Laminate Furniture
One of my very first DIY furniture projects was when I was 18. I helped my best friend paint a set of identical laminate bookcases with latex paint. She needed them to display her My Little Pony collection. (She’s a little crazy, but I still love her.) We slapped a coat of white paint on the entire set and within a few minutes the paint bubbled up and peeled right off. Clearly this was not the way to paint laminate furniture. So, what is the right way?
Through this experience and many others of painting laminate furniture, I can now present you with the abundance of knowledge I have accumulated on this topic. Is it the right way? I don’t know about that, but it is what works for me.

The particular piece I worked on for this post, is an IKEA Expedite Shelf like this one…

1. Light Sanding
This step is optional, but recommended. Laminate is smooth and glossy. Lightly sanding it dulls the surface enough to assist the primer and paint to affix for a long lasting look.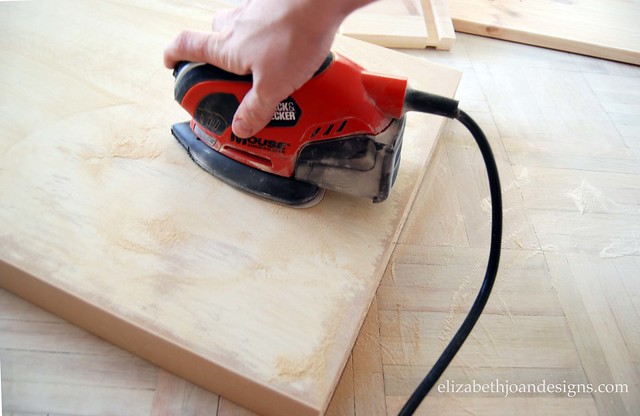
2. Primer
Primer is awesome, and the key to the success of this entire project. It sticks to the laminate and creates the perfect surface for your paint to adhere to. It will help prevent the paint from peeling or being scratched. Zinsser Bulls Eye 1-2-3 primer is generally my pick, but Kilz works well too. I usually let it dry overnight, but some primers can ready in just an hour. Be sure to check the label for accurate timing.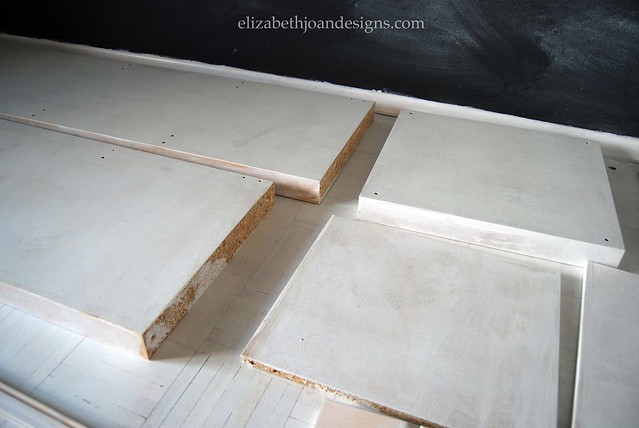
3. Curing Time
This is also a very important step. Because latex paint can be a little tacky and sticky for a while even after it’s dry to touch, it is important to let the furniture sit without being used for at least one to three weeks after being painted. I know this sounds like a crazy amount of time, but it really pays off in the end. You know when you touch two items recently painted, the paint from one will peel off on the other. This curing time will allow the paint to harden and you will avoid this little problem.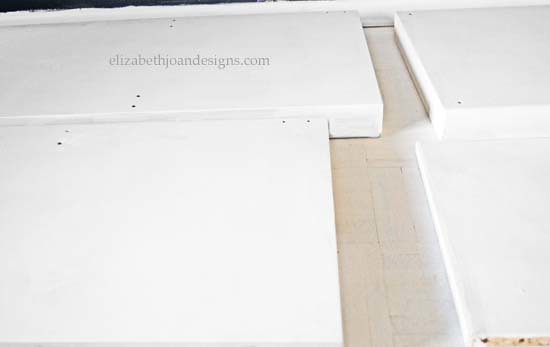
Have you ever attempted painting laminate furniture? If so, was it a success or a fail? Tell us all about your experience in the comments! We would love to hear from you!
_____________________________________________________________________ You may also like:

Tips For Mixing Paint 
Painting Upholstery 
Mason Jar Paint Storage 
Ikea Trofast Makeover