-
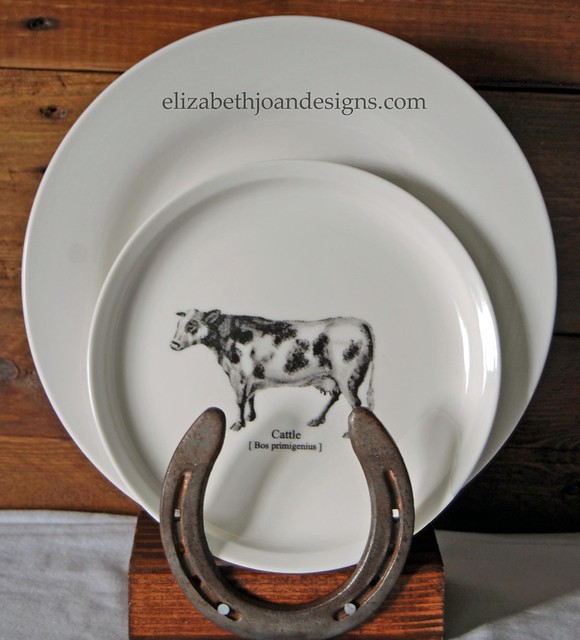
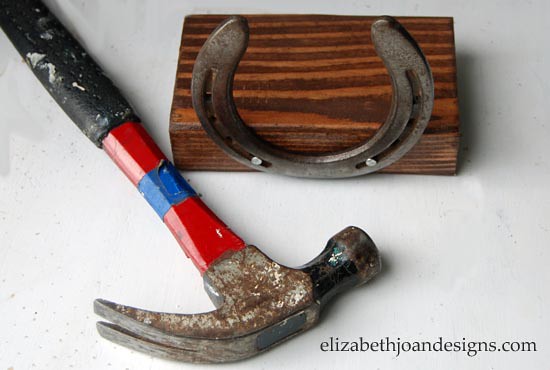
Horseshoe Plate Holder
Anthropologie is so inspiring. Every time I am in the mall, I have to stop in and get a peak of their amazing home items. During my last visit, something sort of caught me by surprise. I came across some really beautiful plates, but the dishes were not what caught my eye. It was the horseshoe plate stand that really had me drooling. It was a shock to me that my biggest inspiration stemmed from their display and not their product. But I was in love. I had to make one.
This project was super simple. If you would like one of your own, just follow along with me through these easy steps.
Supplies
– Horseshoe
– Block of wood- 2″ high x 4″ deep x 6″ wide
– Scrap wood- 10″ high x 1/4″ deep x 3″ wide
– 3 Nails
– Hammer
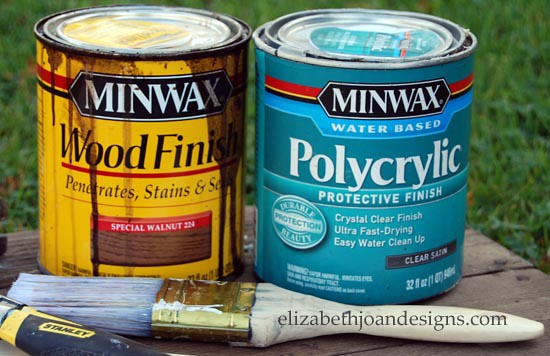
– Your favorite wood stain. – I used Minwax Special Walnut.
– 2 Brushes
– Minwax Polycrylic – or other choice of finish.
– Hand Saw – (not pictured)
– Drill (optional/not pictured)
– 120 Sand paper (not pictured)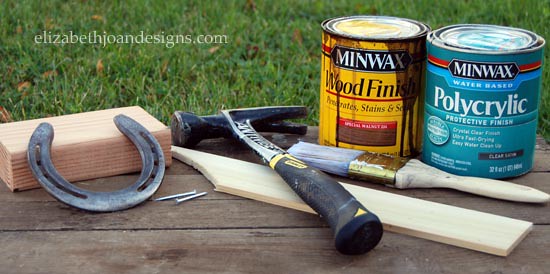
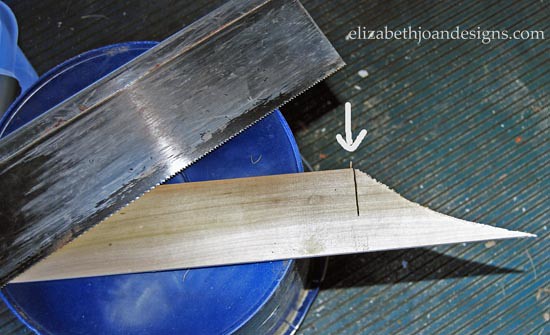
1. I cut my scrap wood to measure 10″ high x 1/4″ deep x 3″ wide. This piece was used as the back support for the plates.
2. Using the 120 grit sandpaper, I smoothed out the edges of the wood. This step helped make the final product splinter free.
3. Next, it was time to stain and finish. I applied Mixwax Special Walnut with a natural brush to both the block of wood and the support piece. Once dry, I used a synthetic brush to give the wood two coats of Minwax Polycrylic.
4. I assembled the plate holder by placing the horseshoe front and center on the block and hammered 2 nails into it to hold it together.
5. Finally, I drilled a hole through the support piece and block to avoid splitting the wood. This is optional. Then I hammered a nail through the pre-drilled spot.
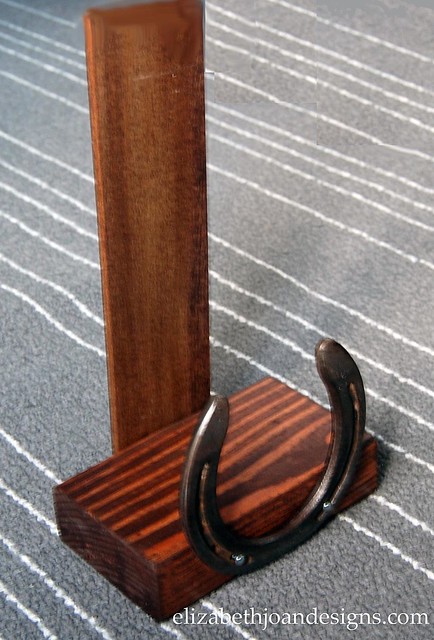
I love this as an accessory in our kitchen. It turned out just as I had hoped. Since I had everything already on hand, the cost to me was $0. I call that a win!

Good luck to you if you try this and let us know if you do. We’d love to see pictures!
____________________________________________________________________ You may also like:
Barn Wood Sign 
Cable Spool Clock 
Nightstand Makeover 
Numbered Wooden Crates -
Upcycled Tripod Table
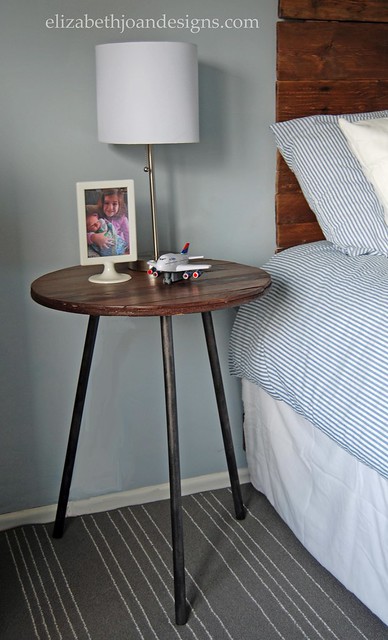
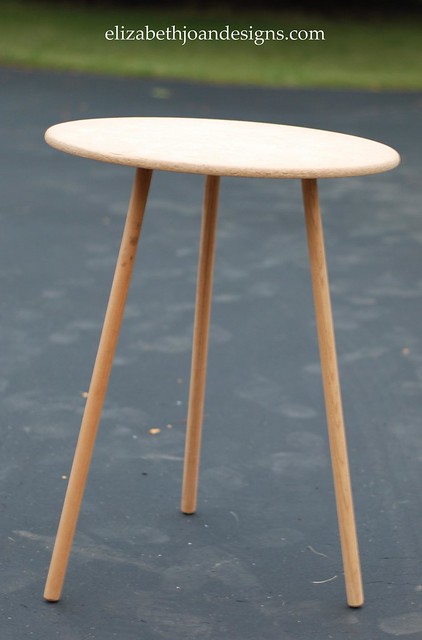
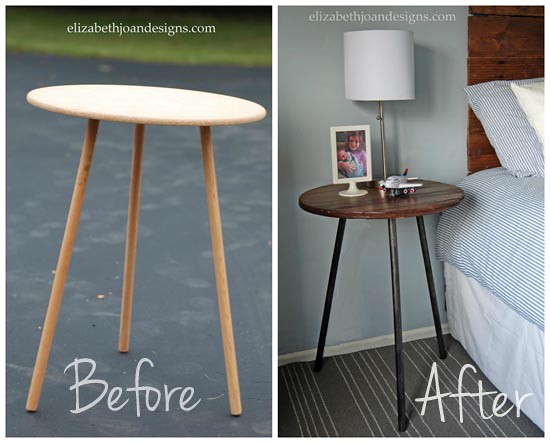
I had been searching everywhere for the perfect table to use as a nightstand in my son’s room. (And by everywhere, I really mean the side of the road and garage sales.) I was looking for something narrow, tall, and with an interesting shape when I came across a basic tripod table. The asking price was a whopping $1 at a yard-sale. I decided it was a fair price, skipped the negotiation step, and went straight for the purchase. I was so excited to have found something so cheap.
When I got home, the first thing I did was check to make sure it fit in it’s previously picked out place. Yay, it did! It was time to get to work! But then life got in the way. Honestly, the table just sat in his room looking kinda sad for a couple of months. We all know how that goes, right?
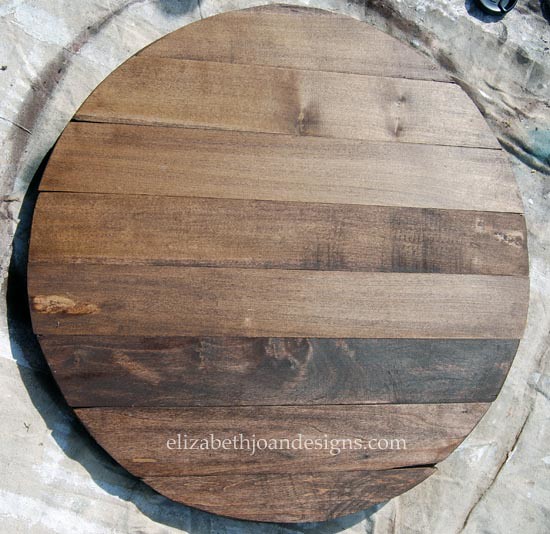
Once things in my personal life mellowed out a bit, or as much as they could, my vision for this table was pretty clear. I really wanted to give it a plank top.
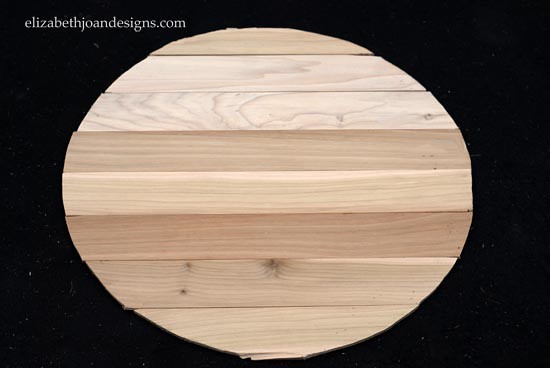
To achieve the round shape I wanted, I removed the legs from the table. Next, I layed the table face down on the wood planks and traced it with a pencil.
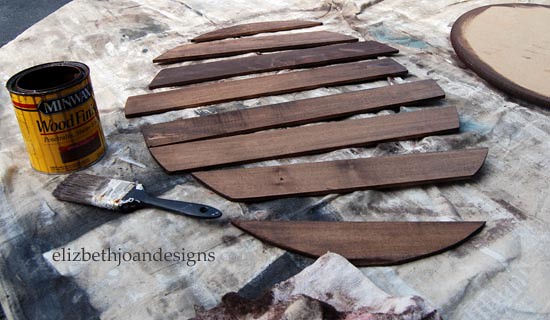
Lucky for me, my sis had been visiting and accidentally left her jigsaw here. I used this fun power tool to cut each piece of wood. You are probably wondering who travels with a jigsaw? Answer: Someone with a DIY blog, that’s who. Or a power tool salesman.
Then, I sanded each plank and stained them with my favorite wood stain, Minwax Special Walnut. Love the color! I applied a couple coats of Minwax Polycrylic to give the table top a little extra durability.
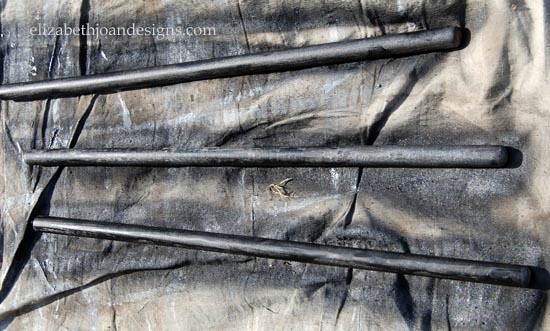
While the planks were drying, the three legs were sprayed with Rust-Oleum’s Oil Rubbed Bronze Paint and Primer in One to give them a slight metallic look. At this point in the process, I was already lovin’ the look and excited to see it finished.
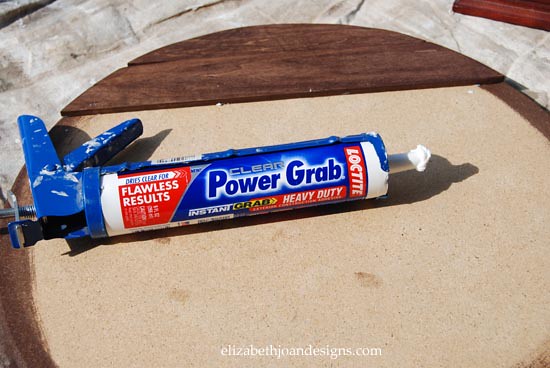
For the final step, I used adhesive to adhere the planks to the top. The processes was pretty quick and I left the table over night to dry. In the morning I reattached the legs and the table was ready for use.
I am in love with how this basic tripod table turned out. Much better than how it started.
What do you think?
____________________________________________________________________ You may also like:
Numbered Counter Stools 
Wire Mesh Pin Board 
Kid’s Table Makeover 
Lazy Upholstering -
Halloween Tissue Box Monster Art
Every year at this time, many companies slap Halloween designs on just about anything. Cereal, fruit snacks, underwear, all the way to tissue boxes. People will buy those items just for the festive looks. I know I do.
I purchased these adorable boxes of tissues last year to add a touch of silly fall fun to our bathrooms. These little monsters were so stinkin’ cute that I couldn’t just throw them away after the boxes were emptied. So, I turned them into Halloween Art.

Supplies
3 Empty tissue boxes
1 Empty Melissa and Doug toy tray
Mod Podge
Foam paint brush
Black spray paint
Scissors
First, I spray painted the toy tray black. This gave it more of a Hallo-weenie look.
Next, I sliced open the tissue boxes with scissors and carved out the monsters along with some of the cute background.
Finally, I Mod Podged the cardboard sections into the Melissa and Doug storage piece.

Tada!

____________________________________________________________________ You may also like:
Freezer Paper Stenciled Treat Bag 
Last Minute Pumpkin Decorating 
Octonauts Costumes 
Spooky Fall Decor There you have it. Fun, free, easy, adorable Halloween art! I love how it turned out, and you just can’t be that price.
-
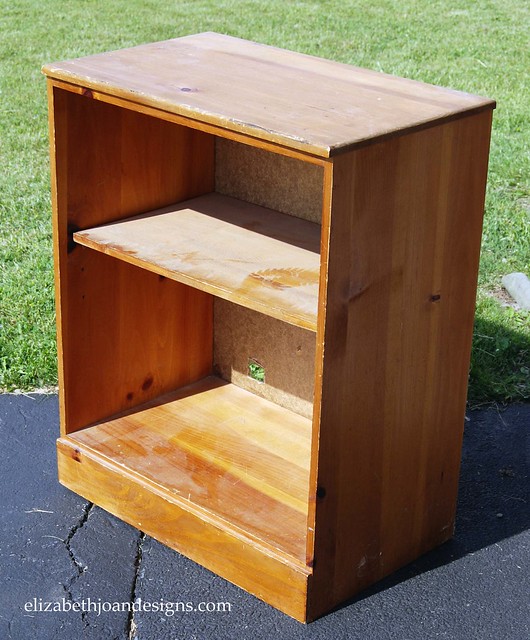
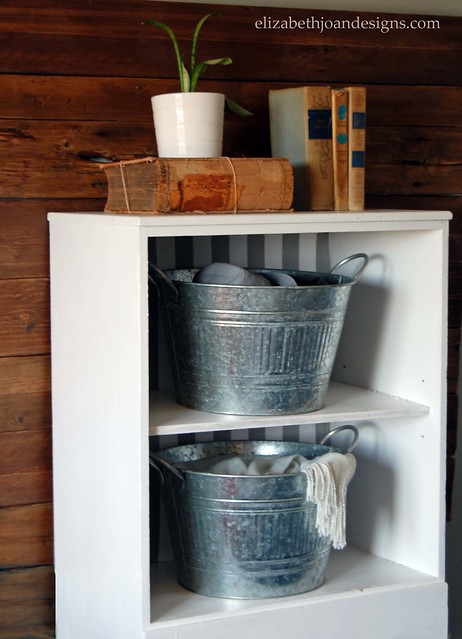
A Nightstand Fairytale

Once upon a time, there were male roommates who decided it was time to move out of their crappy apartment and on with their separate lives. During this transition, one of the guys abandoned a nightstand. One of the other men thought “Sweet! Free furniture!” and decided to rescue it.
The nightstand inheritor then went on with his life and later got married to a wonderful woman with a passion for DIY. (That’s me!)
Over the coarse of the next eight years, this nightstand was toted back and forth across the country with the couple, to find it’s self only miles from where this journey first stated. The thought of getting rid of this piece of furniture definitely crossed the couple’s minds, but the wife always new great things were in the future of this nightstand.
After several years of spending quality time in the couple’s basement, it was finally time for this gem to make a reappearance in the world with a band new look.
This makeover began with a light exfoliation of the exterior using 120 grit sand paper.
Next, a hydrating mask of primer was applied to the surface area and allowed to dry.
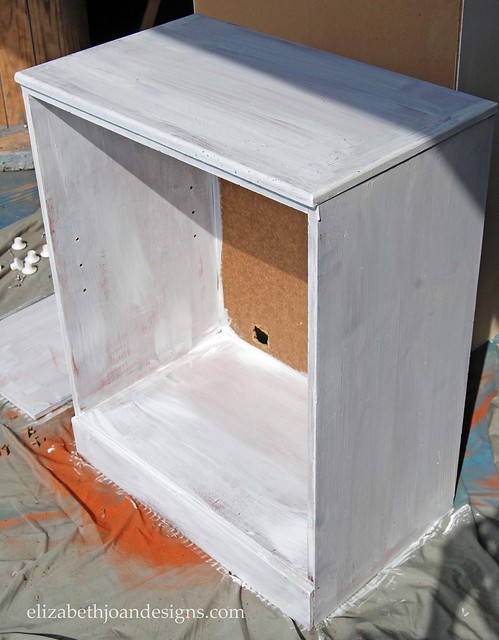
This process was then followed by two layers of white paint brushed onto the nightstand.
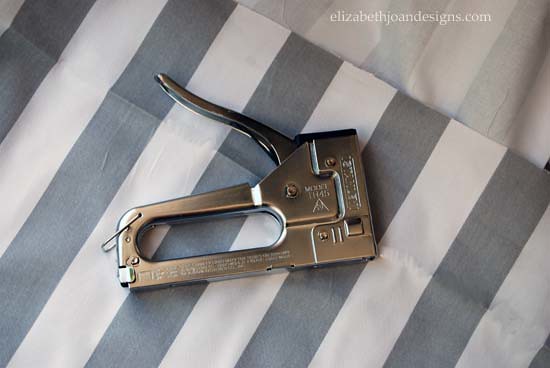
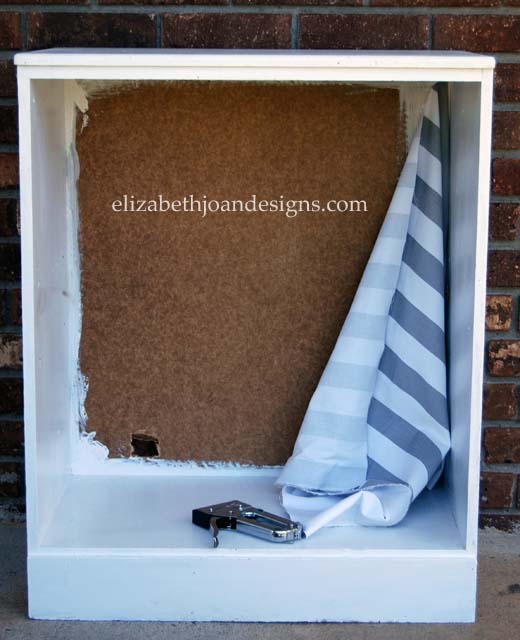
Finally, fabric and a staple gun were used to dress up the interior backing of the furniture.
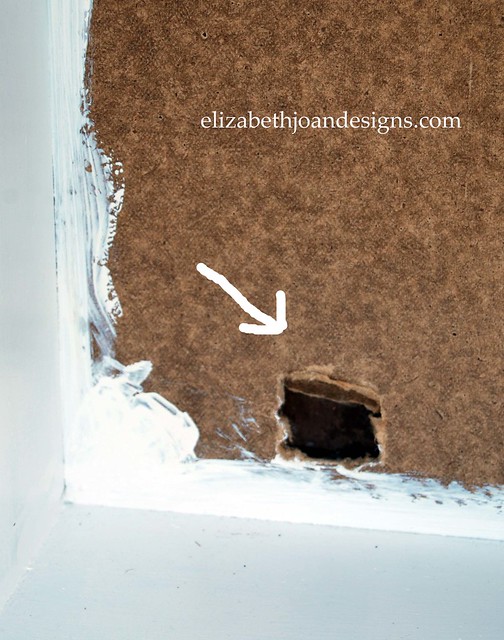
Hey, nobody’s perfect. Even this little gal had some imperfections that deserved a bit of cover-up.
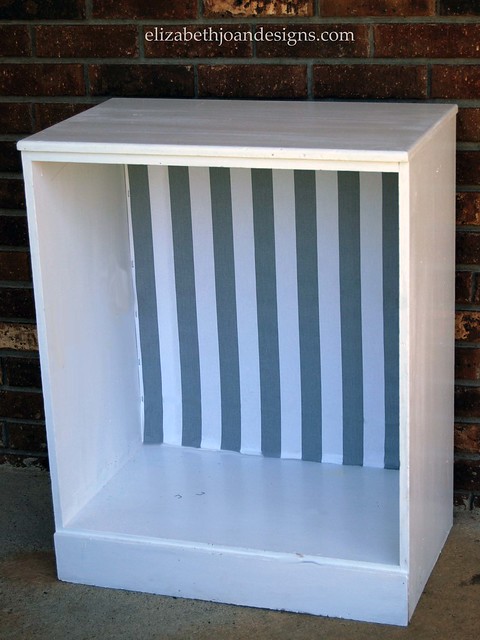
Isn’t she a beauty?
The husband and wife couple were extremely pleased with this furniture transformation. And they all lived happily ever after. The End.
_____________________________________________________________________ You may also like:
Numbered Counter Stools
Cable Spool Clock
Numbered Wooden Crates 
Ikea Apa Storage Makeover