-
Gardening Easter Basket
It is always fun to come up with Easter baskets for our kids and we always try to integrate some fun, non-candy type items. This year, we decided to do some gardening paraphernalia, so that the kids could grow their own little plants. (Don’t get me wrong. There will still be plenty of Peeps, Cadbury Eggs and Jelly Belly Beans at our house.)
Since I was the one whipping these up, I decided to glam them a bit with some gold, much to my husband’s chagrin. However, once he saw how things were turning out, he decided that things weren’t looking too bad. Probably because I’m not gold-i-fy-ing furniture or decor in our home.
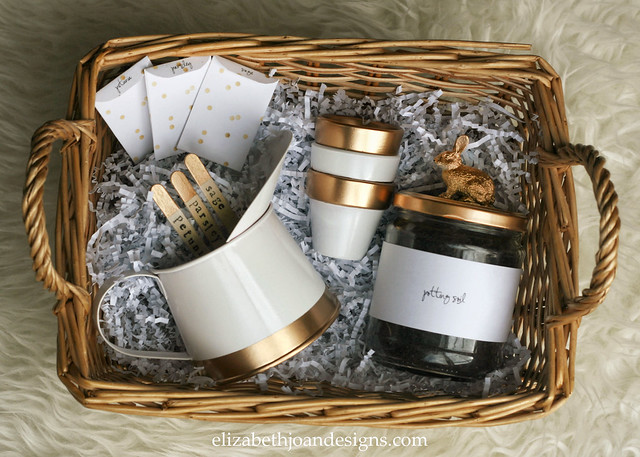
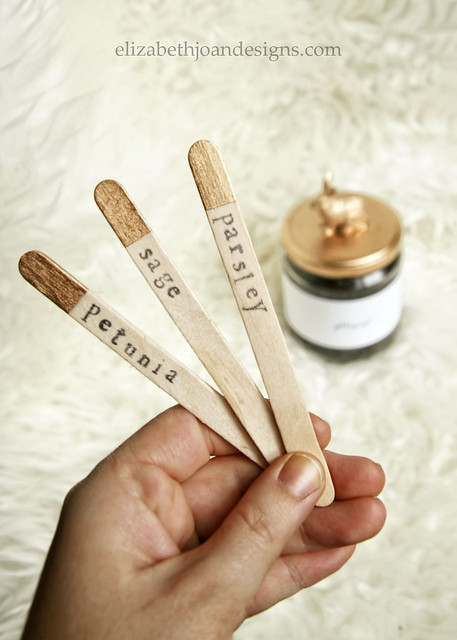
The set includes 3 small, painted terra cotta pots, potting soil, 3 seed packets, 3 plant markers, and a watering can. I used an old salsa jar to hold the soil and attached a small rabbit to the lid with some gorilla glue. Then that got a few coats of gold spray paint.
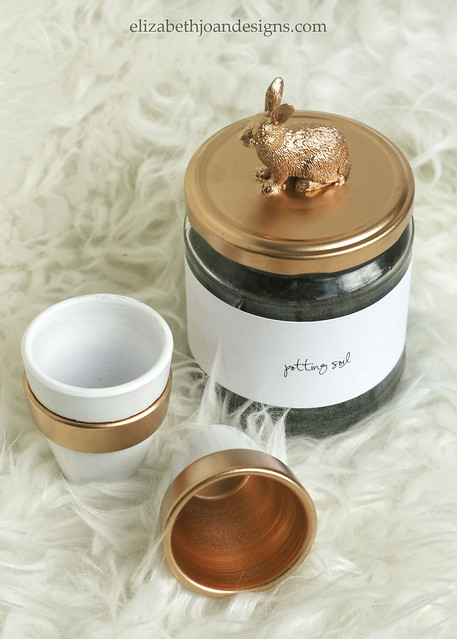
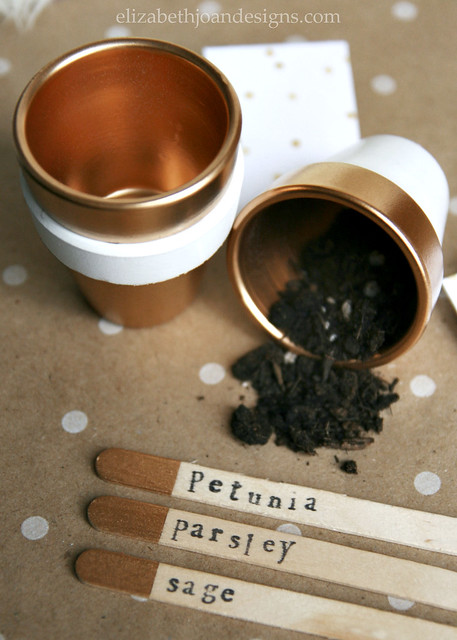
The cute little pots were so adorable and the perfect sizes for tiny hands. I dressed them up with some white and gold paint.
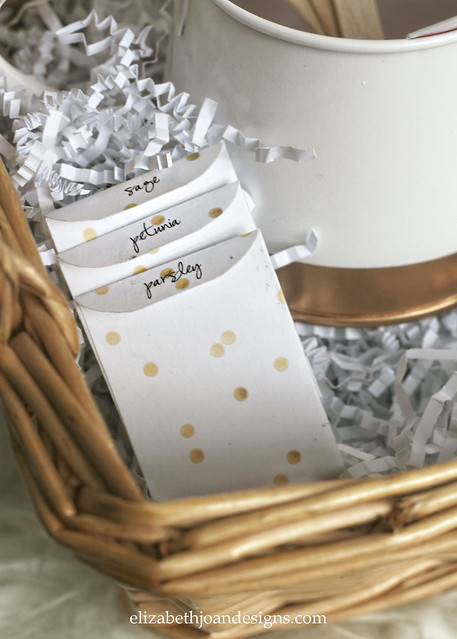
To make the seed packets, I printed out a template I found online and traced that onto some gold polka dot cardstock. Then I cut them out and glued them together. Super easy.
And the plant markers were simple too. A little gold paint and some fun stamping was all there was to it.
I’m sure that my kids are going to love planting these seeds and I love that this little Easter basket project turned out so cute! Now if I can just find some chocolate bunnies dipped in gold…

What kinds of items do you like to give for Easter? Do you go for candy or toys? Or something else completely?
-
Spring Moss Wreath
Three years ago, I held a woodland themed baby shower for my darling sister, Erin. The decor incorporated a lot of natural type items like, logs, sticks, and moss. After the shower, I returned the wood back to its rightful home, the great outdoors, but I had an abundance of moss leftover that I had purchased at craft stores.
I came across the large bag of assorted moss the other day in my basement, and decided now was the perfect time to do something with it. So, I chose to make a welcoming, spring wreath for our front door.
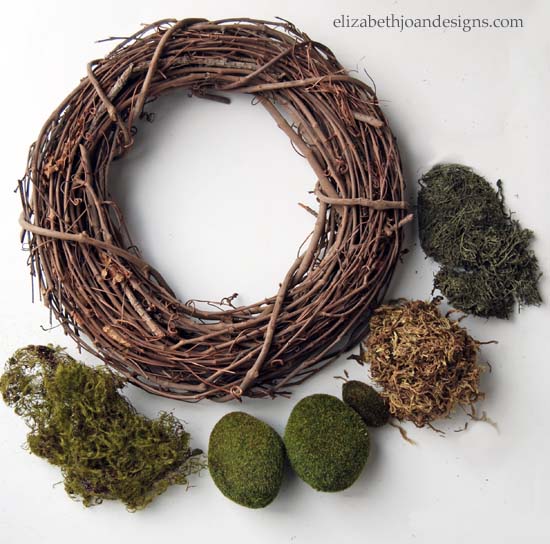
For the base of the wreath, I used a grape vine form I had purchased at a garage sale. Do you remember the lavender wreath I shared last summer? Well, this is that exact wreath form.First, I covered the form with moss mat by spreading it across the vines and tucking the edges in.

Next, I layered floral moss and reindeer moss on top to add some different colors and dimension.
Then, I hung it on our front door with burlap. I added a few moss rocks to the wreath and stood back with disgust. I hated how this looked! Yuck!
When I have a creative crisis, the first thing I usually do is call Erin for help. That is exactly what I did. Through a series of text messages, and trying about everything we could think of, we eventually came up with the perfect combo.Here are a few of the failures I tried. The first one was a bit more glitzy than I was going for.
In the second photo the keys look more like a pair of scissors than they do a pair of antique keys.
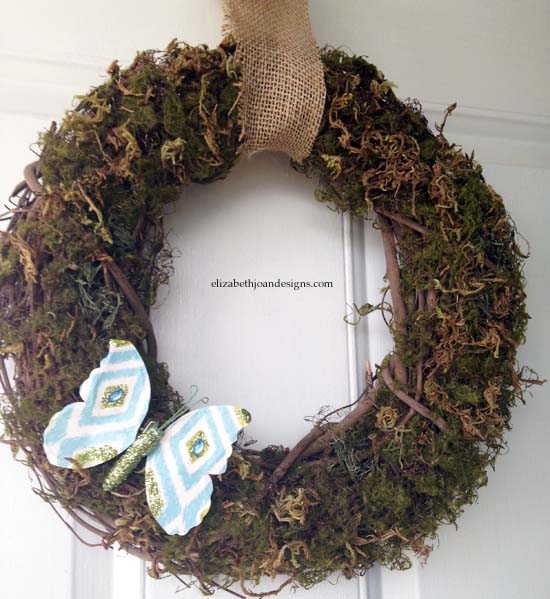
After all of those ideas, I was feeling a little discourage. Erin suggested that I maybe add a few sticks or twigs to it. Genius! I grabbed a few from another grape vine wreath and inserted them into the wreath I was working on.This was looking so much better, but wasn’t quit perfect yet. It was still missing something.

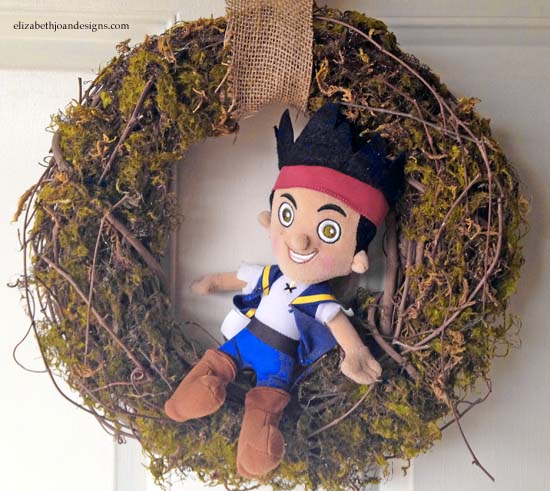
That’s when I remembered, I had a cute little butterfly that I inherited when our grandmother passed away. I don’t know the significance it had to her, if any, but she always kept it in her jewelry box. Once it was in my possession, I had been doing the same. So, after retrieving the monarch from my box of jewels, “that’s what my 4 year calls it,” I placed it on the wreath and it was like magic. The wreath finally looked complete.I am so happy with the final result of this wreath. Our Grandma’s butterfly, adds such a special touch that makes it the wreath that much better.

Erin thinks it still needs more, but I told her “no.” Leave a comment and let us know what you think.______________________________________________________________________________________
If you liked this, you may also be interested in: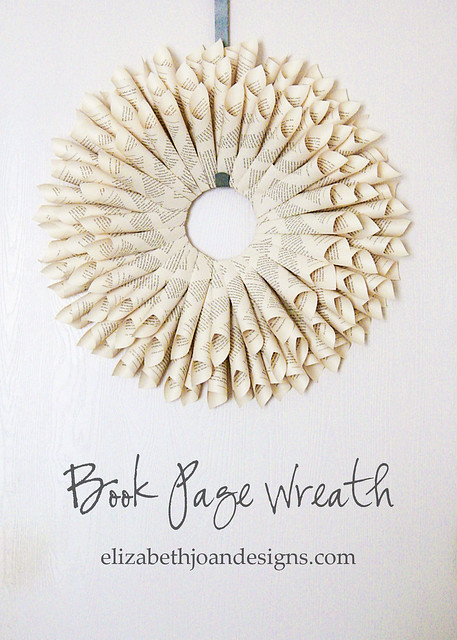
Lavender Wreath
-
Revamping The Breakfast Nook
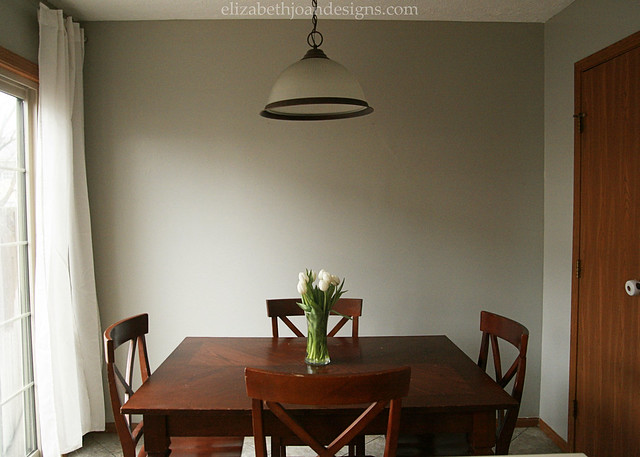
You’ve probably heard that one of the least expensive ways to make a big impact on a room is to change up the paint. And it is totally true! It is amazing how a gallon of latex paint and a little time can make a not-so-great wall color fabulous. Take our breakfast nook for example. Here she is showing off her new coat. (Color is Benjamin Moore Revere Pewter.)
And here is what she looked like before the makeover.
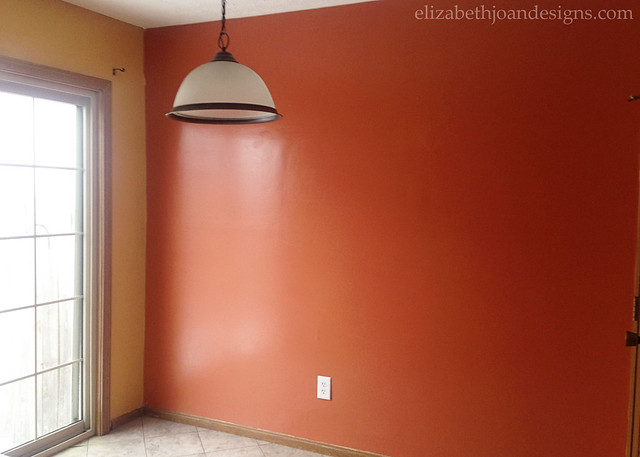
Not that I have any problem with the yellow and burnt orange walls (no judging here,) but the colors did not really match our style or taste. To each their own, right?
I love how the new paint color brightens the room, yet now has a more soothing effect than the previous ones. It could be considered the perfect greige!
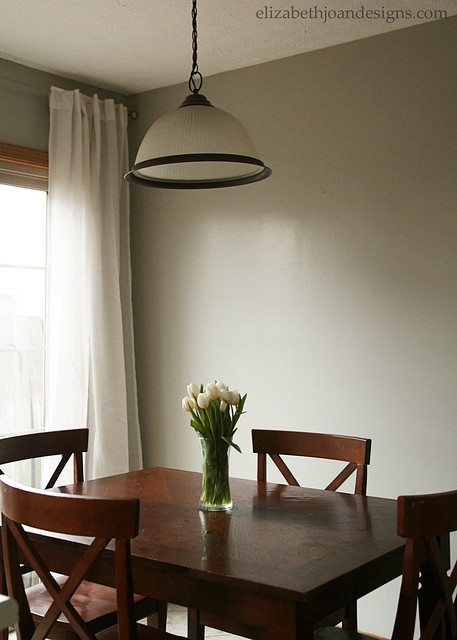
Here are a few other views from the room. Don’t be scared though. Quite a few things are still on the to do list.
Eek!
Yikes!

Ahhh… That’s better.

Here’s some of stuff that we still would like to change…

So, have you had any experience with the awesome paint color, Revere Pewter? Any thoughts on some cool budget-friendly, industrial lighting? We would love to hear from you!
-
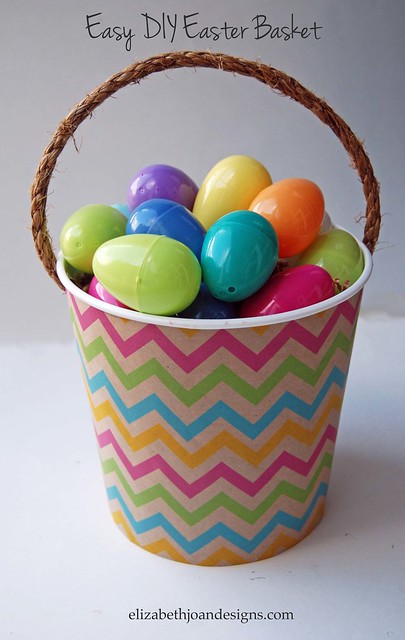
Easy DIY Easter Basket
April is here and Easter is rapidly approaching. Do you have Easter baskets for you kids yet? If you are looking for an easy DIY version, check this out!
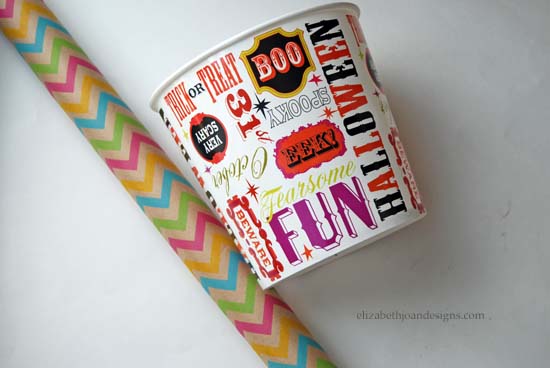
Way back in November, I was shopping for Halloween clearance items at Michaels and they had large boxes marked “Grab Box $2”. I am always searching for project inspiration and who knew what was in those. So, me being me, I purchased five boxes.The entire ride home, it was driving me crazy that I didn’t know what was is those boxes. Once I got home, I rooted through each of them and found a lot of junk, a few treasures, and oodles of inspiration.
There were eight of these Halloween popcorn buckets I just knew I could do something fun with. So, as I was searching for Easter basket ideas for my boys, I remembered those buckets and decided they would be perfect. I found this fun chevron wrapping paper at the dollar store that screamed Easter to me. I picked up a roll, went home, and started working.
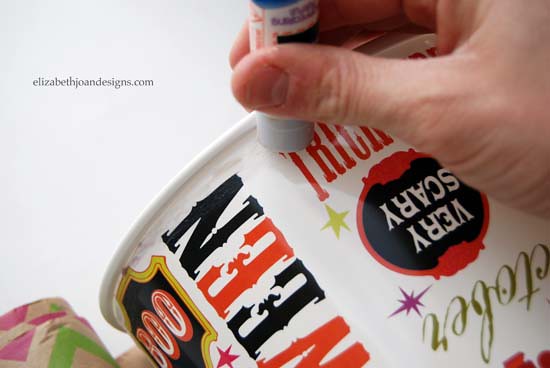
First, I cut the wrapping paper to fit, allowing for the curves and tapper of the bucket.Next, the paper was glued to the bucket with a regular old glue stick.
Then, I poked two small holes in the basket, on opposite sides from one another.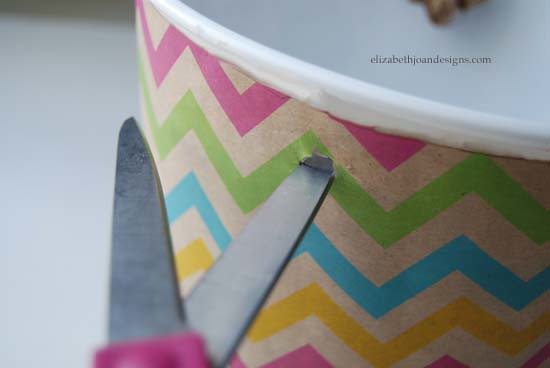
After that, I fed rope through the holes to create a handle.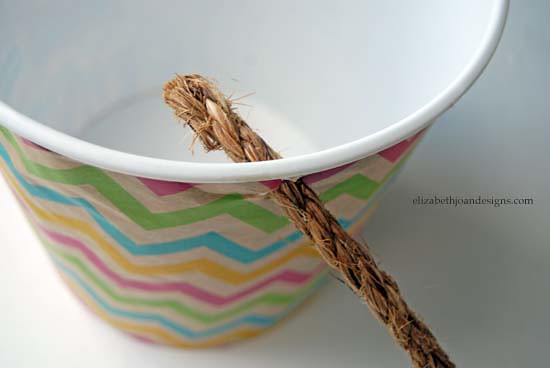
Finally, I tied knots at the ends of the rope and dabbed them with a little hot glue to be sure they wouldn’t unravel.
Tada! Here it is! I love it! I am excited to make a second, that way both of my boys will have one. Don’t worry, if you can’t find a Halloween bucket to make one of these, you can easily use any old popcorn bucket or sand bucket.
Stay tuned to see a few fun things to give in your Easter Baskets. How are you preparing for Easter? Leave us a comment we would love to hear!__________________________________________________________________________________
If you liked this post, you may also be interested in: