-
I’ve Got Worms
Ok, that title is admittedly creepy, but definitely something that I’ve wanted to share. And, as a warning, this post is less than glamorous (if you are looking for pretty, check out this post or this post.) Today we are talking about vermicomposting. That’s right. WORMS!
There are many differing opinions on the ways to set of up a worm composting bin. The following information is what has worked best for us.
About 5 years ago, we started to read about and research vermicomposting and it was something we were definitely interested in trying. But we didn’t take the plunge and purchase our red wiggler worms until last year.
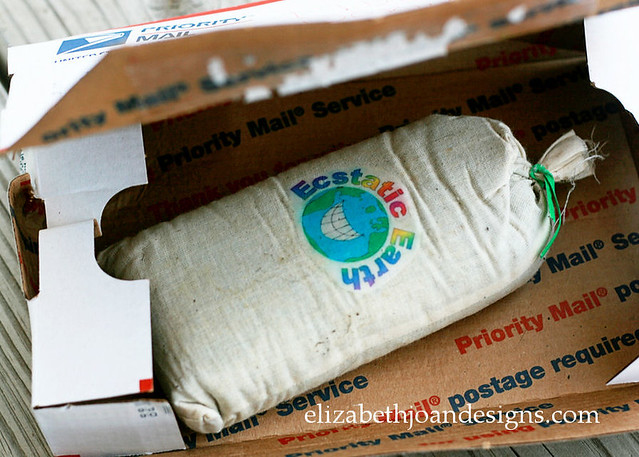
We ordered our worms online and received this cute little package from a seller on Ebay.
Our initial worm bin was homemade (2 cheap plastic containers with lids) and has worked out wonderfully. The bins sat one inside the other, with ventilation and drainage holes drilled into the bin. More on that in a bit. Those worms have been eating machines.
However, over the past year, we realized that we were producing a lot more food scraps than we anticipated and were running out of room in our small bin. So, we decided to do a bit of an upgrade.
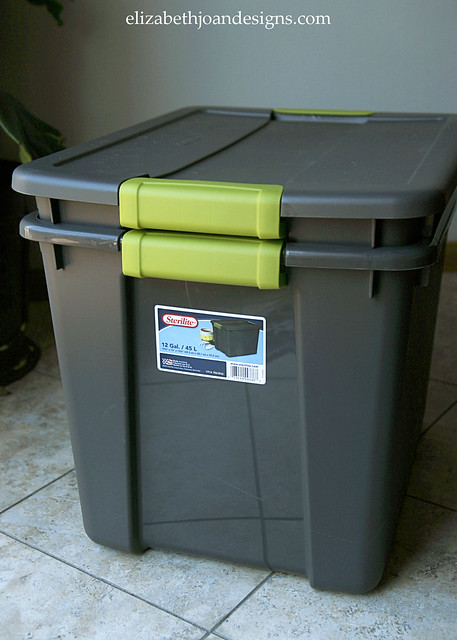
When we trekked off to the store to get our new supplies, a couple of things influenced our decisions. First, our previous wormy home was small and we definitely knew we wanted something bigger, so the worms would have more room to, um, reproduce. Also, we knew we wanted something that was dark and opaque, since worms like cool dark places. (Our previous containers were clear, but stored under our sink in the cabinet.) We found these two, 12 gallon, gray storage bins for around $6 each, including the lids.
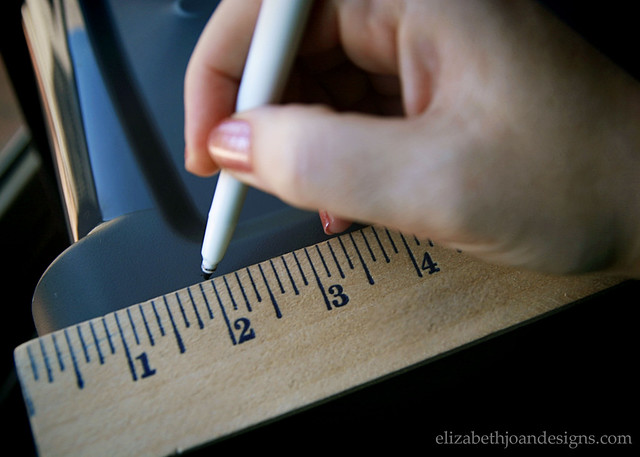
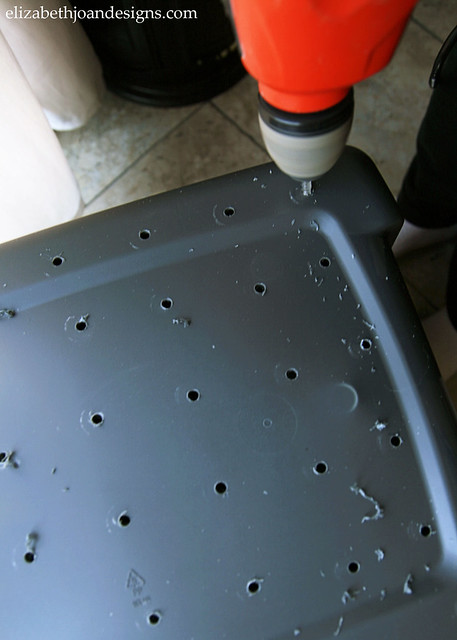
To construct the compost bin, I first started by marking spots on the bottom of one bin about 2 inches apart.
Next, using a drill, I created holes to allow leachate from the composting matter to drain out of the bottom and keep the worms from drowning.
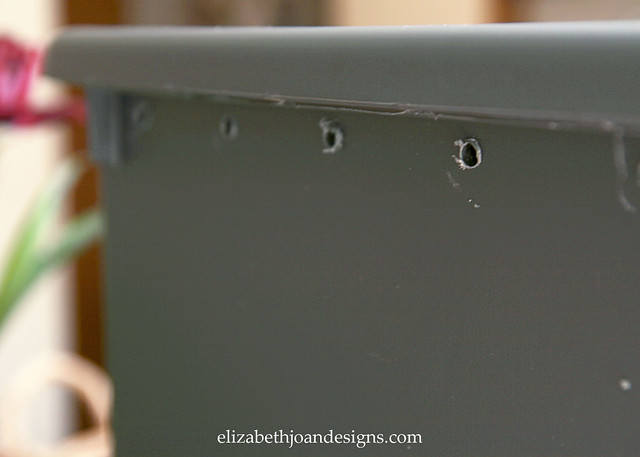
I also drilled some ventilation holes around the top of this same bin. (Also 2 inches apart.) A worm’s got to breathe, you know.
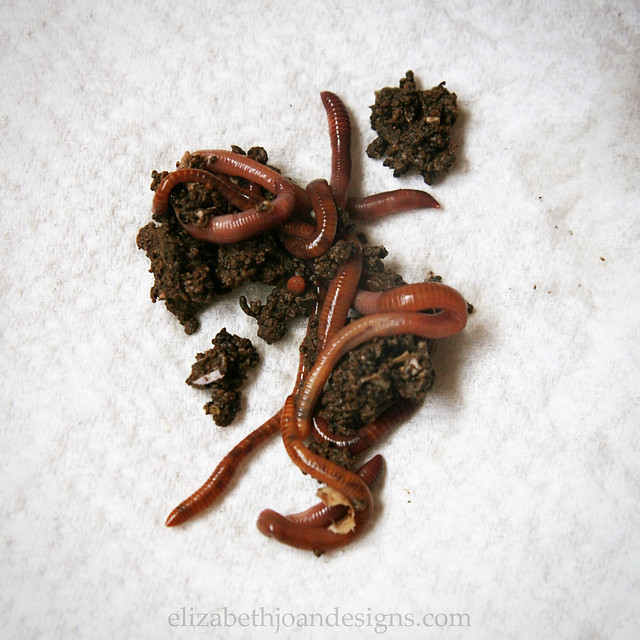
Then, I placed the bin with holes inside the other bin and proceeded to add the worms. Originally, our worms came in a mixture of coconut coir, so if you are starting your worm bin for the first time, I would recommend buying some of that and using it as the first layer you put in your bin.
Aren’t they cute?!
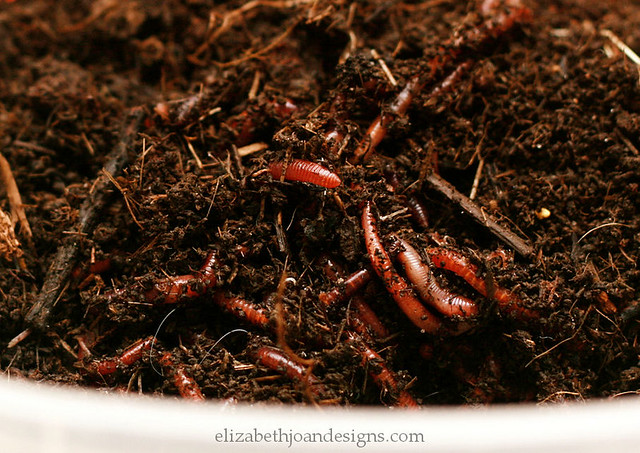
Since our worms were already established, I just added all of the contents of our old bin to the new one.
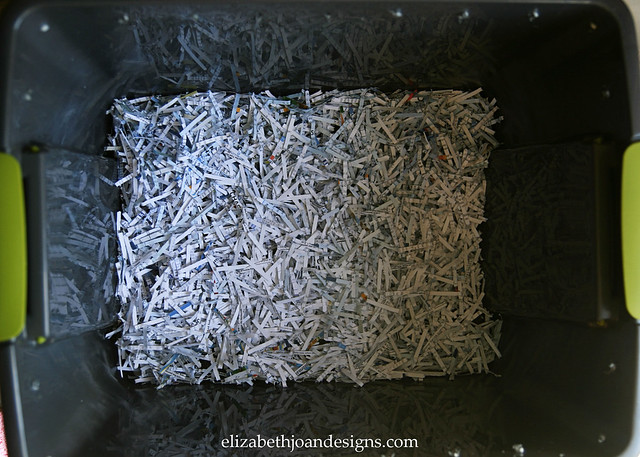
Lastly, I added a few inches of shredded paper to the top, put a lid on it, and placed in on the floor of our pantry. I think we will give them a few days to acclimate before we try to give them any food.
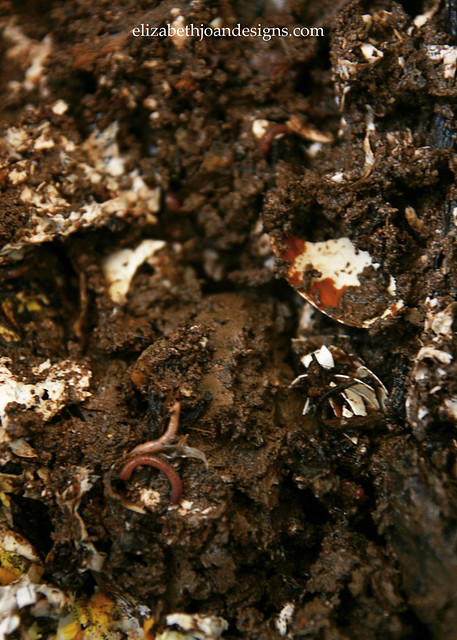
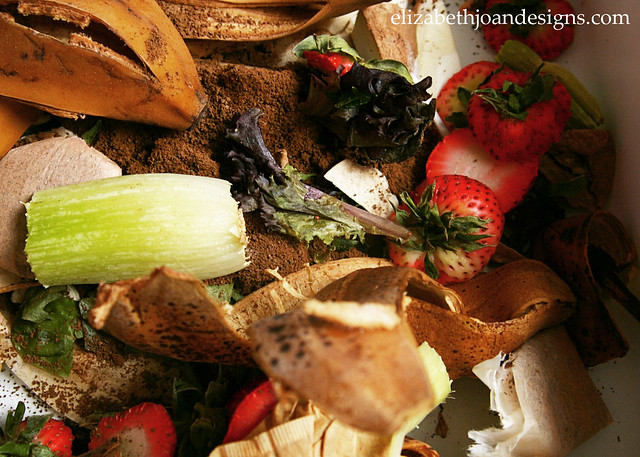
Oh, and this is what we feed them. Basically, just our food scraps. Worms love to eat and they are particularly fond of most produce, except onions and citrus items. They can also handle starchy foods in limited amounts, but we don’t put in any meat or dairy items. So far they seem happy with this diet. And all of that decaying, rotting food in there doesn’t smell funky at all. I swear!
We keep our food scraps in a container in our freezer so they don’t get yucky while waiting to go in the bin and typically feed the worms about every week or so. For us, this seems like just the right amount of time for our worms, but I’m sure it depends on the amount of worms and amount of food a person would have.
Hopefully, this transition doesn’t kill all of our worms!
So tell us, do you compost? Do you have worms to help with the process? Or, do worms just gross you out? Let us know!
-
13 Fun Spring Ideas
Each week during our link up (Your Designs This Time, Mondays 8:00am EST) we are inspired by so many great ideas. These a just a few of our spring favorites we wanted to share with you. Click on the link or photo to see the tutorial of each project.
Grown Up Easter Basket from Addicted 2 DIY 
Indoor Tabletop Garden from One Krieger Chick 
Dollar Store Bunny Makeover from Average But Inspired 
Thread Spool Carrots from Crafts By Courtney 
Hanging Test Tube Wall Planter from Hearts and Sharts

DIY Leather Plant Hanger from Bigger Than The Three Of Us

DIY Painted Billy Ball Flowers & Gift Wrap from The Semi Frugal Life

DIY Burlap Bunny Bag from The Casual Craftlete

Carrot Treat Bags from Sum Of Their Stories

Pottery Barn Knock Off Burlap Bunny Ears from Little House Of Four

Decorative Bunny Platter {Chalk Paint Makeover} from Dolen Diaries

Flower Garland from Woods Of Bell Trees

Hay Wheel Barrow from Penny’s Vintage Home

-
Gift Guide: Mother’s Day 2014
When those gift giving holidays roll around, we always love to share some of our favorite ideas. Hopefully, this Mother’s Day gift guide will help you show the moms in your life how much you care, while keeping you from breaking the bank.

Personalized Family Tree – A wonderful way to showcase family names and important dates.
Largo Jewelry Box – This chic jewelry box is perfect for keeping all of those valuables organized.
Long Sleeve Woven PJ Set – Every mom deserves some down time and these comfortable cotton pajamas will do the trick to help her get into relaxation mode.
Universal (Phone, Cash, Cards) Case – This cute clutch like case comes in multiple colors and can hold the most important essentials.
Shea Butter Hand Cream – Labeled as “beauty must have” and “life changing,” this super creamy balm is sure to soften even the driest hands.
Initials on a Chain – This sweet necklace is one of our faves. Add each of the kiddos initials to the chain to completely personalize it!Black and Creme Mini Stripe Tote – This stylish cotton canvas tote can help corral all of the things that moms end up needing to carry with them.
Live Rabbit Foot Fern – We just love greenery and the pretty lacy leaves make this little plant a great choice for the indoors.
And remember, the biggest thing of all is just to let Mom know how much you love and appreciate her, whether with a sweet gift, a big hug, or both!
-
DIY Note Cards From A Gift Box
My son recently received a gift and it arrived in a cute polka dot patterned gift box. The bottom portion of the box got smashed during the gift opening process. I really wanted to figure out something to use the top for so I wasn’t just throwing it away. That’s when I decided to make a few fun note cards from the leftover cardboard.

Here is what the top looked like before I started.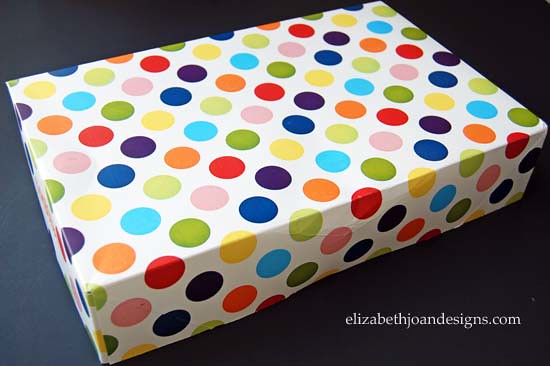
First, I deconstructed the lid by pulling the corners apart. Next, my paper cutter was used to sever the edges along the creases. That left me with just the center section of the cardboard.
Then, I cut the paper again into 3 equal sections. If you are trying this at home, you can make the cards any size you would like. This is just what worked for my needs.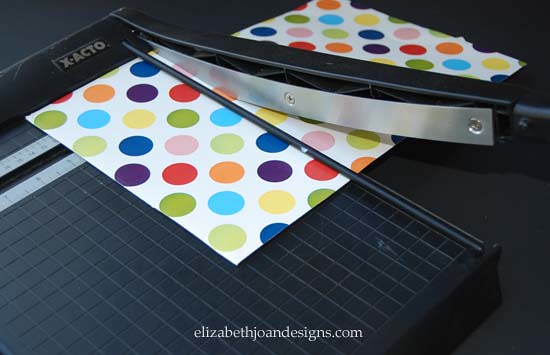
Finally, I folded each piece in half and pressed down with the flat edge of a ruler to get a firm crease.
I also made a few itty bitty ones from the edges I cut off in the first step. I love these! Plus they were free! Yay!
Is there anything special you have saved from going into the garbage?