-
Faux Roman Shade
If you’ve been following along, then you probably know that we’ve been working on our kitchen and I wanted to share a little update that has made a big impact on the space.
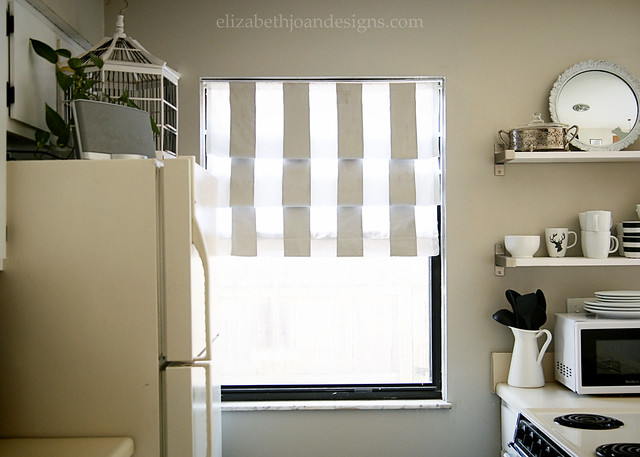
I love the look of Roman shades (especially this striped one from Dear Lillie) and knew that I wanted something similar in our kitchen instead of the horribly over sized mini-blinds that were there when we bought our home. Seriously, who hangs blinds above the window on the wall?

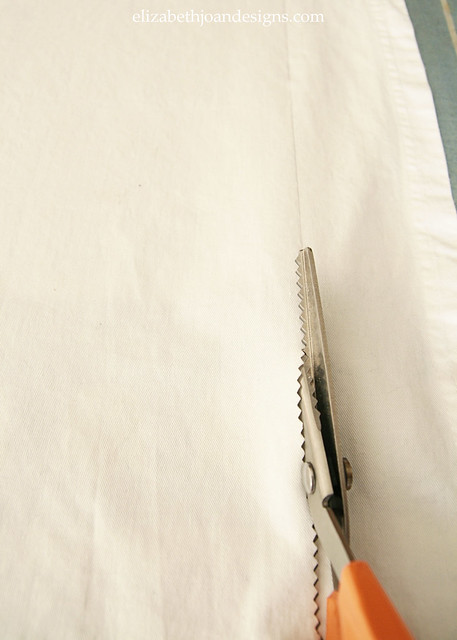
However, I didn’t have the patience to wait for similar fabric to be shipped to me, so I decided to use an old white curtain we had in storage and paint it with stripes. I started by removing the blinds and measuring the window dimensions. Then, I marked where the edges would be on the curtain and cut along the left side and top. leaving some seam allowance and room for a pocket along the top. (I used the existing finished edges on the bottom and right side.)
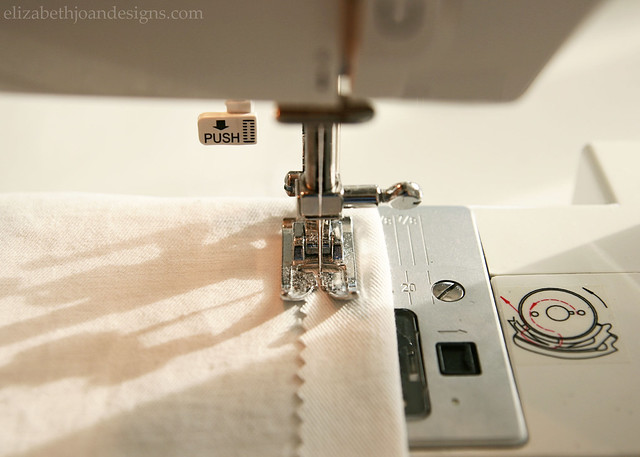
Next, I sewed the unfinished sides, leaving a pocket along the top for a tension rod to go through.
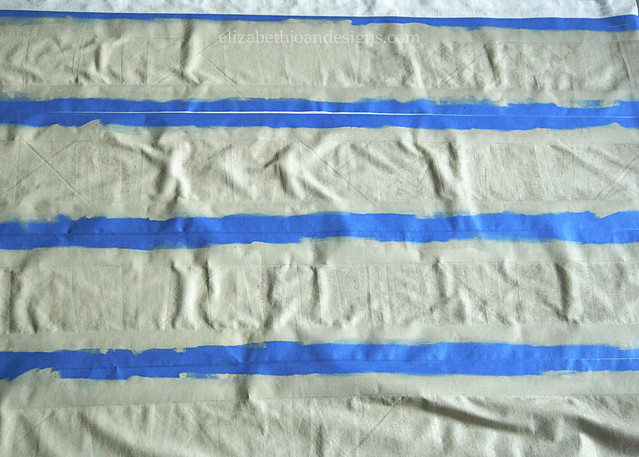
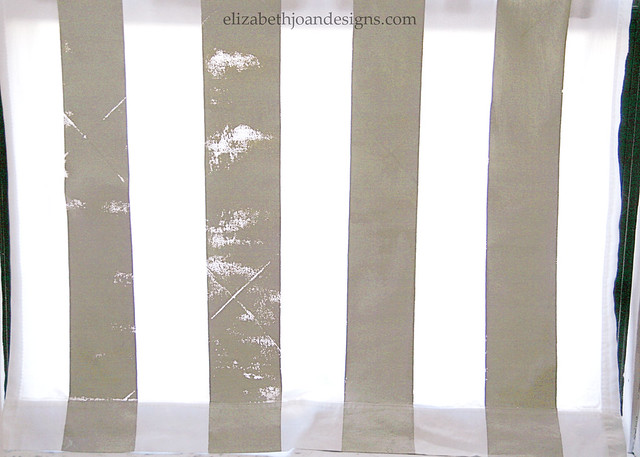
To paint the stripes, I kind of followed this tutorial from Perfectly Imperfect. The color is Benjamin Moore Revere Pewter, which is the same as our wall color in the kitchen.
Once everything was dry and the tape removed, I hung the curtain up on the tension rod. Unfortunately, there were some places where the light was still visible through the paint and it looked pretty funky. See?
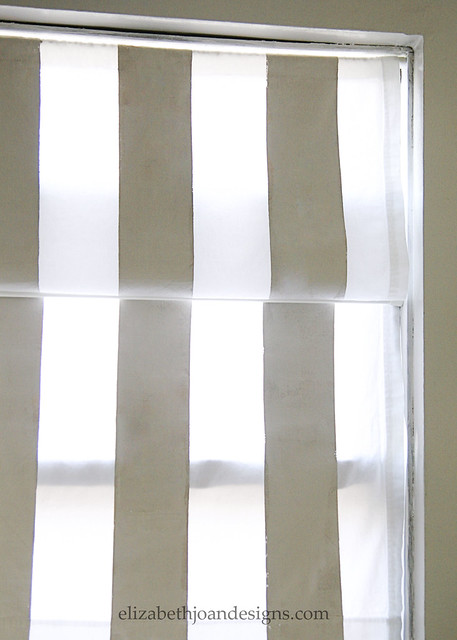
So, I used a paint brush to touch up those spots and everything in the world was good again.
Finally, it was time to make this simple, straight curtain into a Roman shade. I placed two more cheap tension rods in front of my fabric roughly 6 inches from the top rod and from each other.

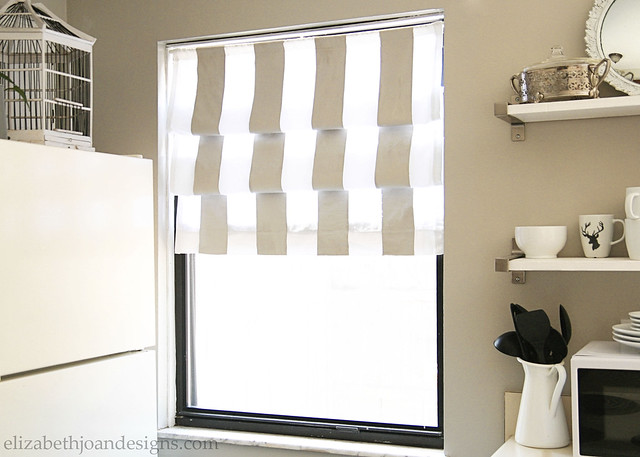
Then, I pulled a section forward from behind the middle rod and draped it over the front. I did the same for the bottom tension rod too, which gives the look of a roman shade, minus the functionality. (If you are looking for a DIY Roman shade that works, check out Emily’s post, A Shady Project.)
I think this was the perfect item to add some interest to our kitchen!
If you want to see more of what we’ve accomplished in this room, check out the posts Shelf Obsessed and Revamping the Breakfast Nook.
_____________________________________________________________________ You may also like:
Dining Chairs Update 
DIY Roman Shade 
Open Shelving in the Kitchen 
Revamping The Breakfast Nook -
Fighting Oil With Oil
We’ve recently been working hard to transform our dated 1980’s kitchen into something from this century. A major part of this transformation has involved primer/paint and few lessons learned.

We have been using oil based primer on our cabinets and it is the first time we’ve really had any experience with it. We’ve learned that the stuff sticks to everything (yay!) and that this stuff literally sticks to everything (boo.) Like the time my husband, Chris, got it all over his hands and tried to wash it off with soap and water. Not good. It just made it even messier and smeared it around more because, obviously, oil and water do not mix. So while he stood in the bathroom covered in stickiness, I did what any good wife would do and
went to bedheaded to the computer to search for ways to remove the primer.We found that a mixture of olive oil and salt worked great to get the primer off and also gave his hands a good exfoliation in the process. (Who doesn’t want a man with soft hands?) So, when we dropped a paint brush filled with primer on the floor a few days later, I decided to try the olive oil technique on that as well.
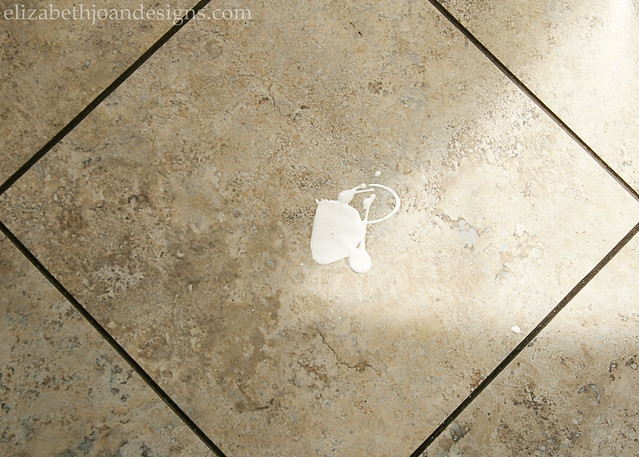
That is after we found that a dry paper towel just smeared that primer around on the floor.
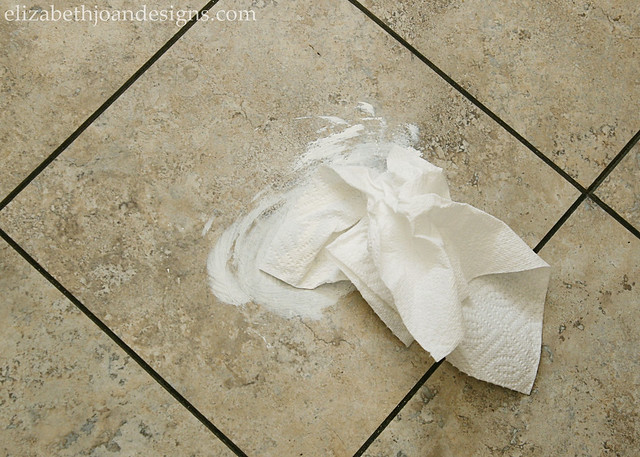
To remove the smear, I initially tried a mixture of olive oil and salt, but found that on our floor we only needed to use the olive oil. You can see how easily it removes all of the primer in this handy dandy video. Enjoy!
A few more details to take into consideration:
– Our flooring is vinyl stick tiles. I’m not sure if or how this technique would work on other types of flooring, i.e. wood, ceramic tile, laminate.
– This technique works on fresh spills and dried primer too, provided you add a little more elbow grease.
– Use olive oil to remove oil based primer and paint from brushes too!
___________________________________________________
You may also like:
Mason Jar Paint Storage 
Tips For Mixing Paint 
Dry Erase To Chalkboard 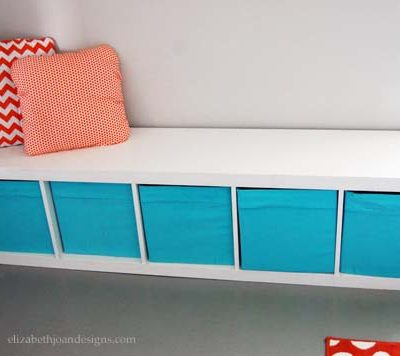
The Key to Painting Laminate Furniture -
Sometimes It’s the Little Things
Whenever I get a free chance, I am still trying to work on our playroom. It really is coming close to being finished. I just had lost a bit of my motivation and I finally feel like I might be getting back on track.
I have already shared a lot of the larger projects like:

Kid’s Table Makeover
The Key to Painting Laminate Furniture 
Toy Organization 
Ikea Trofast Makeover 
Chalkboard Paint Accent Wall 
Ikea Apa Storage Makeover But now it is time to share some of the smaller projects that still contribute big impact to the room.
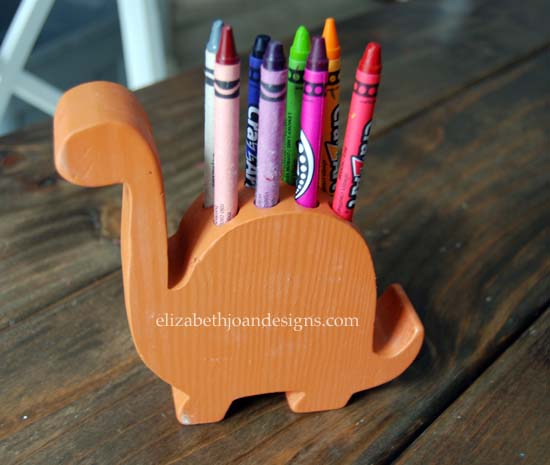
1. This friendly dinosaur, named Frank (I just made that up) was an unfinished piece I came across while shopping at JoAnne Fabrics. Combined with their famous 40% off coupon, this guy was a great deal.
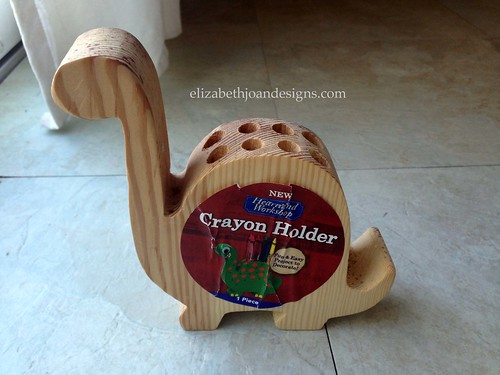
I knew spray-painting him orange would give me the pop of color I was looking for. Isn’t he adorable?
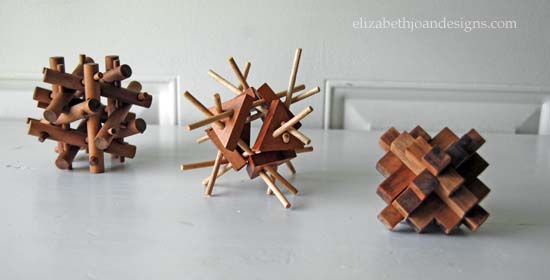
2. Mind puzzles can be extremely hard to solve. So what do I do, I take a few of my husband’s apart and stain them the color of my choice. Then ask him, oh so kindly, to reassemble each one. Luckily, I have a pretty awesome husband that accepted my challenge and put each and every piece back in its’ rightful place. (THANK YOU, Adam!)
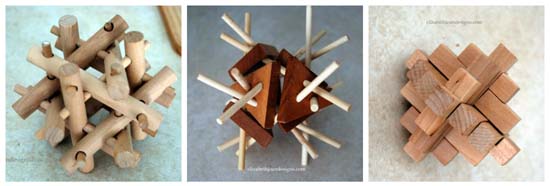
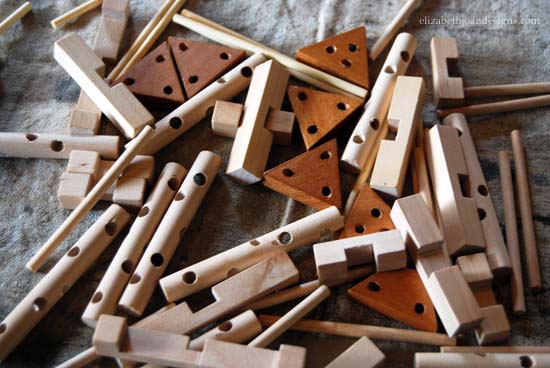
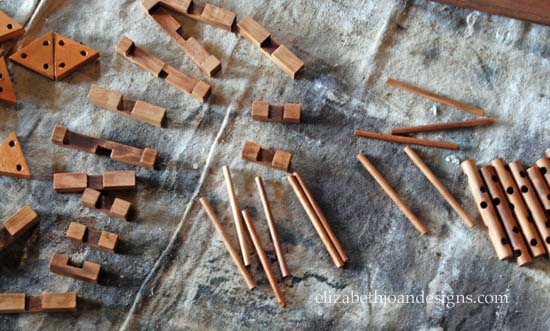
I love the way these intricate brainteasers look. Perfect for our playroom!
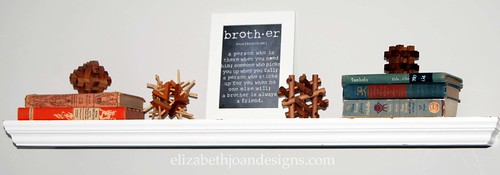
3. If you follow me on Instagram, then you may remember seeing this picture of fun garage sale finds featuring a floating shelf I purchased for $1.
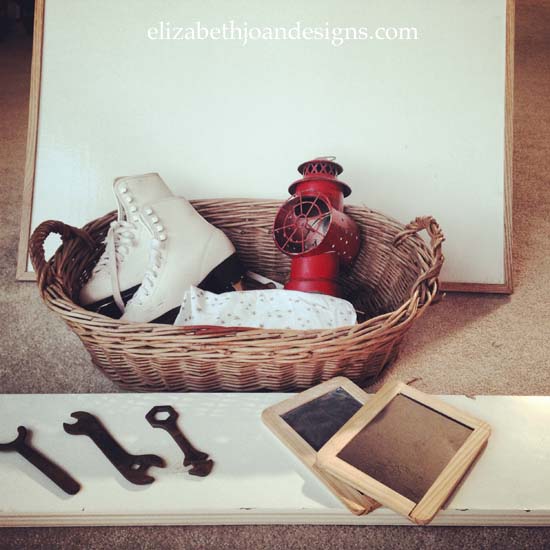
You can’t really beat that price, right? I brought it home and touched up a few dinged spots on it with some wood filler and painted over it to make it match the rest of the shelf.
My touch ups made this shelf look like new! We are so happy with the results!
Well folks, that’s all I have for today. Hopefully one of these days I will be able to share the full playroom reveal with you, but until then, toodle-loo!
_______________________________________________________________________________ You may also like:

Octonauts Costumes 
Paint Dipped Box Baskets 
Toddler Entertainment 
Faux Metal Letter -
DIY Hanging Snack Basket
I shared earlier this week my thoughts and feelings on both of my little men attending preschool this year. In that post, I gave you a sneak peak of a DIY hanging snack basket I had created to make the transitions to and from school go a little smoother. This snack station will be kept near our front door to give myself easy access to snacks for the boys on the way out or in.
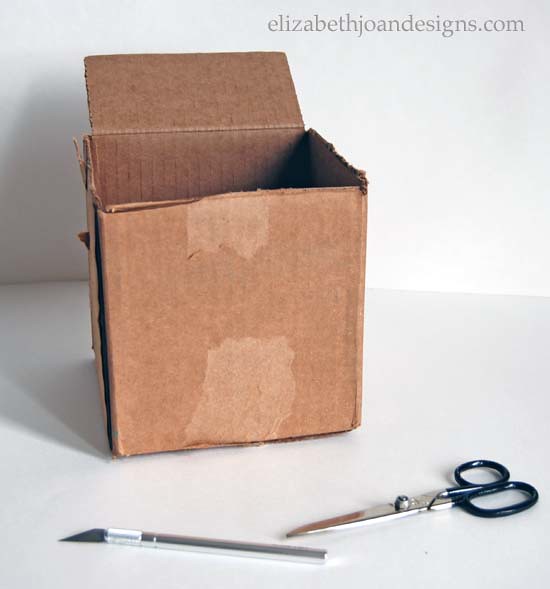
Here is how I made it. Supplies
1 Small cardboard box
Scissors
X-acto knife
Elmer’s glue
Paint brush
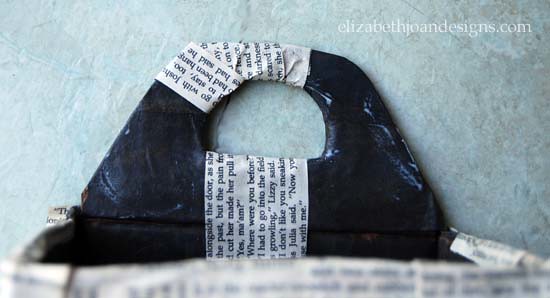
1 Old bookFirst, I cut three flaps off the top of the cardboard box. This left me with just one flap left to make the handle.
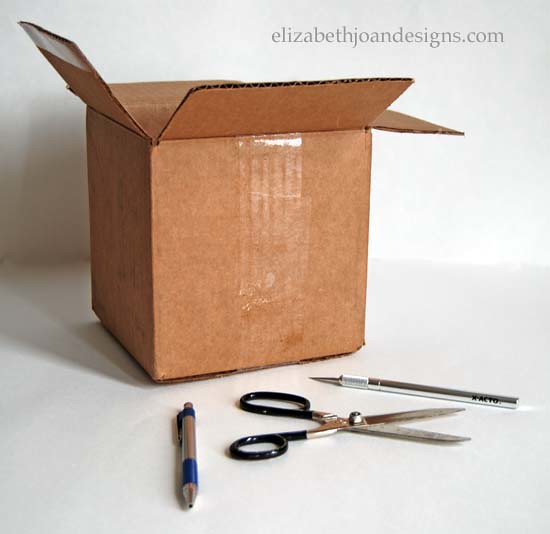
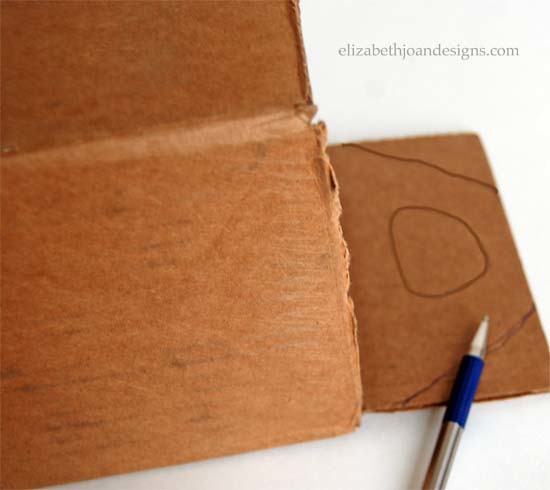
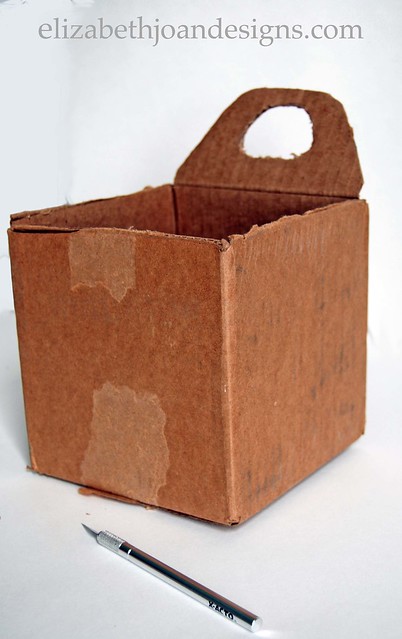
Next, I used a pen to sketch a handle on the remaining flap and cut it out with an X-Acto knife. I did this processes very carefully as X-Acto knives can be really sharp and I didn’t want to lose any fingers.
Okay, here is where the project went wacky.
I thought, hey it would be so awesome if I made this cardboard box look like it was made out of planks of wood, but not actually use wood for it. Well, once again, I was wrong. I used craft paper and used a tool to make wood grain on the paper and glued it to the box. It was an odd color, but I thought “hey I will move on with it anyways.” When I stained and polyurethaned the box, the paper started to bubble up and looked really bad and the color did not improve. Bummer!
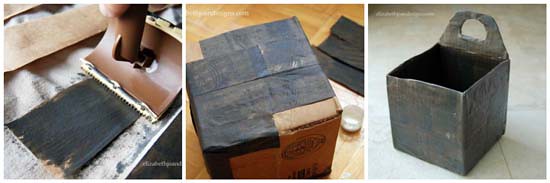
It was time to scratch that idea and move on. My first attempt was a fail, but I was able to salvage the box to push forward to make something really cute. Plus it made the final project more sturdy.
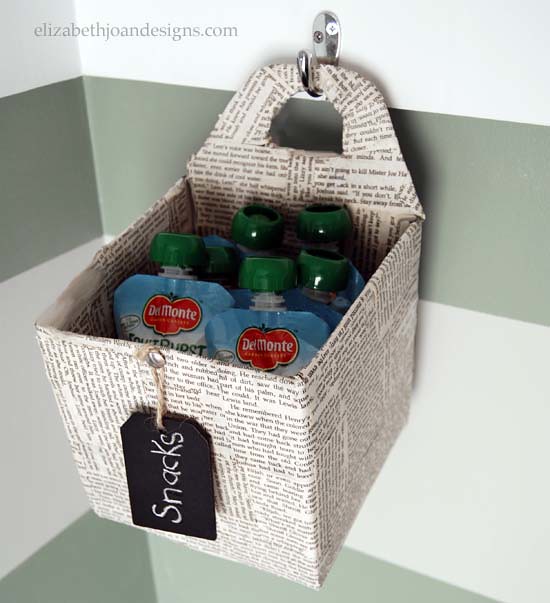
I decided that covering the box with just about anything would be an improvement. After giving it some thought, I chose book pages.
First, I ripped out pages from an old book. This book had been well read and had lived a great life. It was time to give it a new purpose.
Next, using a solution of Elmer’s glue and water I brushed the glue on the pages and attached them to the box. To give the design interest I rotated the pages to where some were facing right-side up, upside down and sideways.
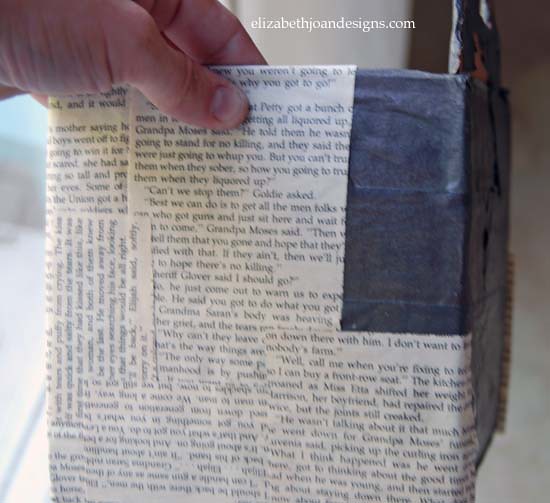
I continued applying book pages until the box was fully covered.
Finally, I added this really cute chalkboard tag I won in a giveaway from Little House Of Four. It was the perfect touch.
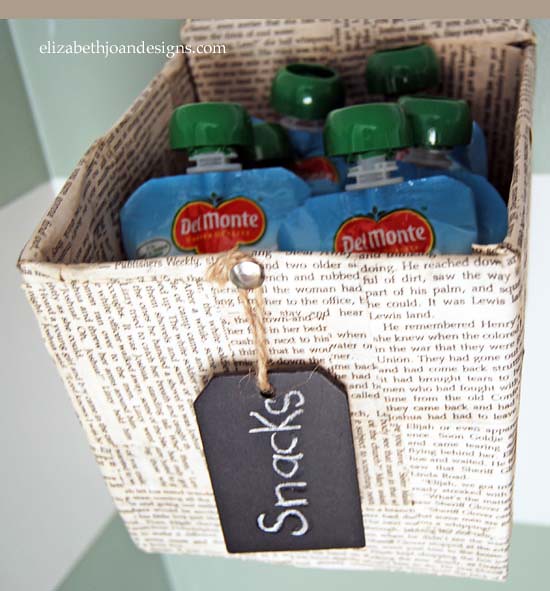
Leaving the house with my two preschoolers can sometimes be a fight, so this hanging snack basket will be extremely convenient to just grab a snack and go. Love how it turned out too!
We would love hear any tips and tricks you may have that make the school mornings go a little smoother.
_______________________________________________________________________________ You may also like:

Ruler Succulent Planter 
Tips for 1st Day of School 
Chalk Cloth Map 
Lunch Notes