-
12 Ways To Use Numbers, Letters & Words
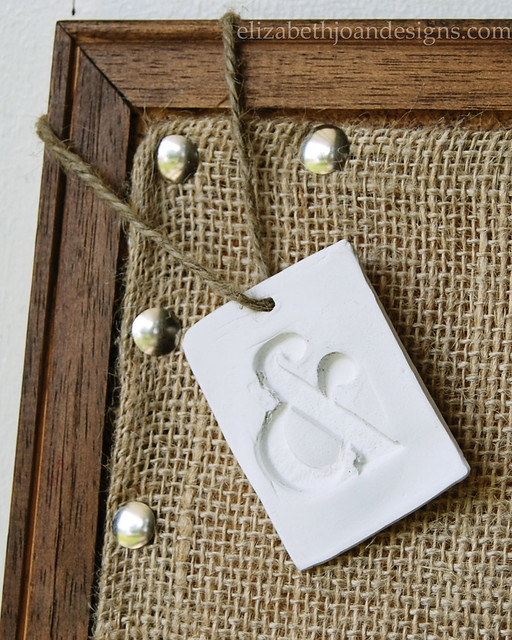
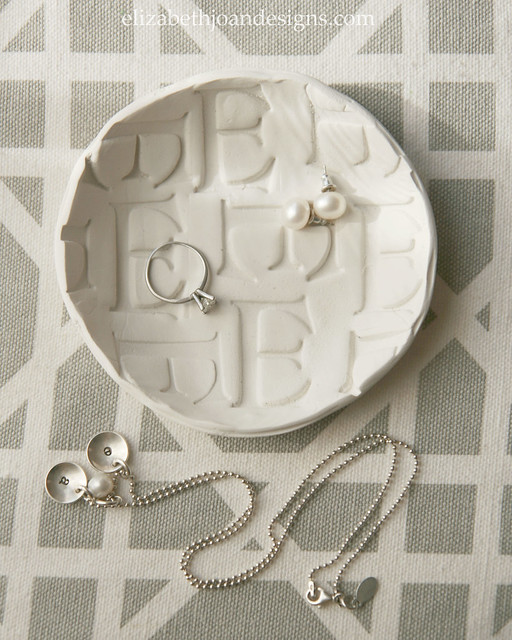
Today, we thought we would share 10 of our favorite ways to use numbers, letters and words in decor. What are your favorite ways to incorporate these elements into your home? (Click the photos to view each project.)
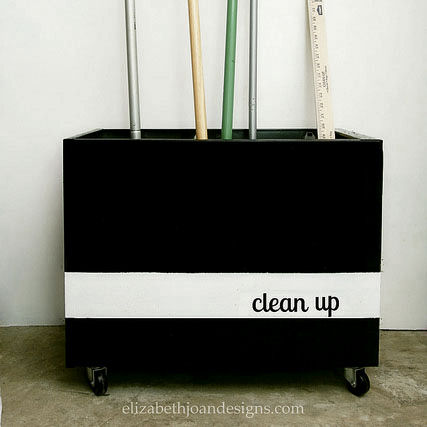
File Cabinet Garage Storage 
French Lettered Milking Stool 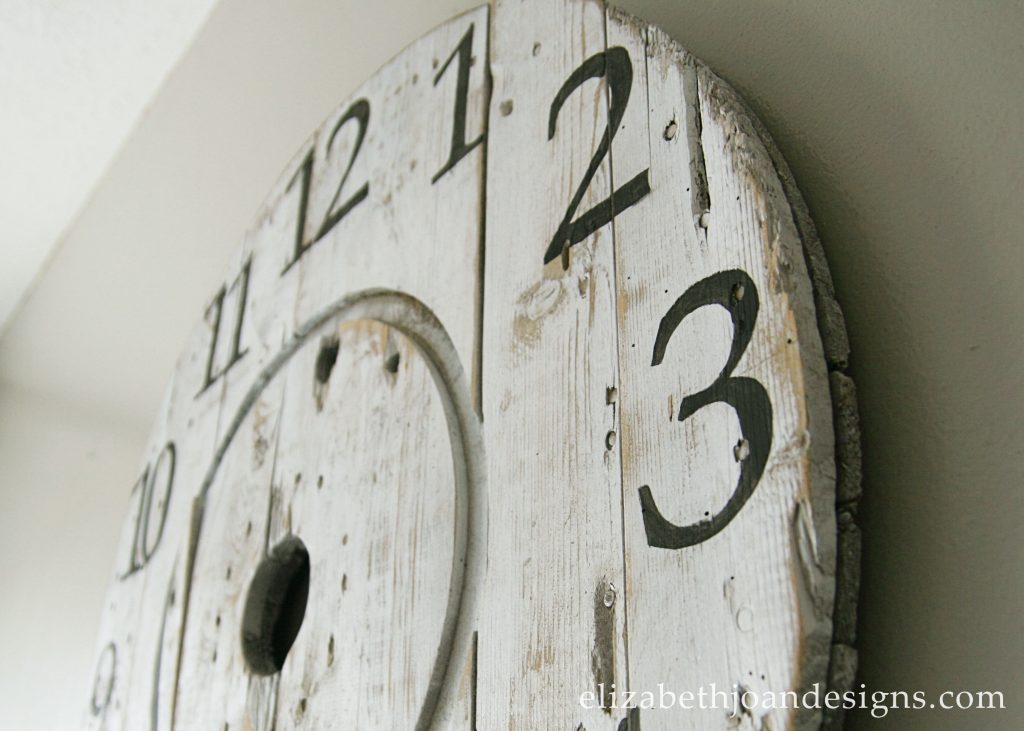
Cable Spool Clock 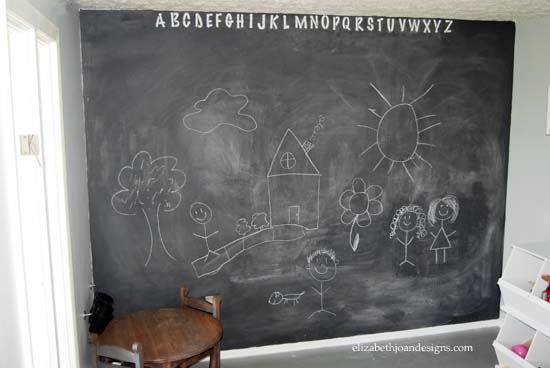
Chalkboard Paint Accent Wall 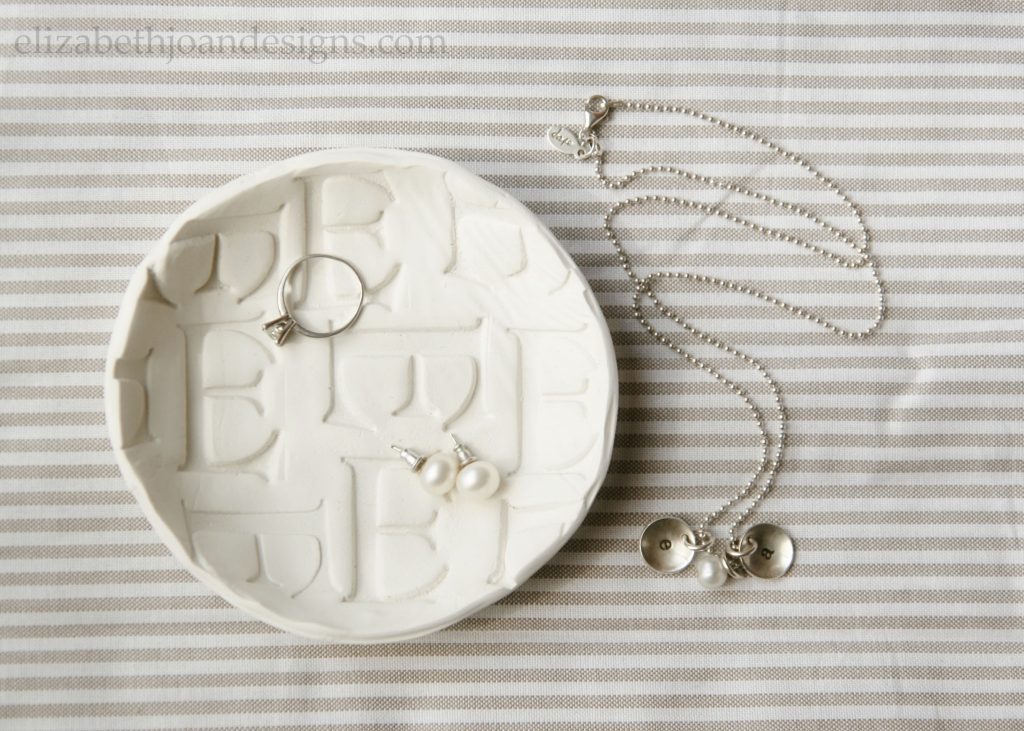
Monogrammed Stamped Clay 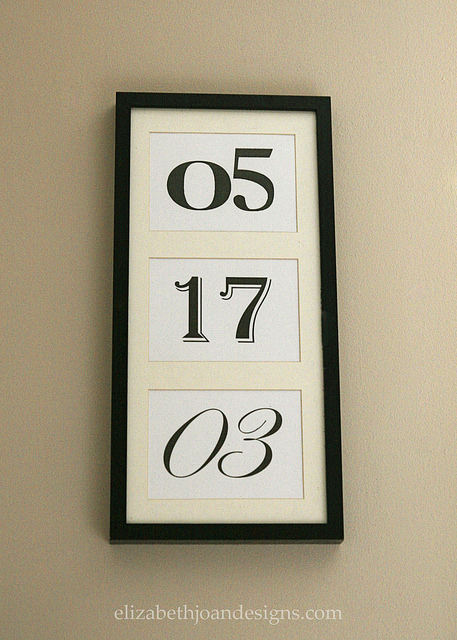
Anniversary Art 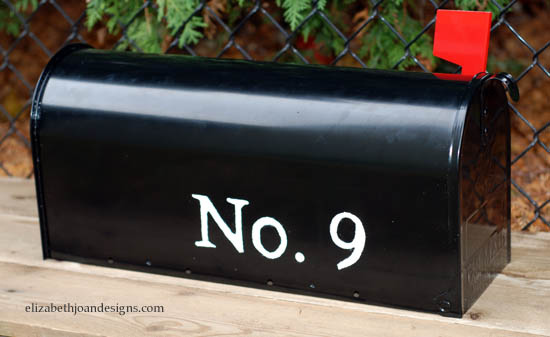
Numbered Mailbox 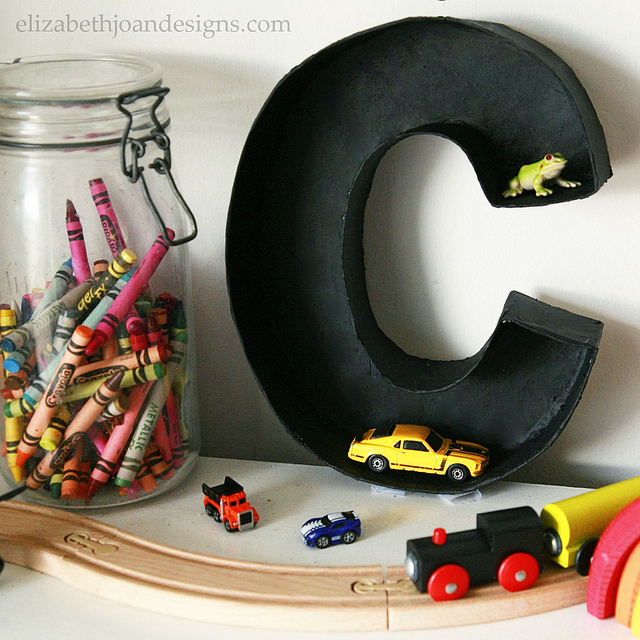
Faux Metal Letter 
Freezer Paper Stenciled Treat Bag 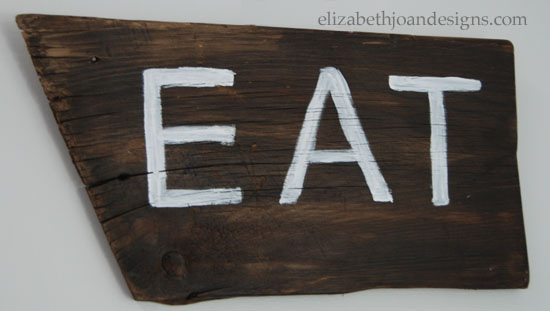
Barn Wood Sign 
Numbered Counter Stools 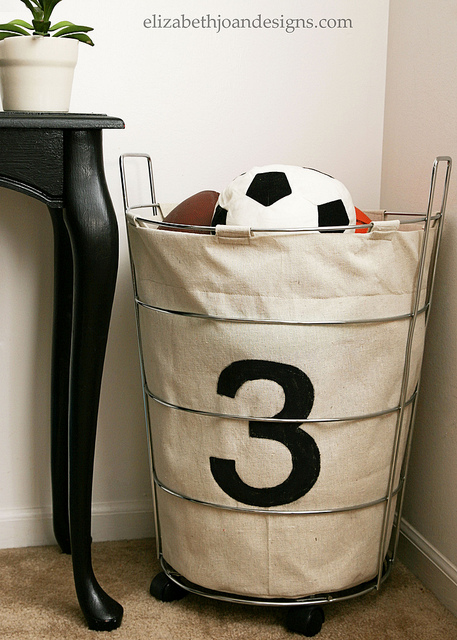
Industrial Numbered Storage _____________________________________________________________________ You may also like:
The Key to Painting Laminate Furniture 
Hardware Change-A-Roo 
Closet To Office Part 3 
Placemat Pillow -
Tour Through Blogland
We are so excited to be participating in the Tour Through Blogland today. First and foremost, we want to thank Kristi from Making It In The Mountains for inviting us to join. If you have not checked out her blog yet, let us tell you, you don’t want to miss it. Her blog is full of so many fantastic DIY projects. One of our favorite projects of her is her DIY Painted Chargers. These are so cute and creative.

We are so honored to be a part of this series. It is such fun way to get a peek into what happens behind the scenes here at Elizabeth Joan Designs.
So, are you ready? Things are about to get real.
This is us. Emily (on the left) and Erin (on the right.) Two sisters who had a crazy idea to start blog and share our DIY adventures. To find out more about both of us, check out our ABOUT page.

Our Houses Erin – We’ve owned our home for 8 years, but we’ve only lived here for 4 1/2, thanks to several interstate company transfers for my awesome husband. We’re back now, with an extra kid this time, ready to dive in and fix this place up. Check out what we’ve accomplished already:

Emily – My amazing husband and I bought our home 5 years ago, when I was pregnant with our oldest son. The whole house is pretty much a work in progress. Here is a peek inside of what we’ve completed so far:

Now, on to the interview questions.
1) What am I working on?
Emily – I have been working on changing up my boys’ bedrooms. From baby to big boy! When everything is all said and done, their dressers will each have a new look. Both kids will have a desk and some sort of fun shelving in their rooms. My inspiration? Vintage cars for my youngest and vintage airplanes for my oldest. I am so excited about showing all of the fun projects I have been working on with you. I am hoping that in September I will be able to start sharing them.

Erin – We are currently up to our eyeballs in projects. The big one is our kitchen, which we are completely updating to our tastes. Bu-bye faux wood and almond colored cabinets! We are whipping up something cool for our son with some fun paint colors (check back later this week.) Also in the works is our patio, which will be getting some beautification, thanks to some extra wood from our Cable Spool Clock project. In addition to that, our daughter’s room, the bathrooms, and the pantry are all on the list of things to start.
2) How does my work differ from others of its genre?
Divide and conquer. There are two of us and we have the ability to bounce ideas off of each other, offer support, and split up blog work. Because we spend way too much time on the phone with each other, this may take a little more time in the long run. But by having the support of one another, we are both usually a lot happier with the results of our work.


3) Why do I write/create what I do?
Our Mom was so super duper creative, our Dad has an amazing talent to able fix anything, and our Grandfather was quite the woodworker. Creativity was just passed down in our genes. We both thoroughly enjoy taking something ugly or old and transforming it into something beautiful. Saving money is always a motivator and just makes cents. Haha.
With us being several states apart, we originally started this blog to share our
ideas with each other, our family members, and friends. We never imagined there would be others out there that would want to see our projects. Having this blog together has just been amazing and has really brought the two of us closer together.4) How does your writing/creating process work?
Emily – My writing/crating process is always all over the place. Whenever I have a minute free, I am usually trying to squeeze in work on a project or post. To get inspired, I also take frequent trips around neighborhoods during garbage day to see what inspiration may be laying on the curb ready for rescue.
Erin – My head is always spinning out ideas and it really is just a matter of getting those ideas down on paper or on to the computer. Plus, I’m a total list maker, so you can imagine that I tend to have random notes/scraps here and there with an assortment of ideas on them. Typically, we will take a couple of ideas from my lists and plan out how to do them with all of the supplies, measurements, etc. Then, it is just trying to find time to work everything in, you know, because of life. I always love how projects can start with one vision and end up something completely different, yet loved.

Enough about us. Now, we get to turn the spotlight onto the three talented bloggers we’ve selected to join this series. Check out their amazing blogs and look for their tours on August 18th!
Aimee from It’s Overflowing 
“Aimee, a mom of three, living in Dallas, Texas is the founder of It’s Overflowing, a blog about Simply Inspired DIY & Decor, House Tours, Organization Tips, Favorite Recipes, and SLR Camera Tutorials. Aimee considers her 10,000+ It’s Overflowing Readers her sweet friends!”
Cat from The Rustic Willow 
“Hi friends! Thanks for stopping by my little hangout spot on the Internet. Here you’ll find easy (and affordable) DIY crafting and cooking projects along with some weekly tidbits and fun ramblings. I hope you stay a while :-)”
Katie from Little House of Four

“For years I’ve read blogs and tossed around the idea of starting one myself. About a year ago, I finally took the plunge and ‘Little House of Four’ was born. My day job allows for zero creativity, so this is my space to share decorating ideas, DIY projects, my favorite recipes, and organizing ideas in hopes of inspiring others.”
-
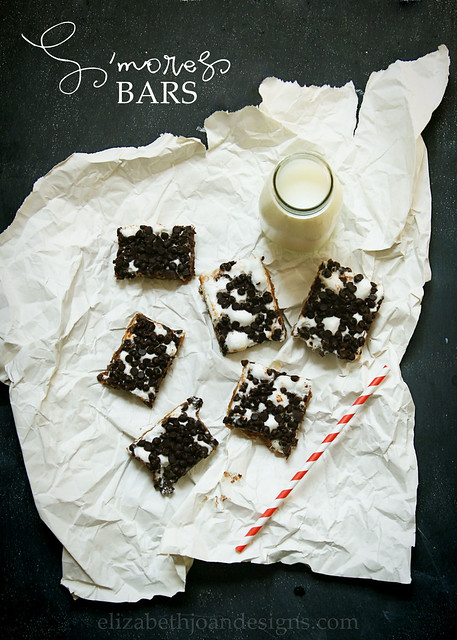
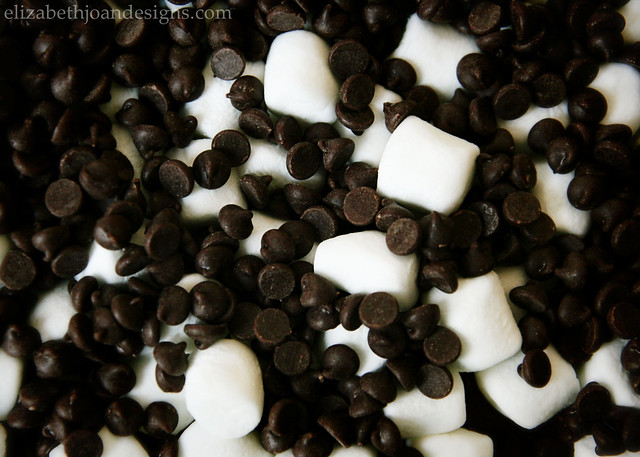
Ooey Gooey S’mores Bars
Summer is quickly coming to an end, and unfortunately, we haven’t been able to make many camping trips this year. Boo! And that also means that we haven’t been able to enjoy the yummy goodness of s’mores as often we like. Double boo! Luckily, I have this great s’mores bars recipe in my arsenal that totally hits the spot when I have that marshmallow-chocolate-graham craving.
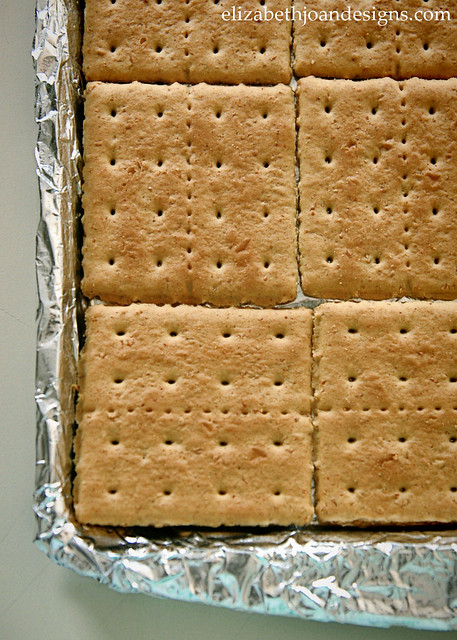
This recipe is pretty easy to put together. Just spread foil out on a jelly roll pan, coat it with cooking spray and lay out graham crackers side by side on the foil.
In a medium sauce pan, heat butter and brown sugar, stirring it into a boiling concoction of deliciousness.
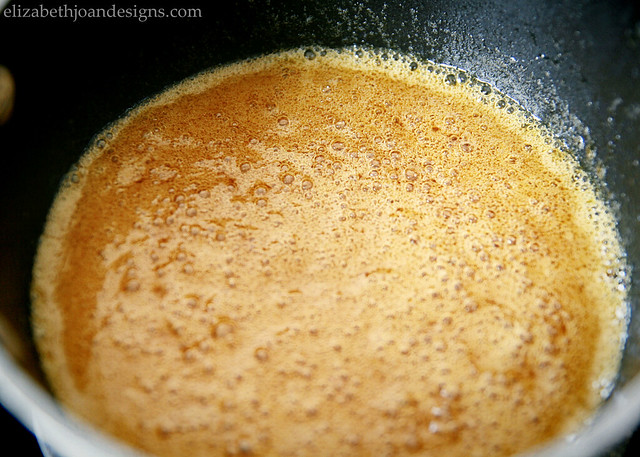
Pour the combination over the graham crackers and place that into the oven, preheated to 350 degrees, for 5-6 minutes. Watch for the bubbles.
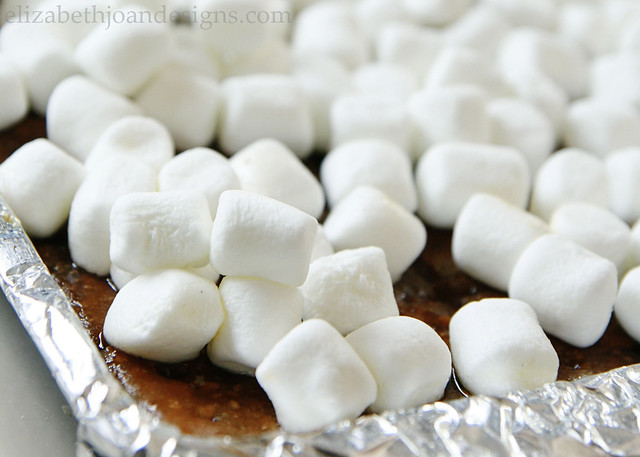
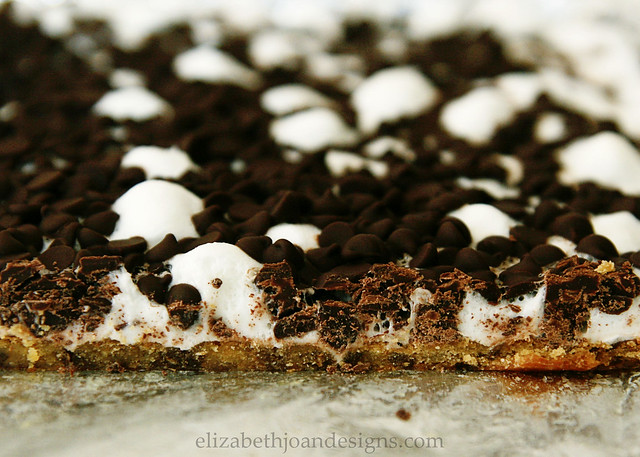
Once it is ready, pull it out and add marshmallows and chocolate chips to the top. Then, pop it back into the oven to finish it off. The marshmallows will get soft and puffy. That’s how you know it is ready.
Pull it out and let it cool. We like to throw ours into the freezer to firm them up faster, plus this make them a bit less gooey, but don’t be surprised if they are still a little messy.
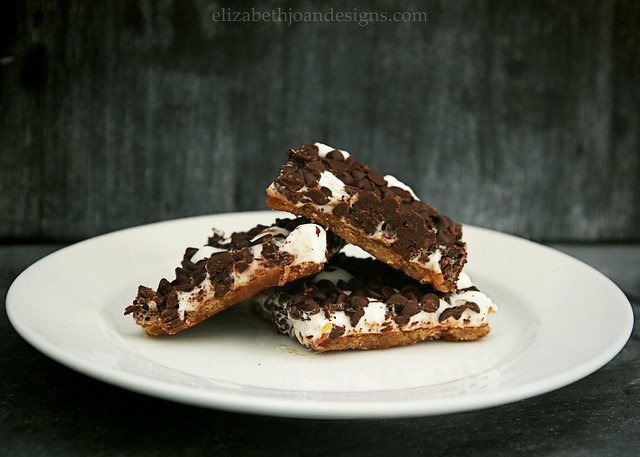
These mouth watering camp-type treats are sure to have every person in your family
bouncing off the wallssatisfying their sweet tooth in no time.


Oh my goodness! These are so super, duper yummy and I’m sure if you are searching to eat some extra calories and to add a notch to your belt, that these will totally do the trick!
Ooey Gooey S’mores Bars
Ingredients
12 sheets of graham crackers
3/4 cup butter
3/4 cup brown sugar
3 1/2 cups mini marshmallows
1 bag mini semi-sweet chocolate chipsPreparation
Preheat oven to 350°F. Spread aluminum foil over a 15 inch jelly roll pan. Spray the foil with cooking spray. Line the top of the foil with graham crackers, breaking them into pieces to fill in any extra spaces.Melt butter and brown sugar over medium heat in a saucepan, stirring constantly. Allow mixture to come to a boil (approx. 5 min.) Remove from heat and pour evenly over crackers. Bake another 5 to 6 minutes, or until bubbly.
Remove pan from oven and immediately sprinkle mini marshmallows and mini chocolate chips over the crackers. Return pan to oven for another 2-3 minutes, or until marshmallows begin to soften and chocolate is melted.
Cool completely before serving.
_______________________________________________________________________________ You may also like:

Strawberry Avocado Salsa 
Grilled Bread Salad 
Buffalo Chicken Meatballs 
Mediterranean Chicken Packets -
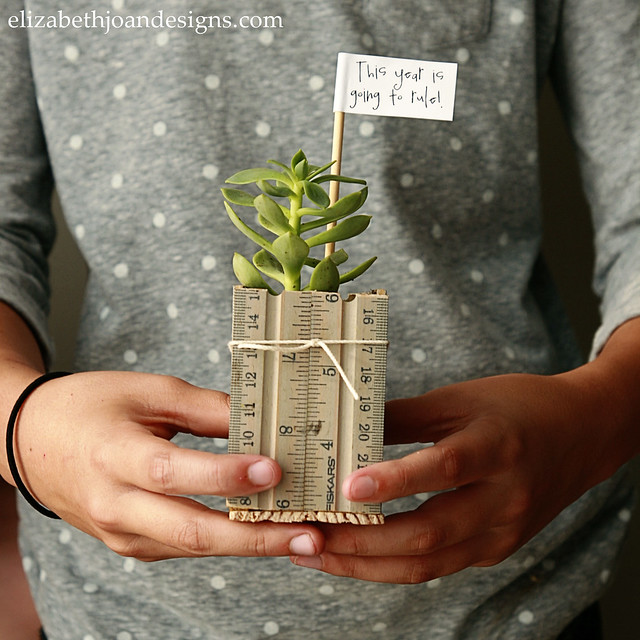
Ruler Succulent Planter & Back to School Blog Hop
It’s almost time for school to start and that means everyone with kids is scrambling to buy school supplies, get some new clothes, and figure out who this year’s teacher will be. To make things easier, we’ve come up with a fun idea for an easy teacher gift to kick the year off on a good note.
But, since this is a Back to School Blog Hop, we’ve joined up with a great group of bloggers to share even more projects and printables to help the start of the school year be more organized and go off without a hitch. Check out all of the awesome ideas at the bottom of this post.
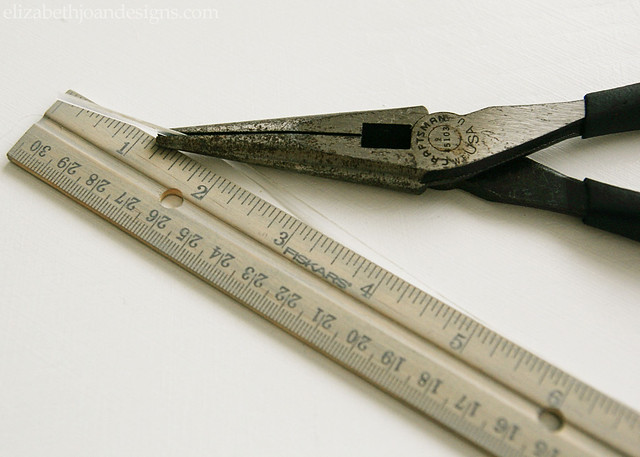
So, for this project, we hacked into our stash of extra wooden rulers (left over from our Ruler Drum Shade.) What? You don’t have a superfluous supply of rulers? No worries. You can get them for relatively cheap at pretty much any store that offer school supplies. Here’s what we used to make our Ruler Succulent Planter:
– Three 12 inch wooden rulers
– Needle nose pliers
– Hack saw
– Wood glue
– Large C clamp
– Scissors
– Sand paper
– One gallon freezer bag
– Small succulent
– Potting soilUse the pliers to remove the plastic or metal straight edge piece from one side of the rulers. (You can try to pull them out with your fingers/nails, but I was having no such luck.) Cut each edging piece into approximately 3 inch sections with scissors.
With the hack saw, cut each ruler into quarters (also in 3 inch sections.)
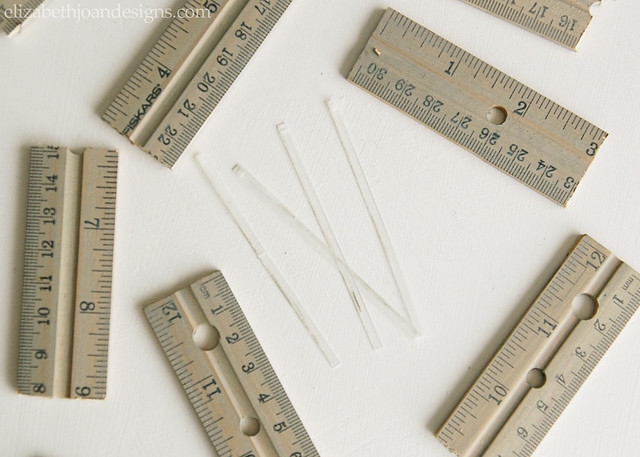
Next, we attached two pieces of ruler together. To do this, evenly divide the ruler sections into two groups. We will call them group A and group B. Re-insert the cut edging pieces into group A. Add a line of wood glue along the side where the plastic or metal edging piece was on group B and then push A and B together. The straight edge piece will then be in the middle of the two ruler pieces, which will help make everything a bit sturdier.
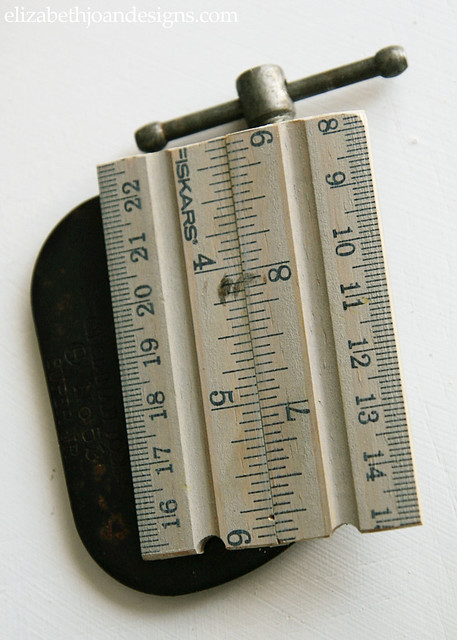
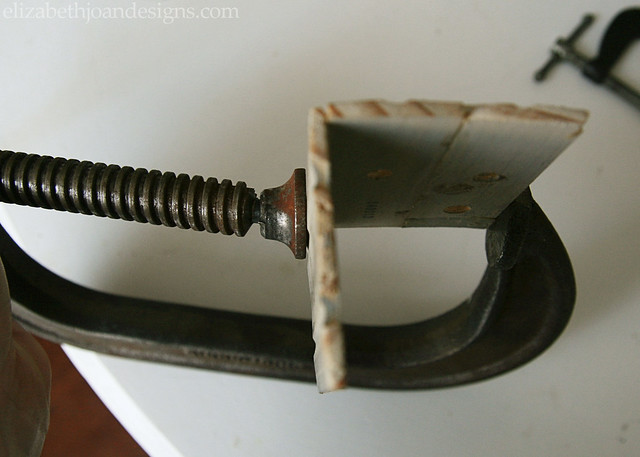
Add some more of the wood glue to the side of one of the sections and then use the C clamp to hold a second piece on to create a 90 degree angle. (If this is getting too confusing, just refer to the photos.) Do this for all 4 sides and the bottom piece of the planter to make an open top box.
While we were waiting for the glue to dry, my daughter and I ran to the store to grab a little succulent. Here she is picking out her favorite.
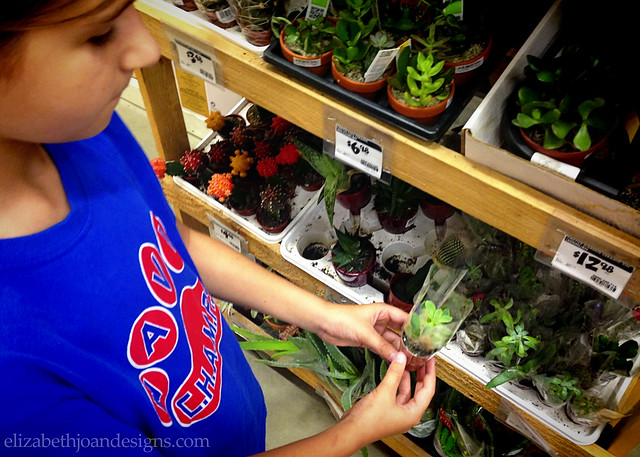
Ok, back to the project.
Once the planter is all put together and dry, cut a large square out of the corner of the freezer bag with scissors and insert this new “bag” into the planter. Trim any excess off, so that the top of the bag is just below the edge of the box.
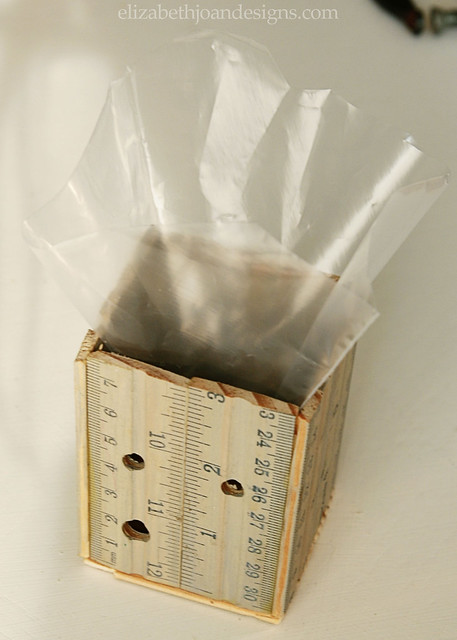
Then all that is left is to add some potting soil and plant your cute little succulent.
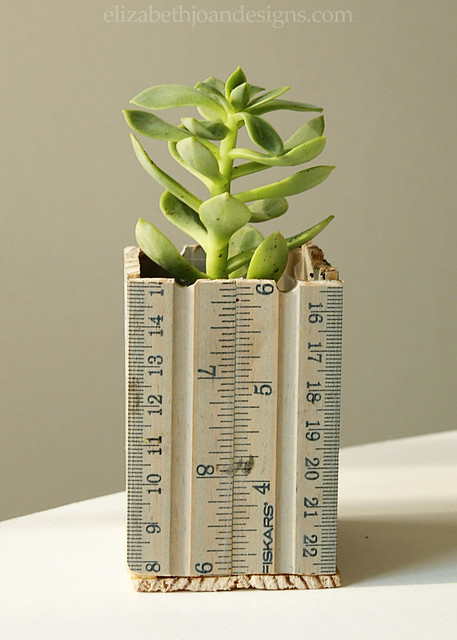
I know this process sounds pretty wordy, but the planter was really easy to make.
And it will make the cutest little back to school teacher gift, especially since we threw in this witty little flag.
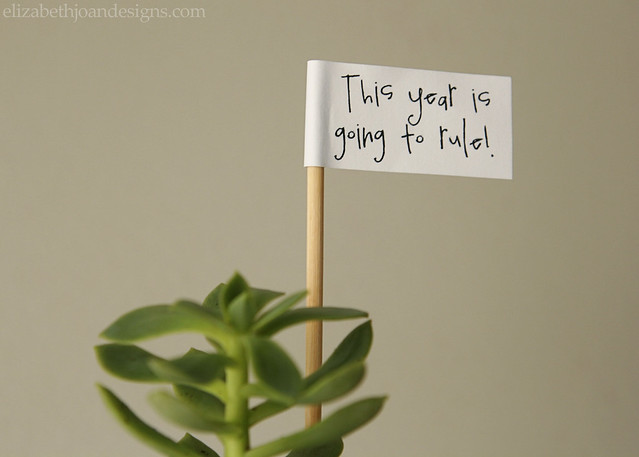
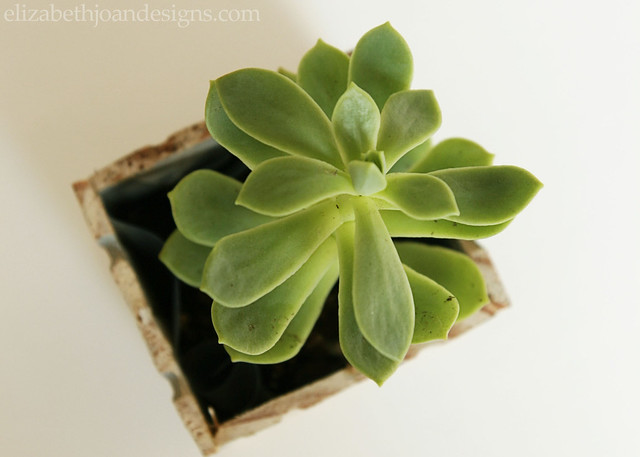
We love that this succulent will be easy for my daughter’s teacher take care of and add a little life to her desk or window in the process. What are your favorite gifts for teachers, besides the obvious, but delicious, apple?

Want more? Check out these 15 great back to school ideas! 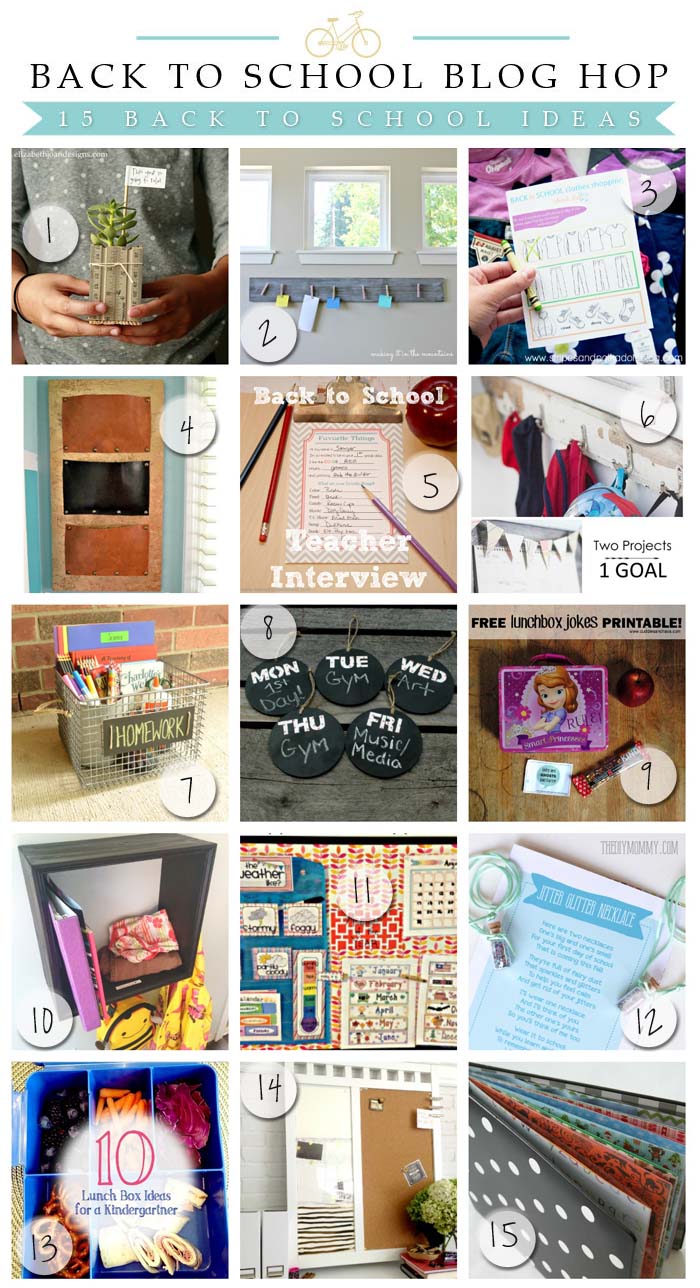
1. Elizabeth Joan Designs 2. Making It In The Mountains 3. Stripes and Polka Dots
4. For My Love Of 5. Home. Made. Interest. 6. Restless Arrow
7. Little Red Brick House 8. Little House Of Four 9. Cuddles and Chaos
10. Our House Now A Home 11. Kent Heartstrings 12. The DIY Mommy
13. Curly Crafty Mom 14. Houseologie 15. Canary Street Crafts_____________________________________________________________________ You may also like:
Summer Hosta Wreath 
Ruler Drum Shade 
Chalkboard Succulent Planter 
Glazed Herb Planter