-
Rusty Plant Stand Makeover
I am not sure the original purpose of this piece of furniture. Is it a stool, a plant stand, a one person table, or something else? I do not know. But when I found it sitting at the curb on garbage day, I thought this would make a great plant stand. That’s how my Rusty Plant Stand Makeover all started.

Once I brought it home, my first mission was rust removal.

I soaked a rag in white vinegar and wrapped the infested sections of the plant stand up with it. This is how it looked after three hours.

The rust was starting to “melt” away, but it took one more three hour wrapping session to rid the metal of the reddish orange coloring.

Next, I grabbed a can of white spray paint and freshened up the legs of the stand. For the top, which by the way is made out of some sort of cardboard composite stuff, I primed it and spray painted it navy blue for a pop of color. Do you like my small drop clothe? It was left over from our Dining Chairs Update.

Lookin’ good!
This was such an easy transformation. Even if I don’t know what it was suppose to be, it still turned out great! What do you think?
___________________________________________________________You may also like:

Concrete-Esque Planter 
Nightstand Makeover 
Faux Topiaries 
French Lettered Milking Stool -
DIY Light Fixture from a Mixing Bowl
As always, I have been leisurely browsing Pinterest and different store’s websites for months searching for inspiration. This time, my goal was to find ideas for a DIY Light Fixture for my oldest son’s bedroom. When I found this industrial beauty from Pottery Barn Kids, I fell in love immediately. I just knew I had to make one. The only question I had was how? The shape of this particular fixture resembled a metal mixing bowl to me. That’s when I put two and two together. Ah-ha! A DIY Light Fixture from a Mixing Bowl. That was a true light bulb moment!

Materials:
Stainless Steel Flat Bottom Mixing Bowl– Sir Mix A Lot, said “I am tired of magazines, sayin’ flat butts are a thing.” Well Sir in this case, a flat bottom is really the best option. Just sayin’.
Rust-Oleum Spray Paint- The Oil Rubbed Bronze Metallicfinish is a favorite of mine.
Pendant Light Kit- These kits are great for the price you pay. I chose one with a matching finish to the paint I had picked out for the bowl.Tools:
Drill- How else was I going to make a hole in the bottom of a metal bowl?
RustySheet Metal Cutters- The pair I have my dad gave me years ago. Thanks Dad!
Strippers- No. Not that kind of stripper! No “Thunder from Down Under” needed on this project. Come on people, I am talking about the wire strippers that are sold at your local hardware store or on Amazon like these TEKTON 7-Inch Wire Stripper/Cutter.
Your Brain- You’ve got to play it safe around electricity!
First, I drilled three adjacent holes in the bottom of the mixing bowl. FYI, this process is much easier if you flip the bowl upside down first.

Next, I grabbed my metal cutters and snipped the bottom of the bowl to connect the three pre-drilled holes together. This took a little elbow grease, but nothing I couldn’t handle.

Once the hole was big enough to fit the pendant light through, it was time to paint. I gave this cooking accessory a true makeover with three coats of Rust-oleum’s Universal Metallic Spray Paint in Oil Rubbed Bronze.

Then, my husband started stripping. Wires, not clothes. He used the wire strippers to cut and expose the wires from the pendant light kit. This is how we transformed this simple, inexpensive kit from a plug in light to a hardwired fixture.


After that, we screwed the pendent kit through the pre-made hole in the dish. At this point it started to look more like a light and less like a painted bowl with a hole.

Then, we connected the wires from the pendant light to the wires installed in our ceiling.

Finally, we attached the fixture to the ceiling and we were done. Yay!
I am so excited with how this turned out! Love the industrial feel the new light adds to the room.
___________________________________________________________
You may also like:

Industrial Book Rack 
Numbered Wooden Crates
Concrete-Esque Planter 
Small Projects for Playroom Makeover -
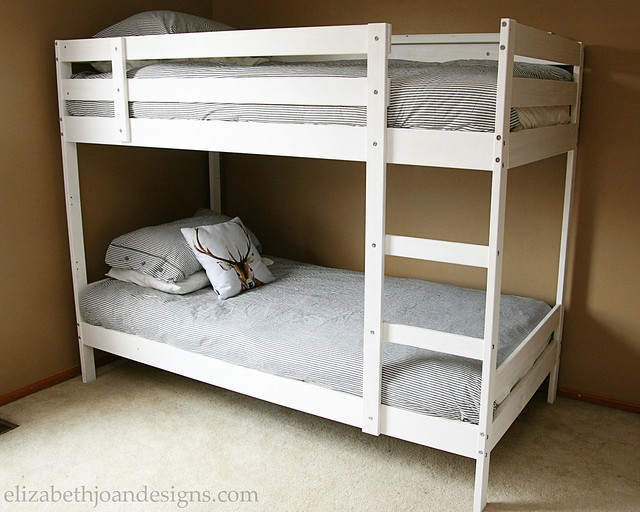
Painting the Bunk Bed White
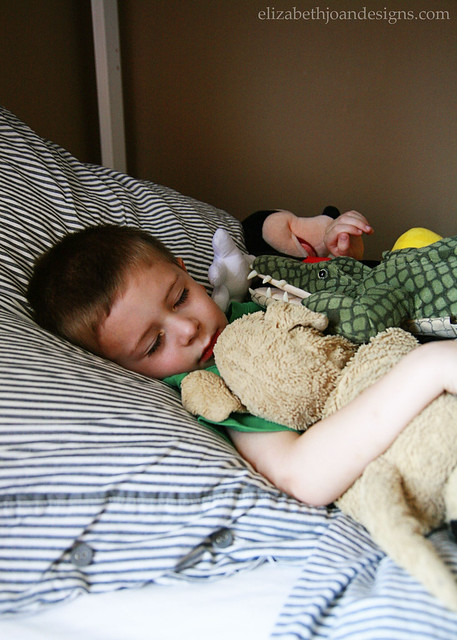
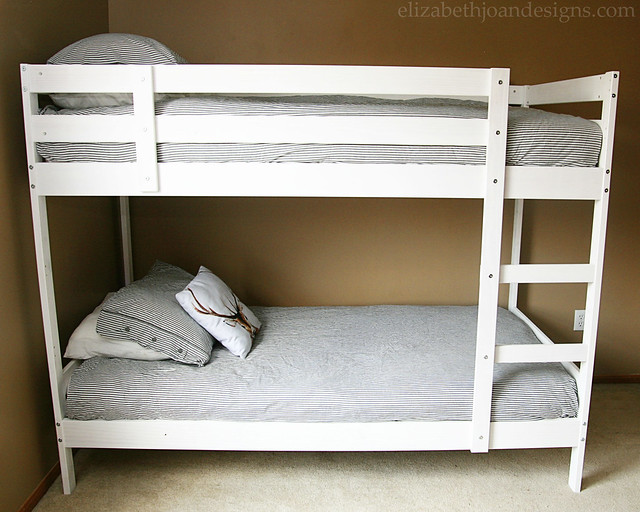
Recently, I showed plans for our Kids’ Shared Bedroom and how we came to the decision to have our 10 year old daughter and 4 year old son sleep in the same space. After a quick run to Ikea and clearing out a space in what was formerly our son’s bedroom, we wasted no time painting the bunk bed white and getting it set up. Yay!
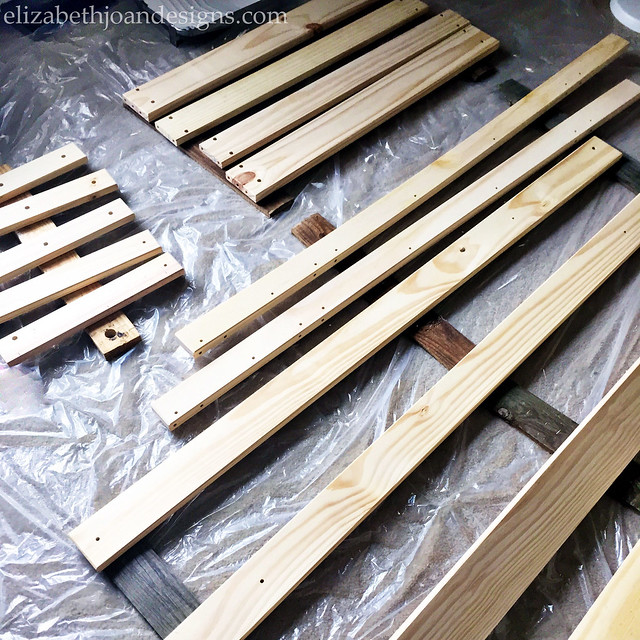
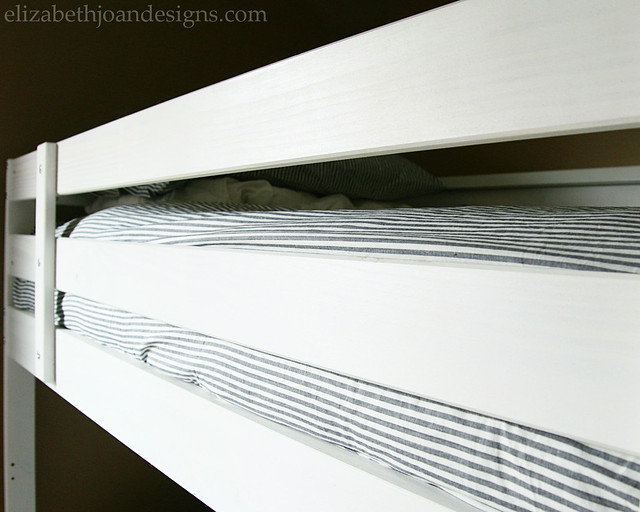
1. It still allowed the wood grain to show through.
2. It may have saved a bunch of time.
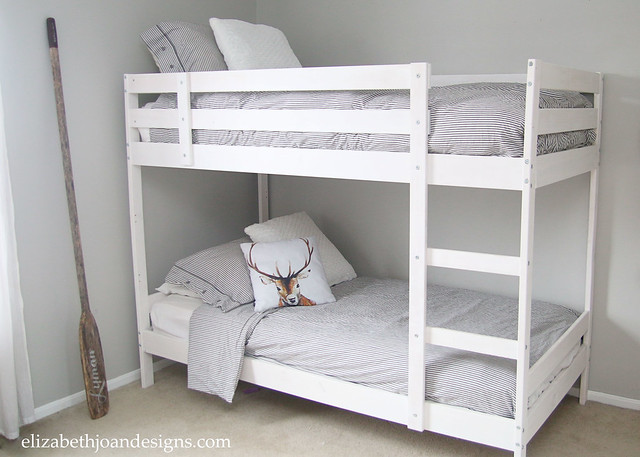
3. We liked the look.See! What do you think? Not to shabby, right?
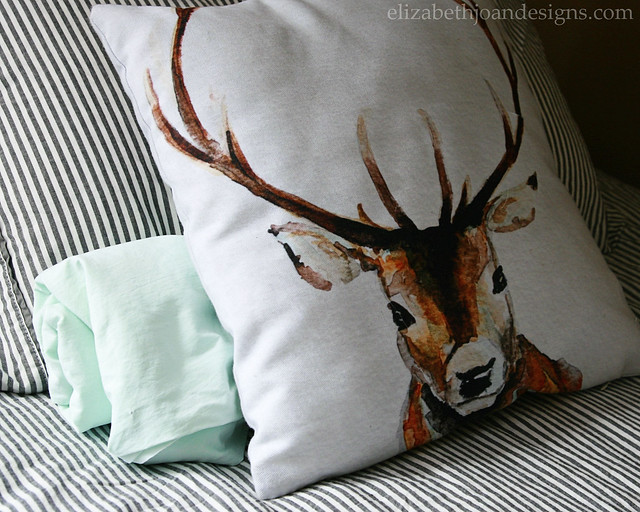
My kids also love this cute deer pillow from Craftberry Bush and may add an adorable bunny pillow as well.

Check out further progress in this room by clicking the image below!
___________________________________________________________
You may also like:

Hardware Change-A-Roo 
Reclaimed Wood Fence Headboard 
Heriloom Dresser Makeover
Nightstand Makeover -
Buffet Table
Alright, I’ve got problems! But that’s a completely different story. For this post, I am just sharing a solution to a few kitchen decorating flaws my husband and I possess. We have had a blank wall in our kitchen pretty much the entire time we’ve lived here and could not seem to find anything that fit the space, our style, and price range. On a different note, we’d also relocated our microwave to the basement to save on kitchen counter space. So, the fix for these two ridiculous “problems” was to build a buffet table for our blank space that would also house the microwave. (I totally made that sound like I was a part of the building process, but honestly my husband, Adam, deserves all the building credit here.)

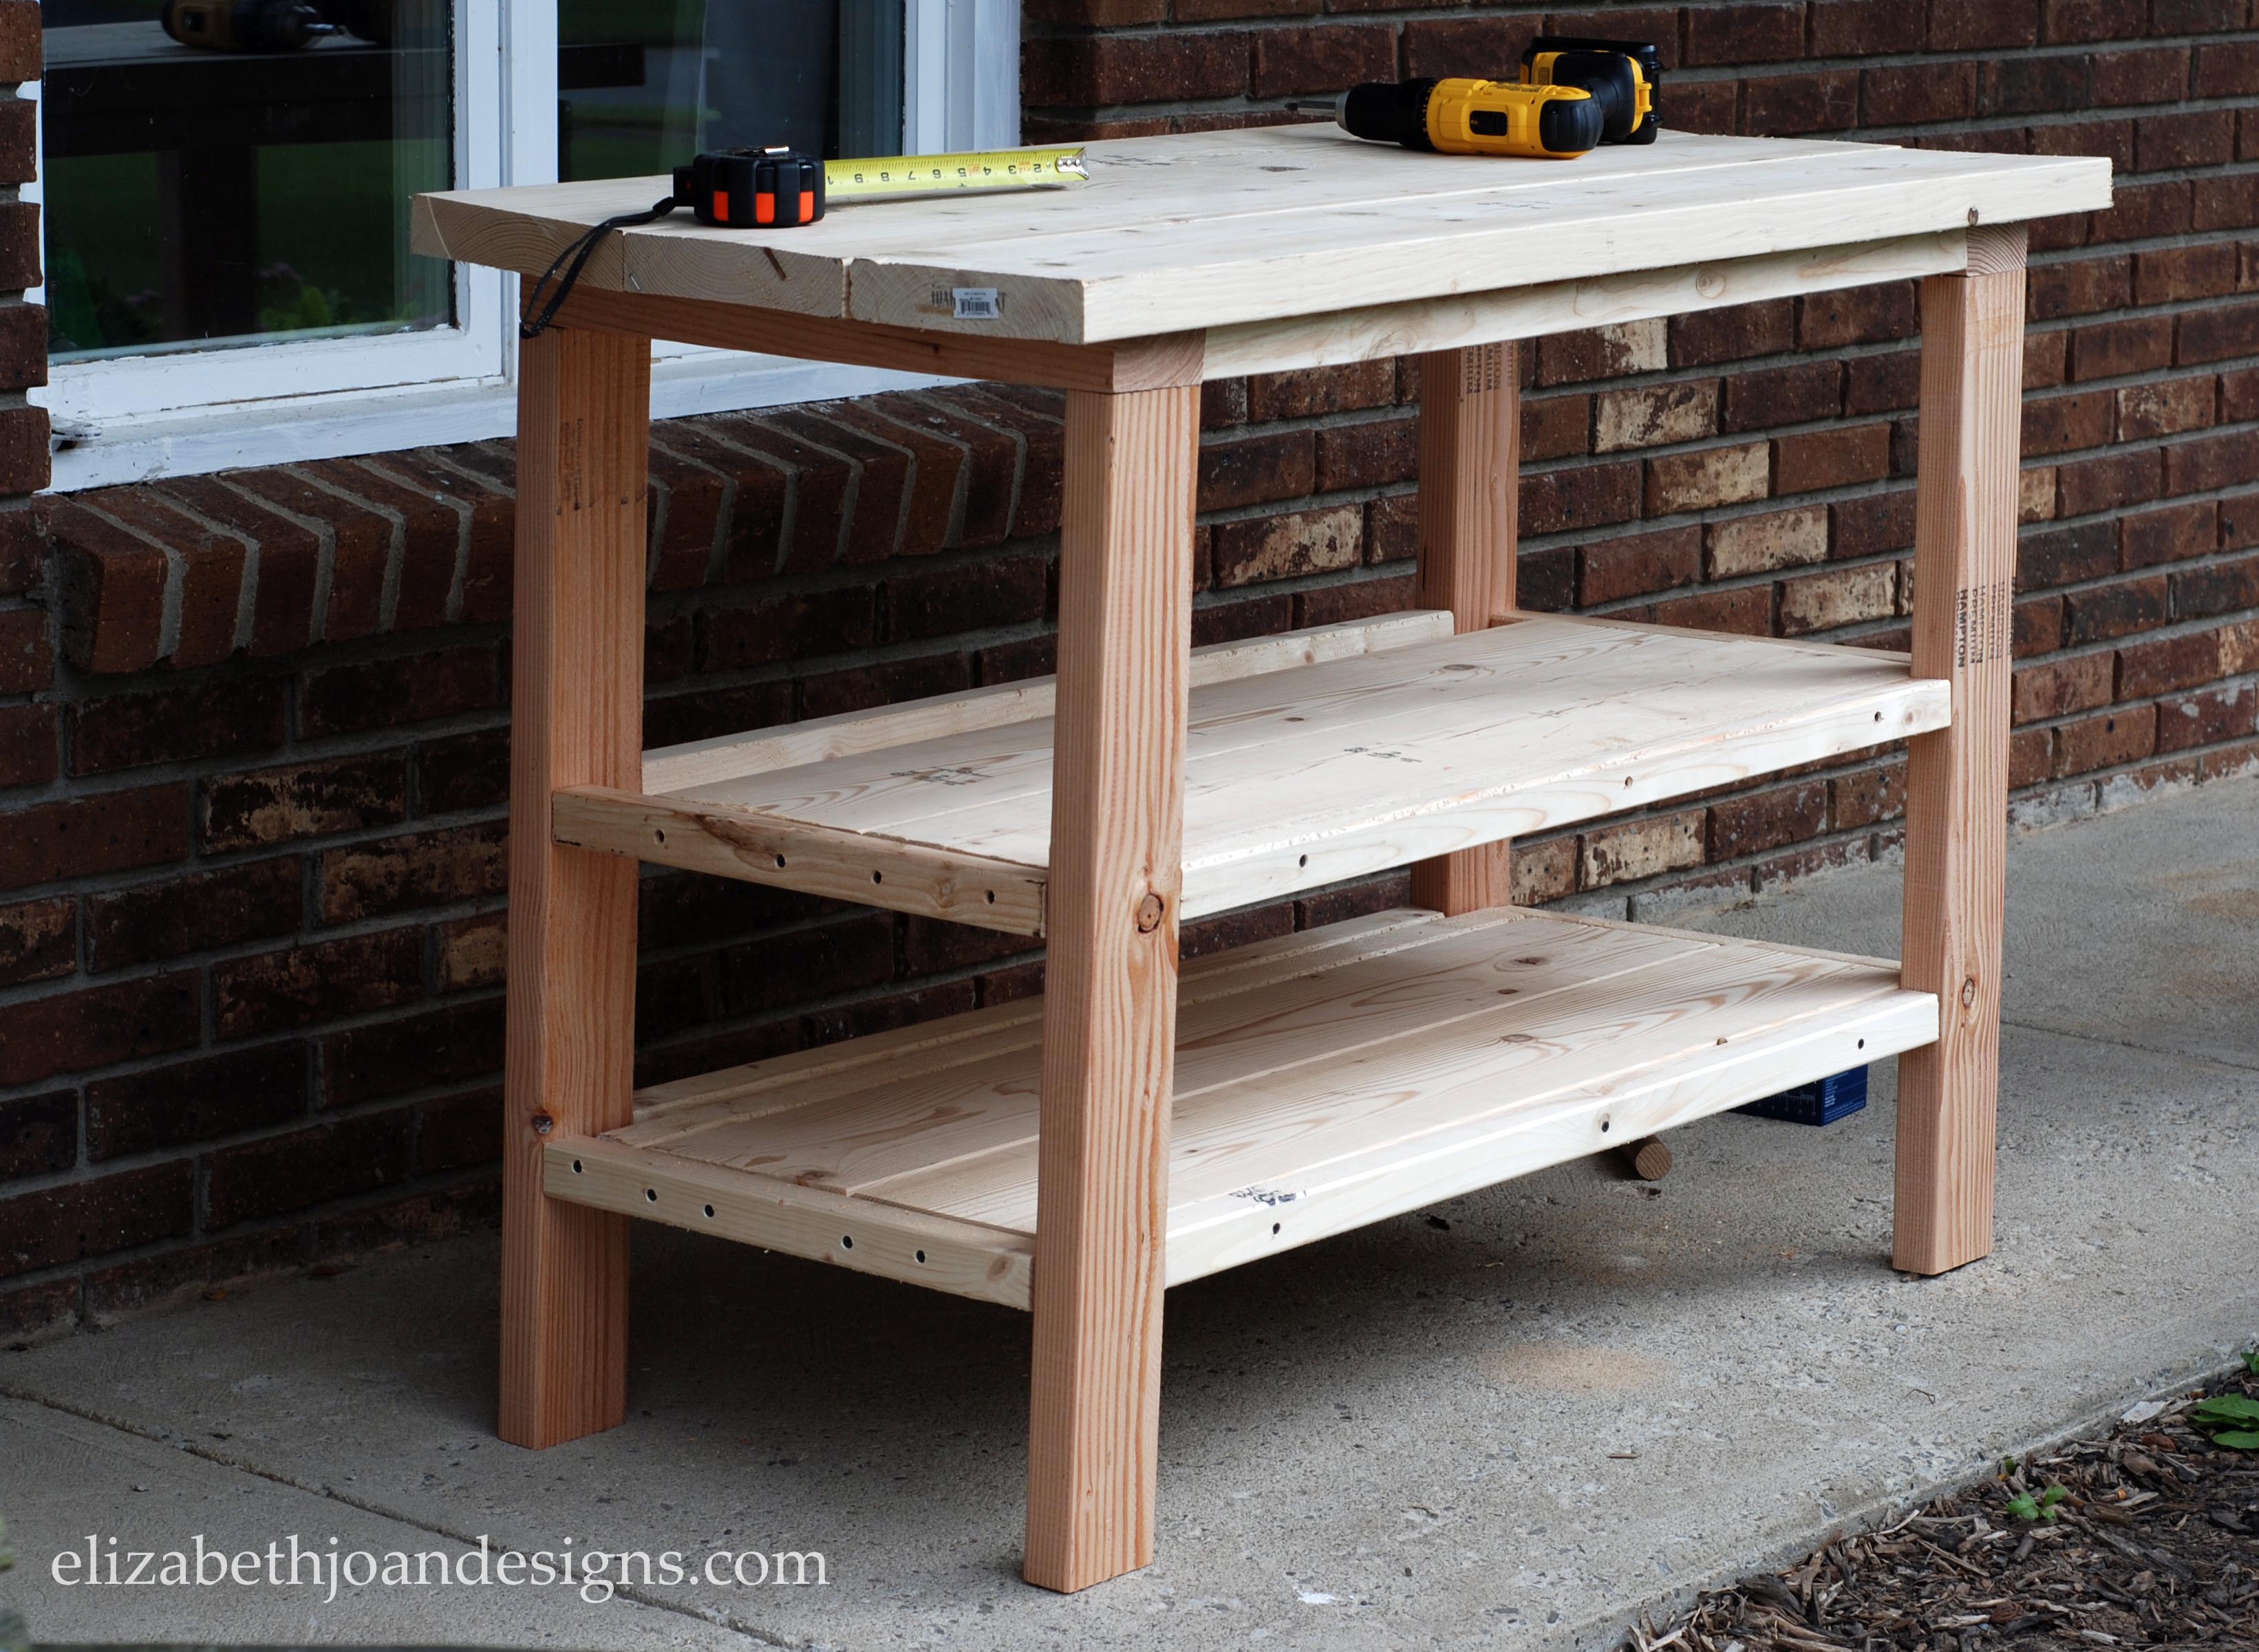
Adam generally followed the plans provided for free at Craftsman Drive with a few adjustments in lumber size and tools.
The Dimensions of our Buffet Table: Base: 32″ high | 43″ wide | 19 1/2” deep
Top: 48″ wide | 22″ deep
Both Shelves: 43″ wide | 19 1/2″ deepTotal Height: 33″
The building process only took a few hours and I am absolutely thrilled that he took the time to make this for us. It was something on my to-do list for a while, but I just couldn’t seem to find the time to fit it in.
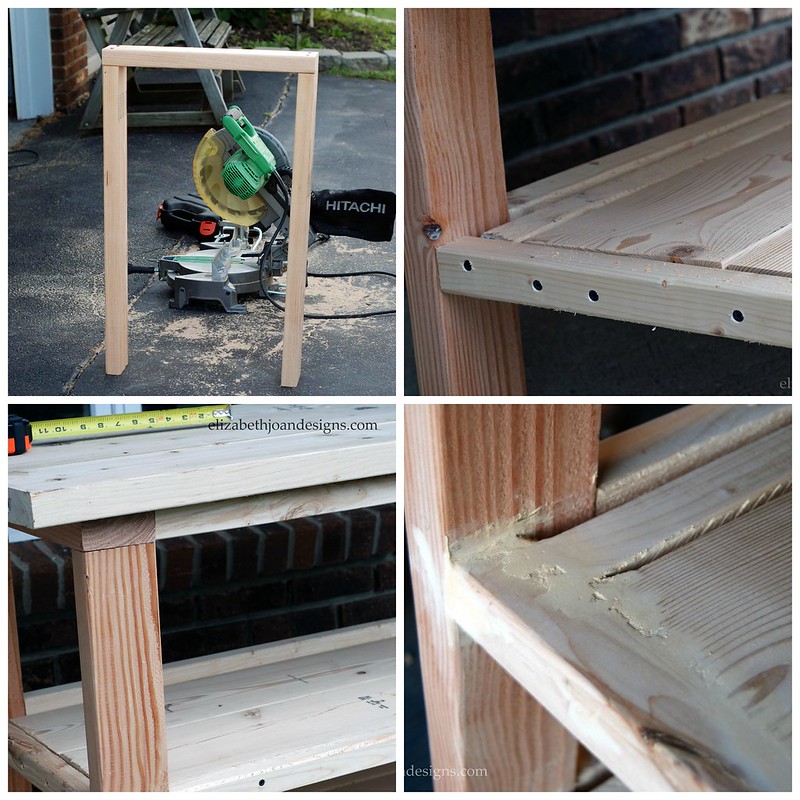
This is the first project we have ever used a Countersink Drill Bit
when drilling pilot holes. The results were amazing. No screw heads sticking our of the wood for this table! We wish we had had one of these magical bits while making our dining room table. If you have never used one before, I encourage you to try one on your next furniture building adventure.
After Adam put his blood, sweat, and tears into building this sturdy table, it was my turn to finish it off.
First, I primed the entire table.
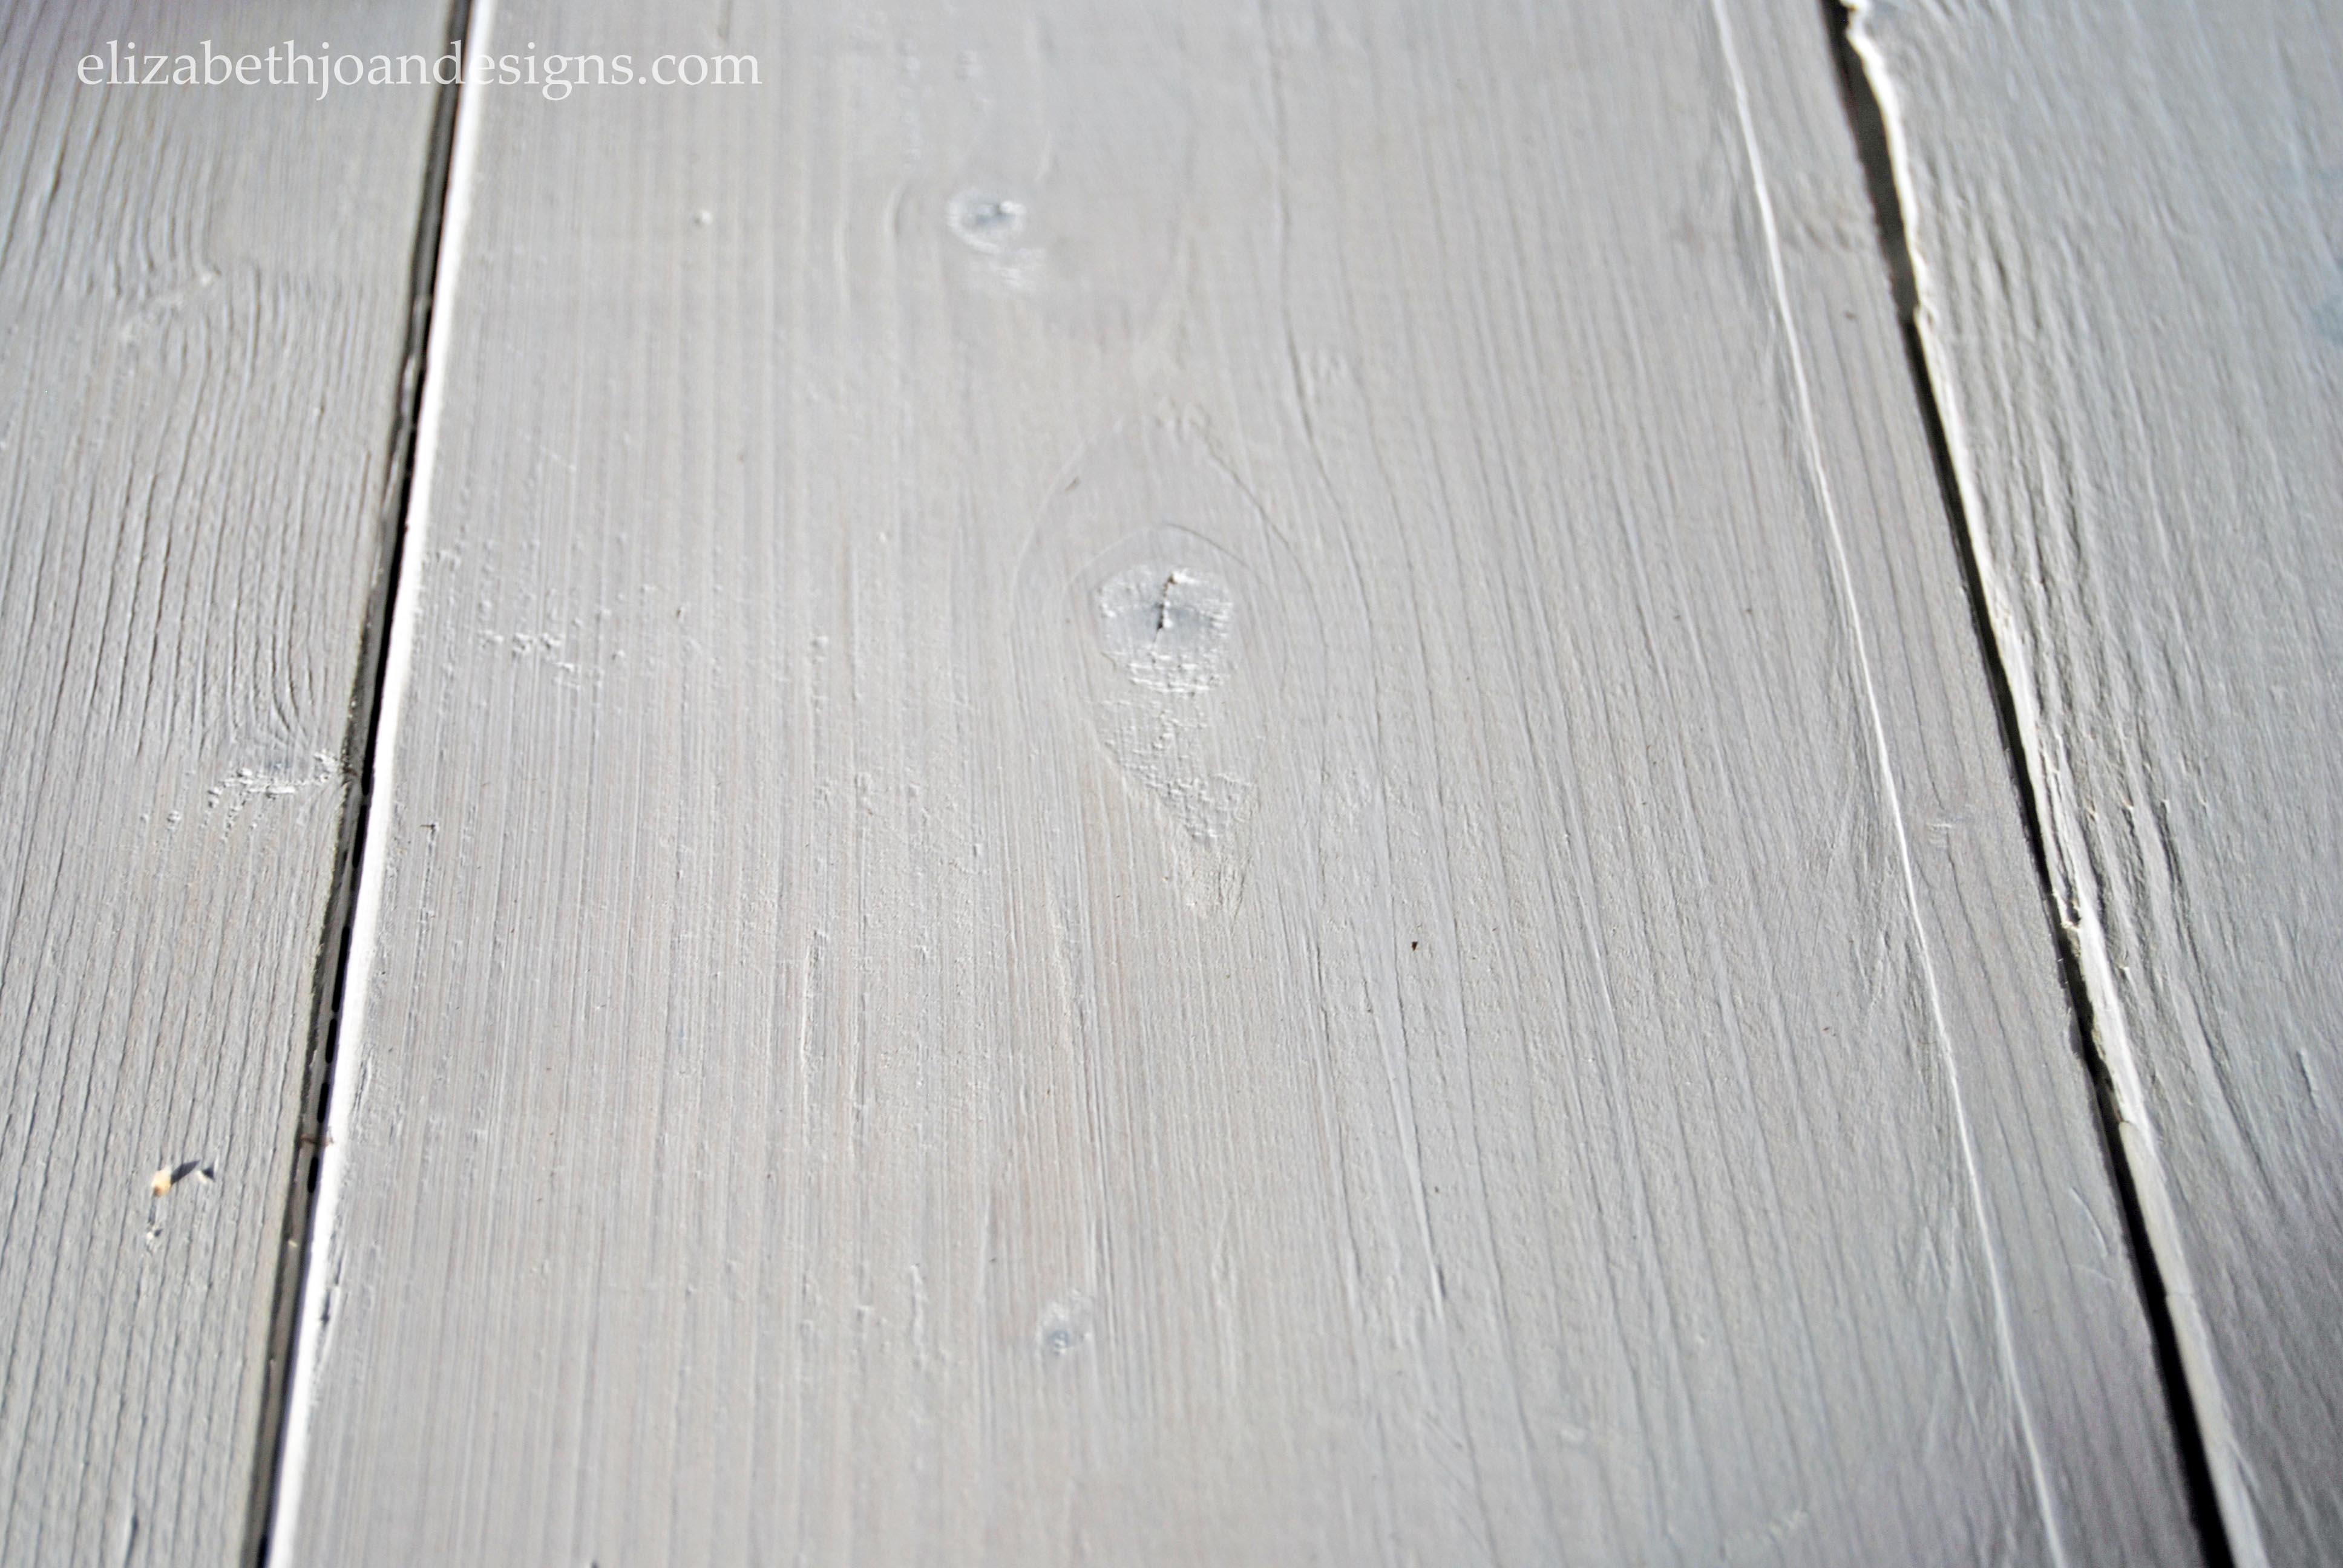
Next, I used a natural bristle brush to paint on two coats of white paint.
Finally, 4 layers of Minwas Polycrylic
were applied to the buffet using a synthetic bristle brush. This will provide protection against long-term normal wear and tear.

What do you think of this charming new piece?
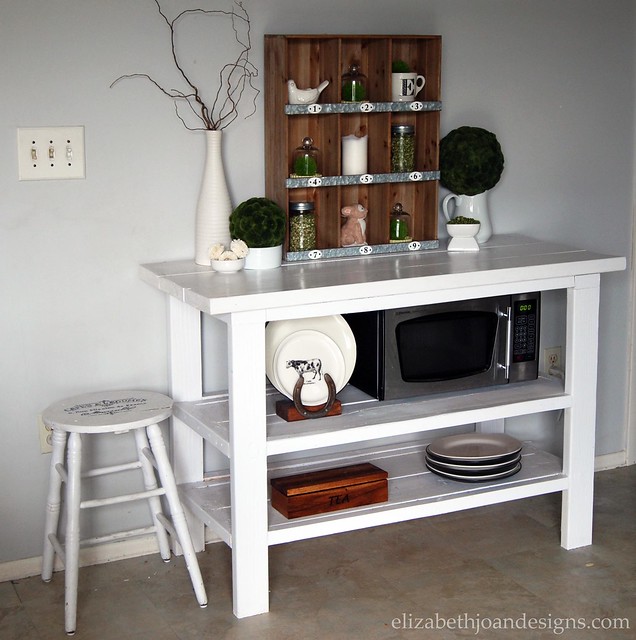
I am head over heels for this beautiful addition to our kitchen. Simple yet functional! And on the plus side, there will be no more running up and down the stairs to the basement to warm up leftovers, as now the microwave has the perfect new home.
________________________________________________________________ You may also like:

DIY Dining Table
Concrete-Esque Planter 
Upcycled Tripod Table
Heriloom Dresser Makeover